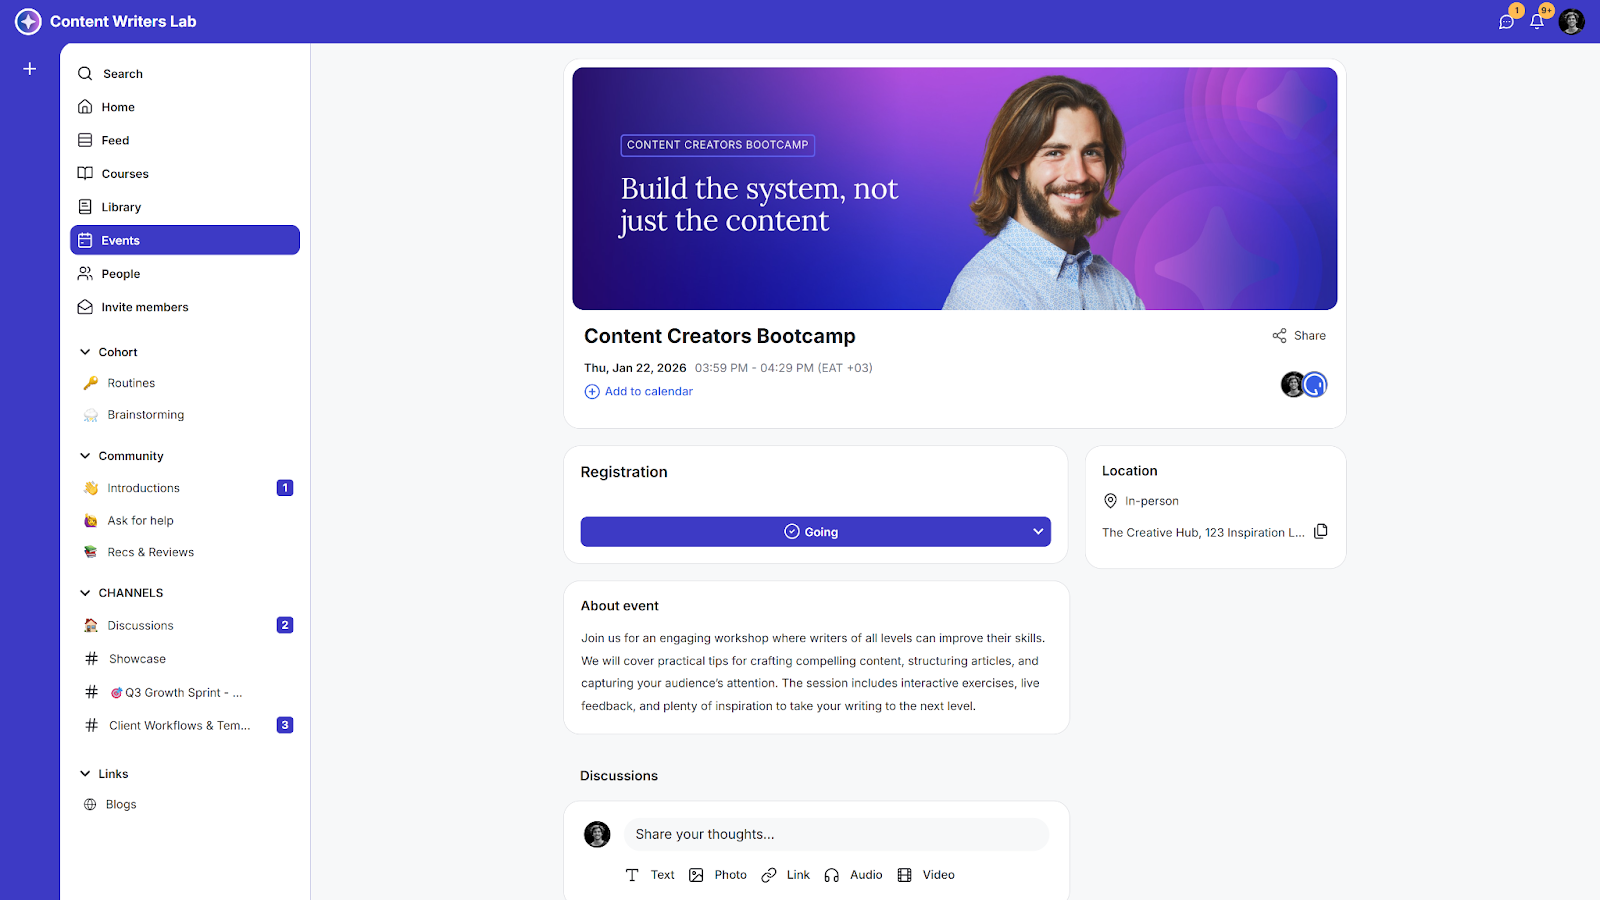
You can create events for coaching sessions, trainings, or meetups directly inside your community. This is a great way to engage with your members and promote your community.
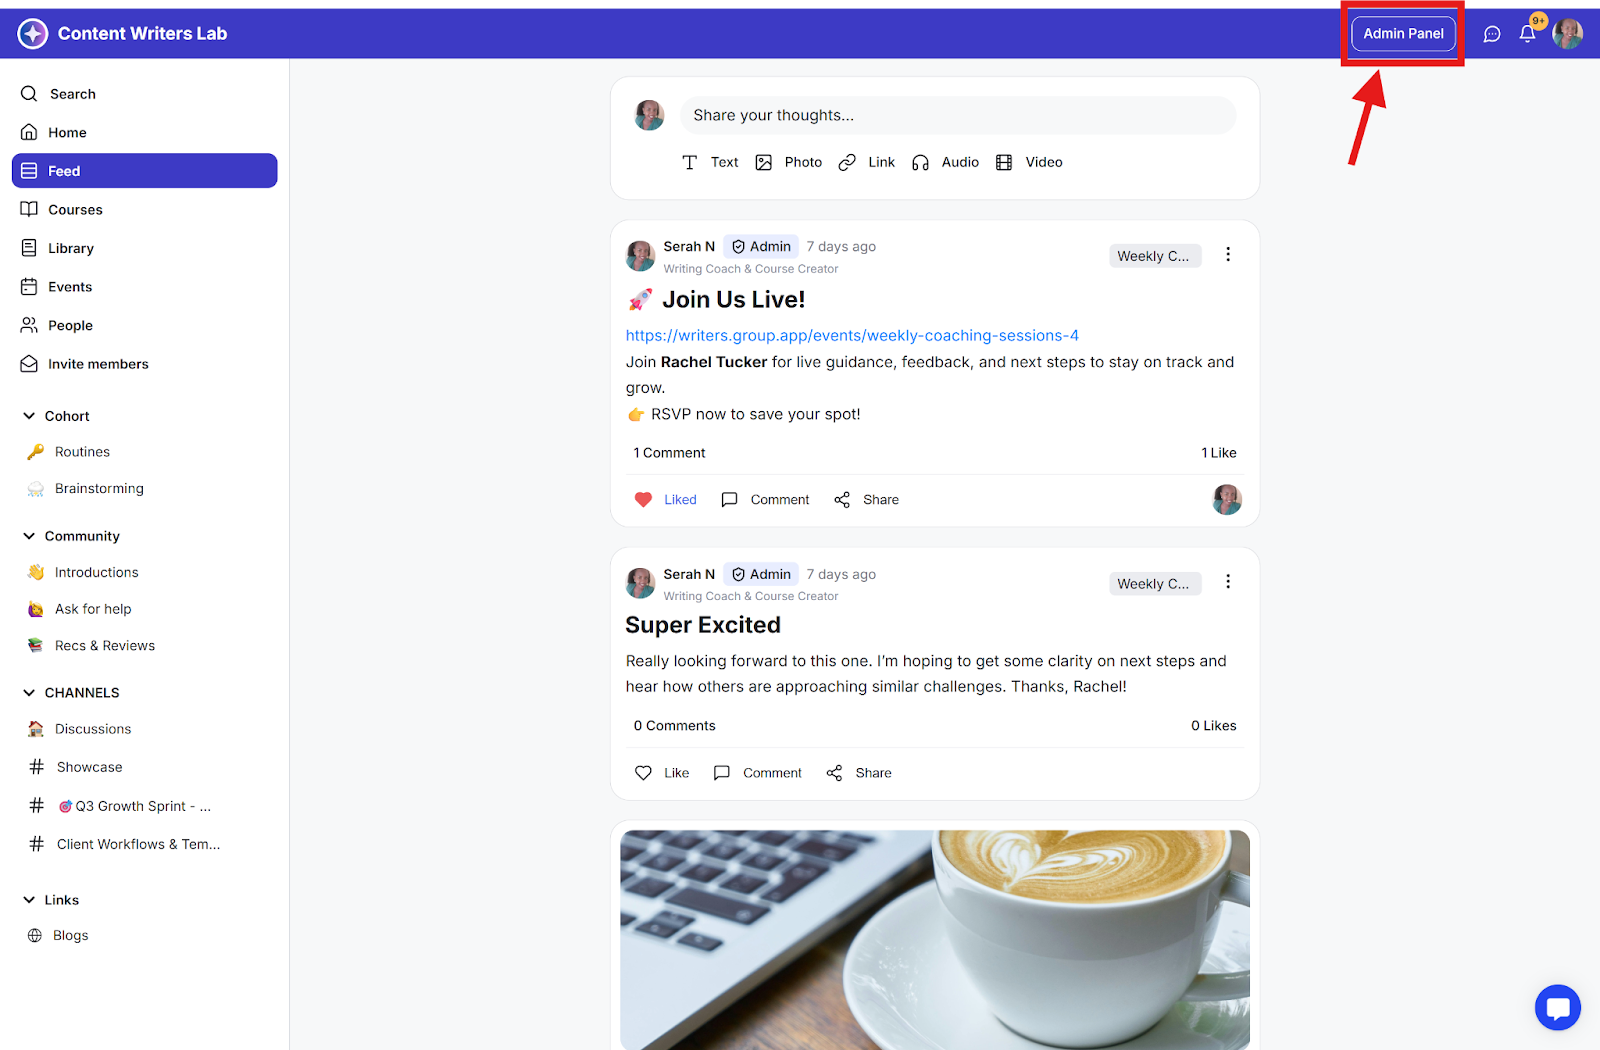
Step 1: Click on the Admin Panel button.
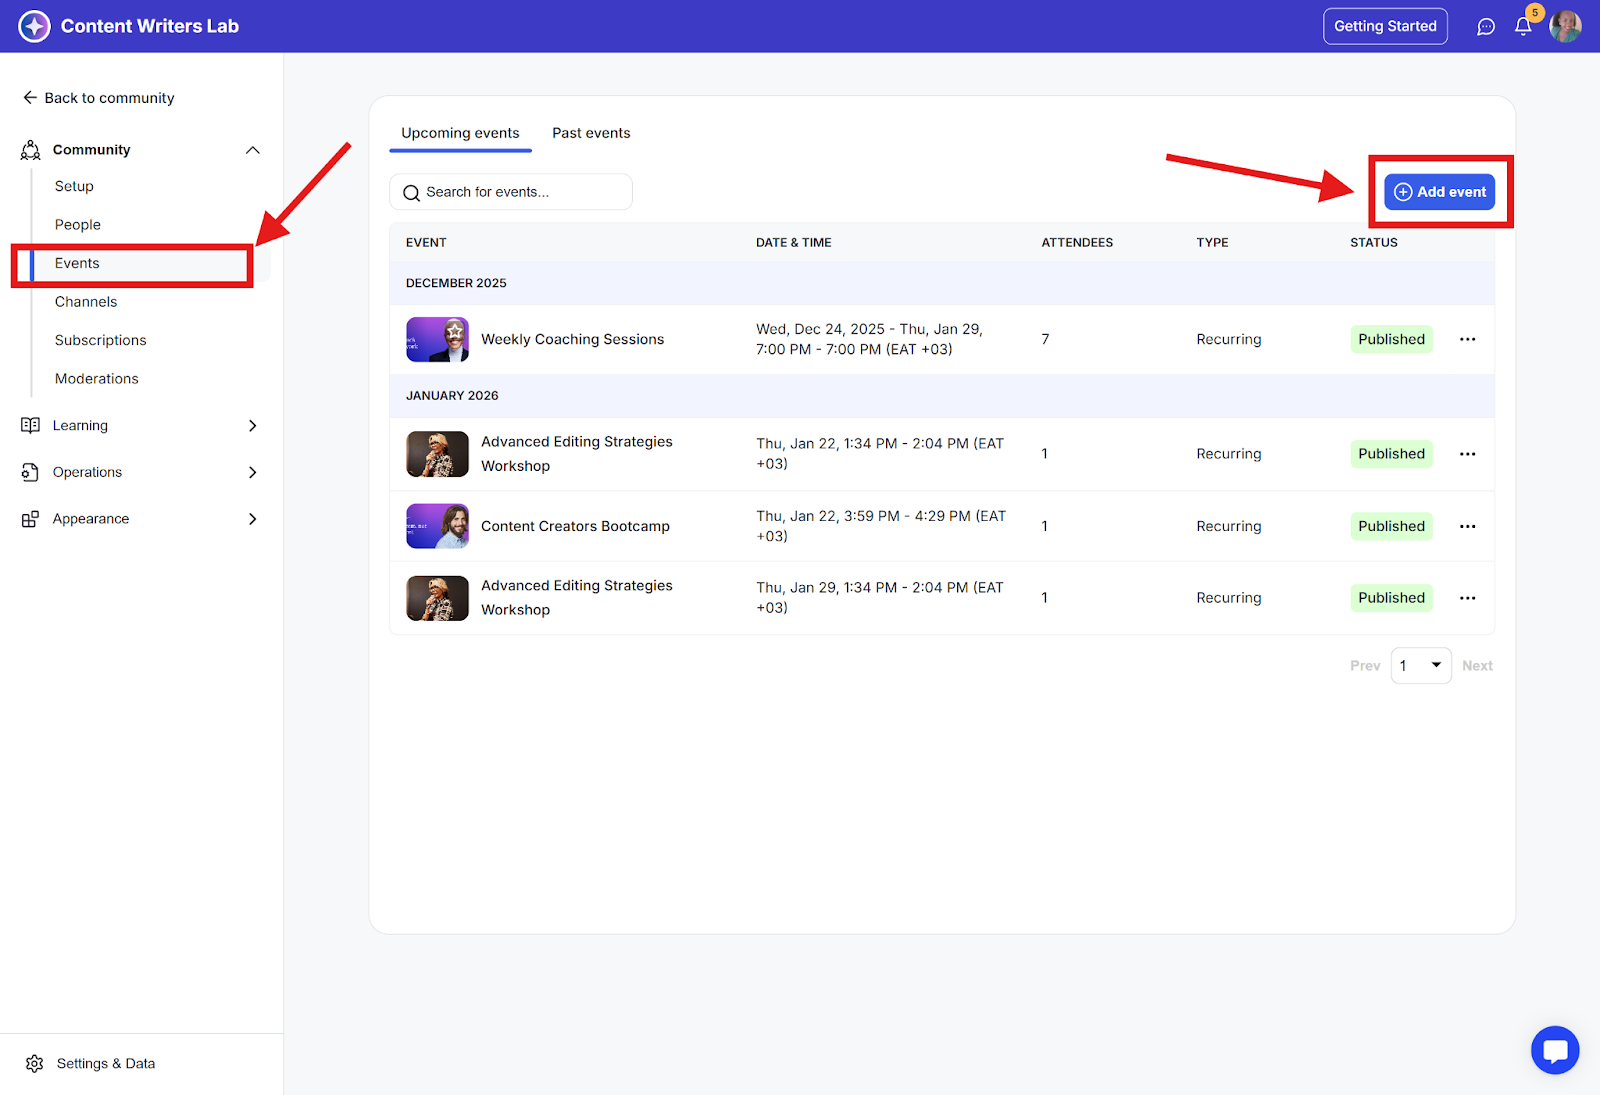
Step 2: Click on Events in the admin panel and then click on the Add Event button in the top right corner.
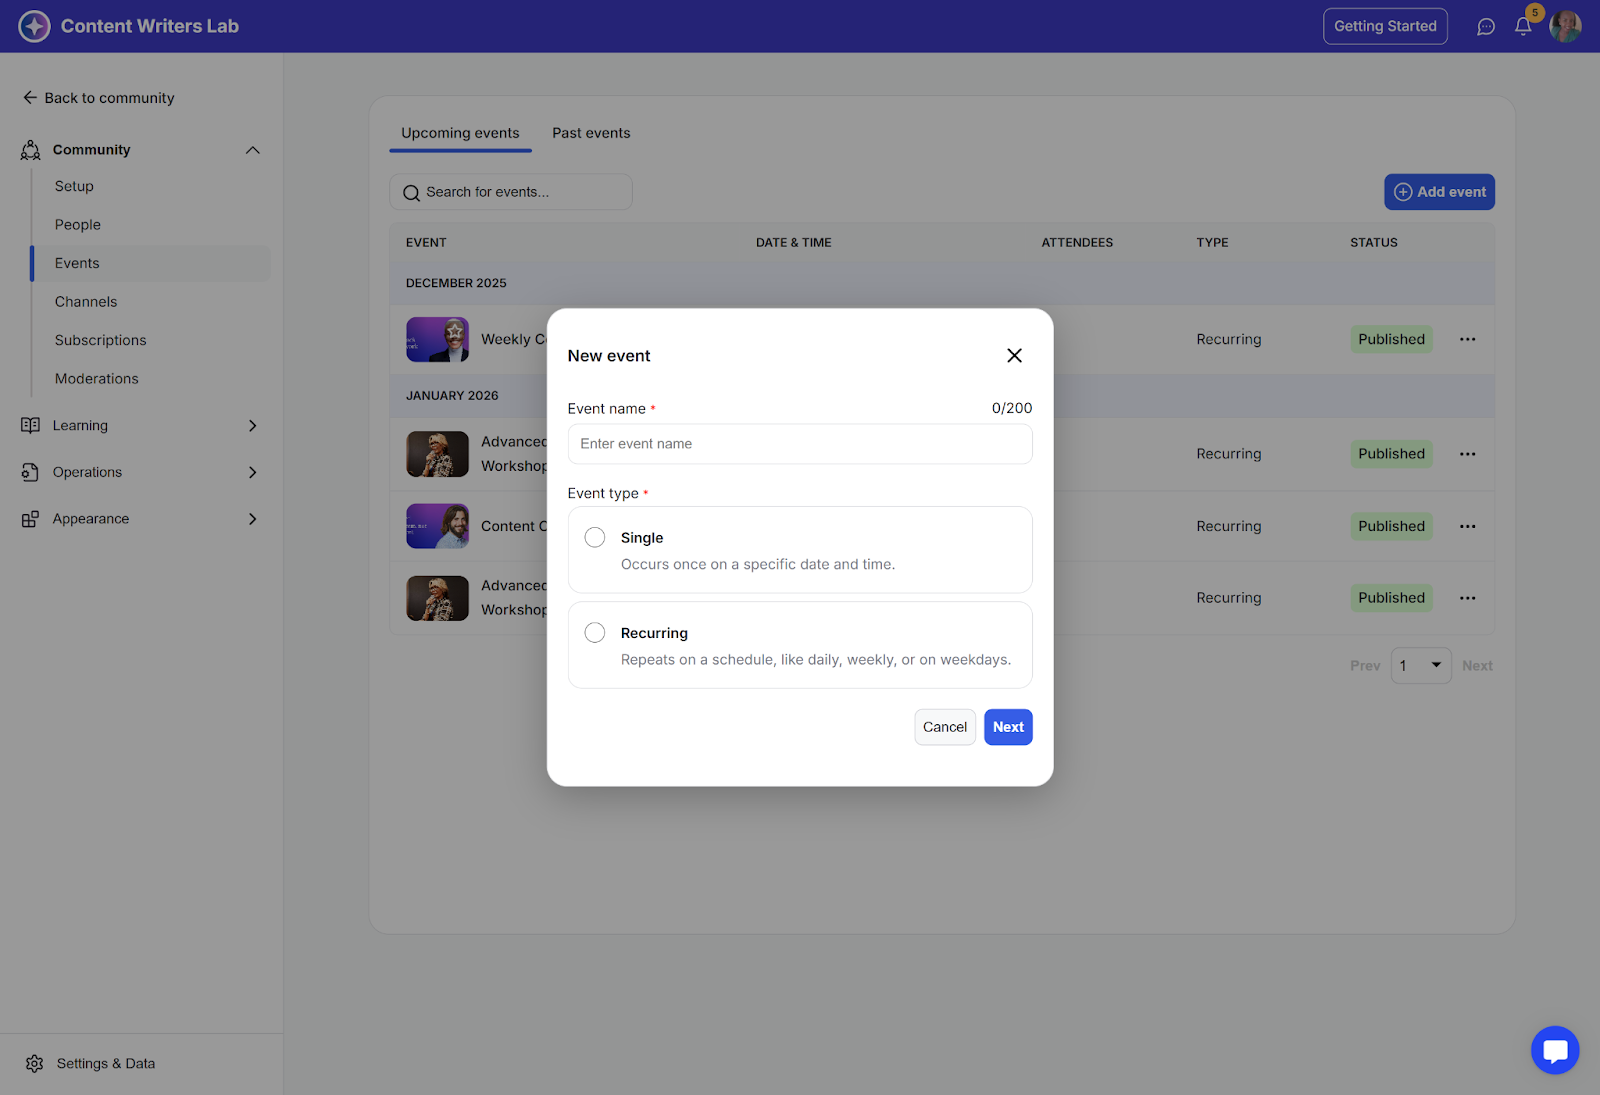
Step 3: Enter the event name and type, then click Next.
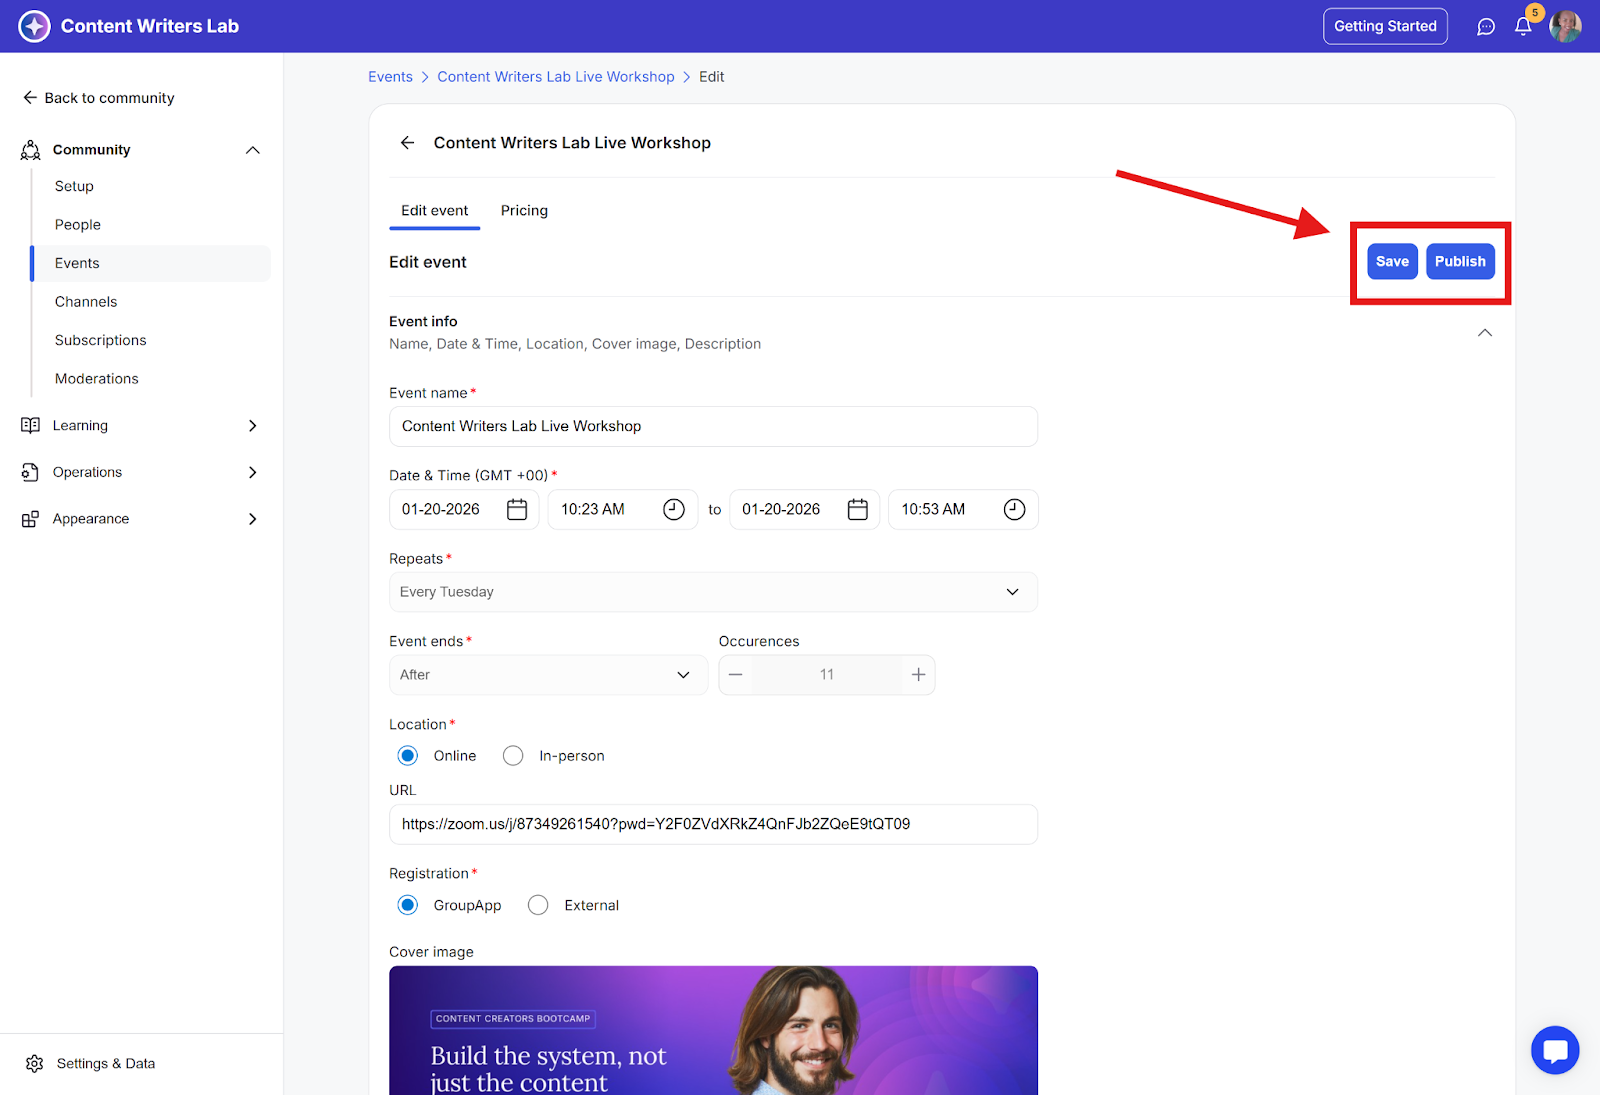
Step 4: On the event builder, add your event details, then click Save:
1) Event start/end time and date: This follows your community’s set time zone, not your current local time as an admin or moderator.
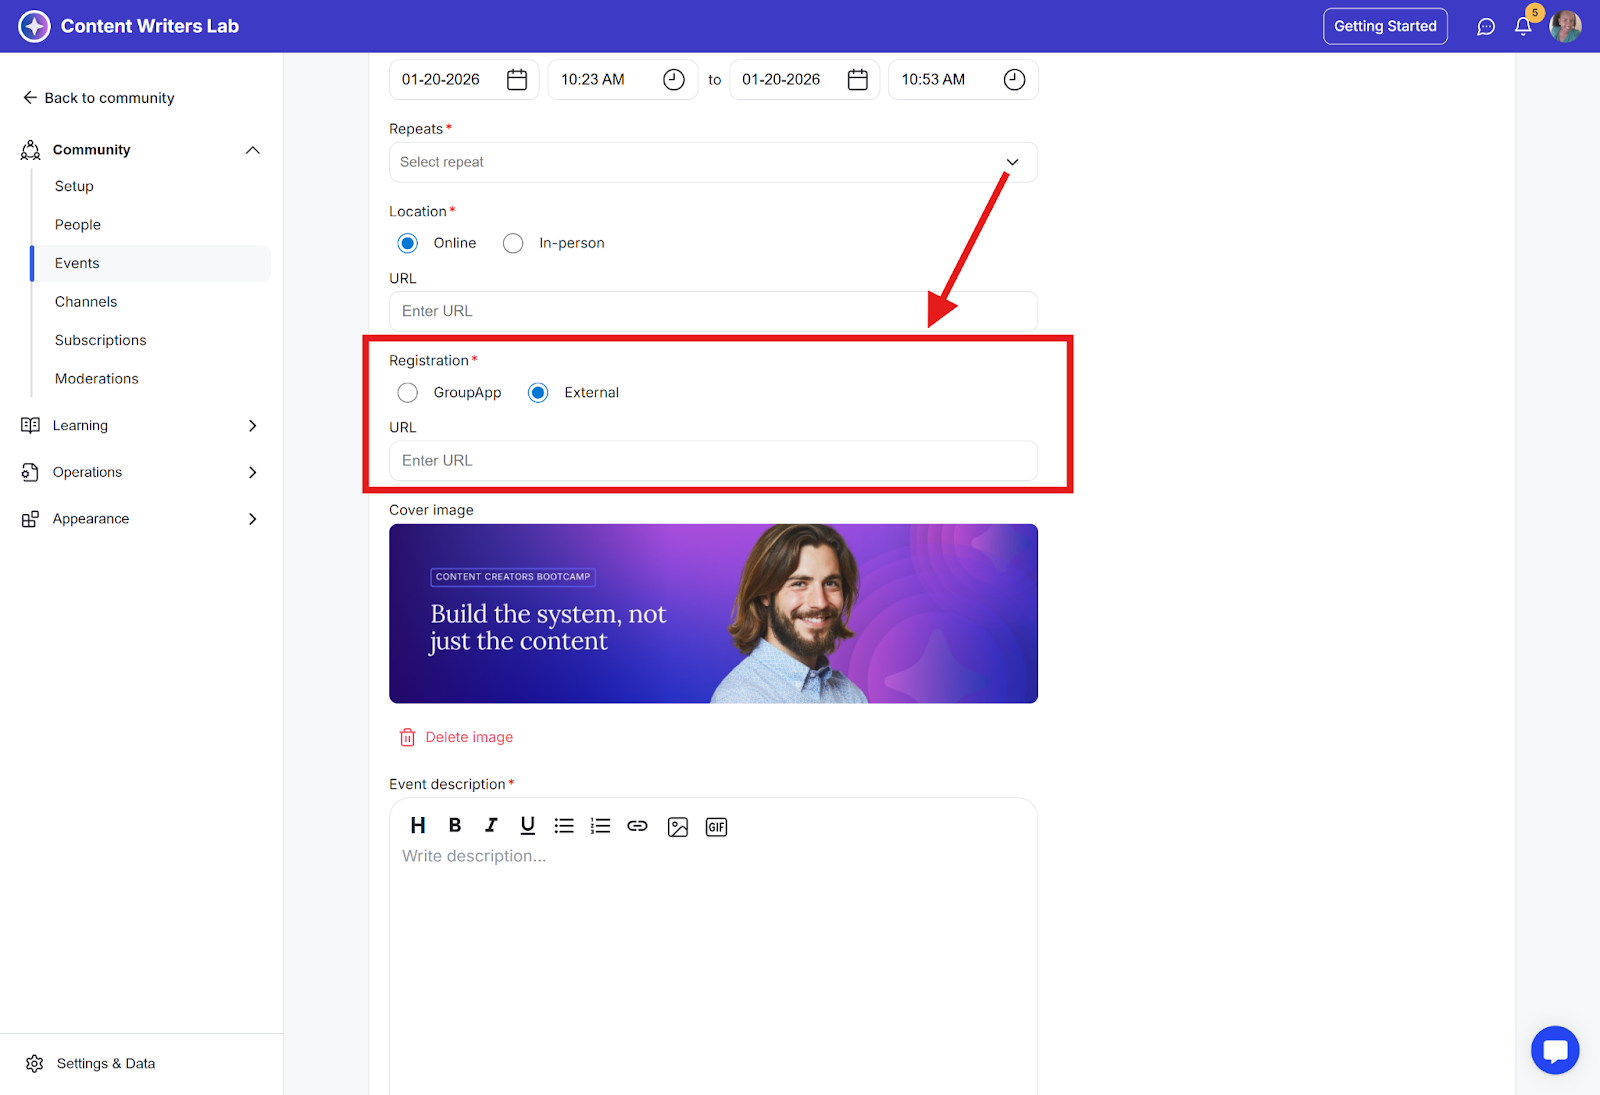
2) Location: Here you’ll have two options:
Online: Meeting/Event URL is required
In-person: Enter the venue address.
3) Registration
GrouApp—If set to GroupApp, they will be able to RSVP to the event on the GroupApp platform
External—they will be redirected to an outside site that you have entered as the URL. Useful if you want them to RSVP to the event using other platforms.
Step 5: Access level: determine who is able to RSVp to the event
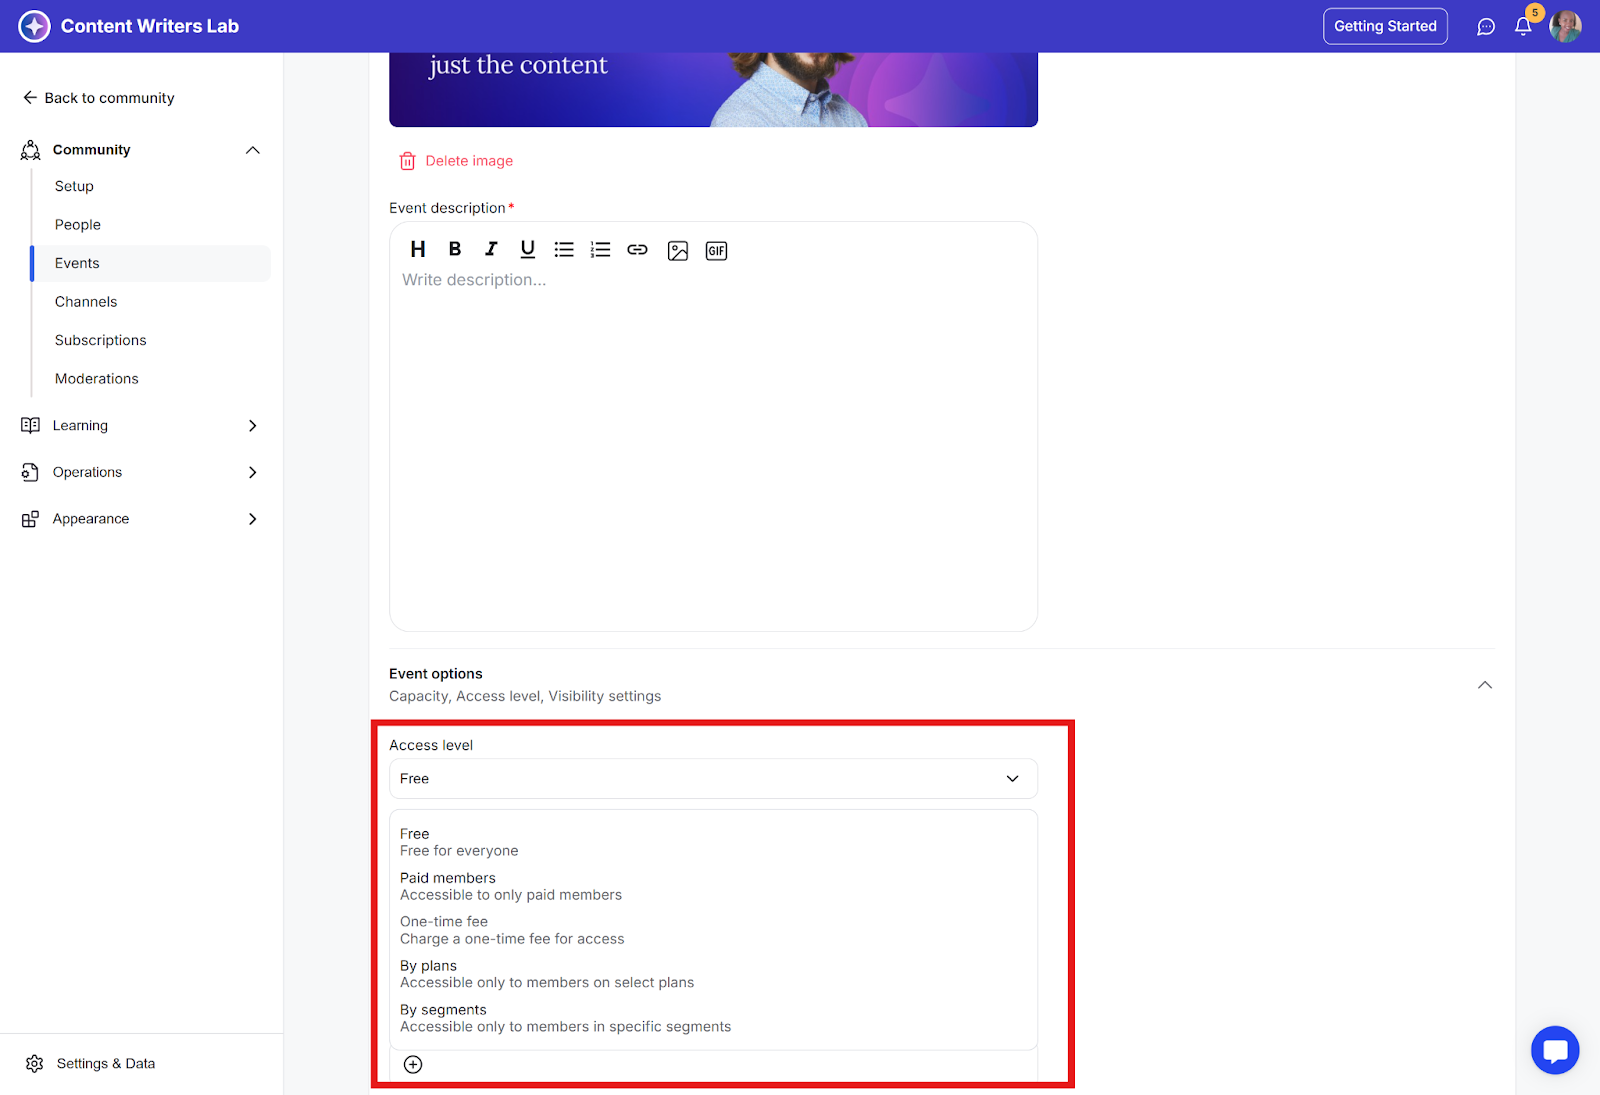
Recommended:
Step 6: Visibility settings: set who can see the event.
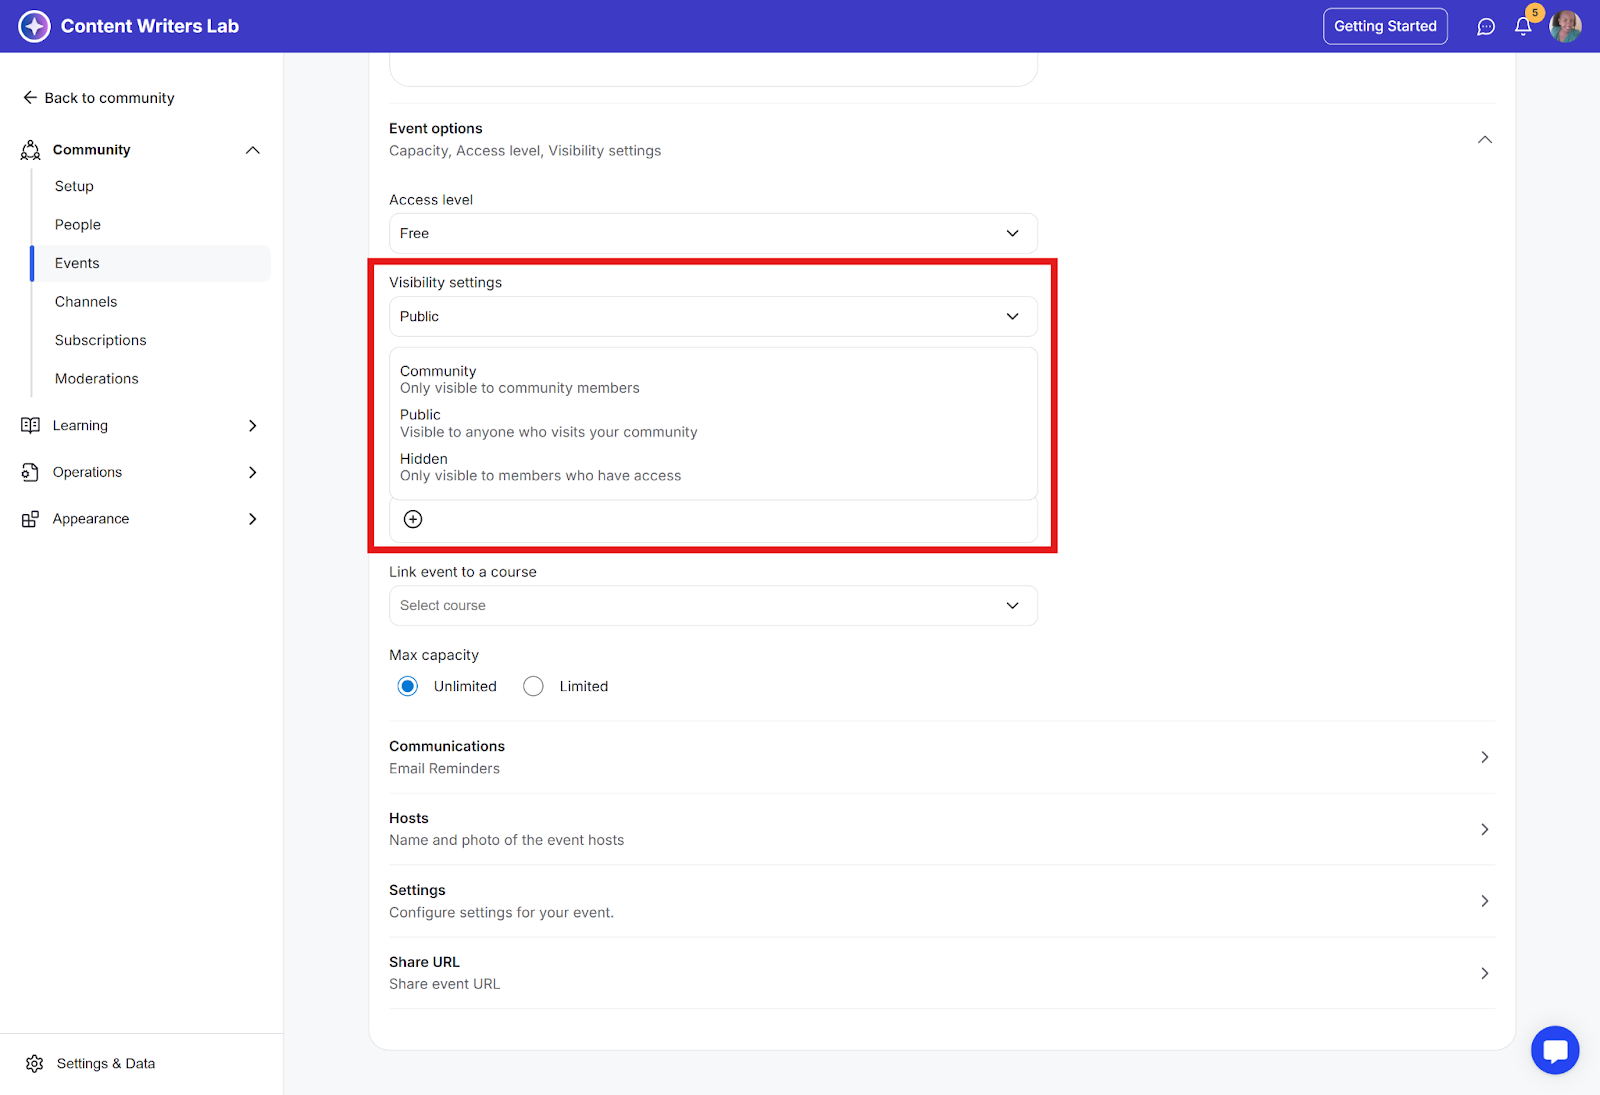
Recommended:
Step 7: Lock screen—a pop-up screen that shows up to members who attempt to access the event and don’t have access to the event.
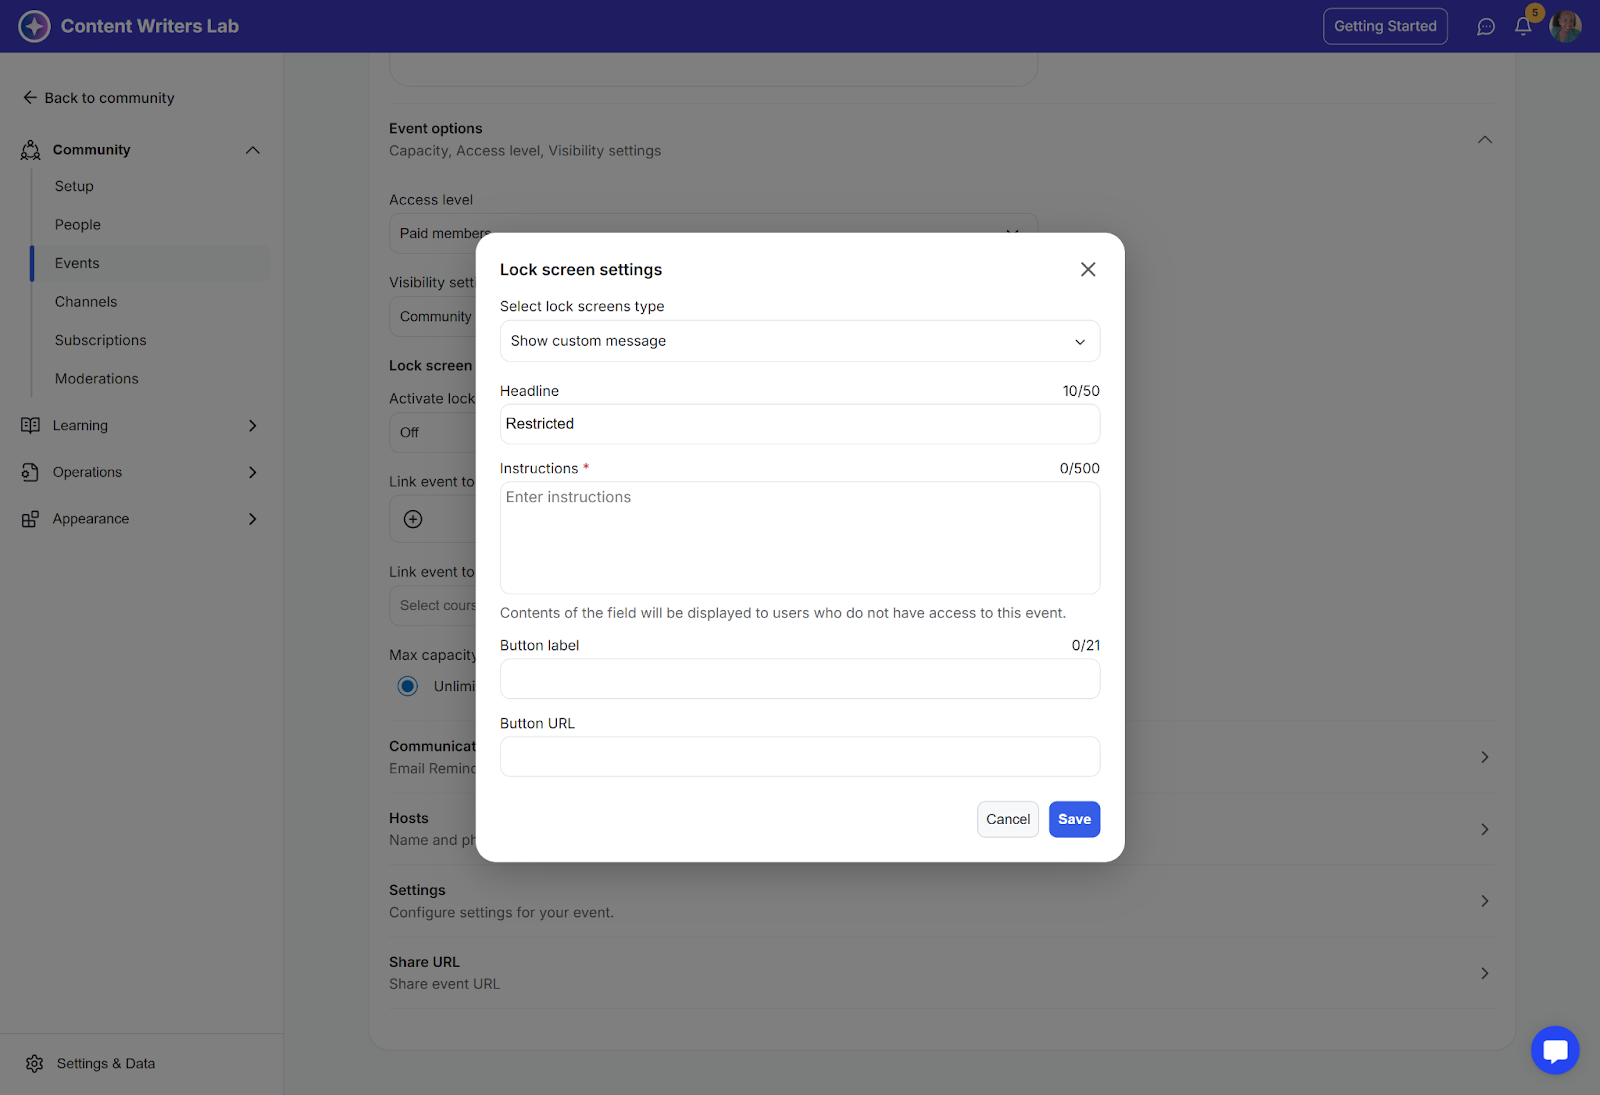
Make sure the lock screen setting is on if it is to appear to the members who don't have access.

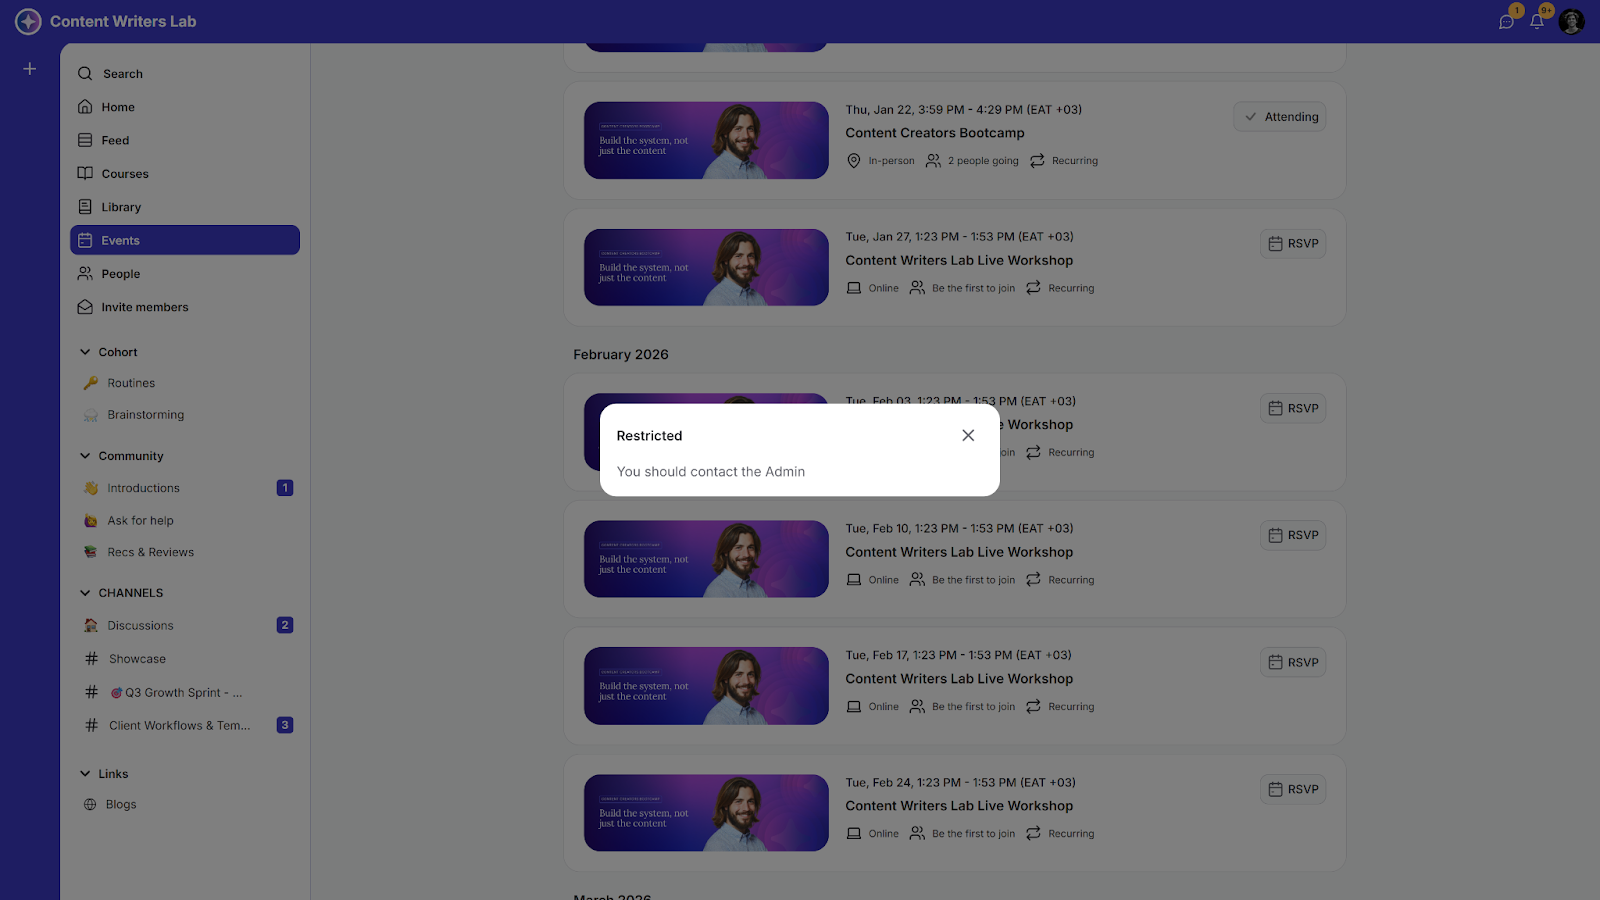
This is how the lock screen will look when members who don’t have access click the RSVP button. The contents on it are the content you entered while creating the screen details.
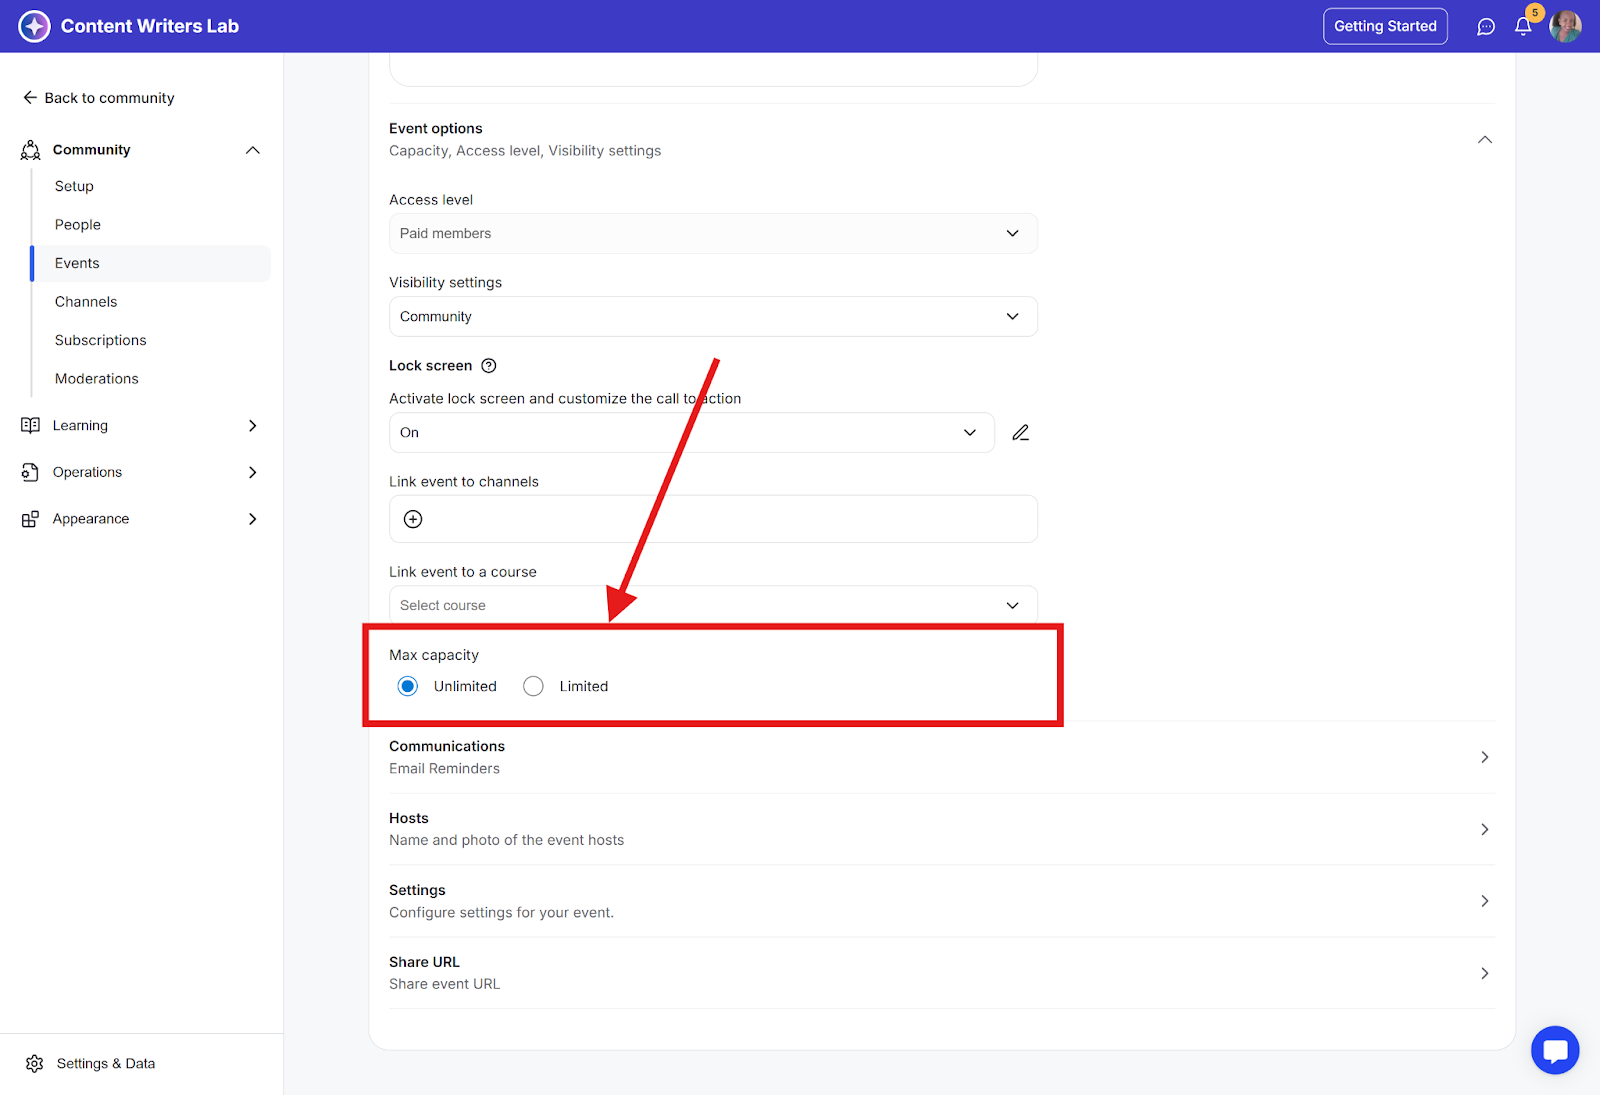
Step 8: Configure the event capacity.
Step 9: Communications: Customize the confirmation email and reminders.
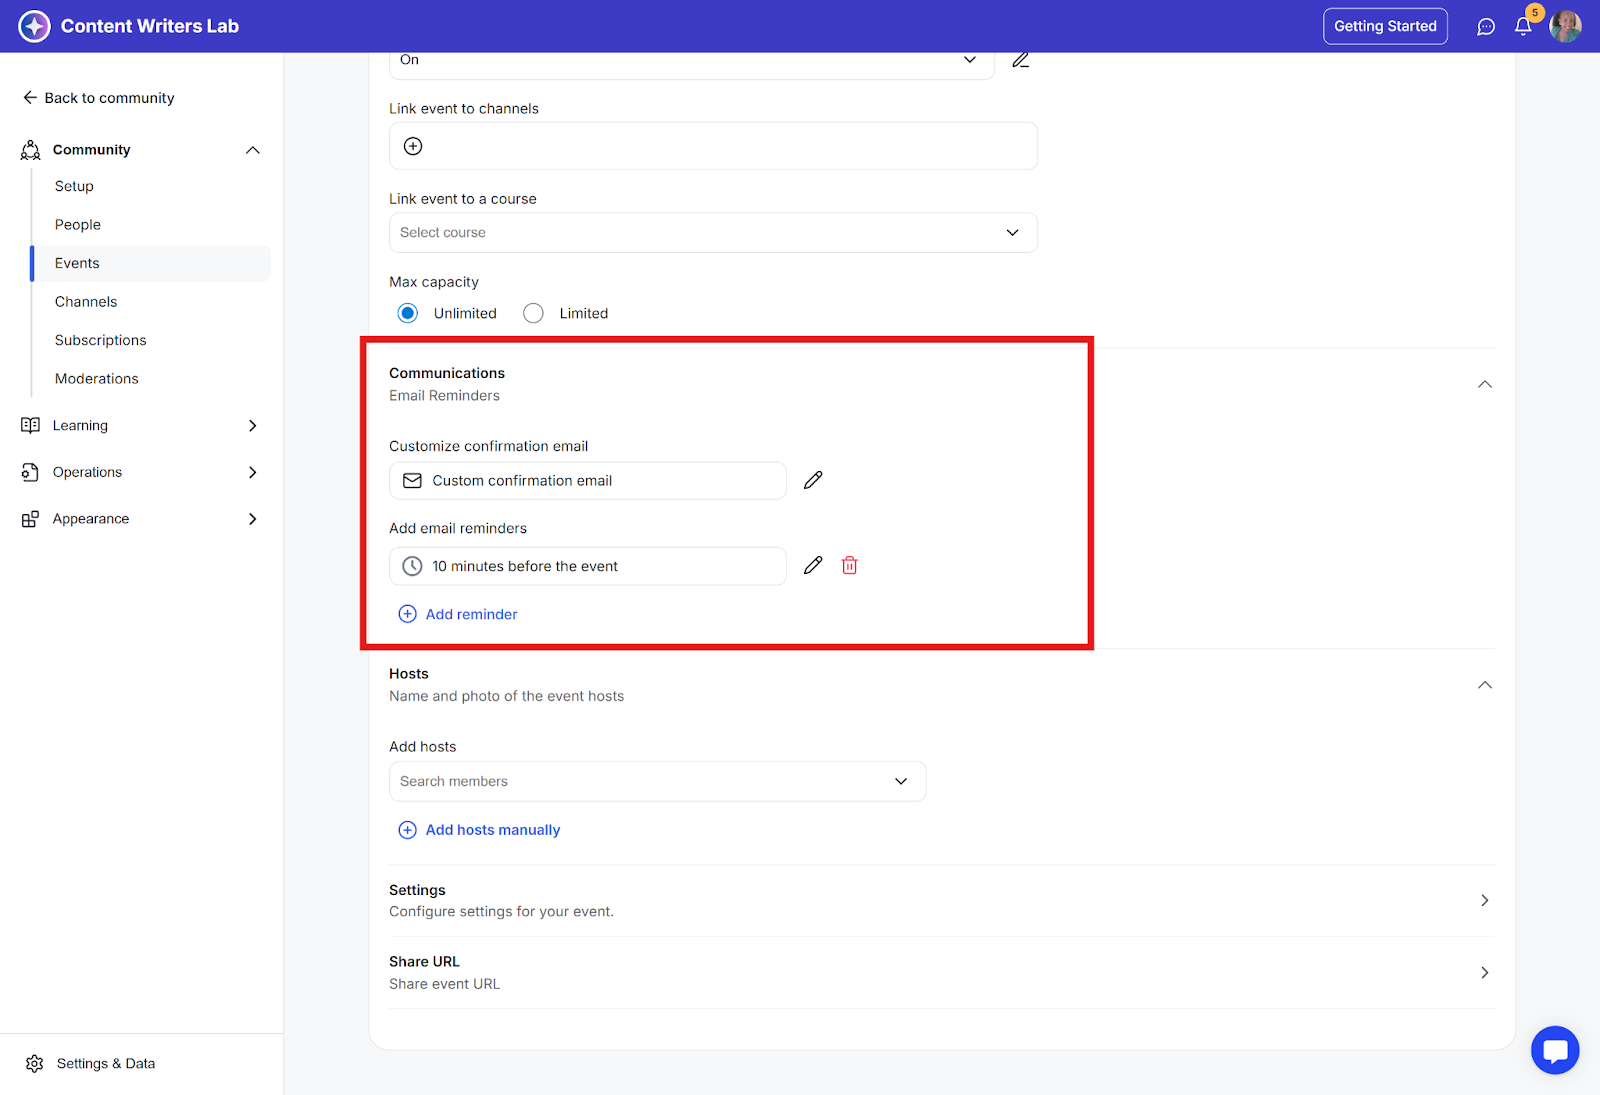
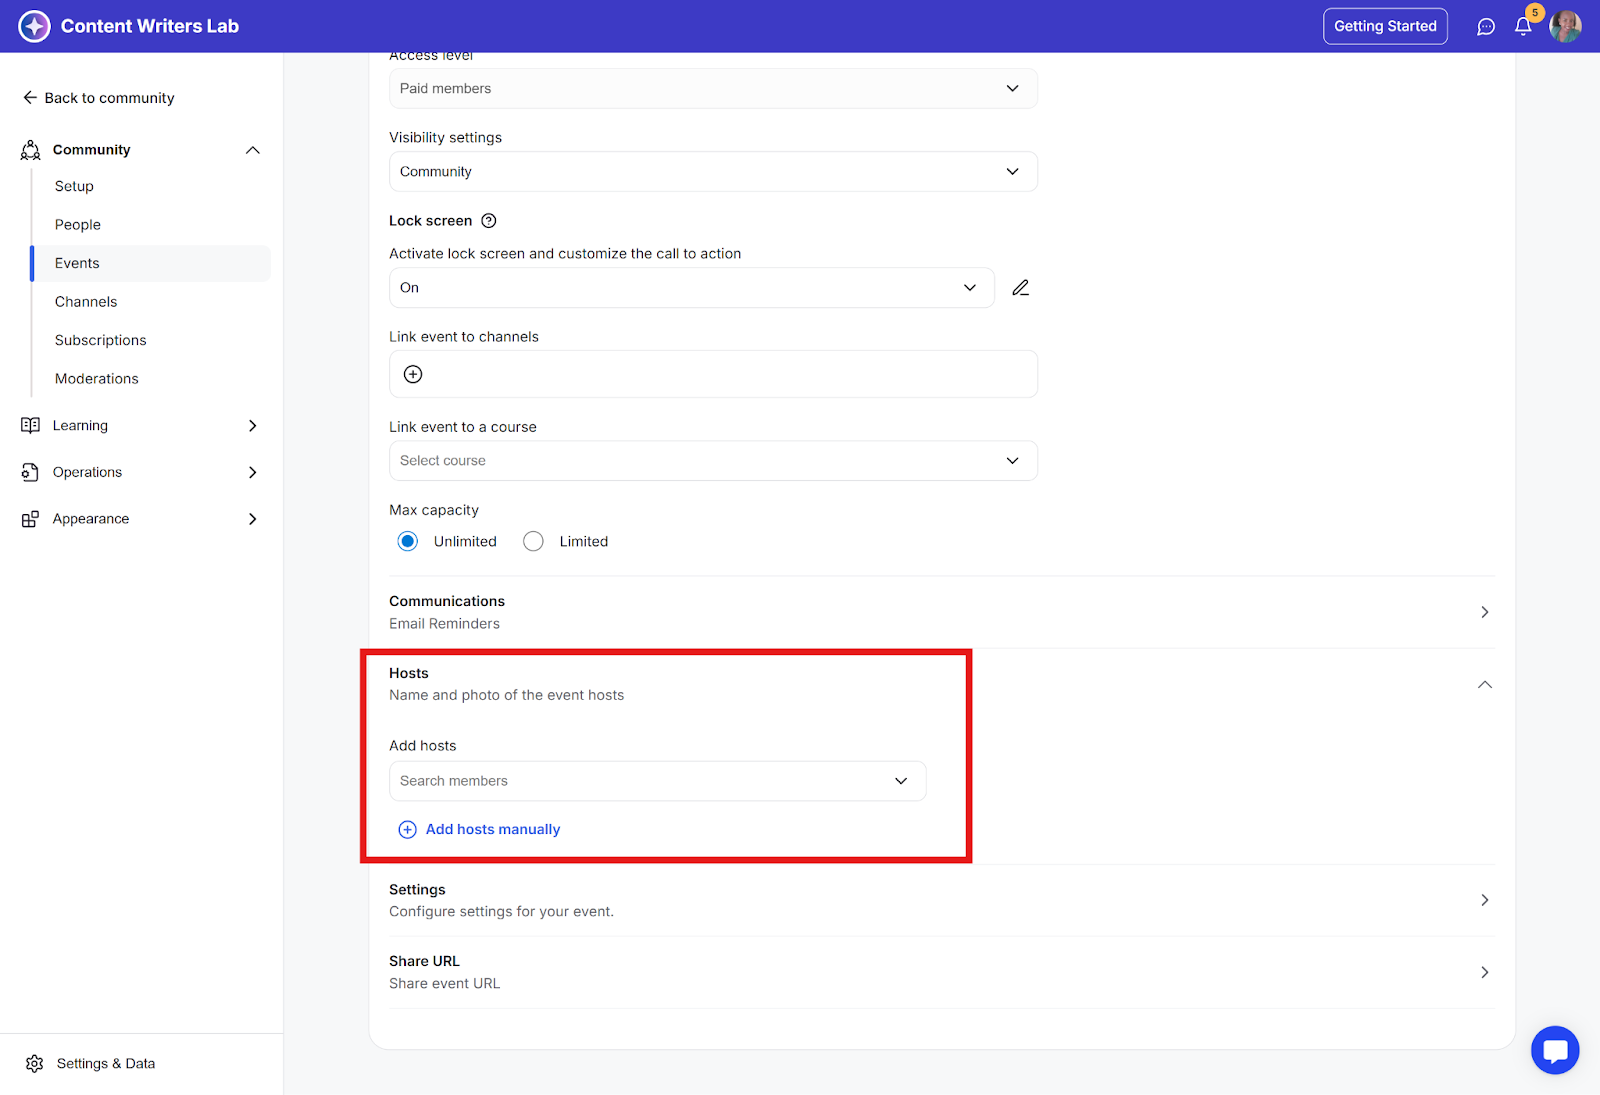
Step 10: Add event hosts: You can select the hosts from the community members list or add them manually by uploading their photos and names.
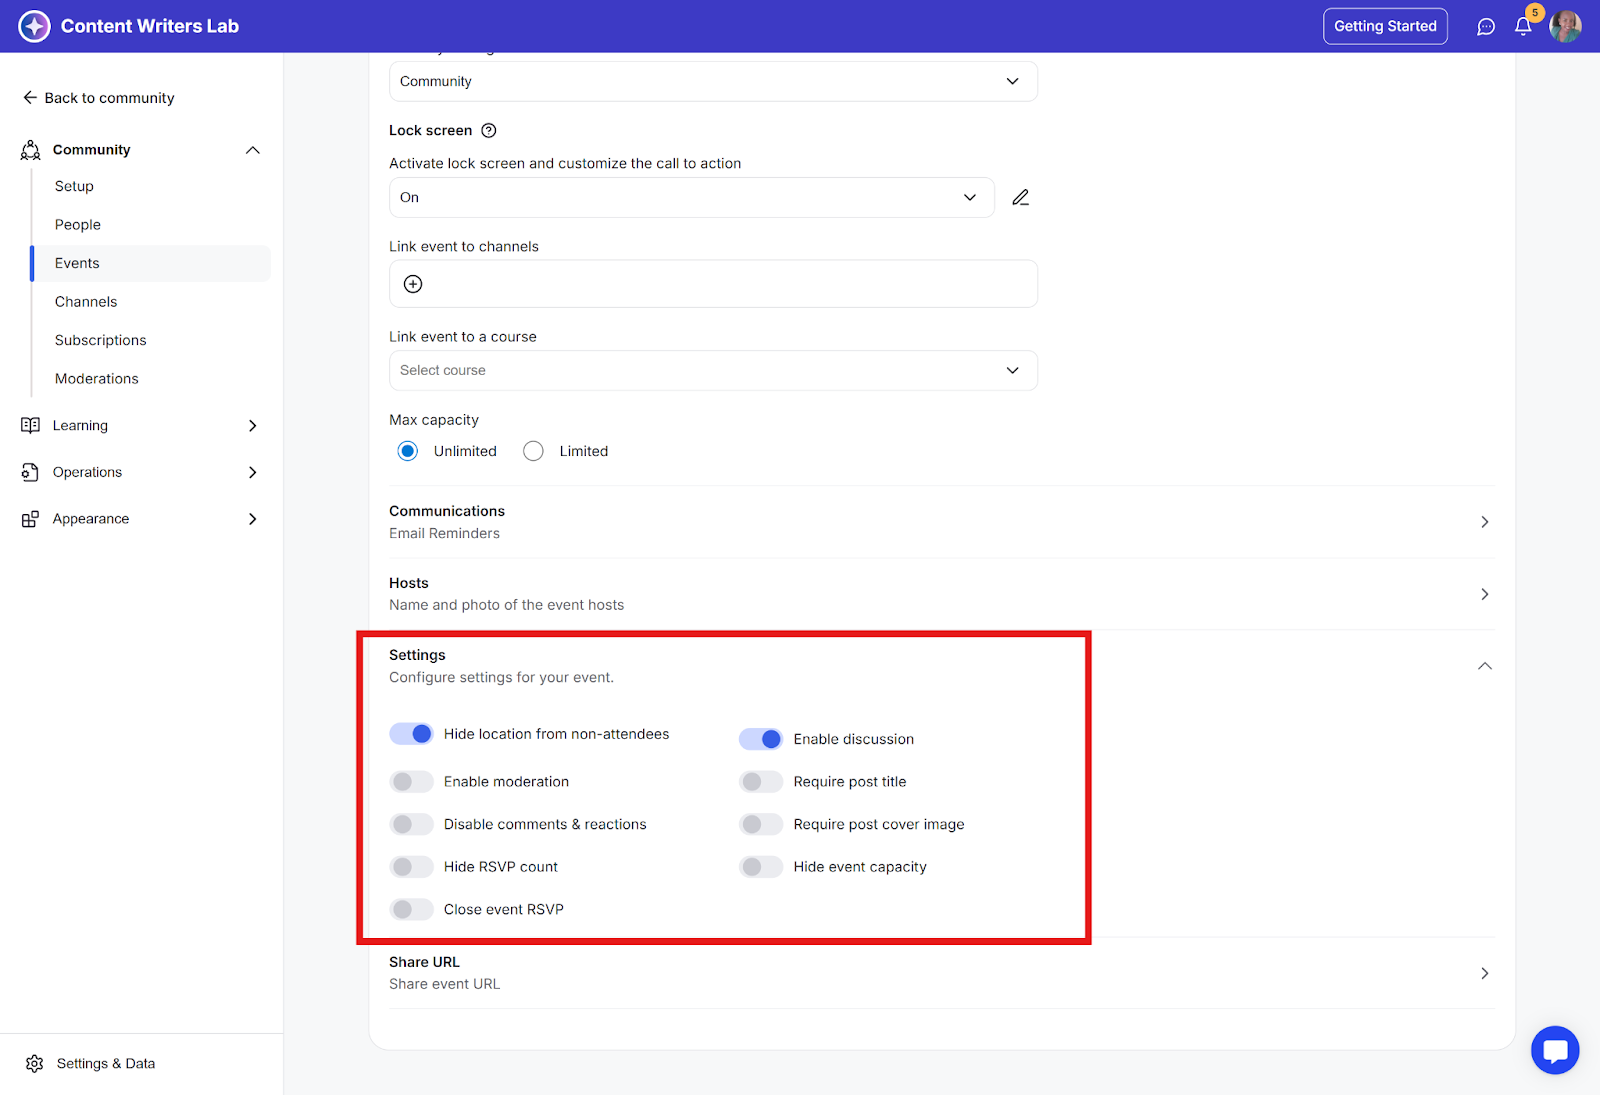
Step 11: Configure additional settings.
Step 12: Click the Save button and Publish to complete creating the event.