Visibility settings are a powerful way to control who can see your resources.
You can apply visibility settings to the following resources:
Courses
Library content
Events
Channels
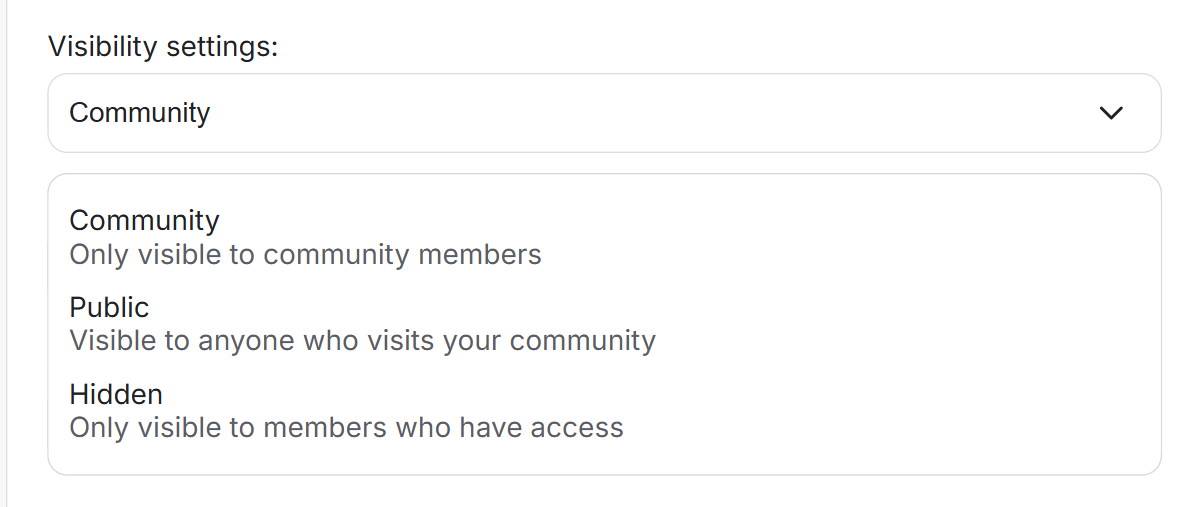
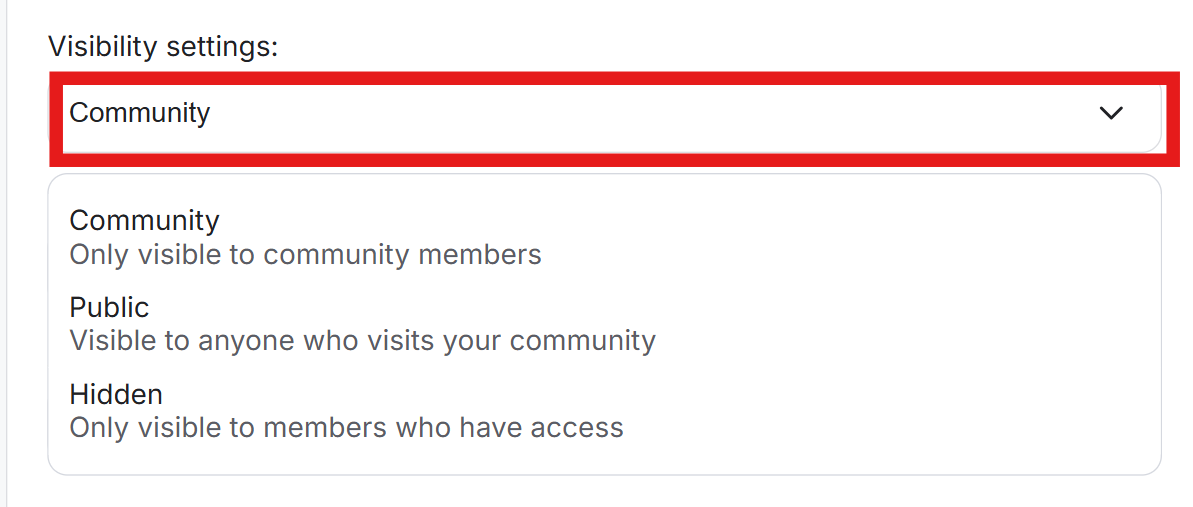
Resources will be visible only to community members.
Example scenario 1: To upsell membership plans
If the visibility setting is set to Community and the access level is set to Paid Members, this combination can be used to encourage members on a free plan to upgrade to a paid subscription.
The resource will be visible to all:
Not logged-in users
Community members
Non-community members
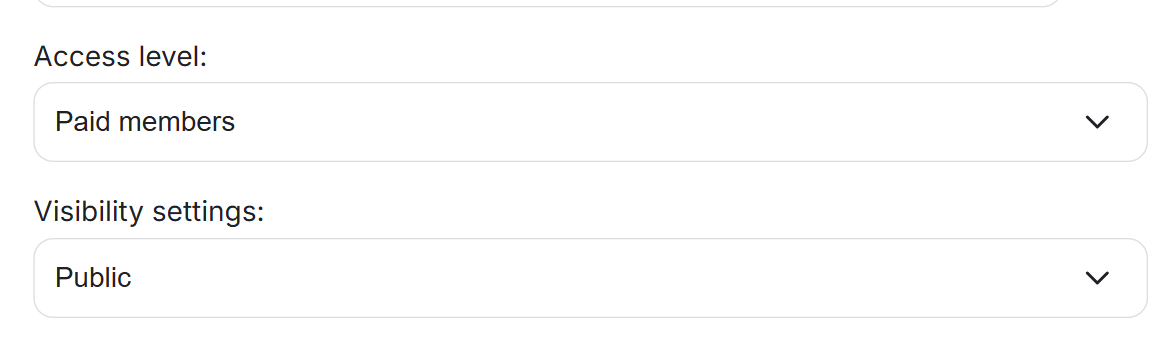
Example scenario 1: Attract community visitors to join your community
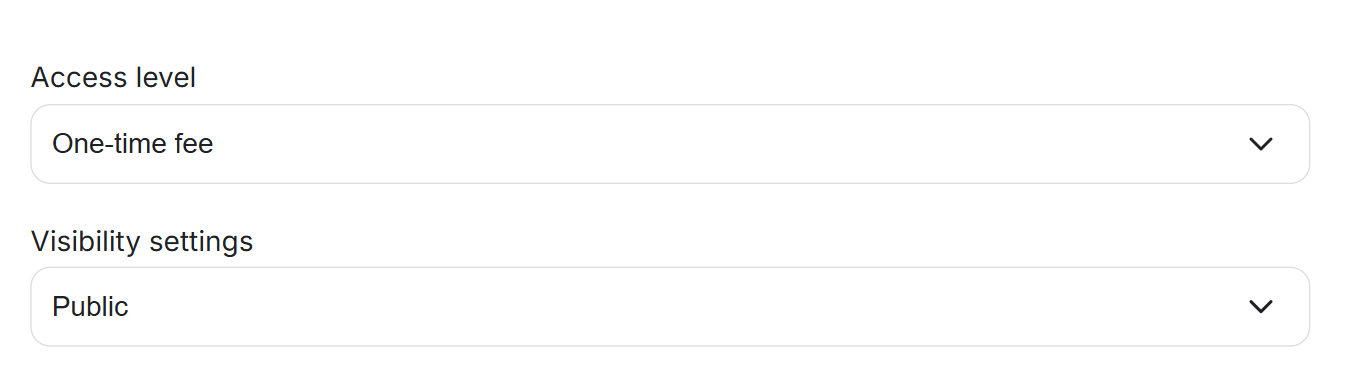
If the visibility is set to 'Public' and the access level is set as 'Paid members', this combination can be used to attract your community visitors to join your community to access community resources.
Example scenario 2: Enable non-community members to buy the resource for access
If the visibility setting is set to Public and the access level is set to ‘One-Time Fee’, this combination allows non-community members to access your resources without joining the community.
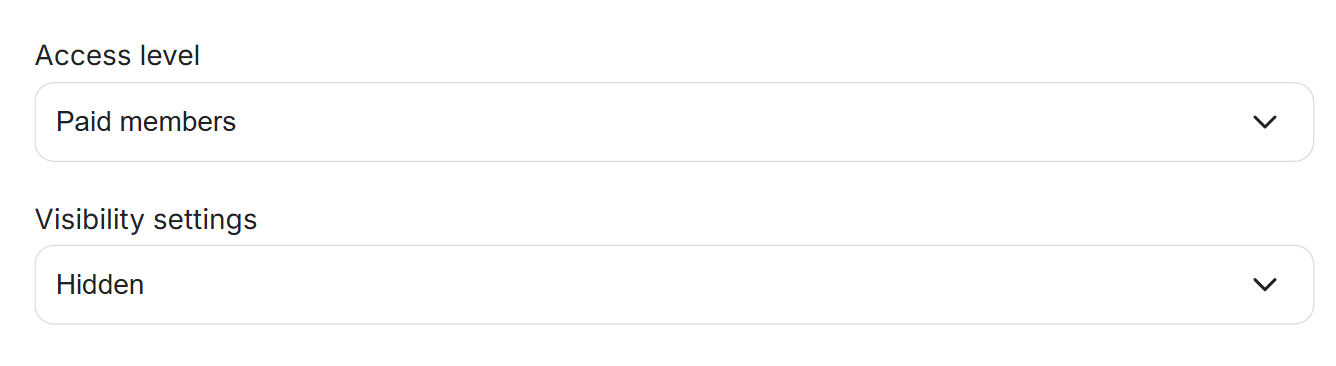
The resource will only be visible to those who have access.
This can be used together with the following access level:
Paid members: The resource will be visible only to paid members.
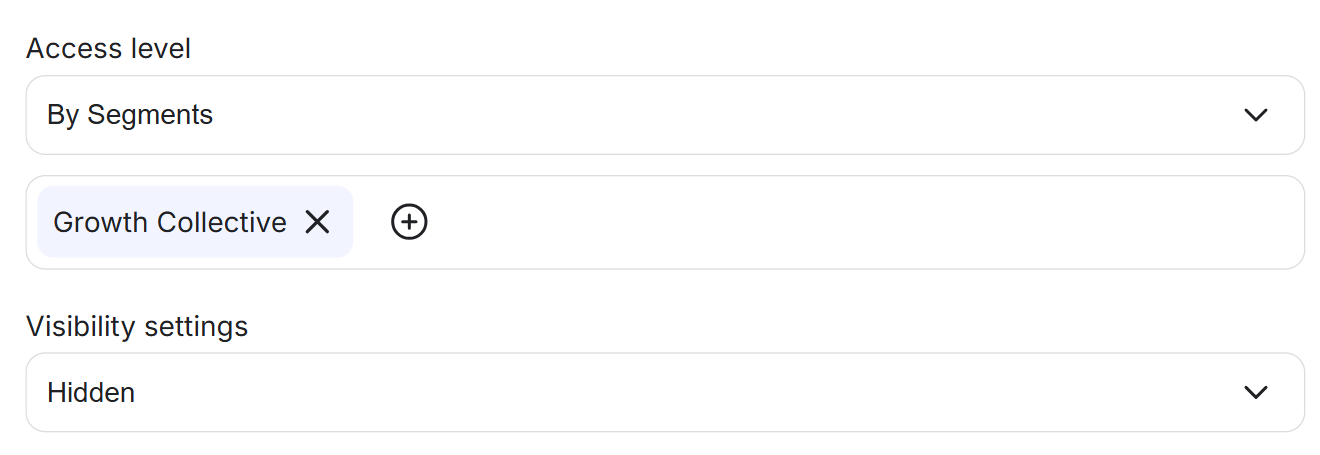
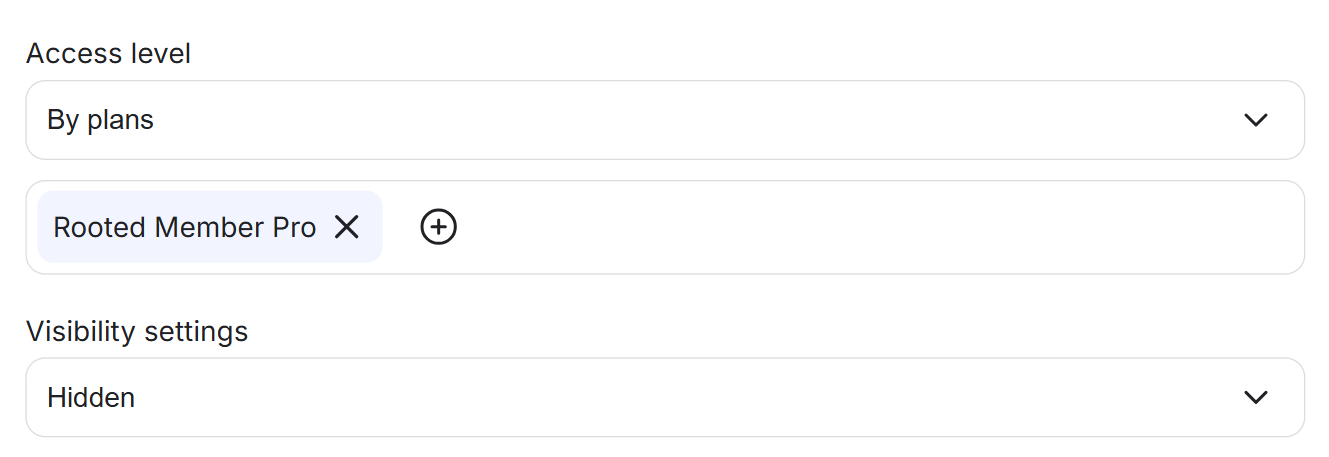
By plans: Resources will be visible only for members under the specific plan/s selected for these resources.
By segments: The resource will be visible only for members under the specific segment/s selected for this resource.