Segments act as custom access groups that let you organize members and control what they can access inside your community.
You can use Segments to manage access to specific channels, courses, Content Library items, and events. This is especially useful for cohort-based programs, coaching groups, or tiered access setups. Segments are currently available on the Scale and Organization plans.
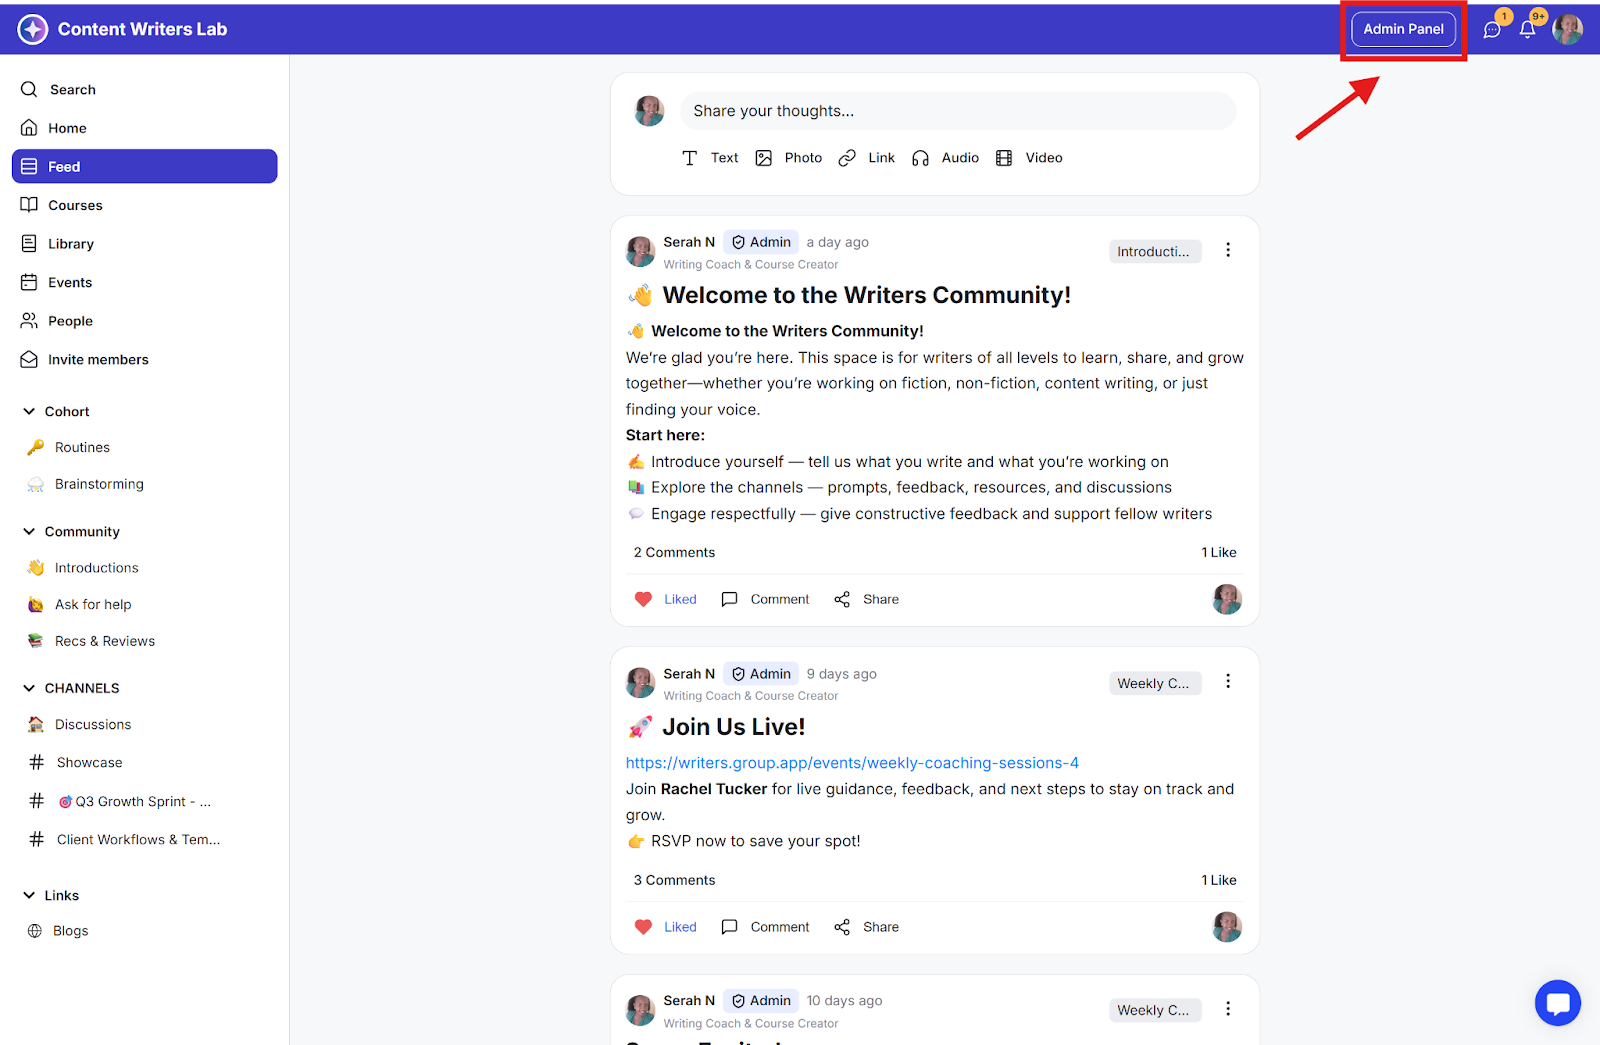
Step 1: Click on the Admin Panel button.
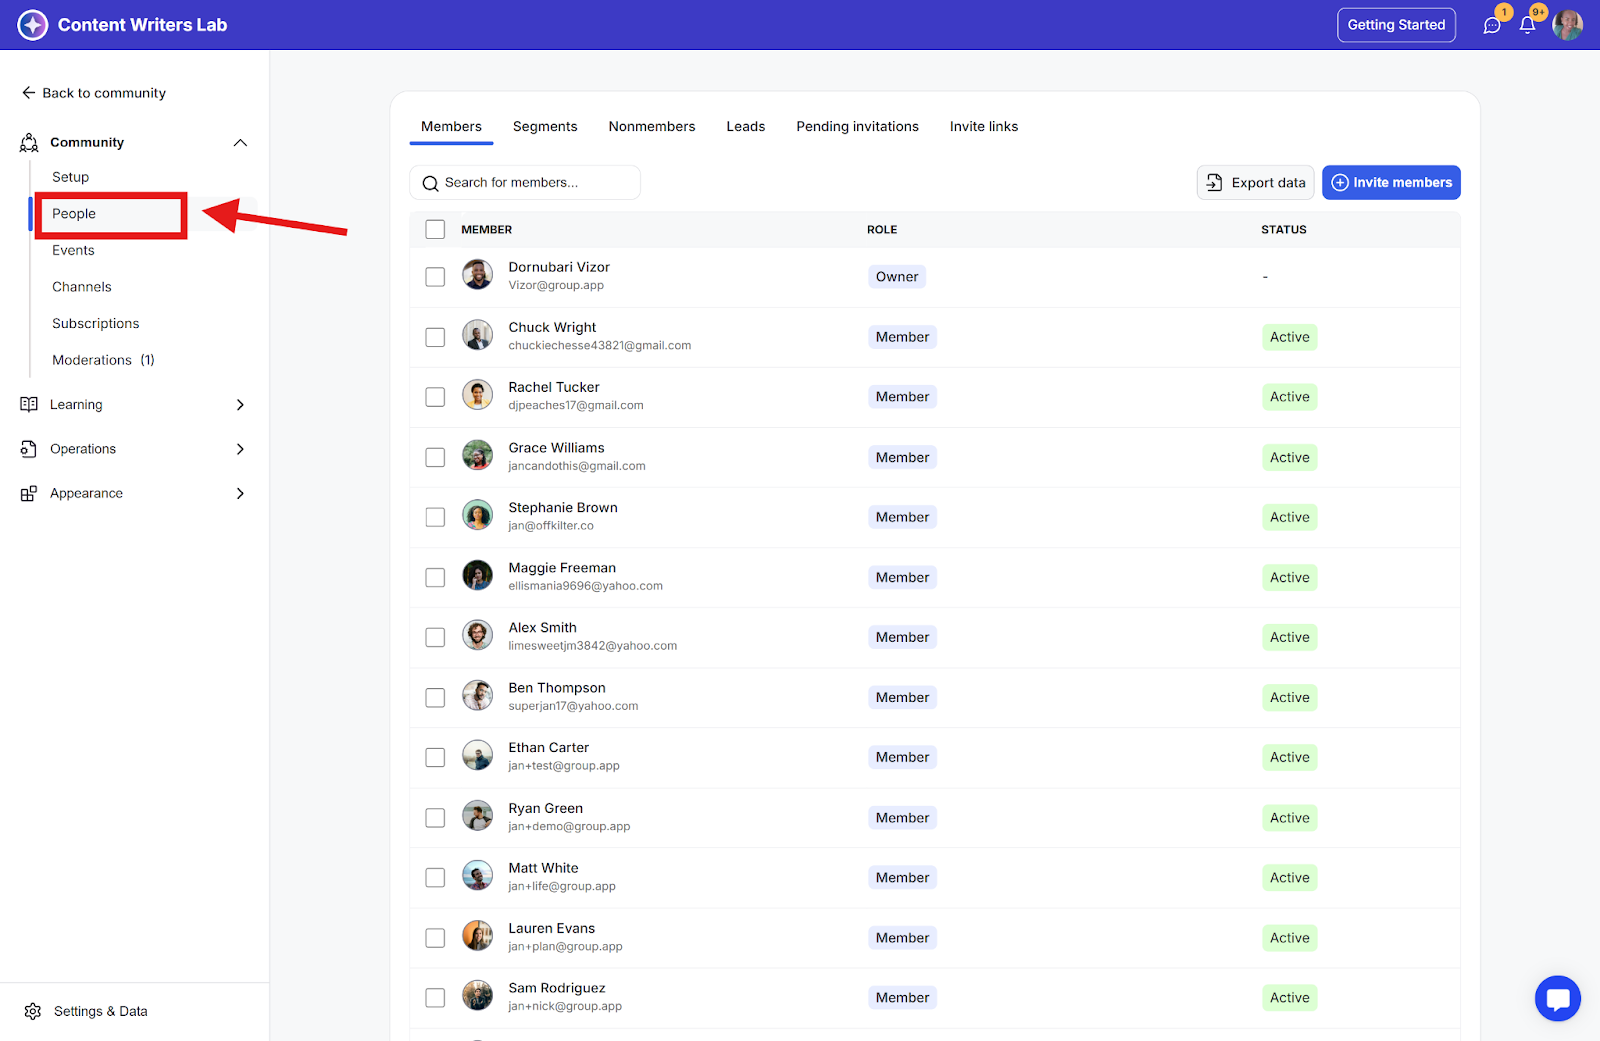
Step 2: Click on People in the side menu.
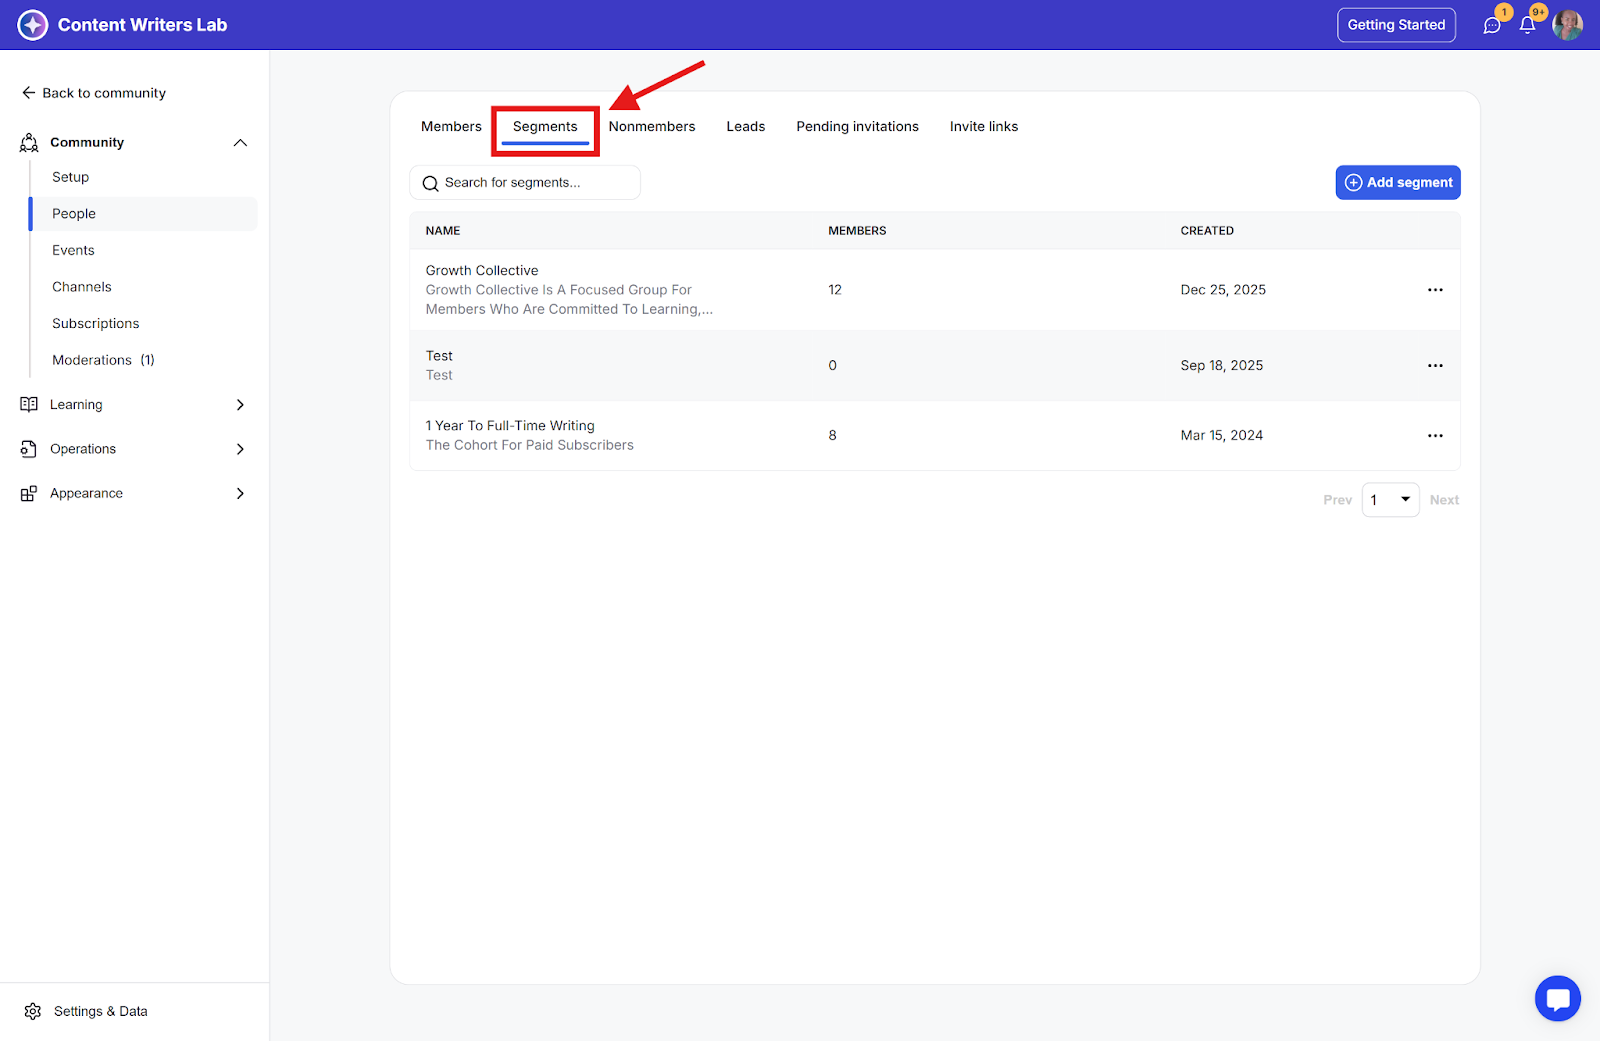
Step 3: Go to the Segments tab.
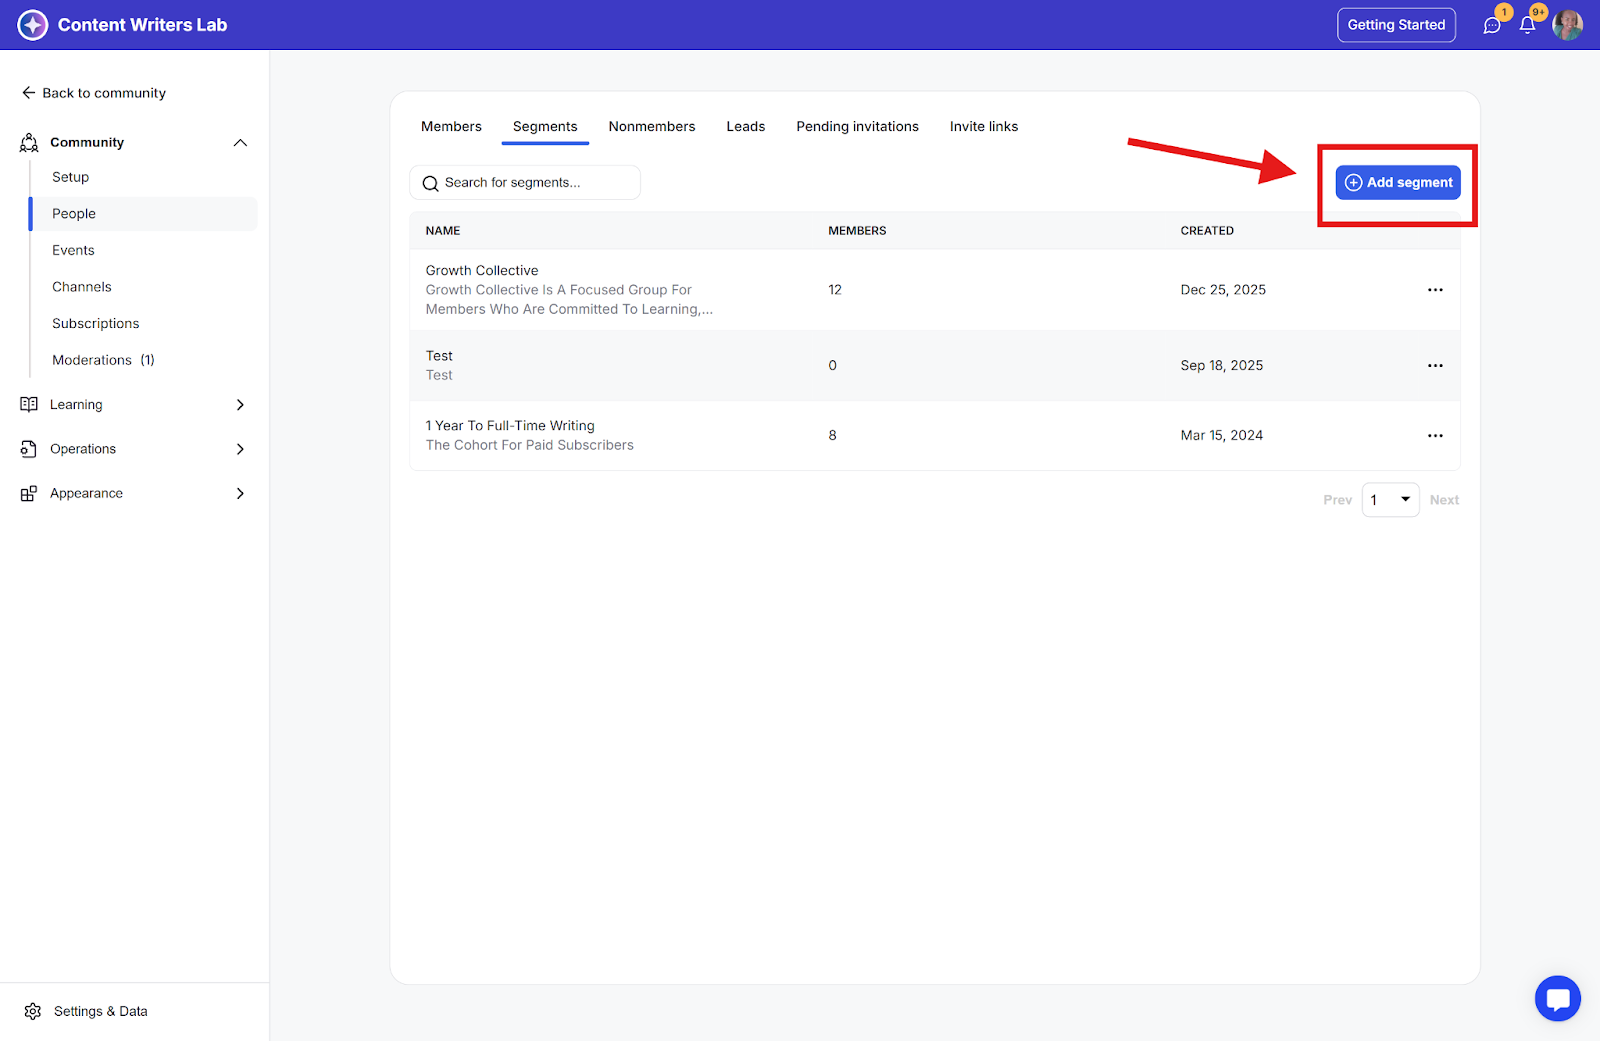
Step 4: Click the Add Segment button.
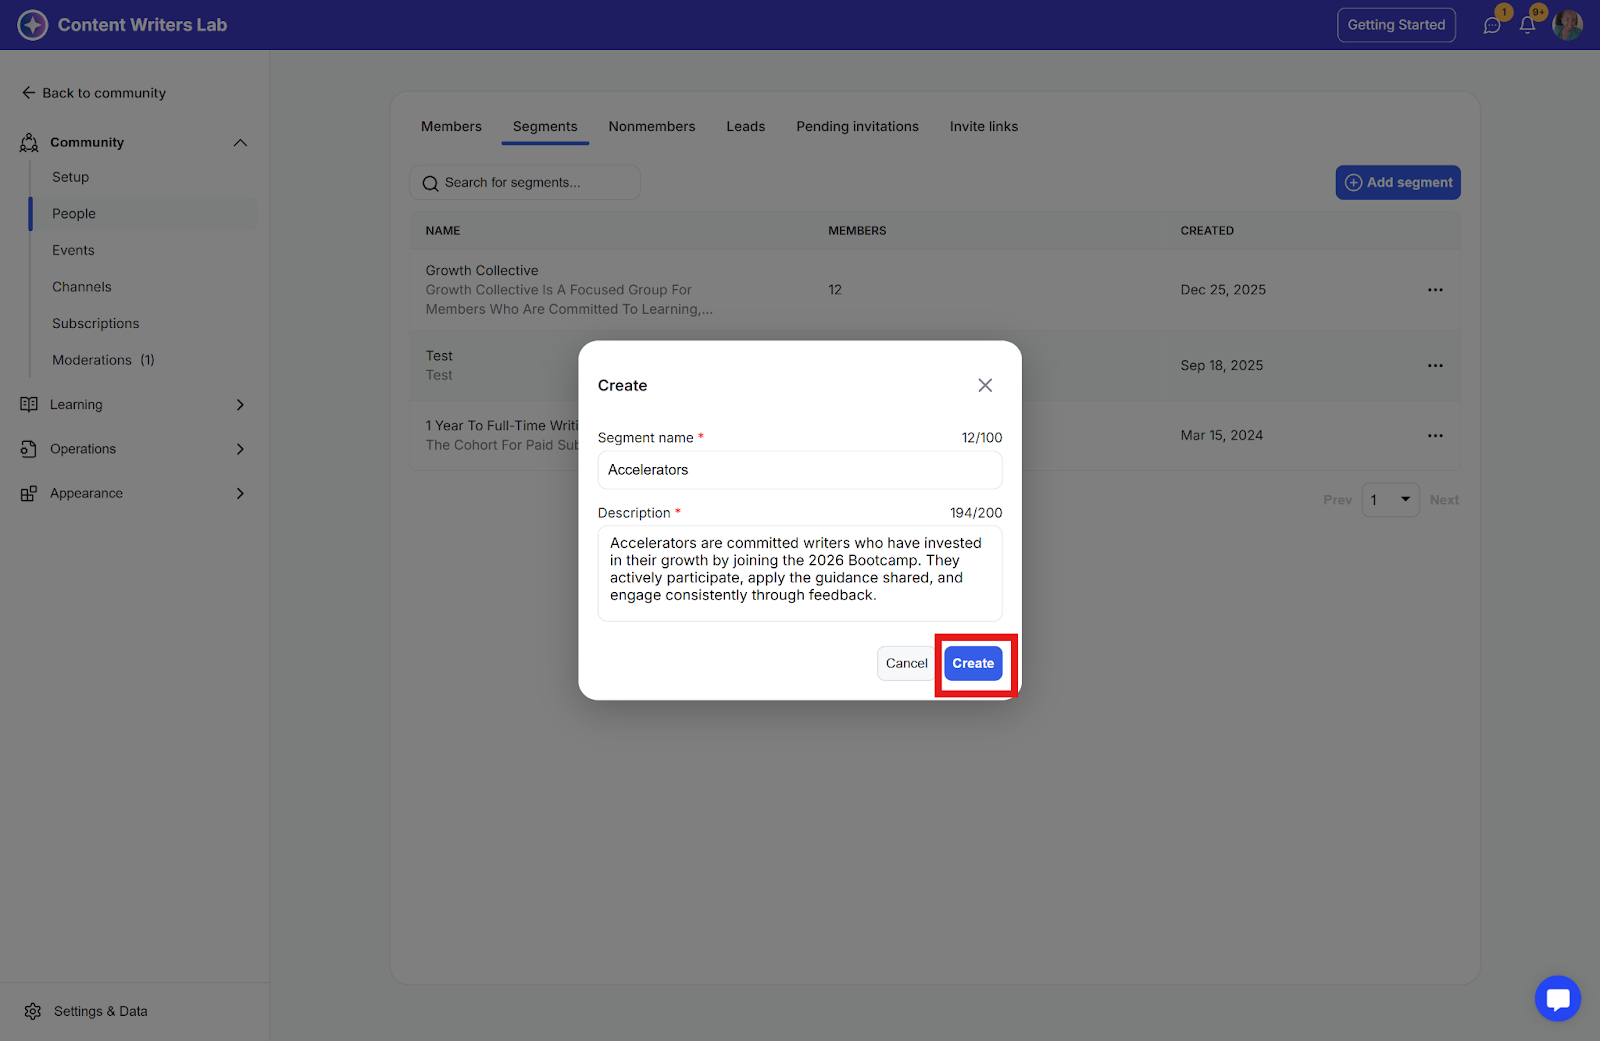
Step 5: Enter the Segment name and Description, and click the Create button.
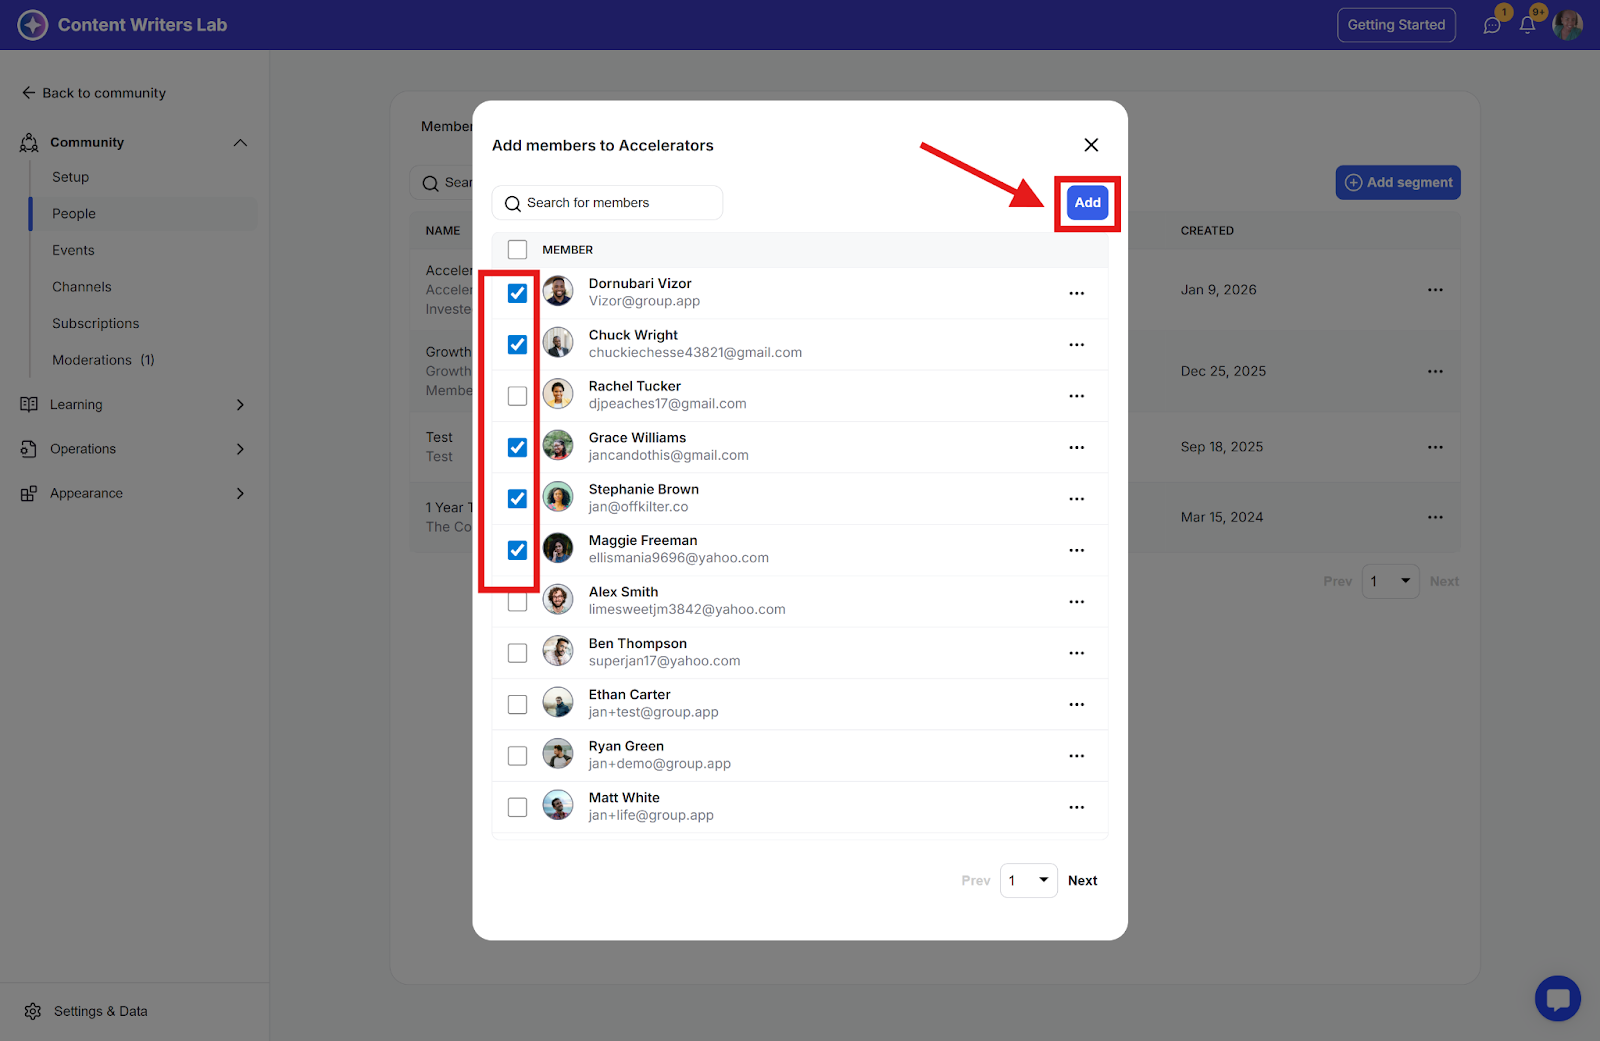
Step 1: Click the three-dot icon of the segment you want to add members to, and select Add Members from the options.

Step 2: Search for or tick the checkbox of the members you want to add, and click the Add button.
You can do this automatically by turning on Add Subscriber to Segments in the Edit Subscription Settings section and selecting the segment(s) you want for the subscription plan.

Control member access to your resources by grouping them into segments. The following resources support segment-based access:
Channels
Courses
Library content
Events
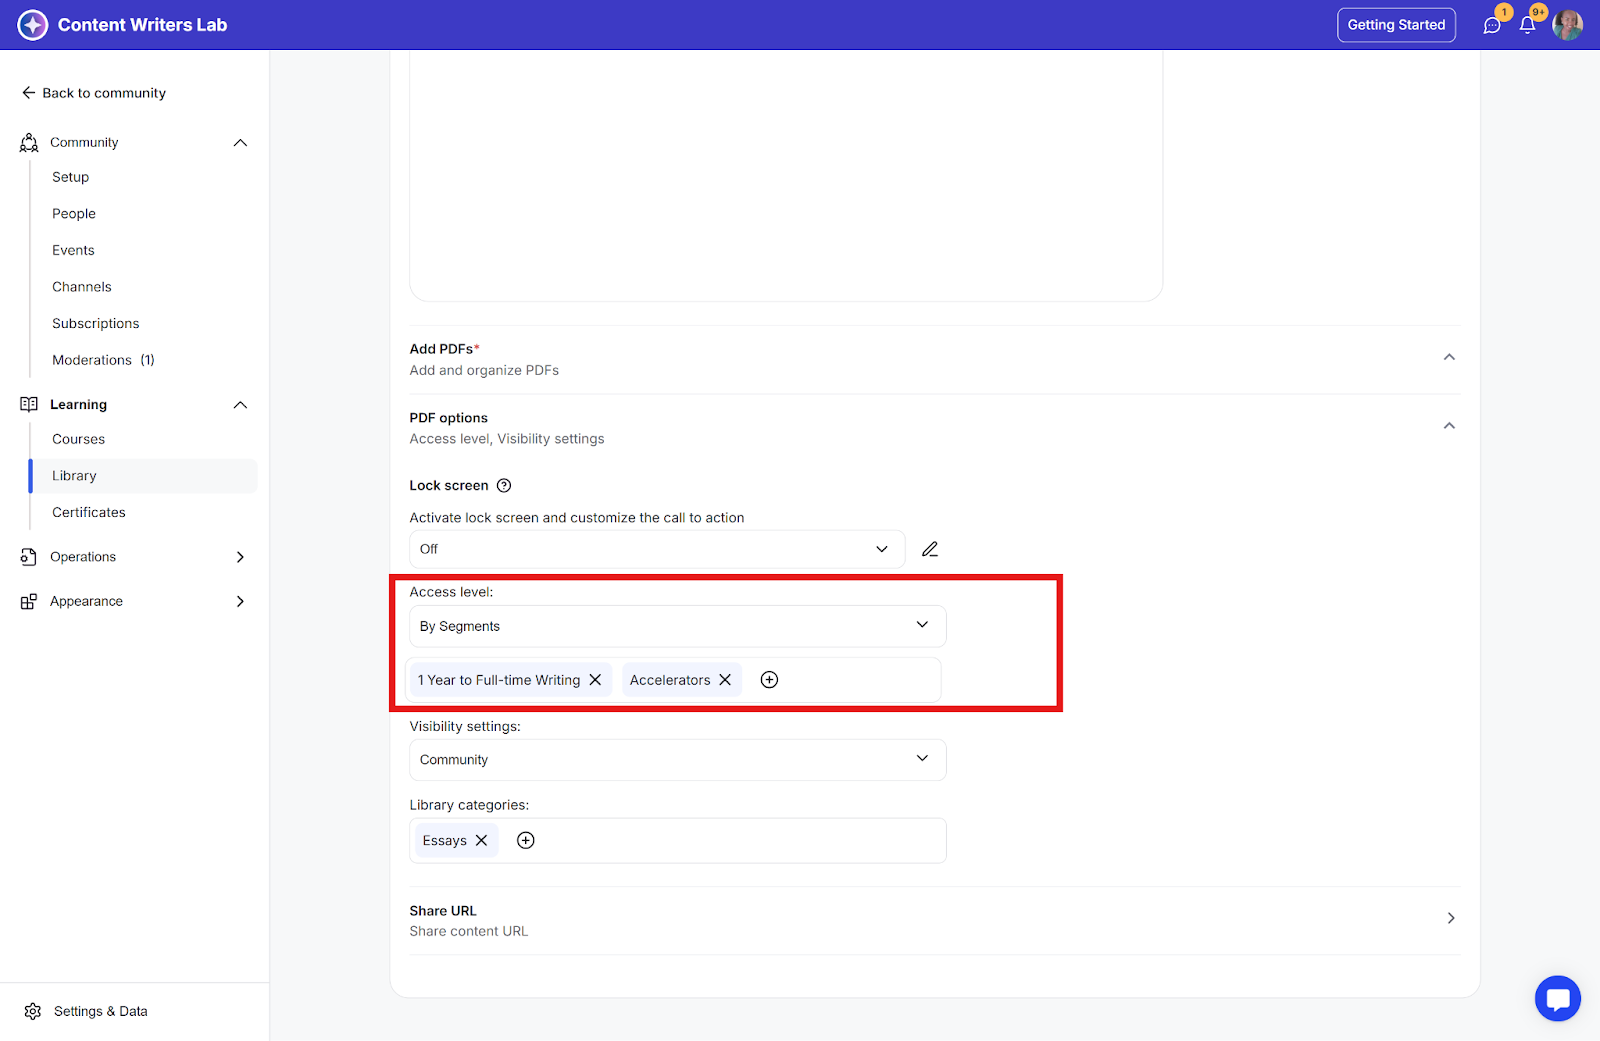
To apply this, edit the settings of the specific resource, go to the Access Level section, select the By Segments option, then search for and select the relevant segment or segments.
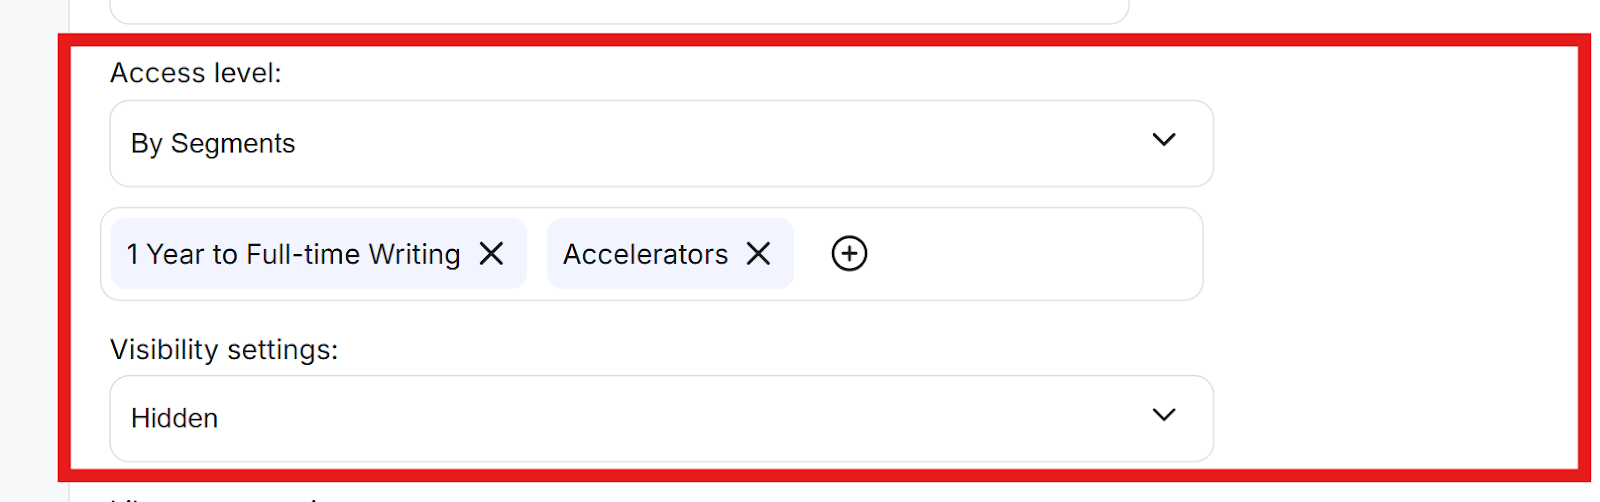
When a resource’s access level is set to By Segment, you can further restrict visibility by setting the Visibility setting to Hidden. In this case, only members who belong to the selected segment will be able to see the resource.
How to configure segments for resources
How to configure segments for channels
Learn How to configure segments for channels
