
You can create multiple communities under your GroupApp account. This is useful if you're running separate businesses, creating a new chapter for your organization/association, or managing different brands or programs independently.
Note: A separate subscription is required for every community you create.
Steps
1) Go to https://my.group.app. This is your GroupApp account home, where you can access and launch all the communities you own or are a member of, as well as create new communities.
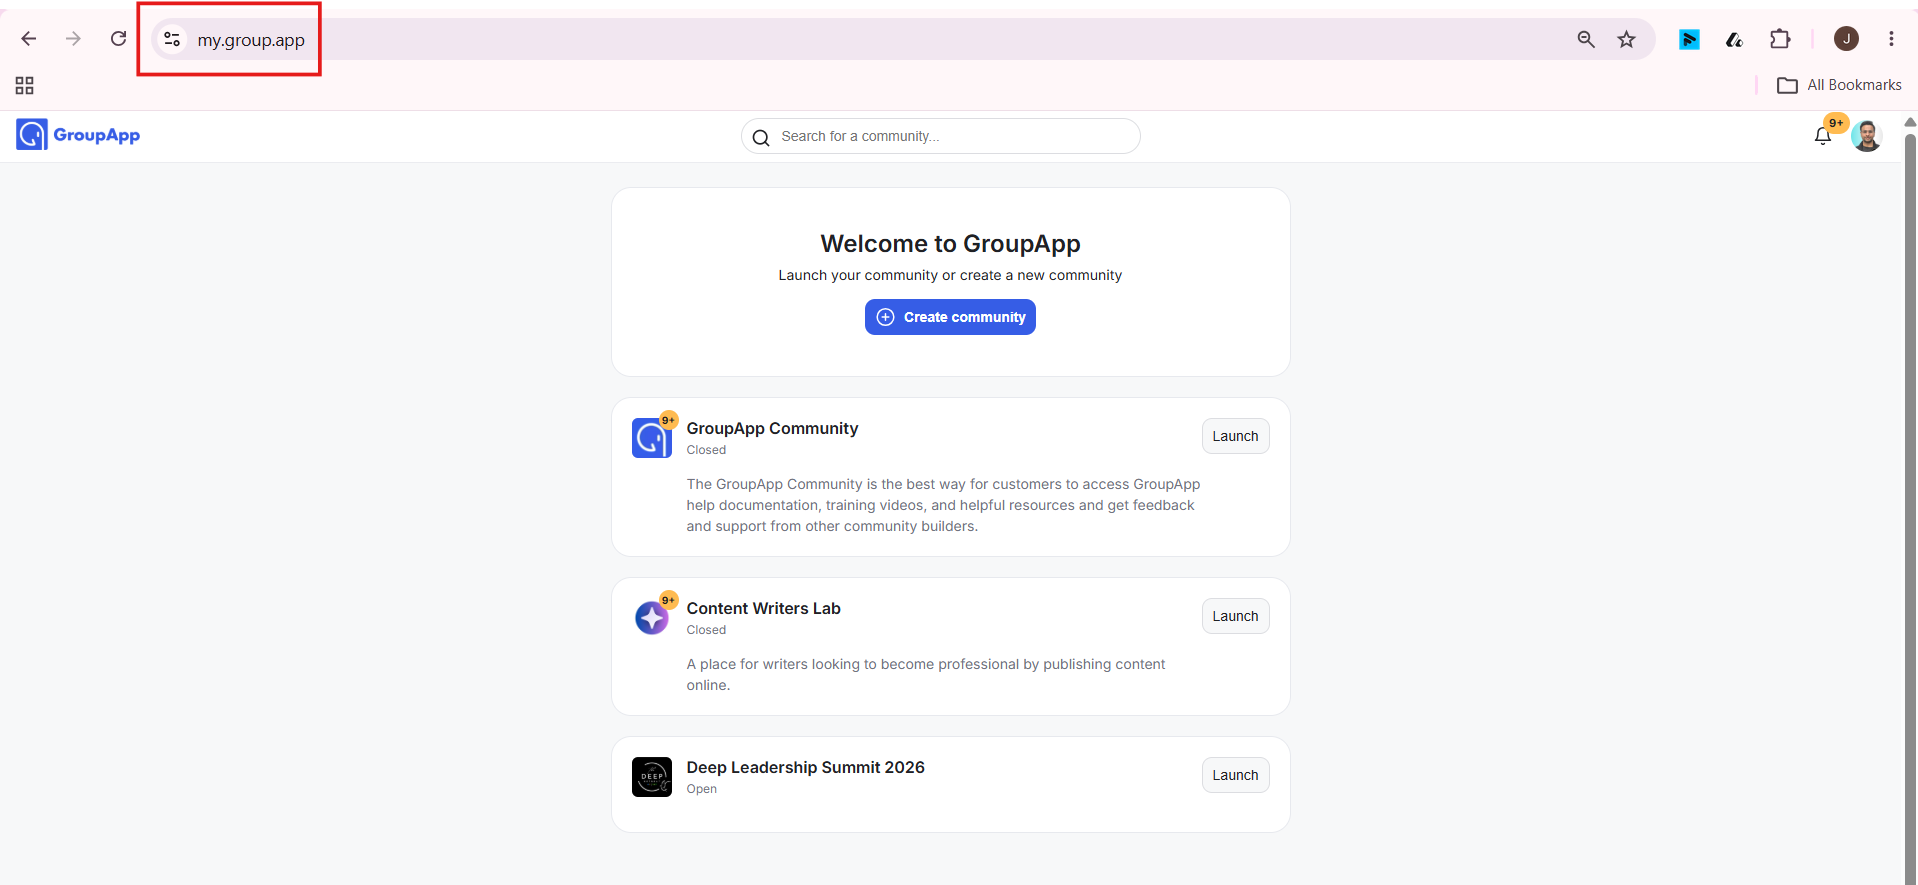
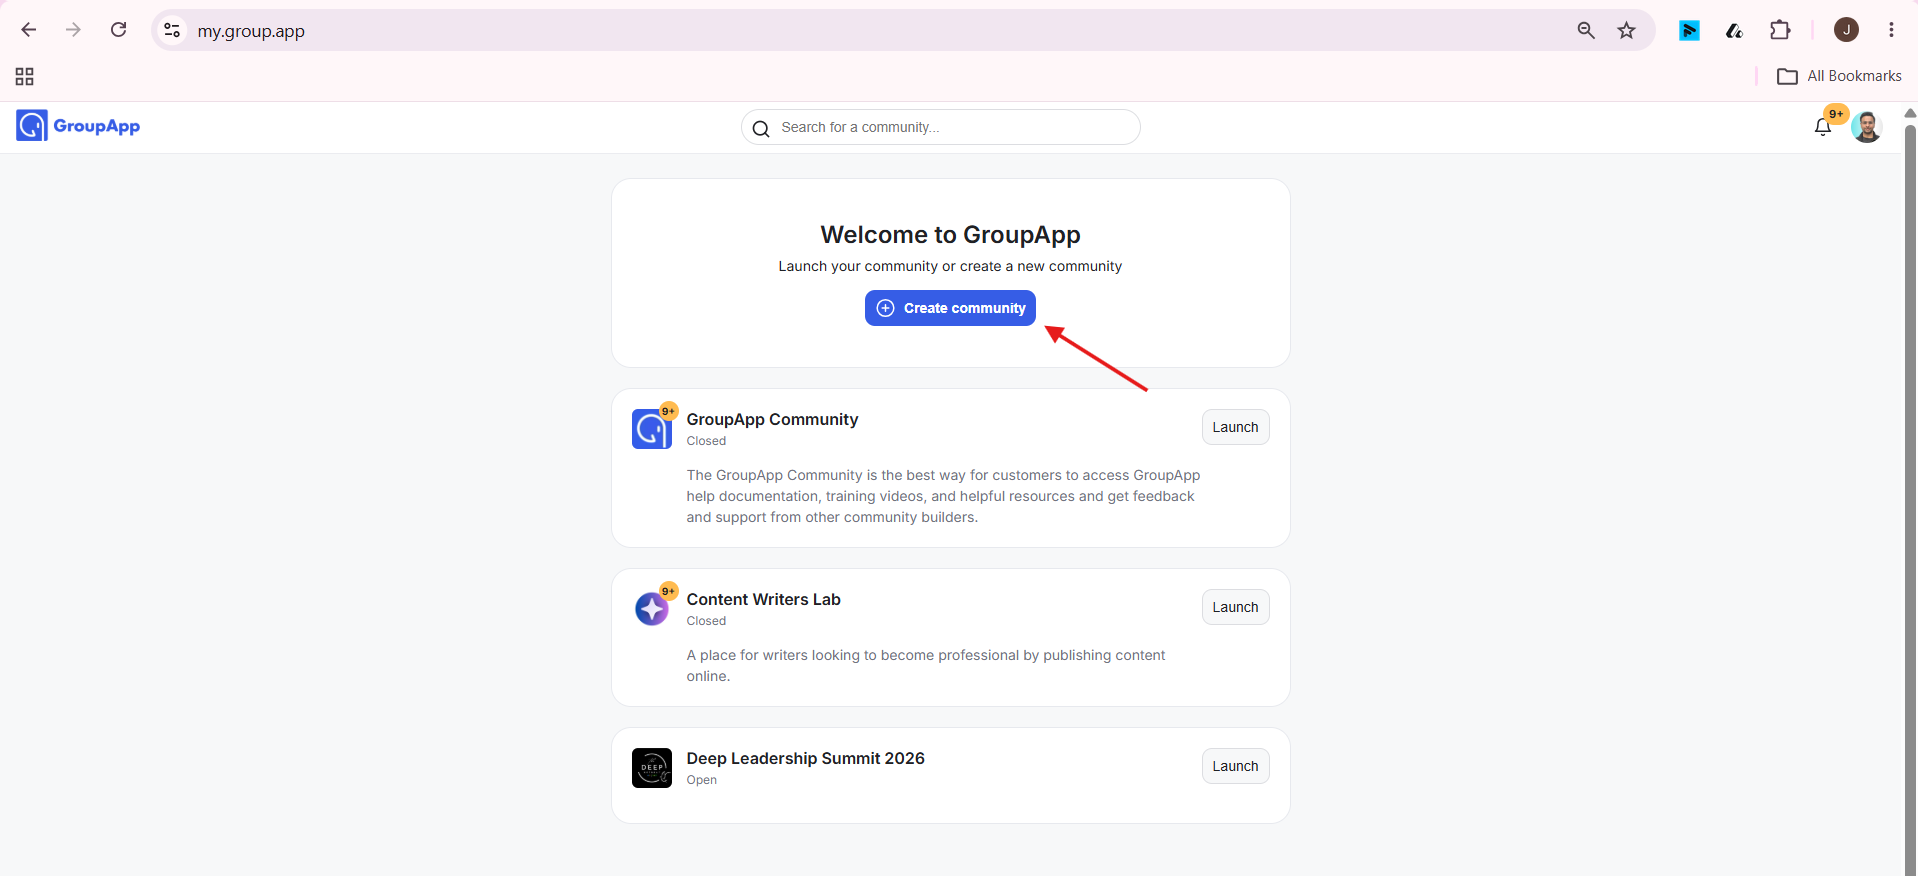
2) Click + Create Community.
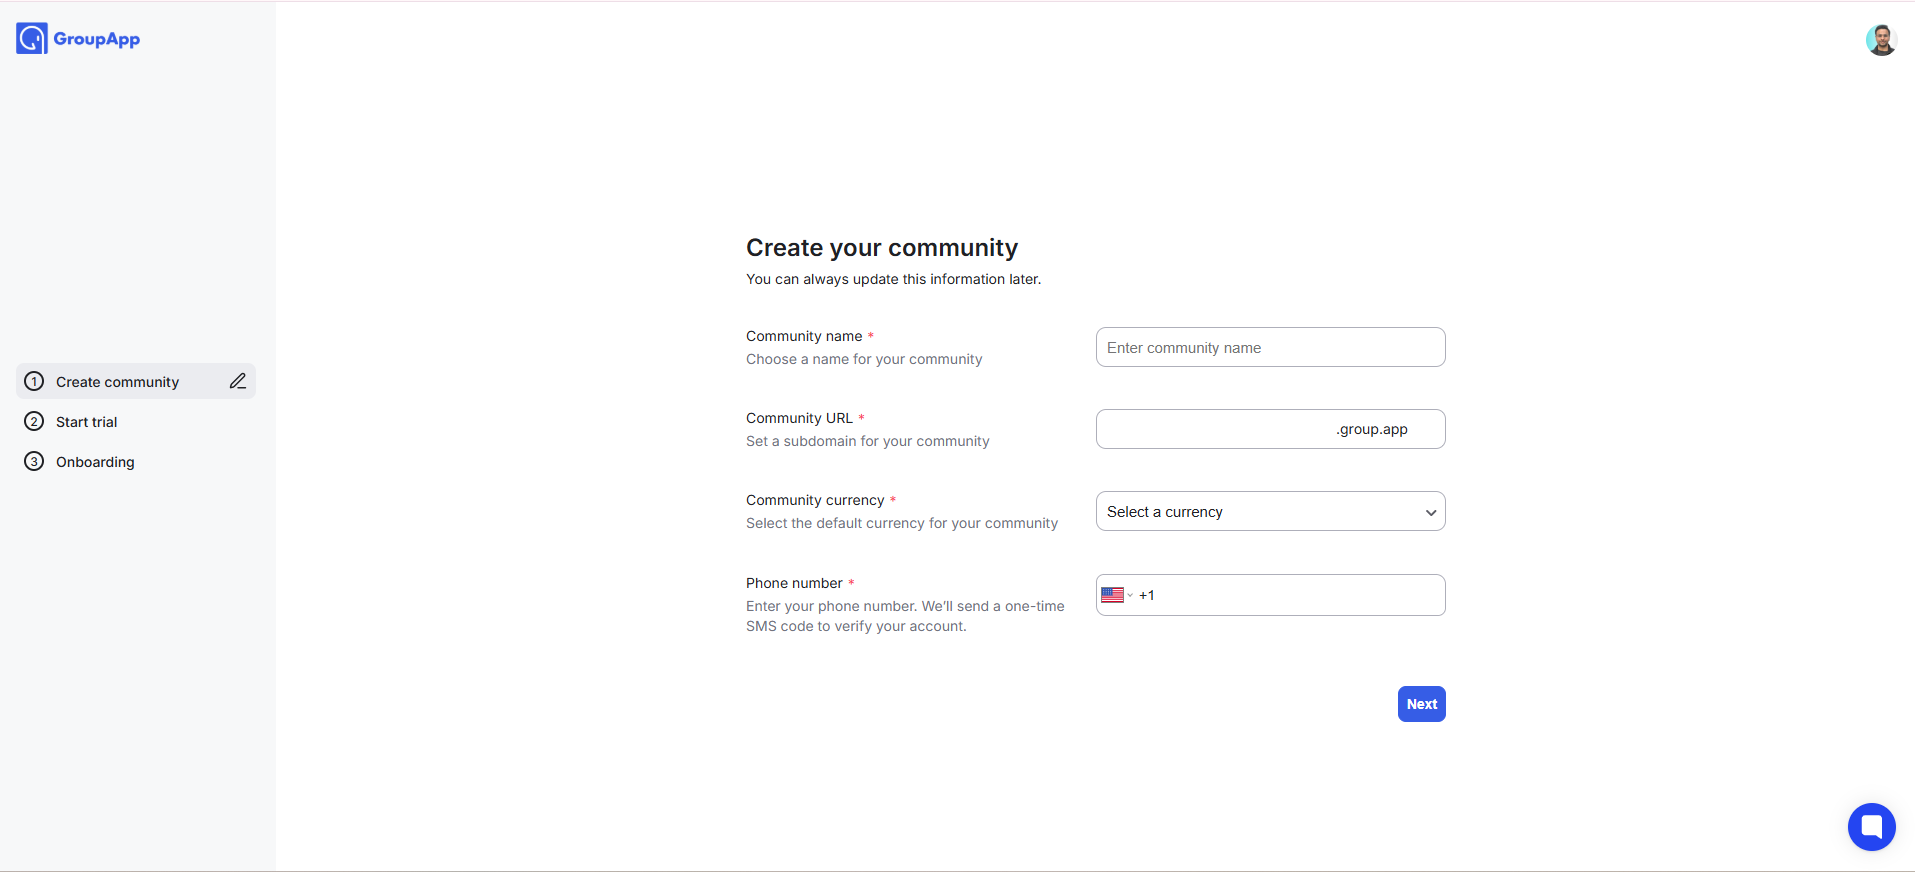
3) Enter your new community's details, including the community name, community URL (subdomain), currency, and phone number. You'll also verify your phone number using a text message verification code. Click Next.
4) Choose a subscription plan to start your free trial.
5) Complete the onboarding process.
Once onboarding is complete, your new community will be created and ready to use.
Switching Between Communities
If you own or are a member of more than one community, you can switch between them at any time from your GroupApp account home with a single click using the Community Switcher.
Learn more here:
How to Enable or Disable Community Switcher
Learn how to enable or disable the community switcher