Connect your community with Mailchimp to automate email marketing based on member activity. When members take actions such as joining, completing a course, or RSVPing for an event, their subscriber data in Mailchimp updates automatically, ensuring your audience stays accurately segmented without manual effort.
The following Mailchimp actions can be triggered through workflows within your community:

Add or Update Subscriber: Automatically adds new community members to your Mailchimp email list or updates existing subscriber profiles with the most current information.
Add Tag to Subscriber: Applies specific tags to subscribers based on their actions or status within your community, such as “Course Completed: [Course Name]” or “Joined Discussion Group: [Group Name].” This supports precise audience segmentation.
Remove Tag from Subscriber: Removes tags when a member’s status or behavior changes, ensuring your audience segmentation remains accurate and up to date.
Remove Subscriber: Unsubscribes a member from your Mailchimp email list based on criteria defined within your community workflow.
Example Use Case
When a user completes a course in your community, a workflow adds a tag like "Course Completed: [Course Name]" in Mailchimp, which can trigger a follow-up email sequence or offer.
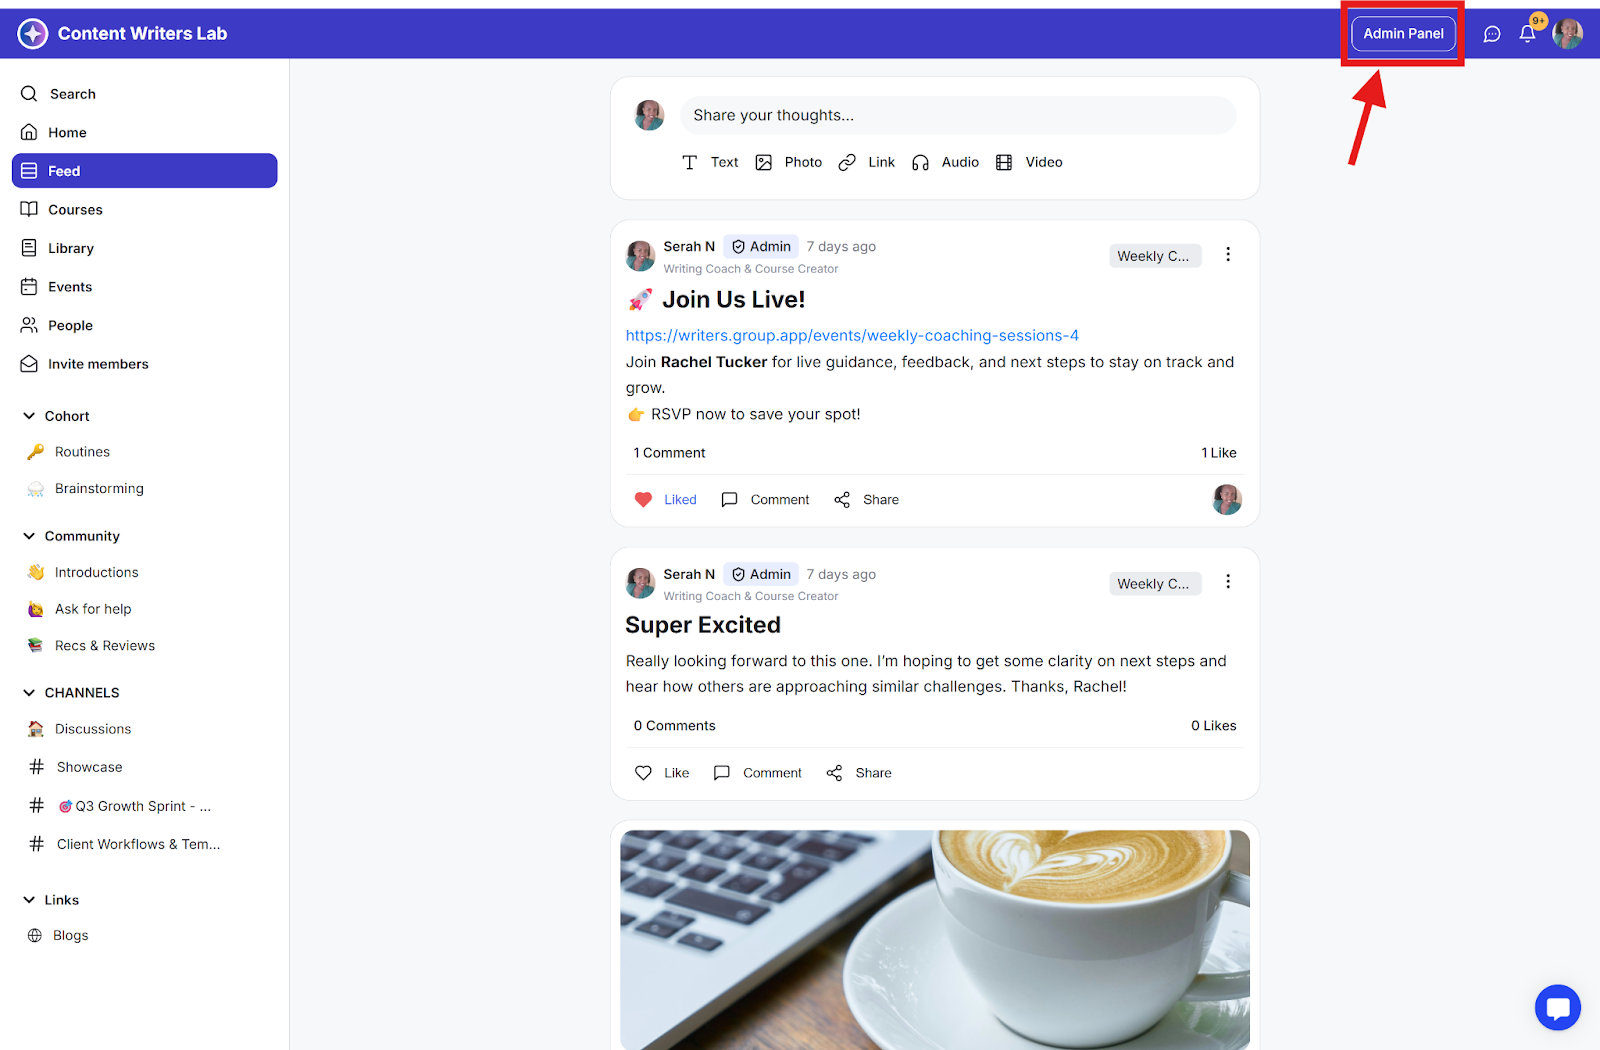
Step 1: Navigate to the Admin Panel.
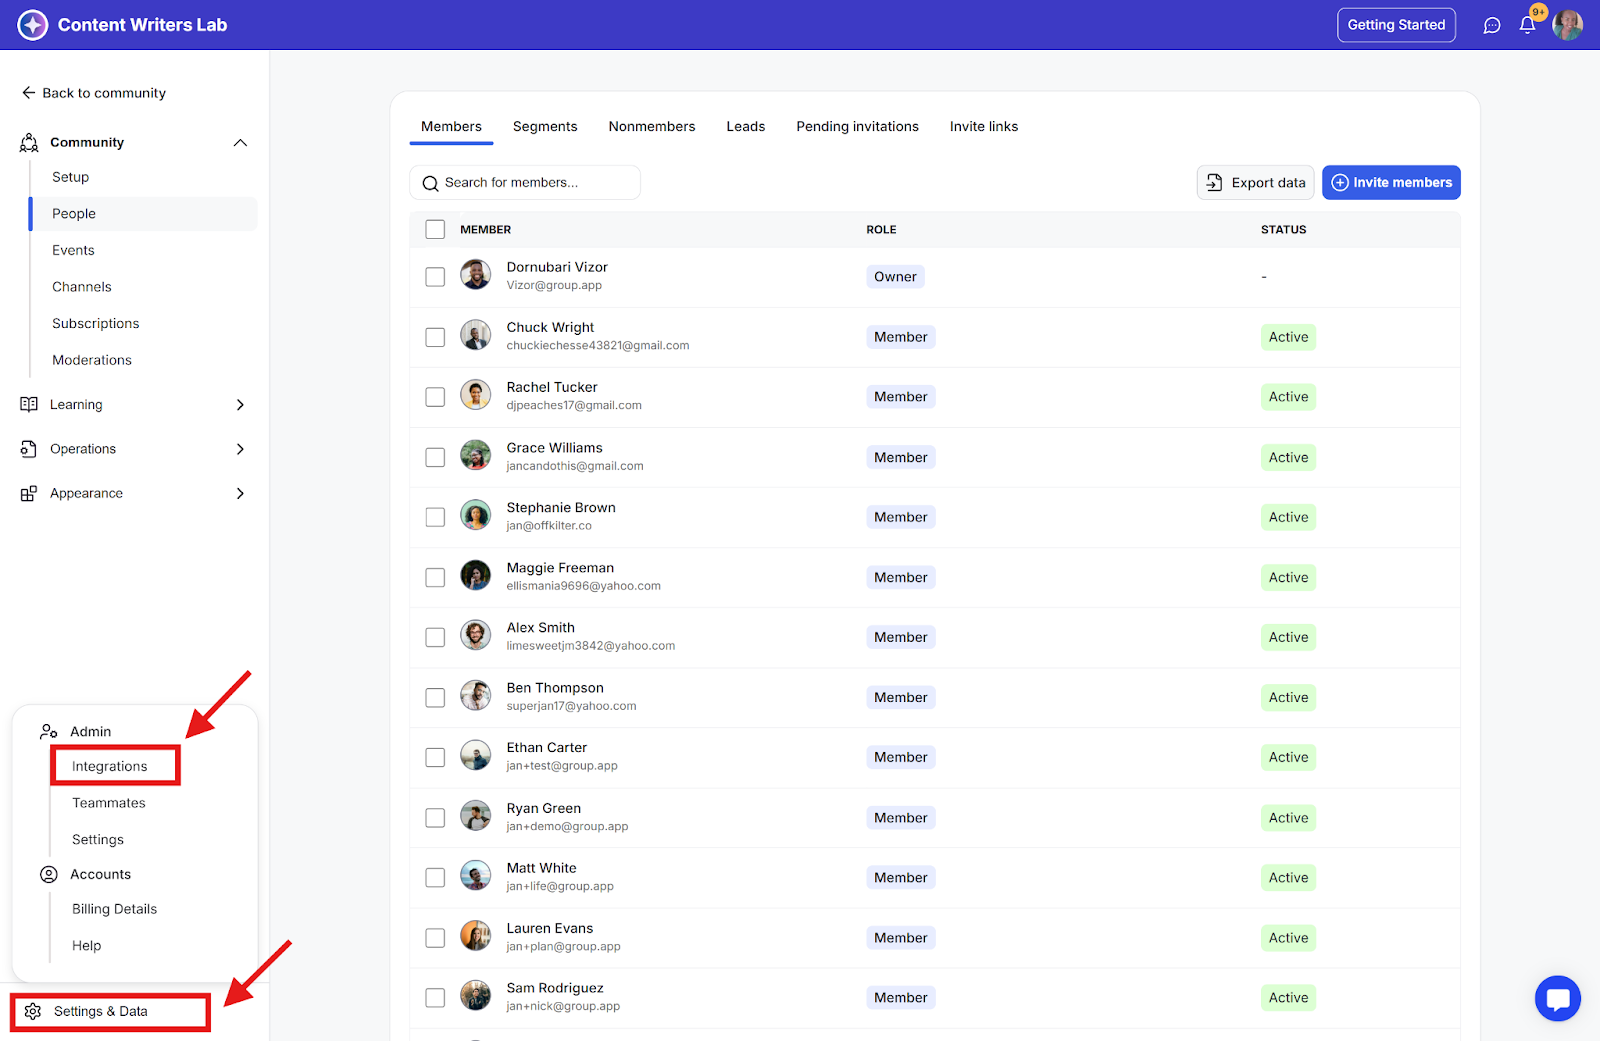
Step 2: Go to Settings & Data in the side menu and select Integrations.
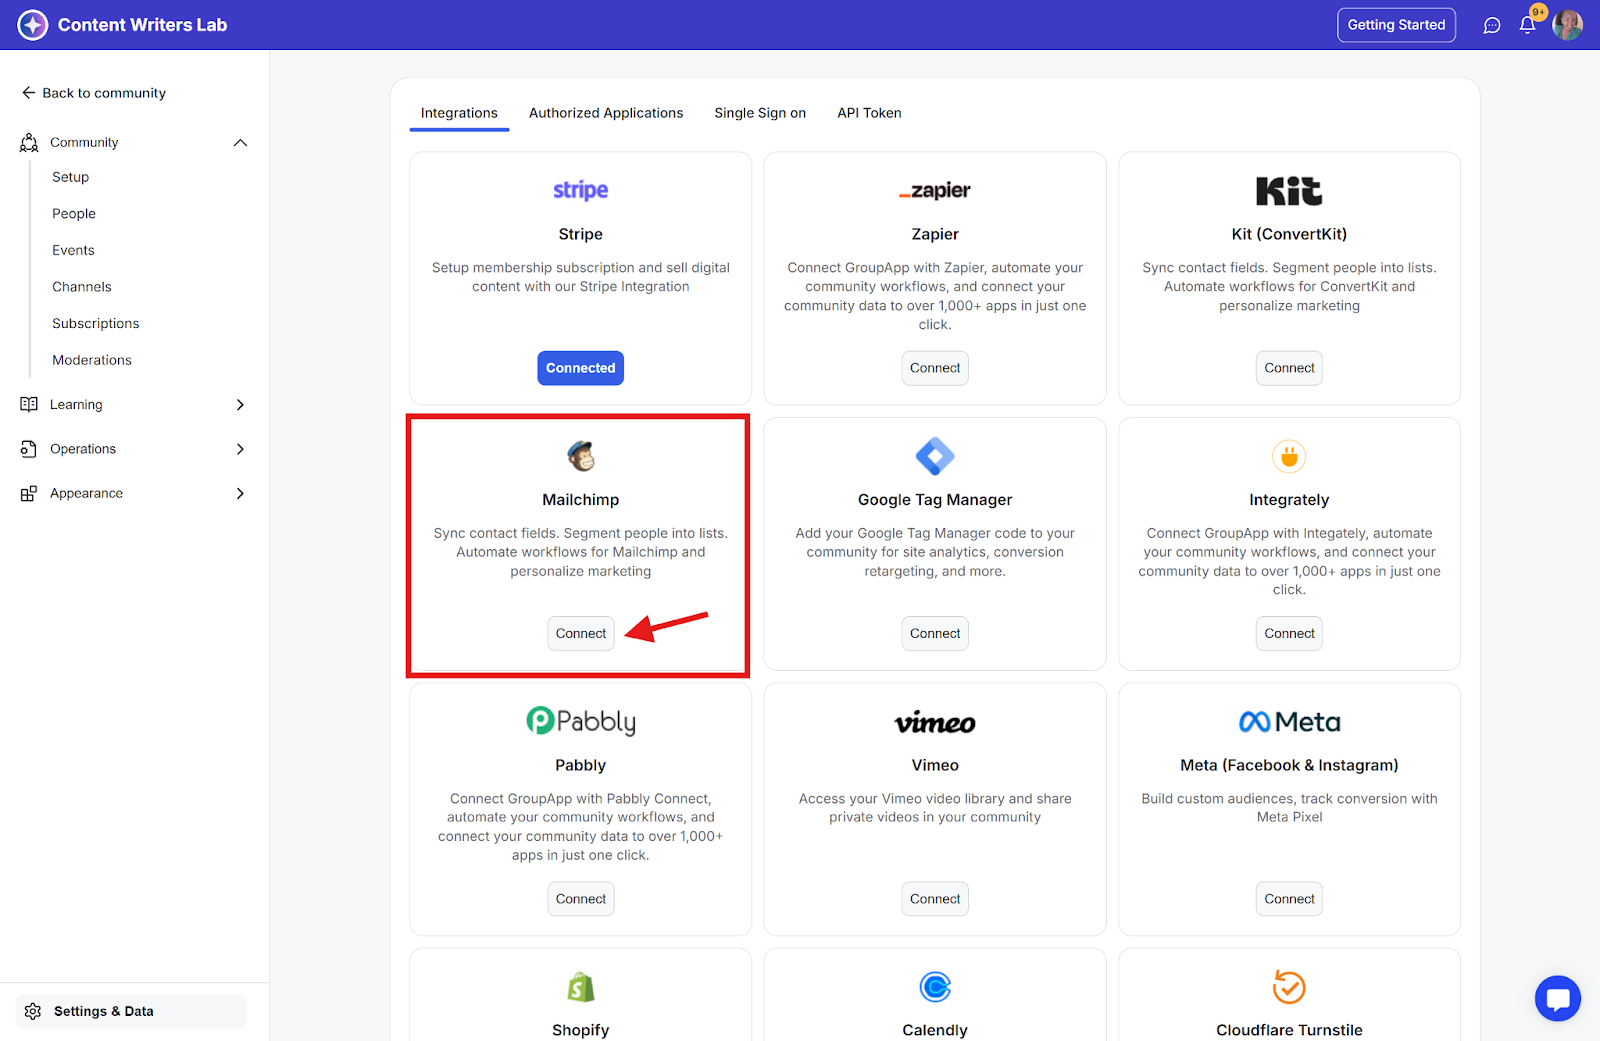
Step 3: Click the Connect button on the Mailchimp card.
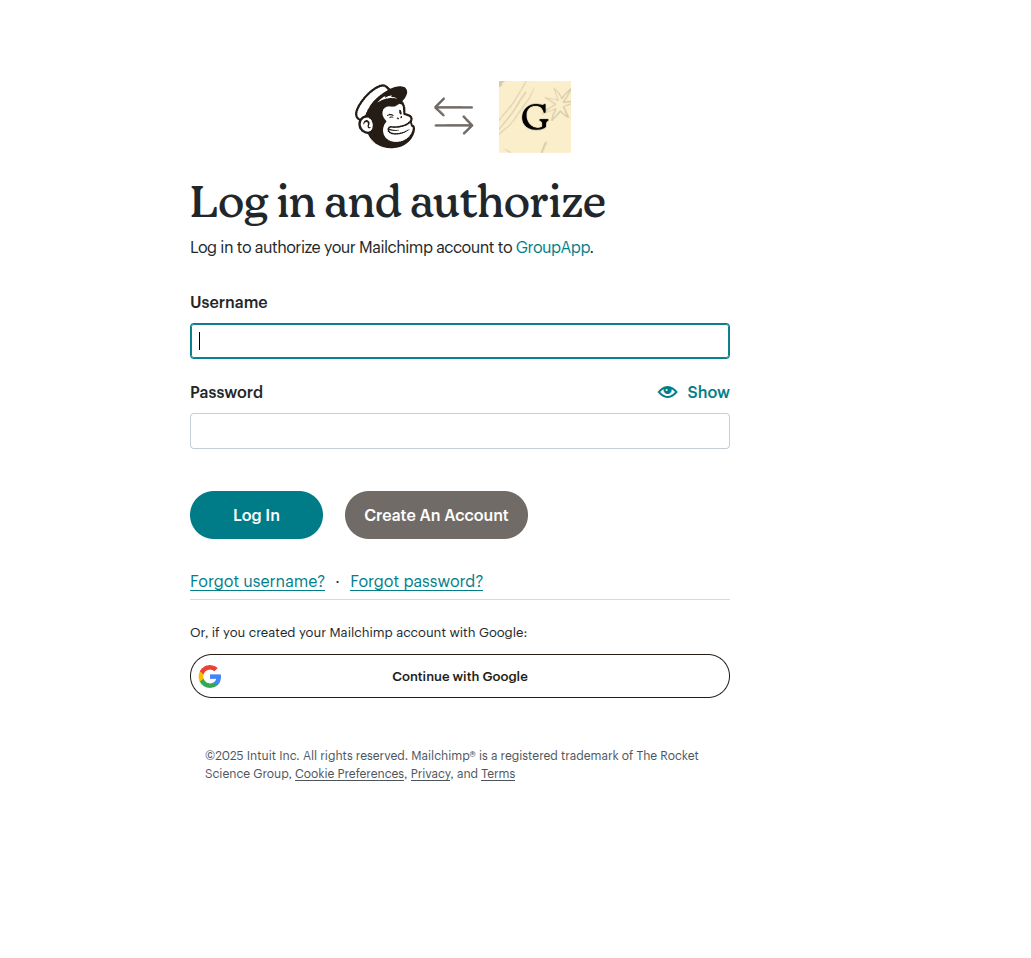
Step 4: GroupApp will request access to your Mailchimp account. Select your preferred login option if you already have an account, or sign up to create a new one.
Step 5: Upon successful connection, Mailchimp actions will be available, enabling you to create workflows and include the desired Mailchimp actions.
Learn how to create a Workflow
In Mailchimp, you'll need to:
Create your first audience
Set up audience fields (GroupApp supports text-type fields)
Create subscriber tags
Step 1: Create audience fields if needed.

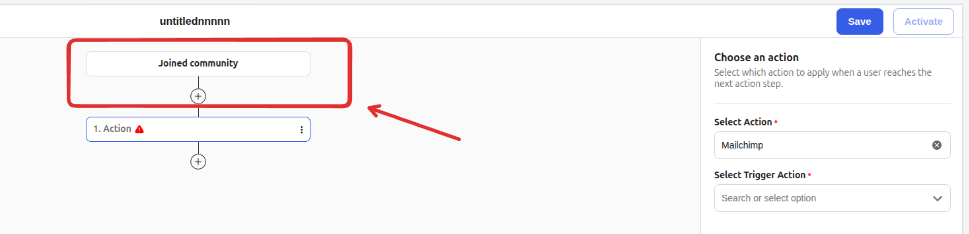
Step 2: Add a trigger that will start the workflow, e.g, Joined community
Step 3: Select the Add/Update Subscriber. Your Mailchimp audience fields will appear for mapping.
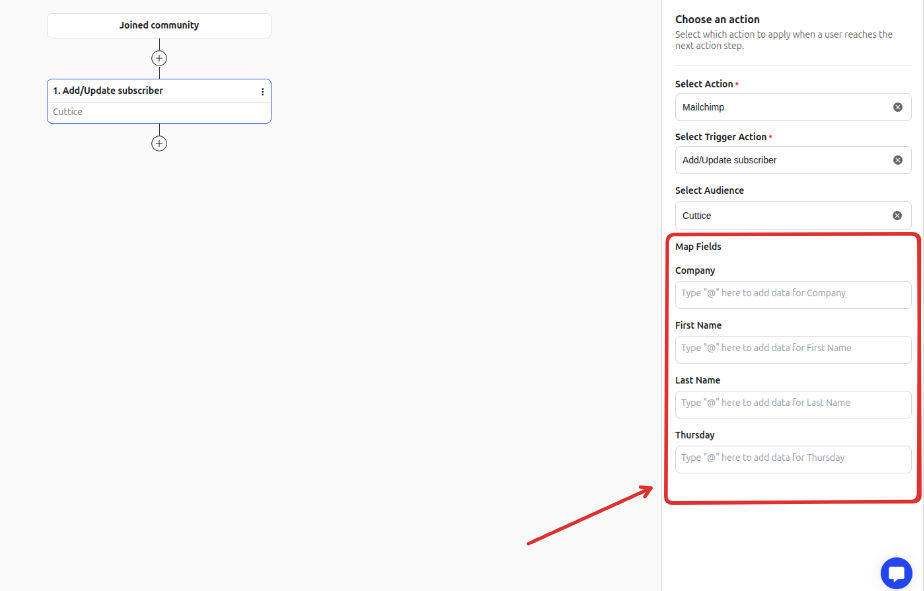
Step 4: Data for these fields comes from your selected trigger.
Step 5: Complete all required fields and click Save. Activate the workflow to begin automation.
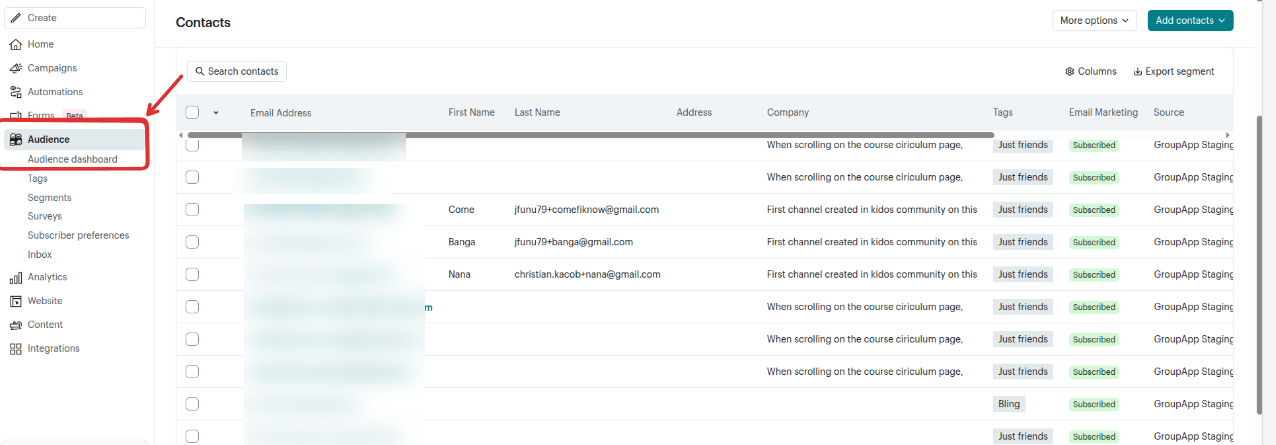
Step 6: View new subscribers and their tags in your Mailchimp audience dashboard.