Workflow automations help you streamline membership engagement, community engagement, email communication, and repetitive tasks in your community.
This guide will show you how to create and configure workflows.
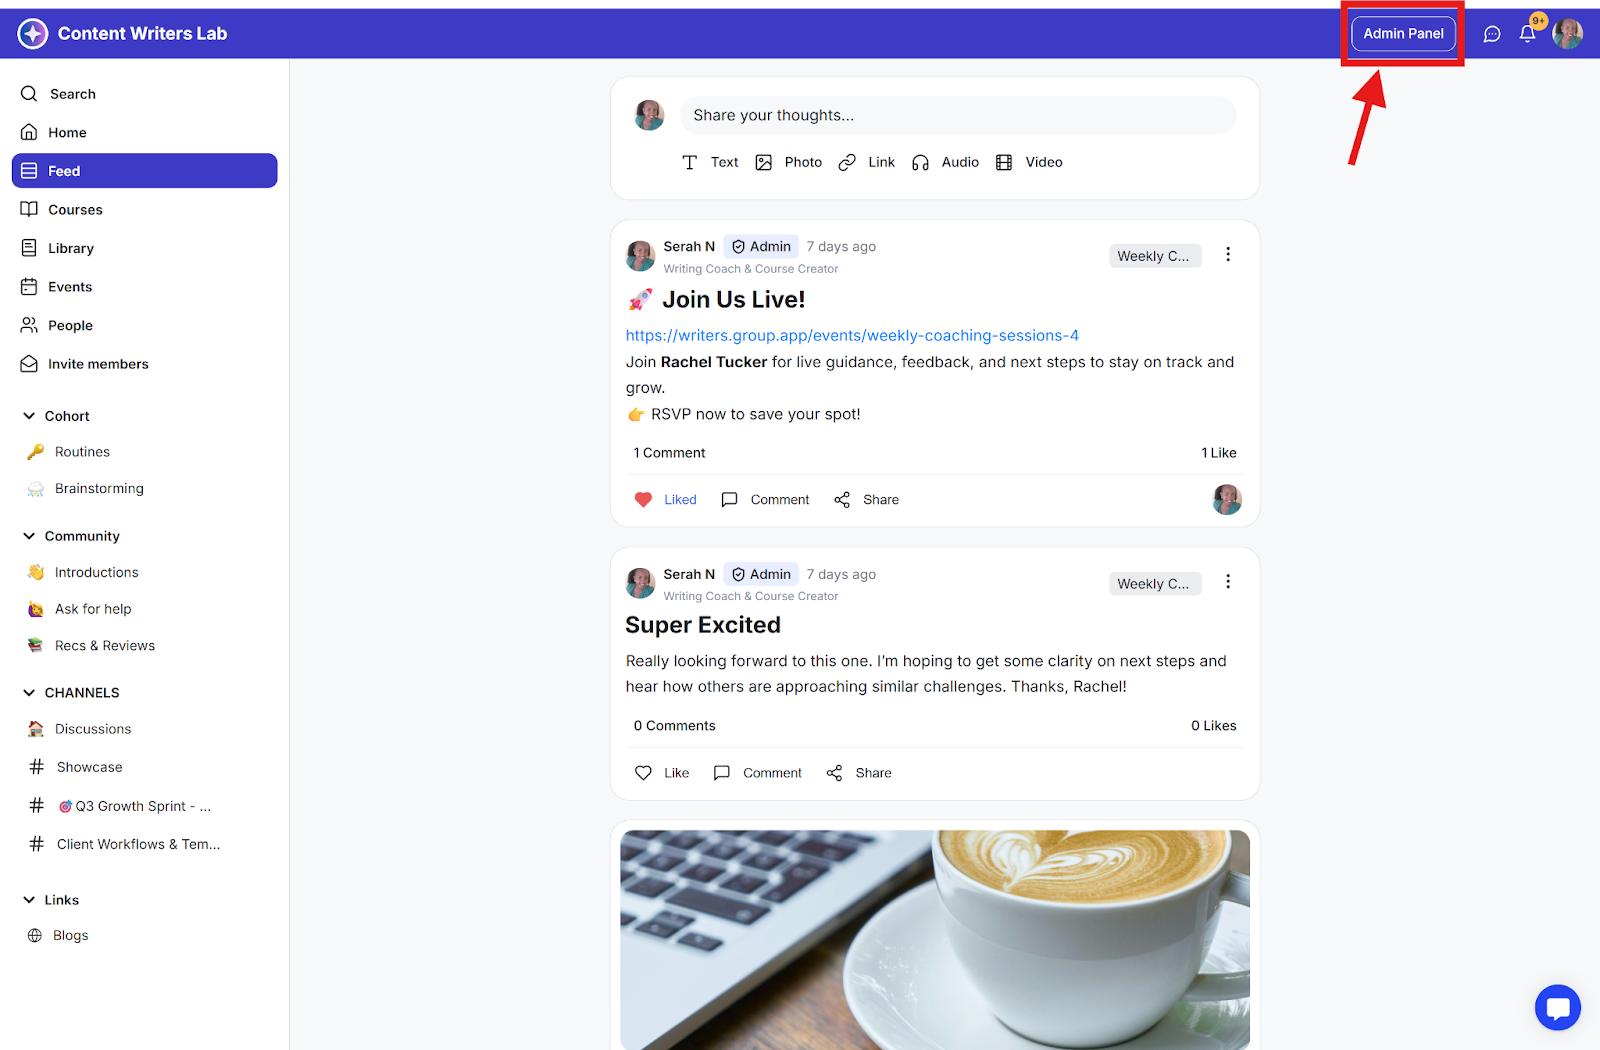
Step 1: Click the Admin Panel button.
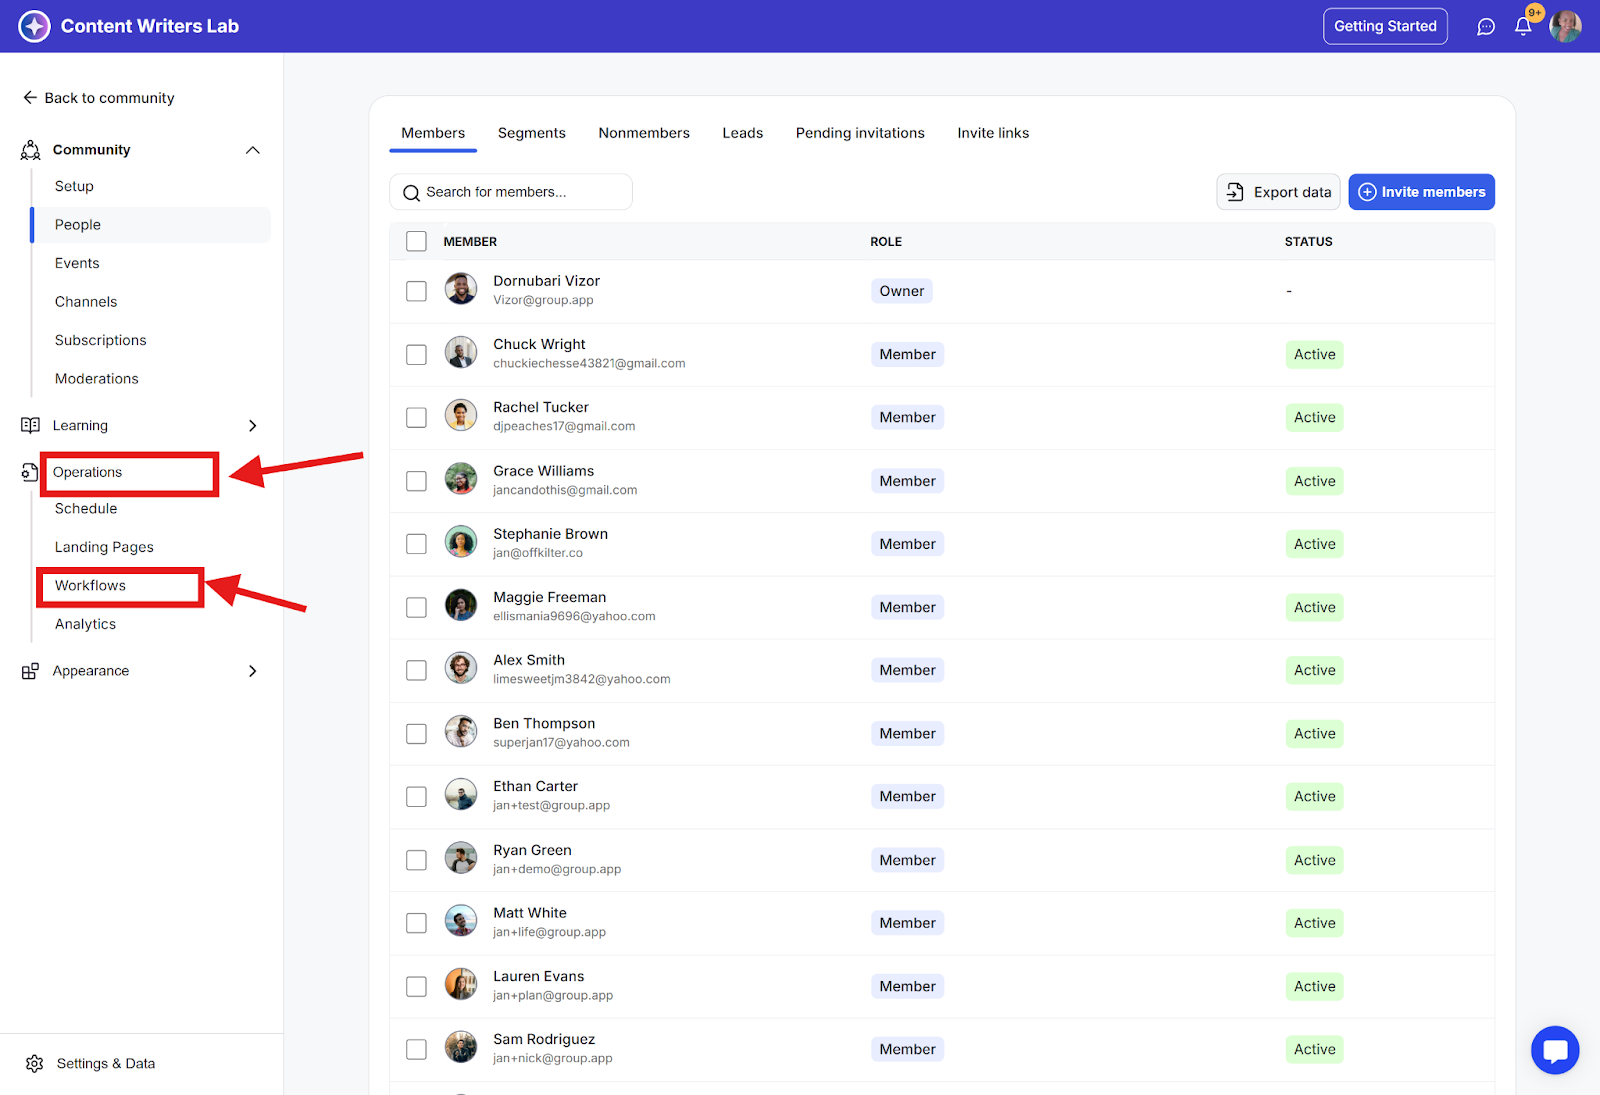
Step 2: Click Operations in the side menu and select Workflows. If you’re a first-time user, you'll see the Workflow Dashboard with suggested workflow templates.
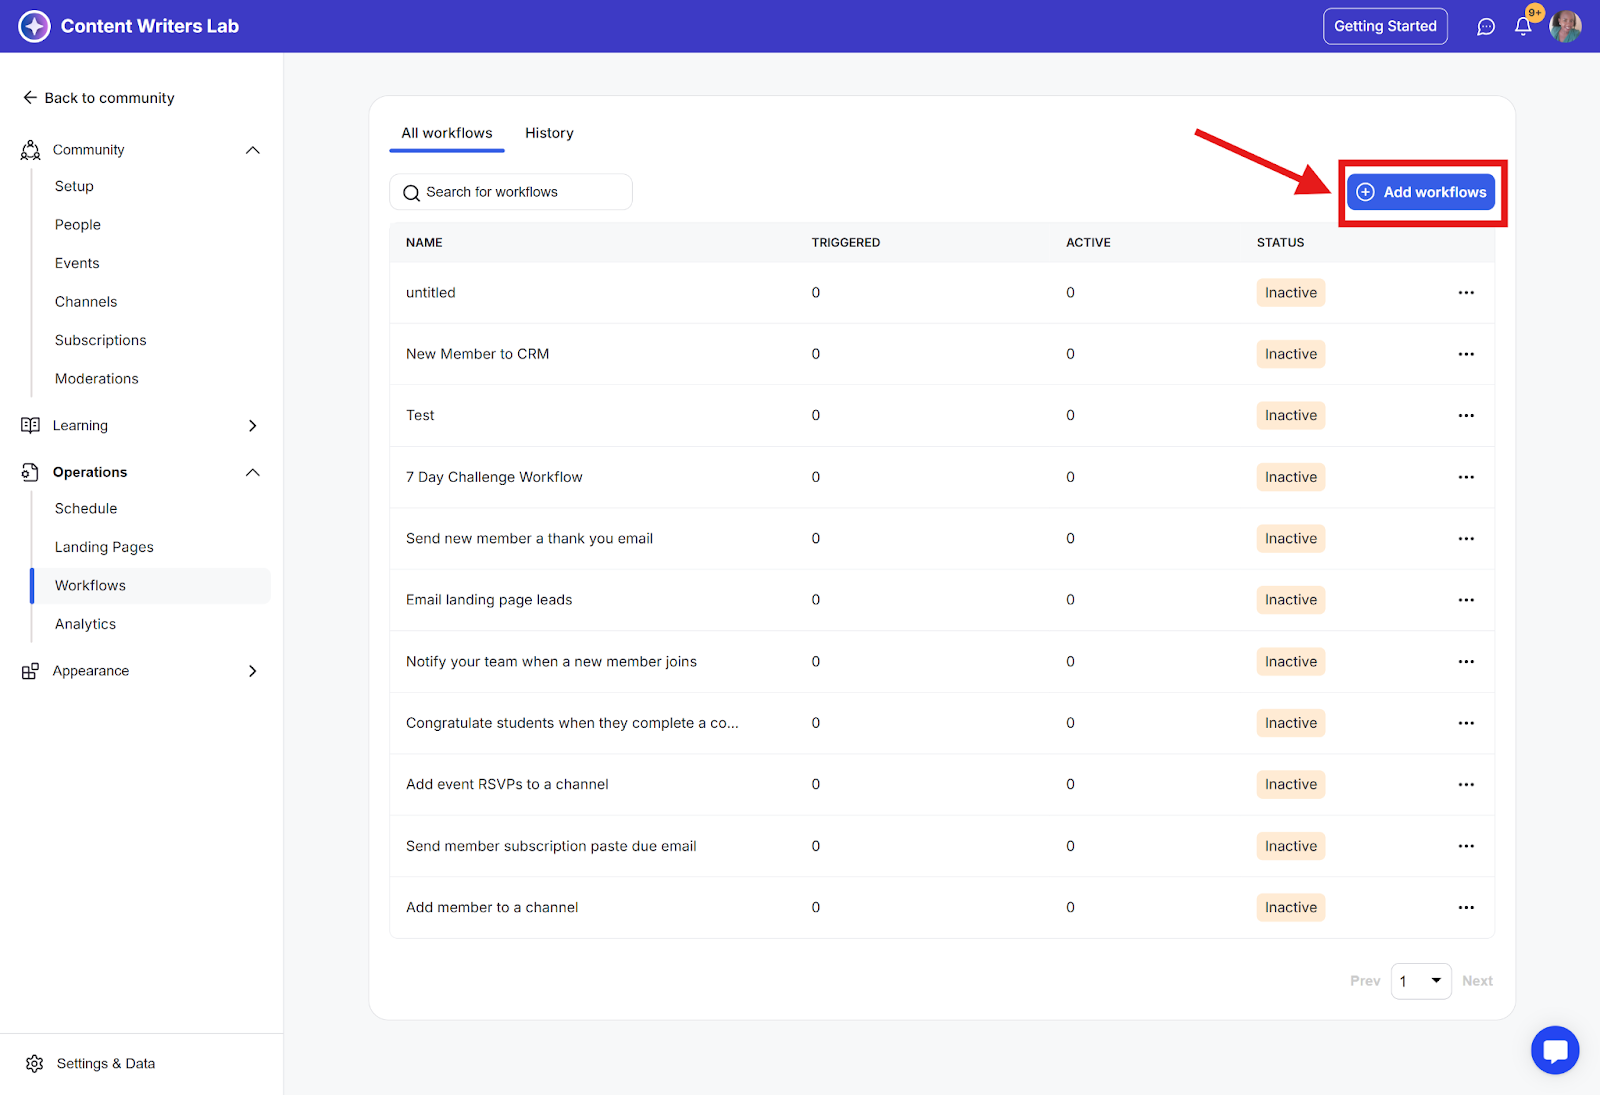
Step 1: Click Add Workflows.
Step 2: Select Create from the blank card.
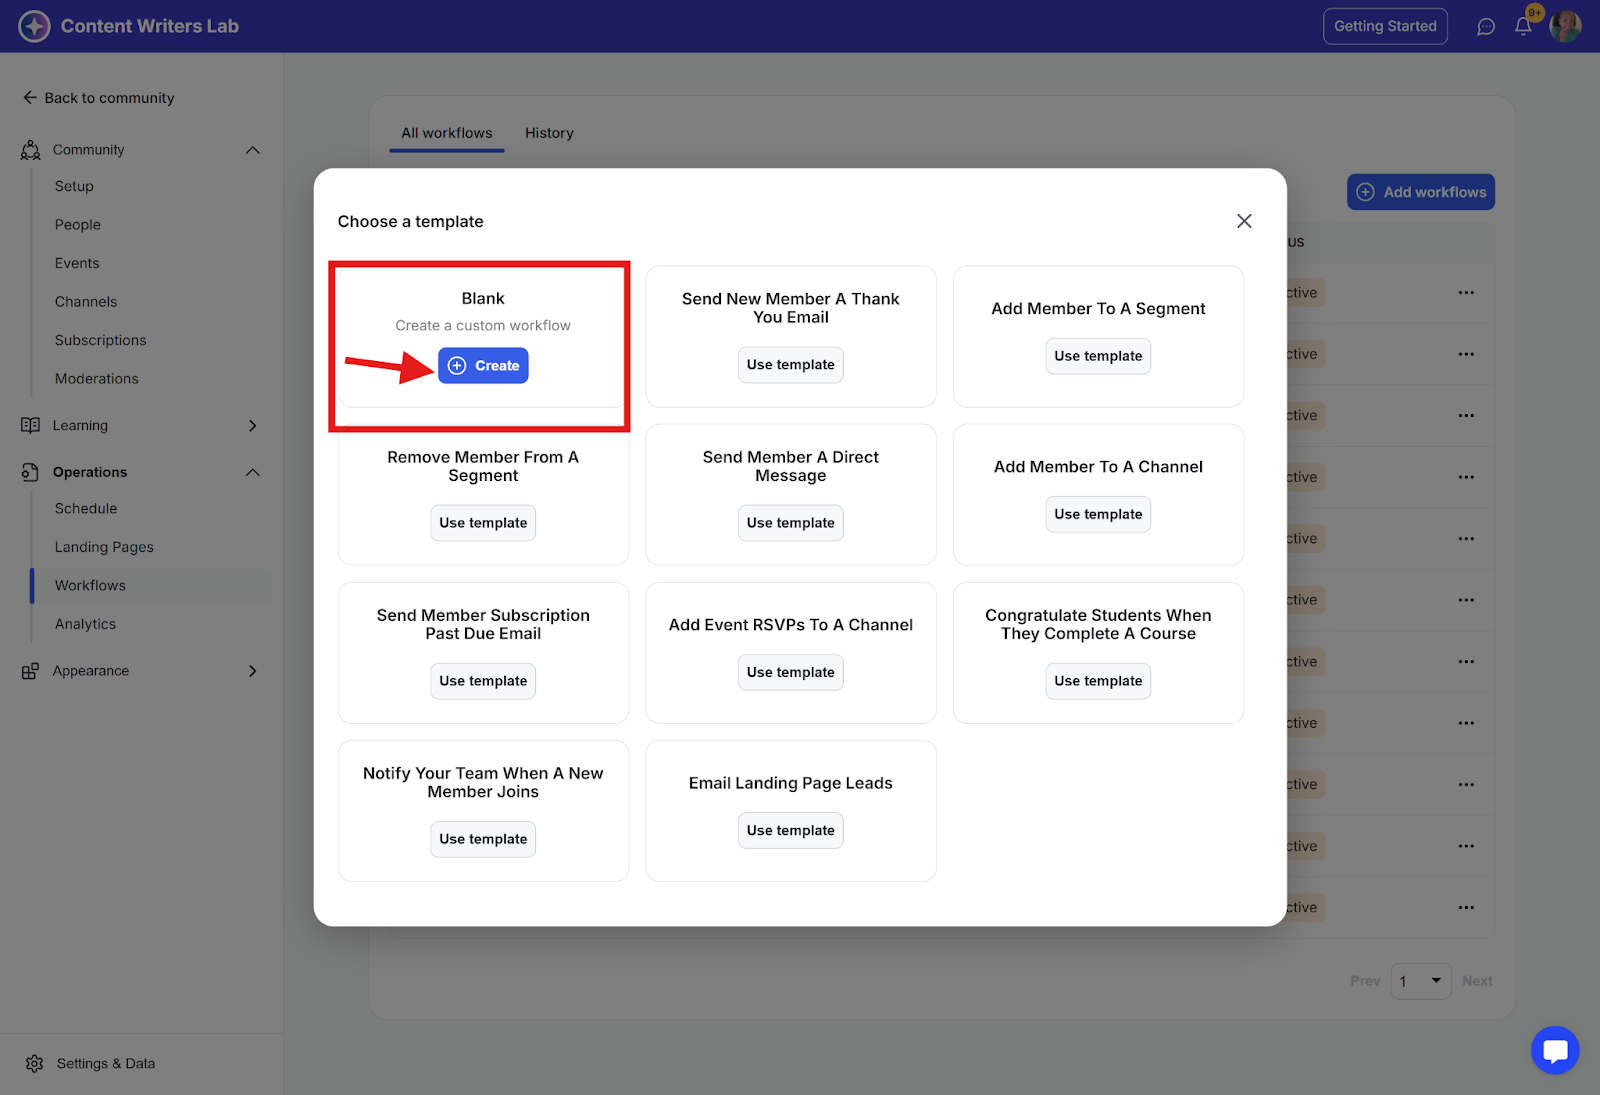
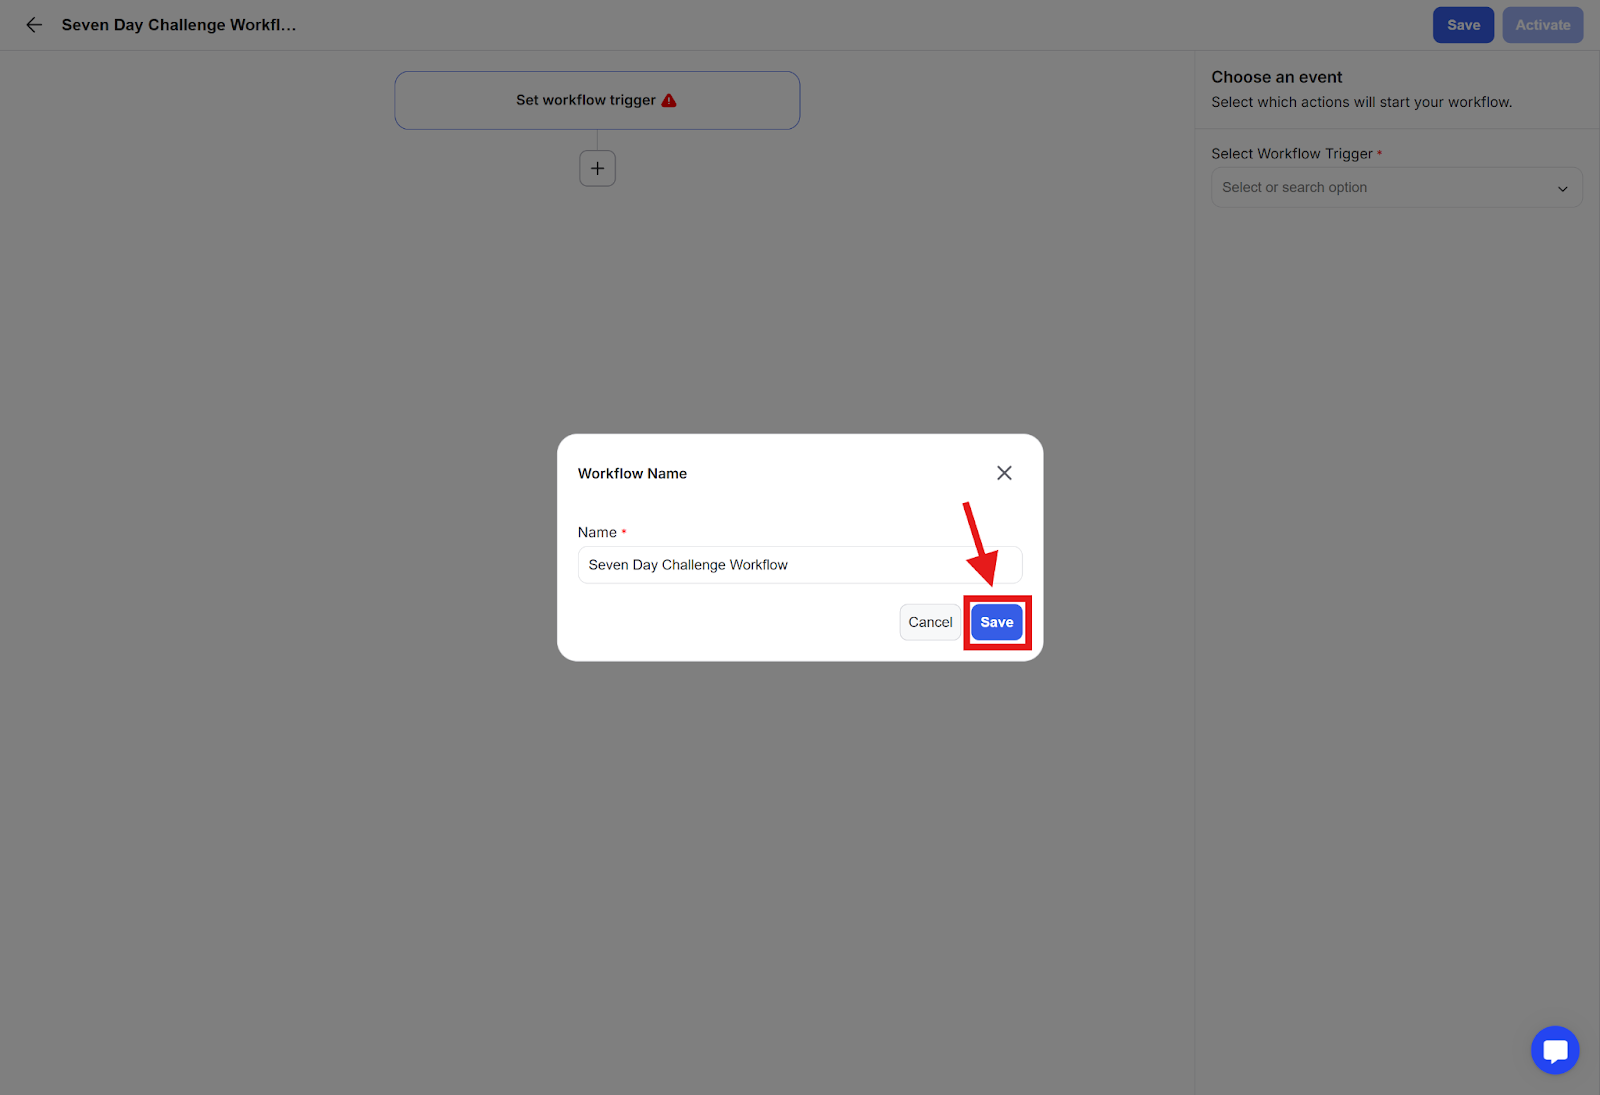
Step 3: Enter a workflow name (e.g., "Seven Day Challenge Workflow") and click Save.
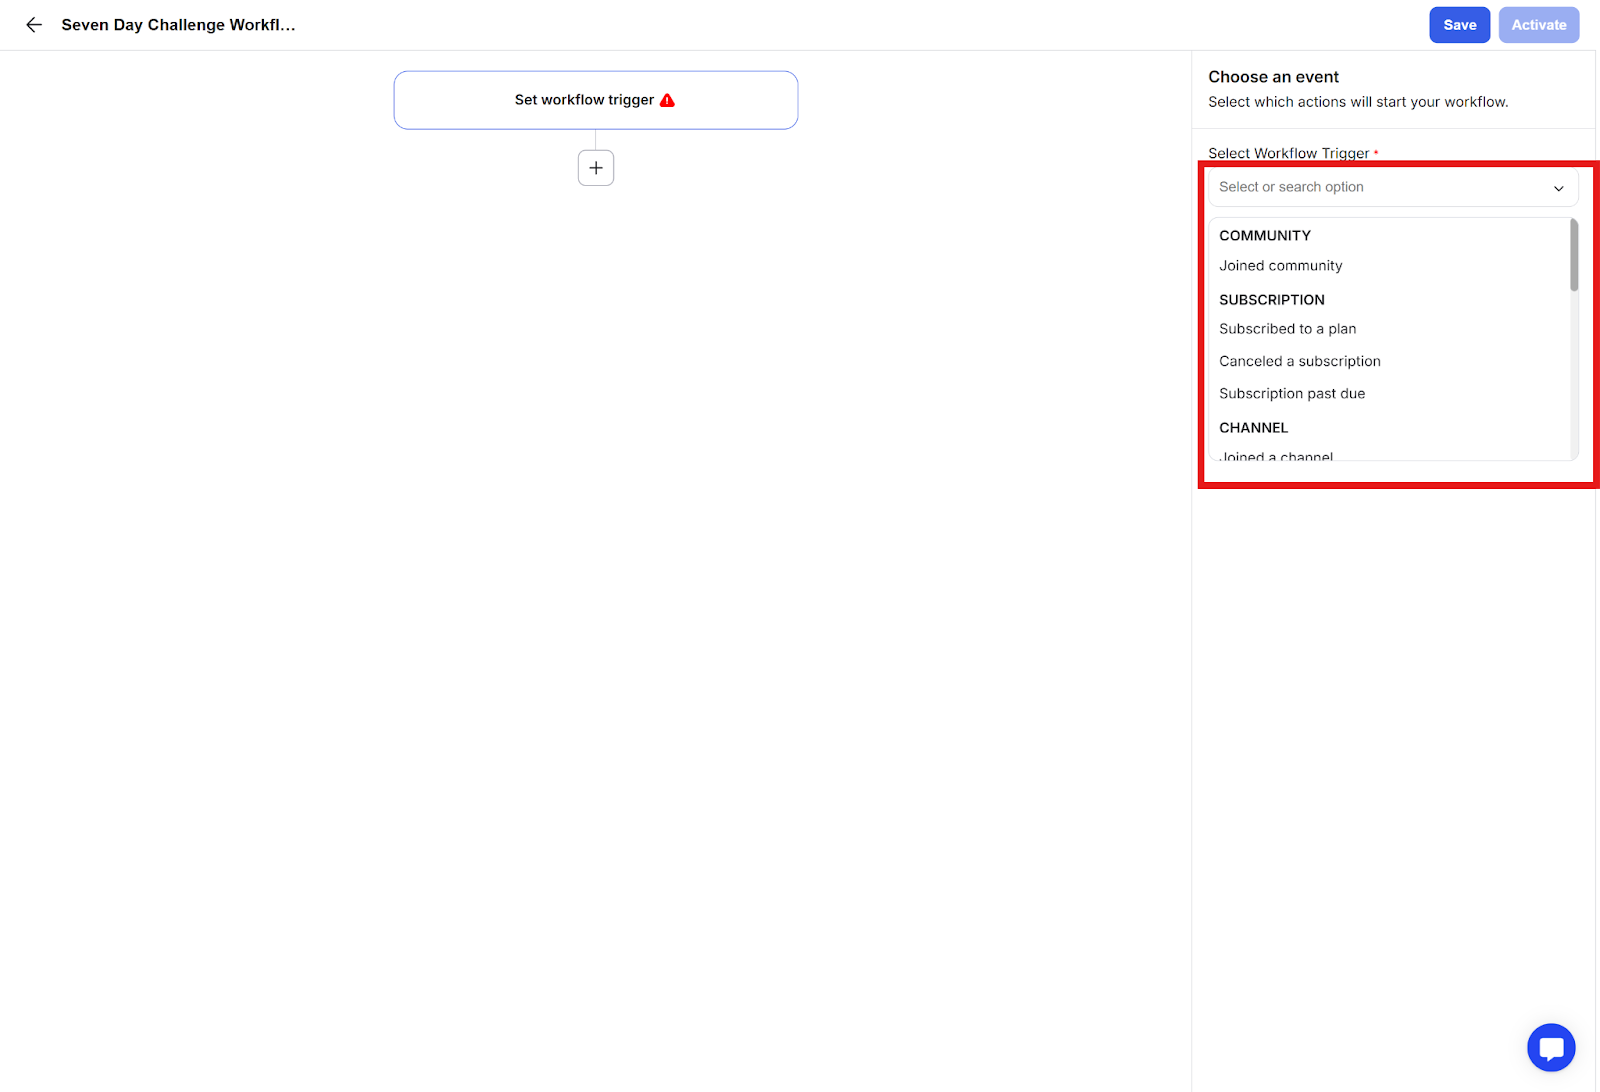
A workflow trigger is the initial action that starts your workflow. Available triggers include:
Member joins the community
Member subscribes to a plan
Member cancels subscription
Subscription becomes past due
Member joins a channel
Member is removed from a channel
Member enrolls in a course
Member completes a course
Member completes a course lesson
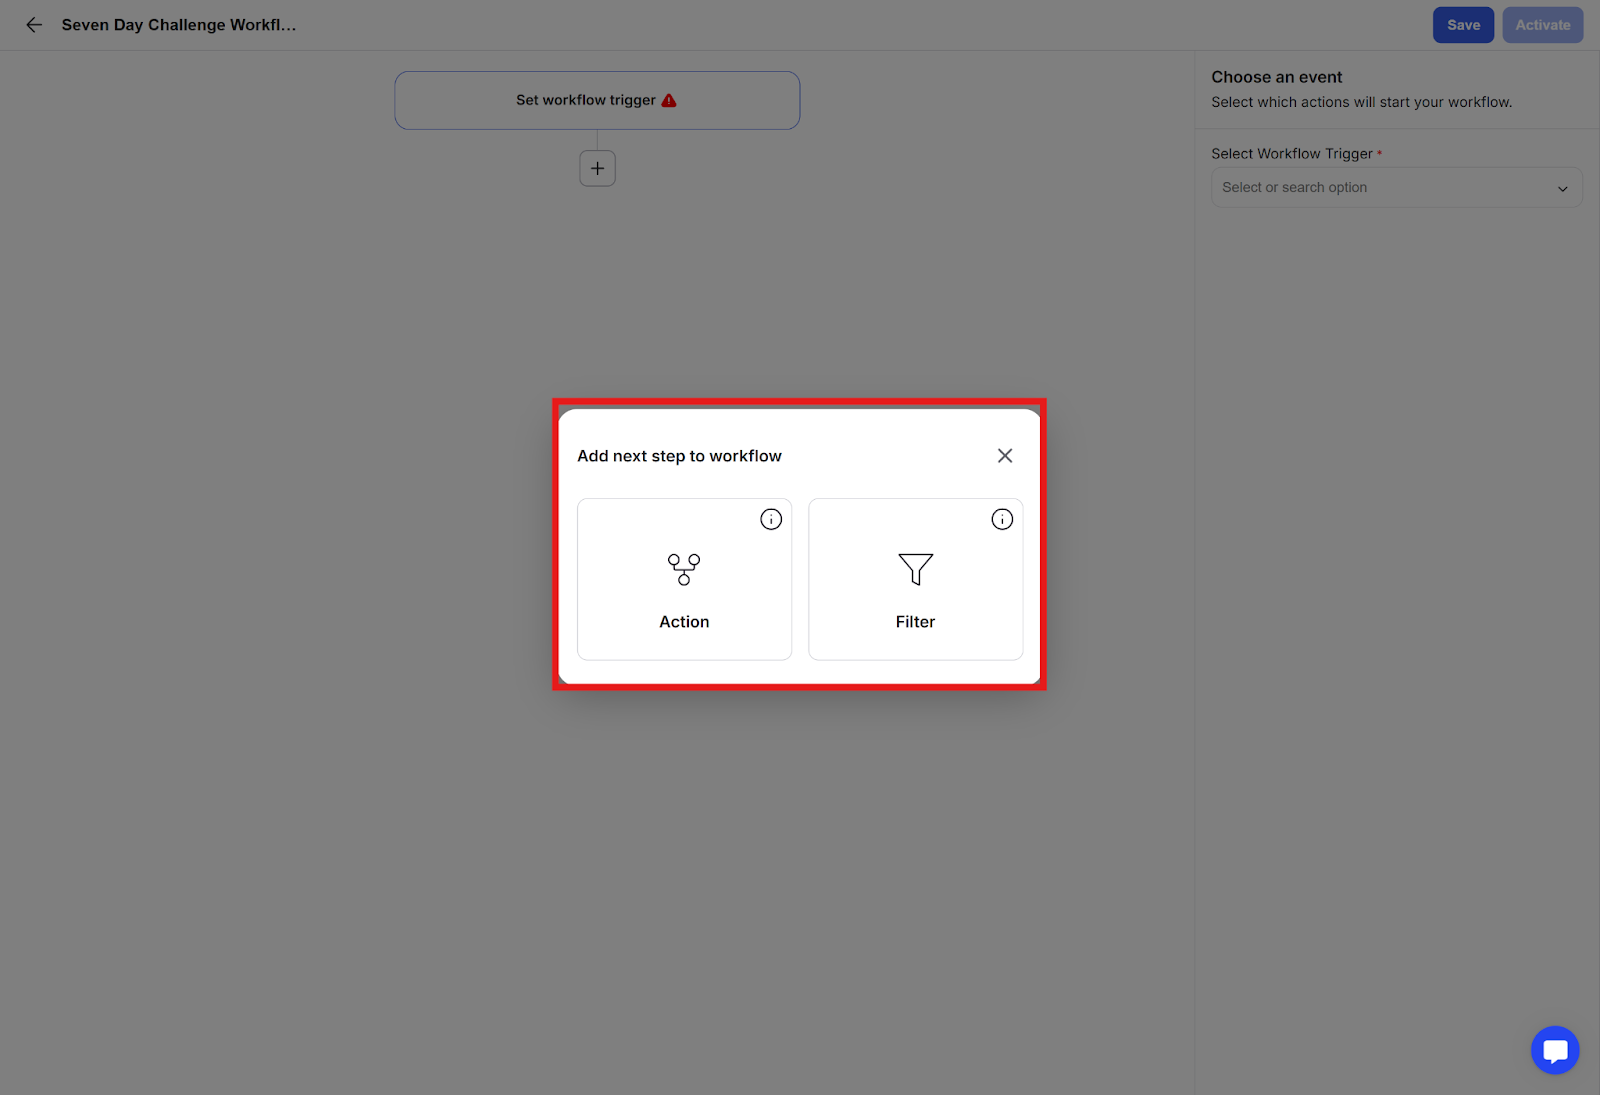
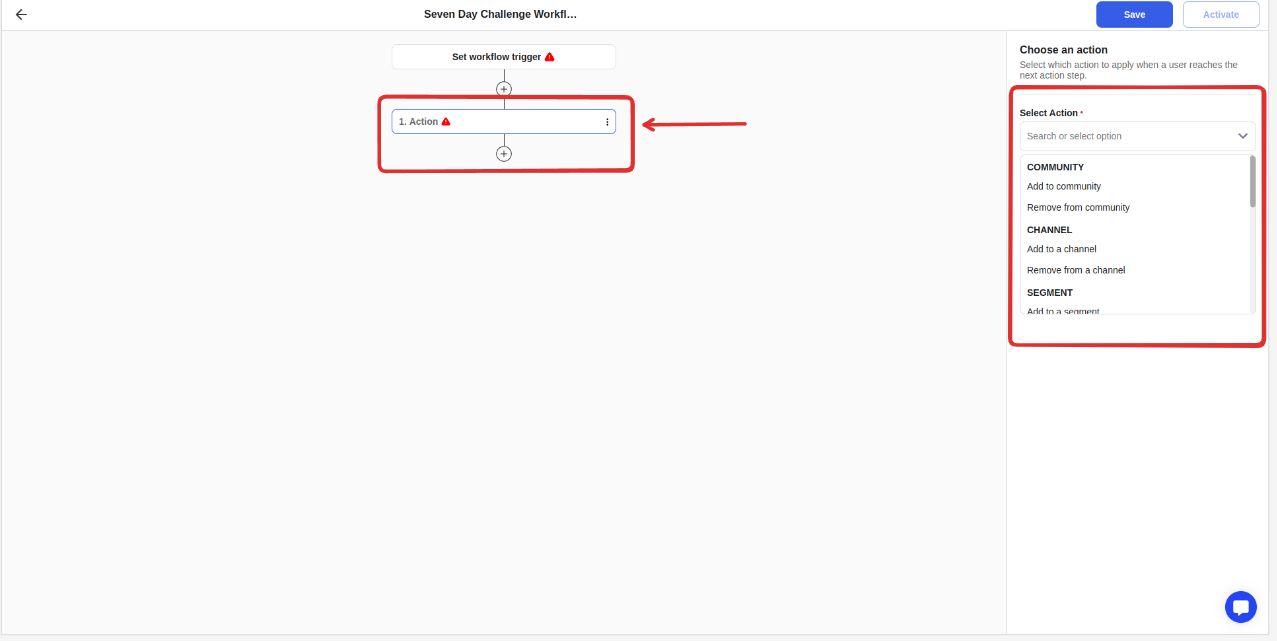
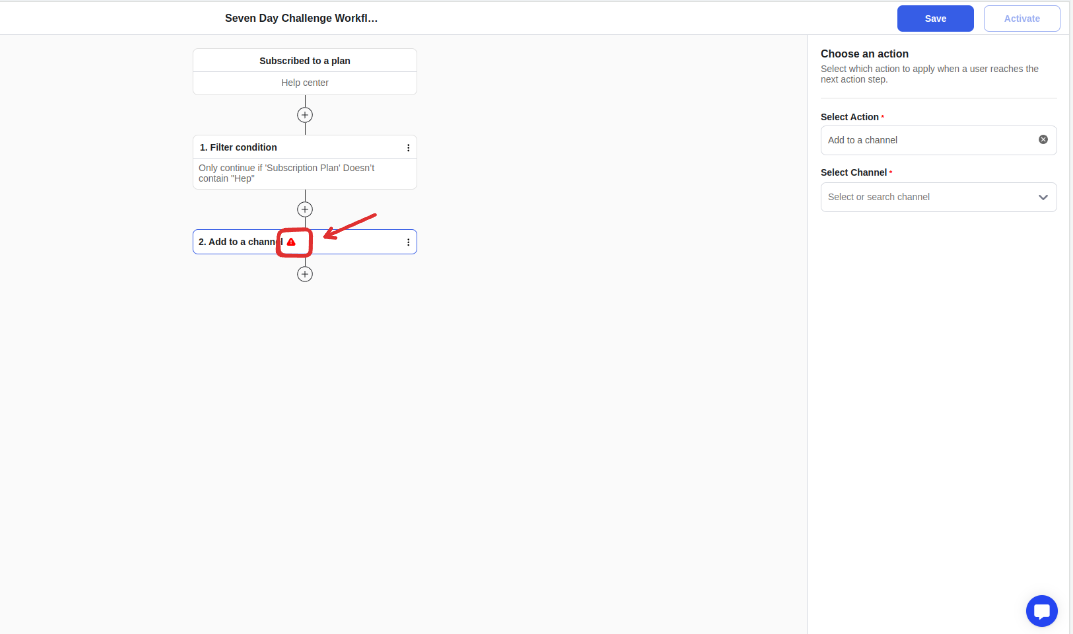
Actions are tasks that the workflow performs. You can:
Add members to segments
Send automated emails
Send direct messages
Add time delays between steps
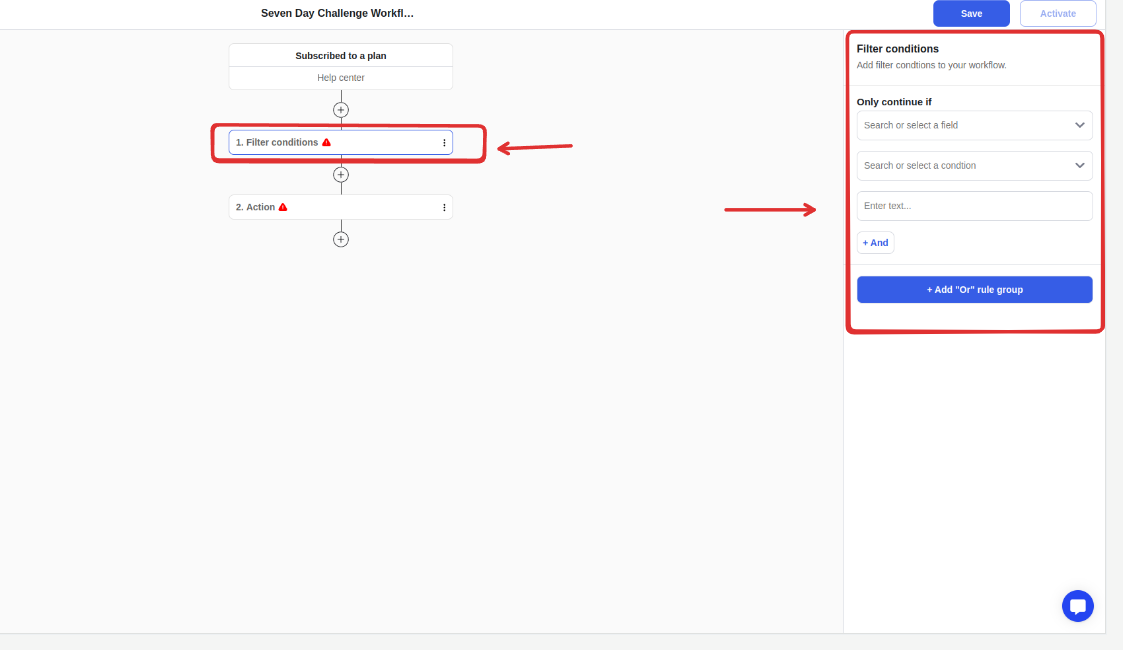
Filters are conditions that must be met for the workflow to continue. You can:
Set specific conditions
Create multiple condition scenarios
Add if/then statements
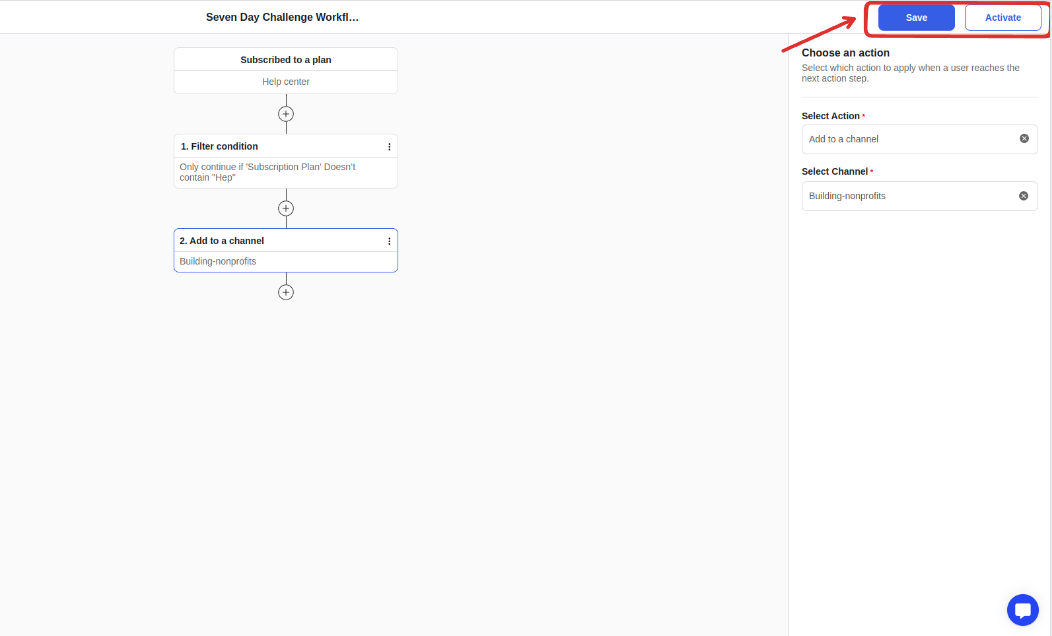
Step 1: Configure all workflow steps
Step 2: Review and remove any error indicators
Step 3: Finally, click Save and Activate to turn on your workflow.
Test your workflow before publishing
Review all automated messages
Ensure proper timing for delays
Verify trigger conditions
