As an admin, you can link events to a course so they become part of the course curriculum. This allows students to RSVP to all related events at once, instead of managing them as separate lessons.
Event RSVPs are automatically tracked in each student’s course activity.
Note: Students will only see linked events if they have access to them. Without access, the lesson page will appear empty.
Step 1: Create an event if you haven't already done so.
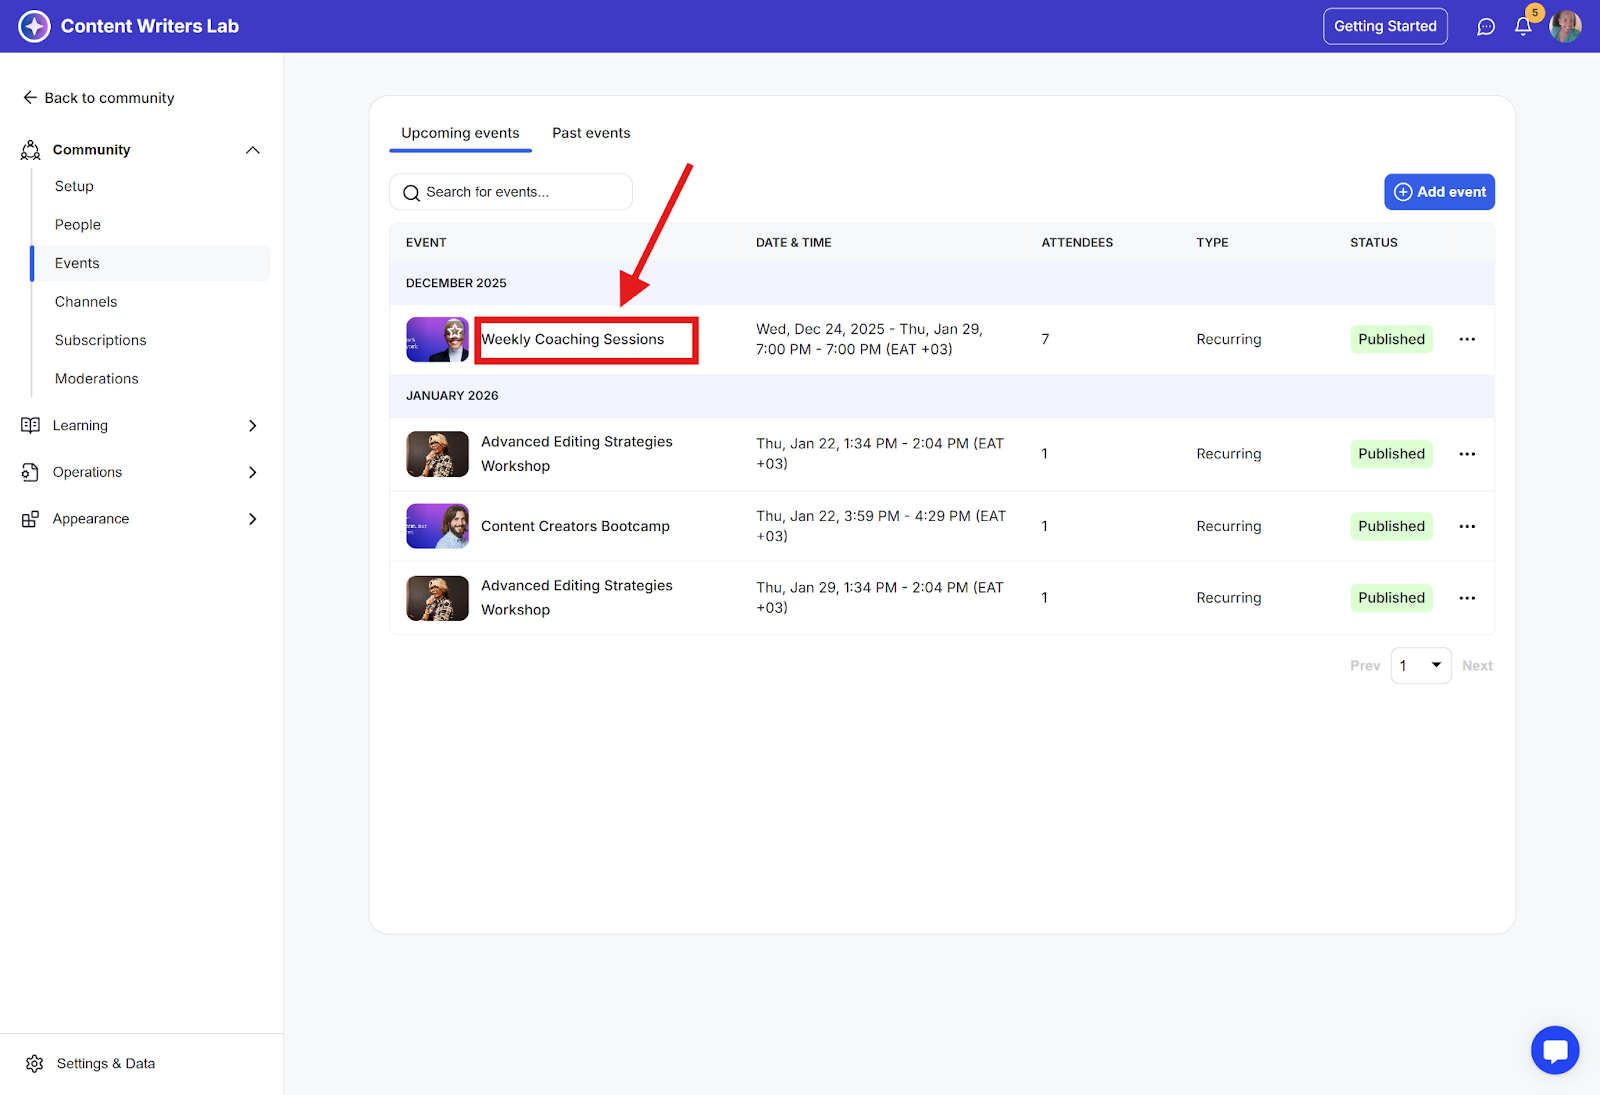
Step 2: If you already have events in your community, then navigate to the events dashboard and select the preferred PUBLISHED event.
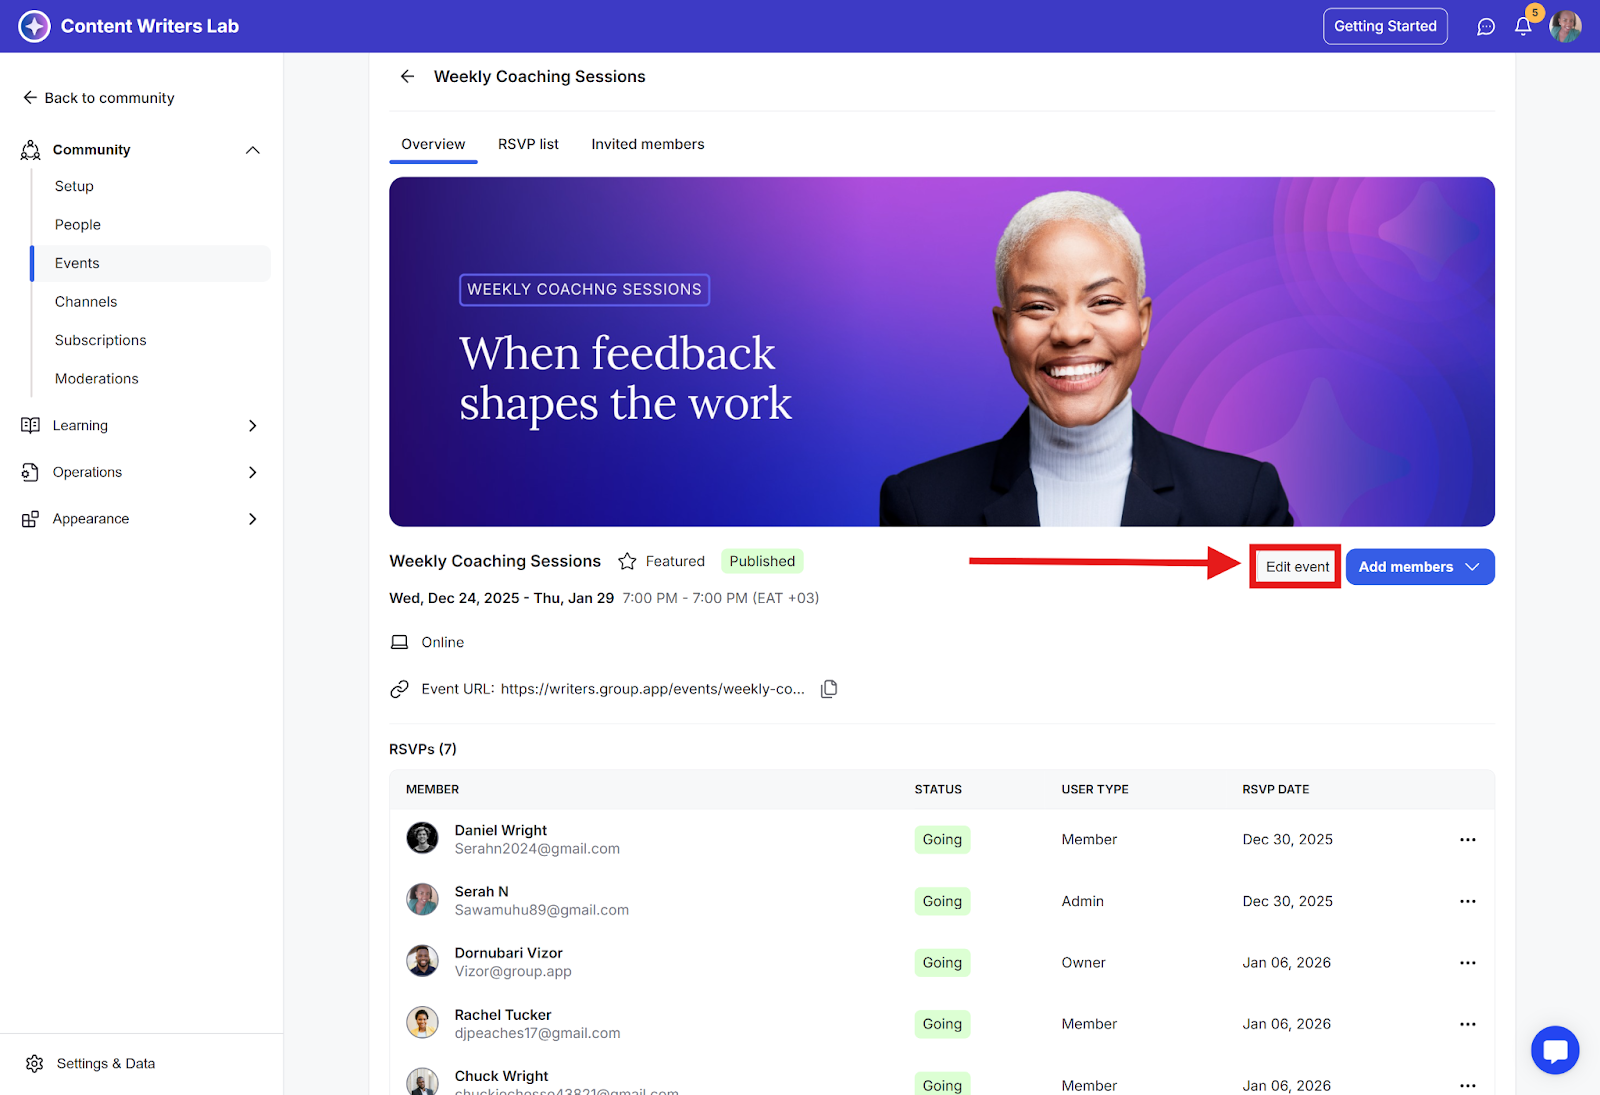
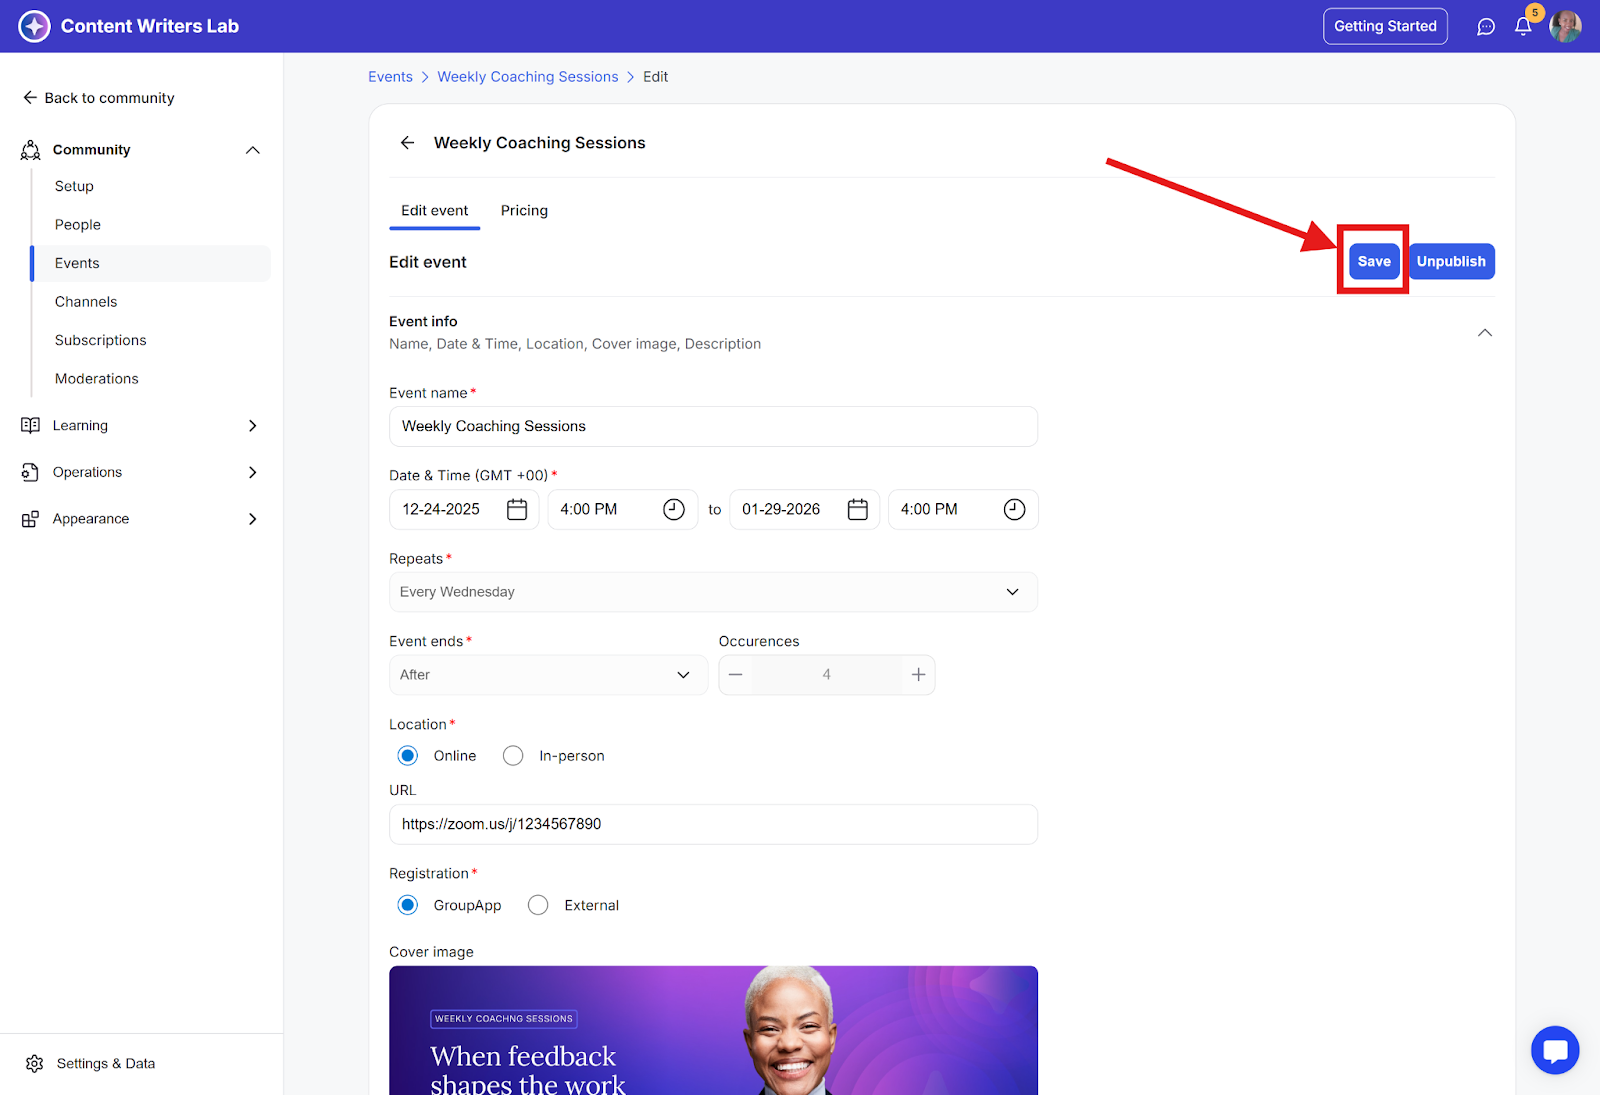
Step 3: Click on the event name to open the details of the event, then click on the Edit Event button and scroll to the Event Options section.
Step 4: Scroll down to Event Options.
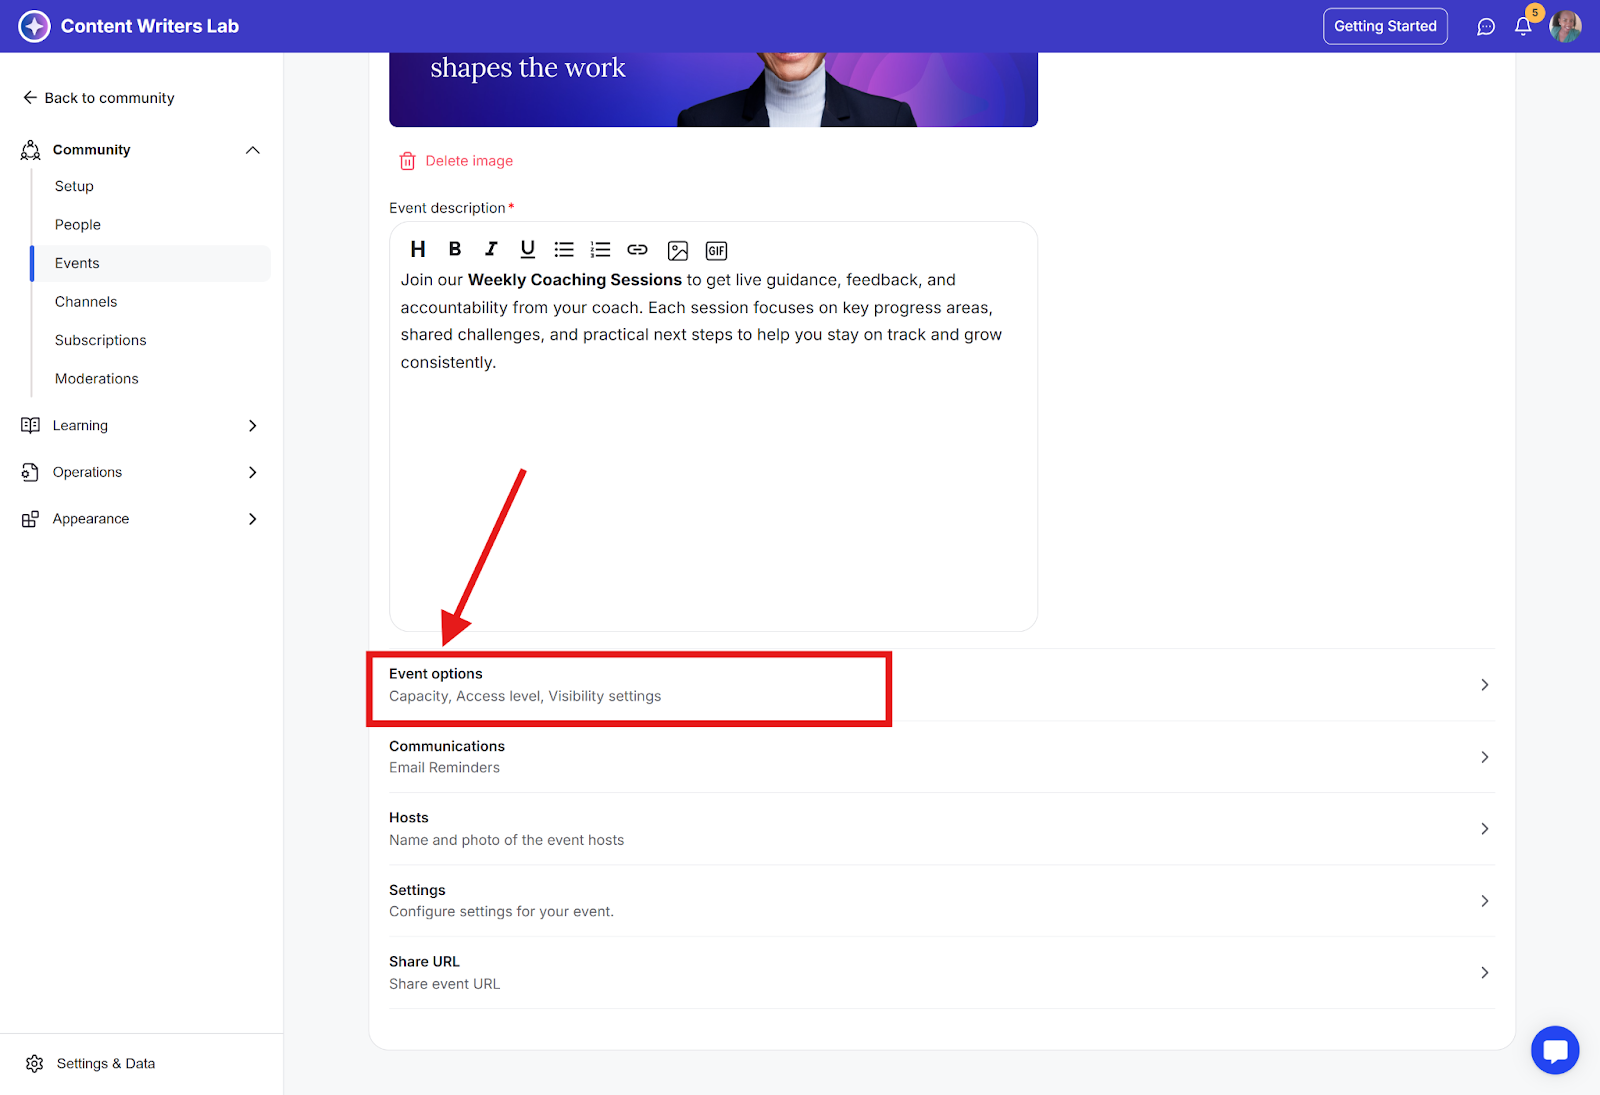
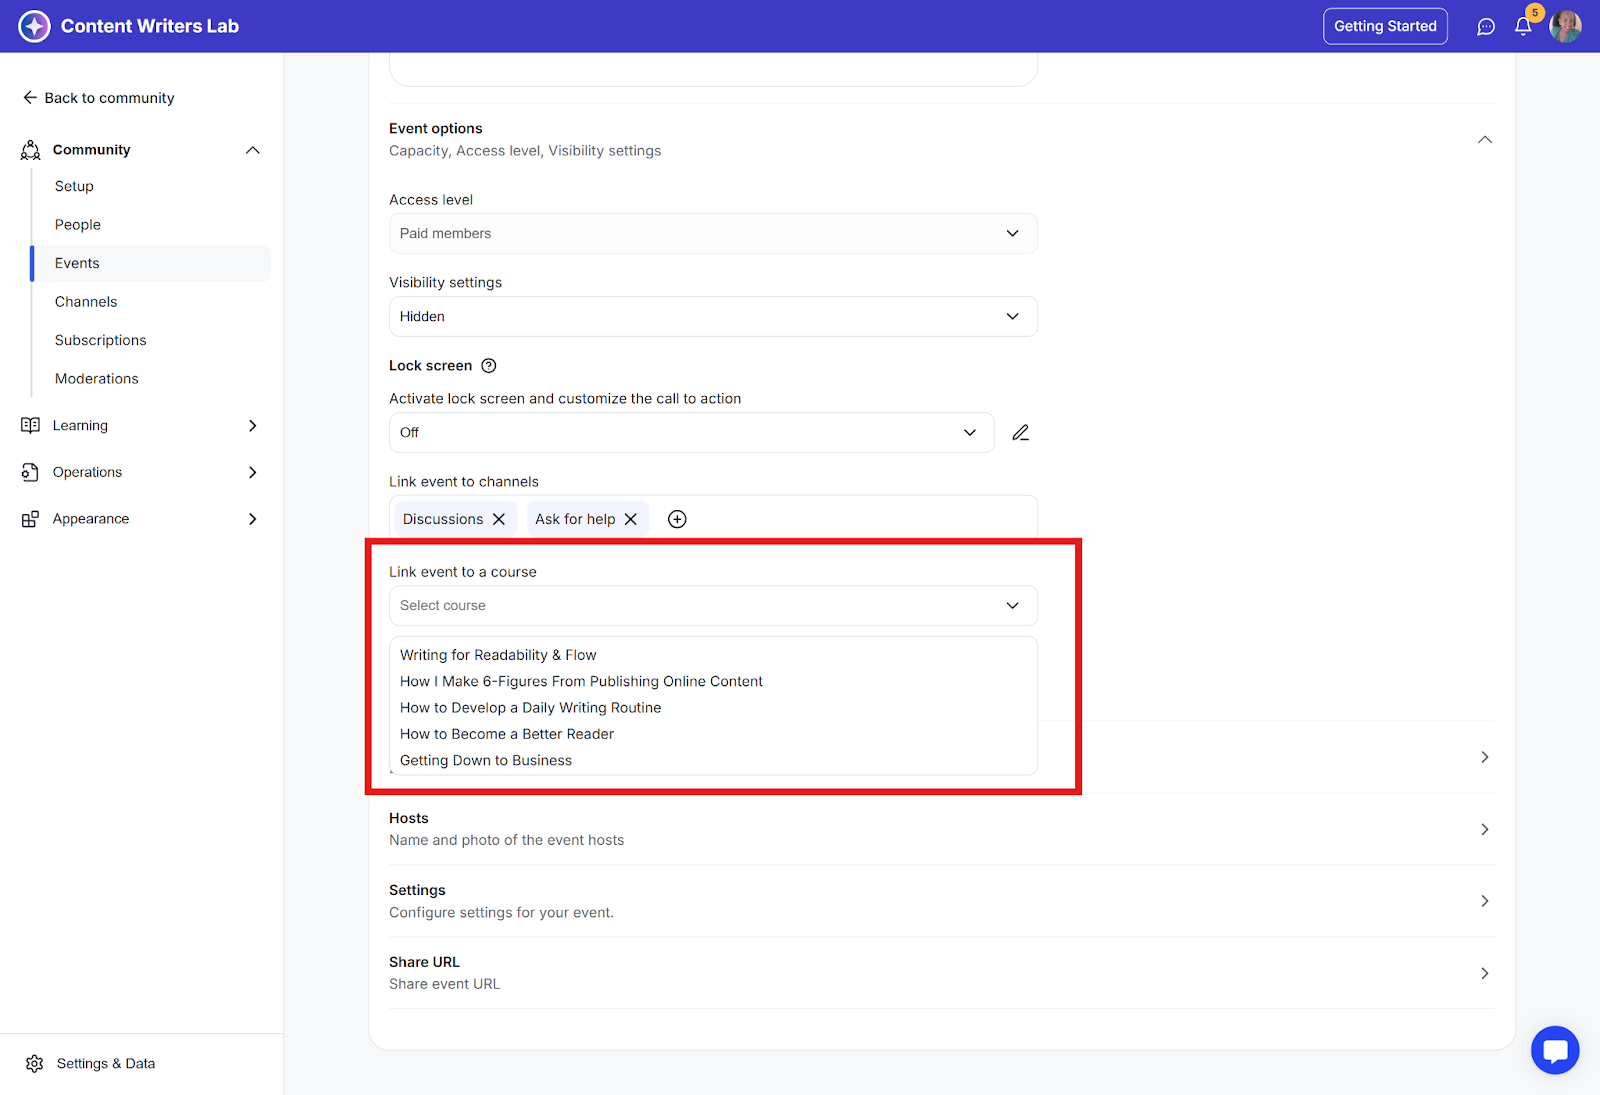
Step 5: Locate the Link Event to a Course subsection, search for published courses from the dropdown, and select the preferred one.
Step 6: Click the Save button to update the changes.
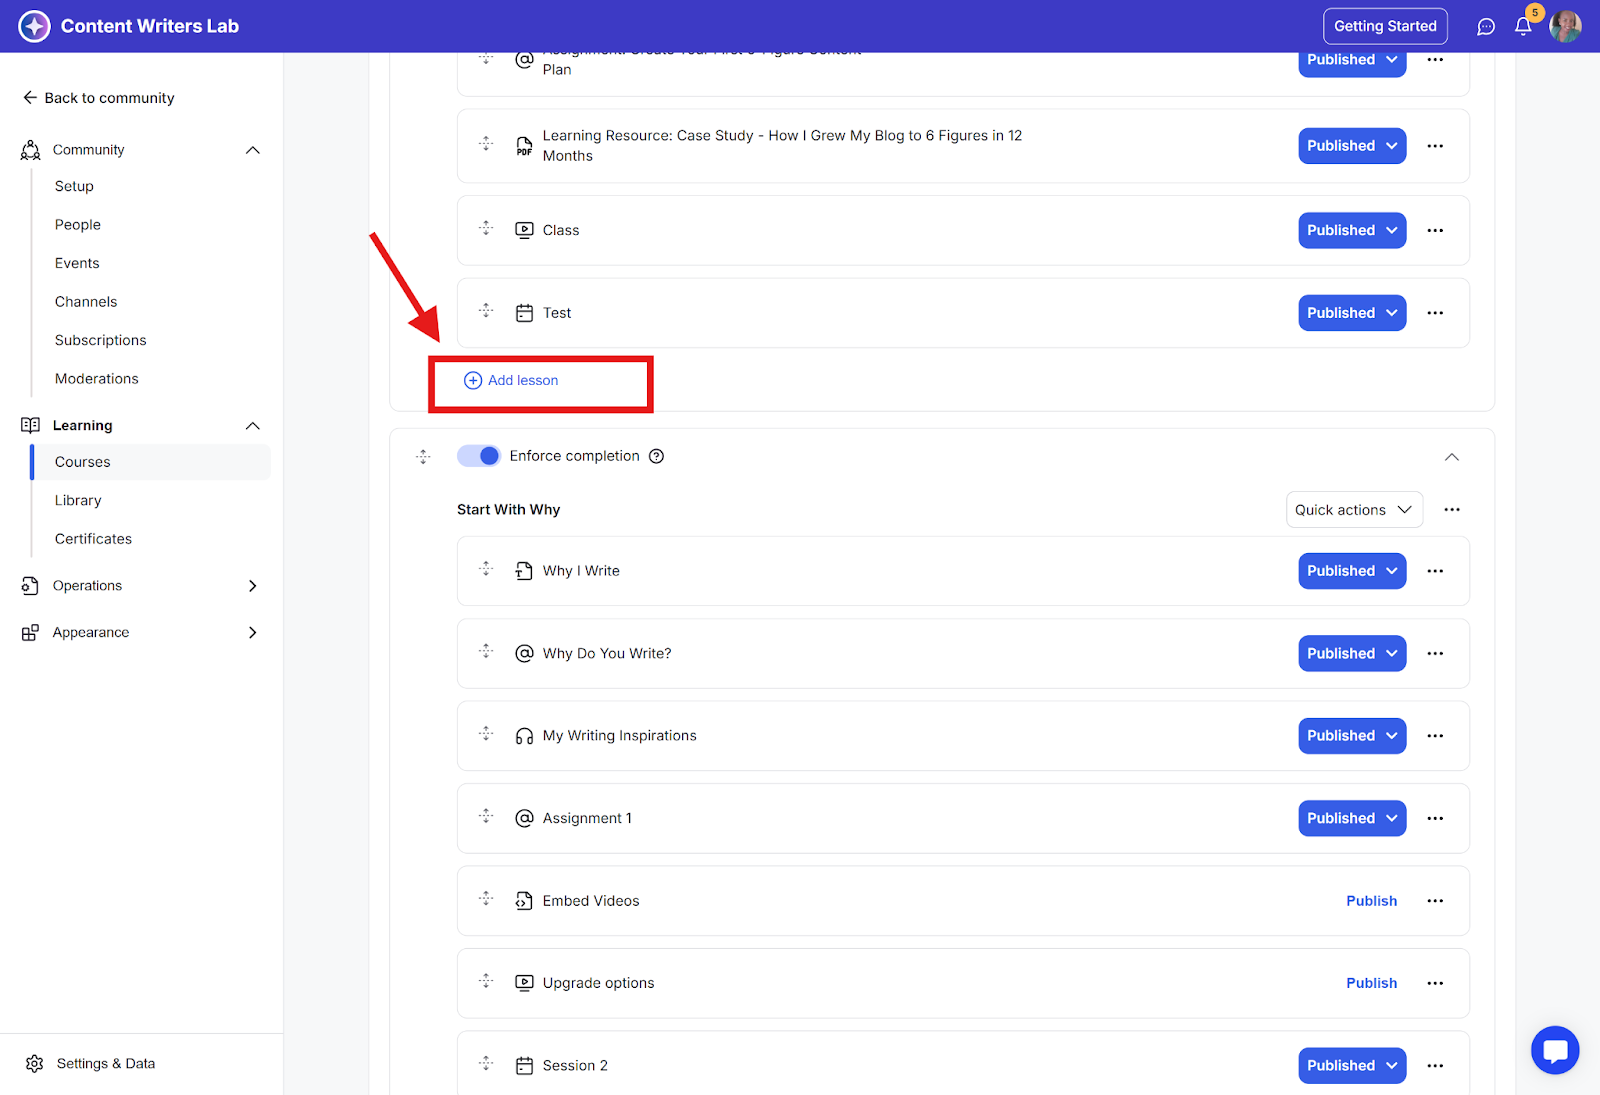
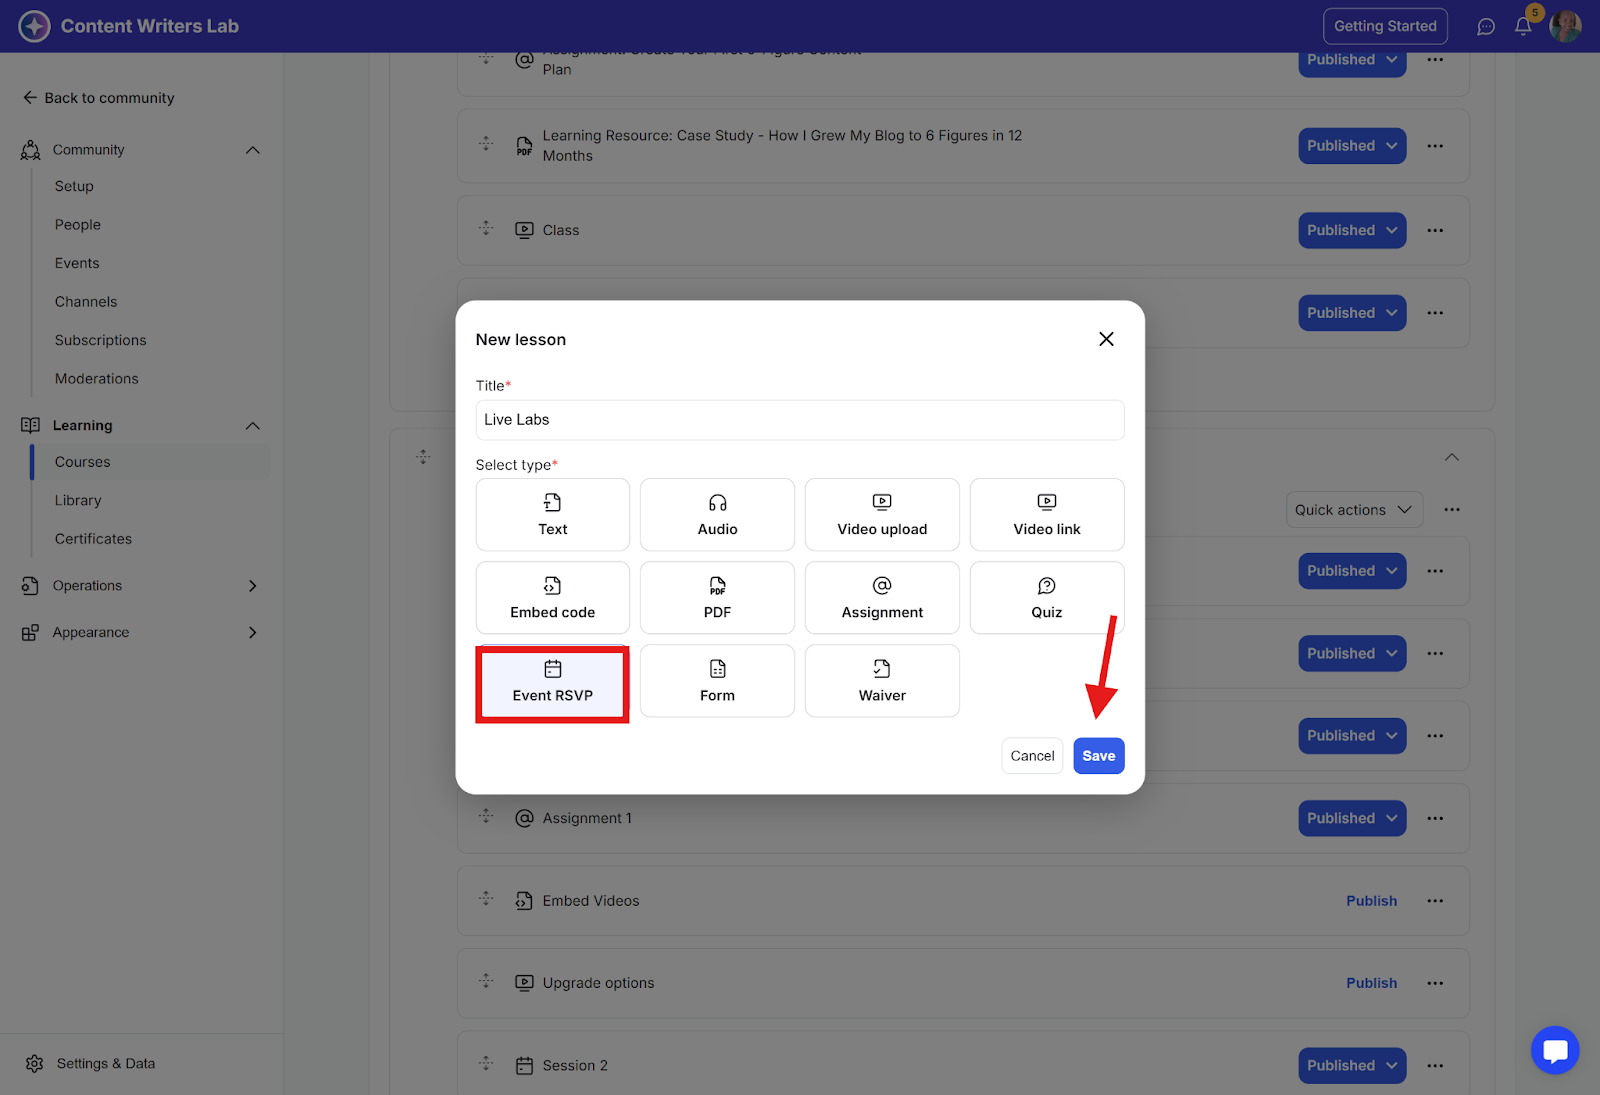
Step 7: Navigate to the course and create an Event RSVP type lesson.
Step 8: The lesson will be auto-populated with the linked events.
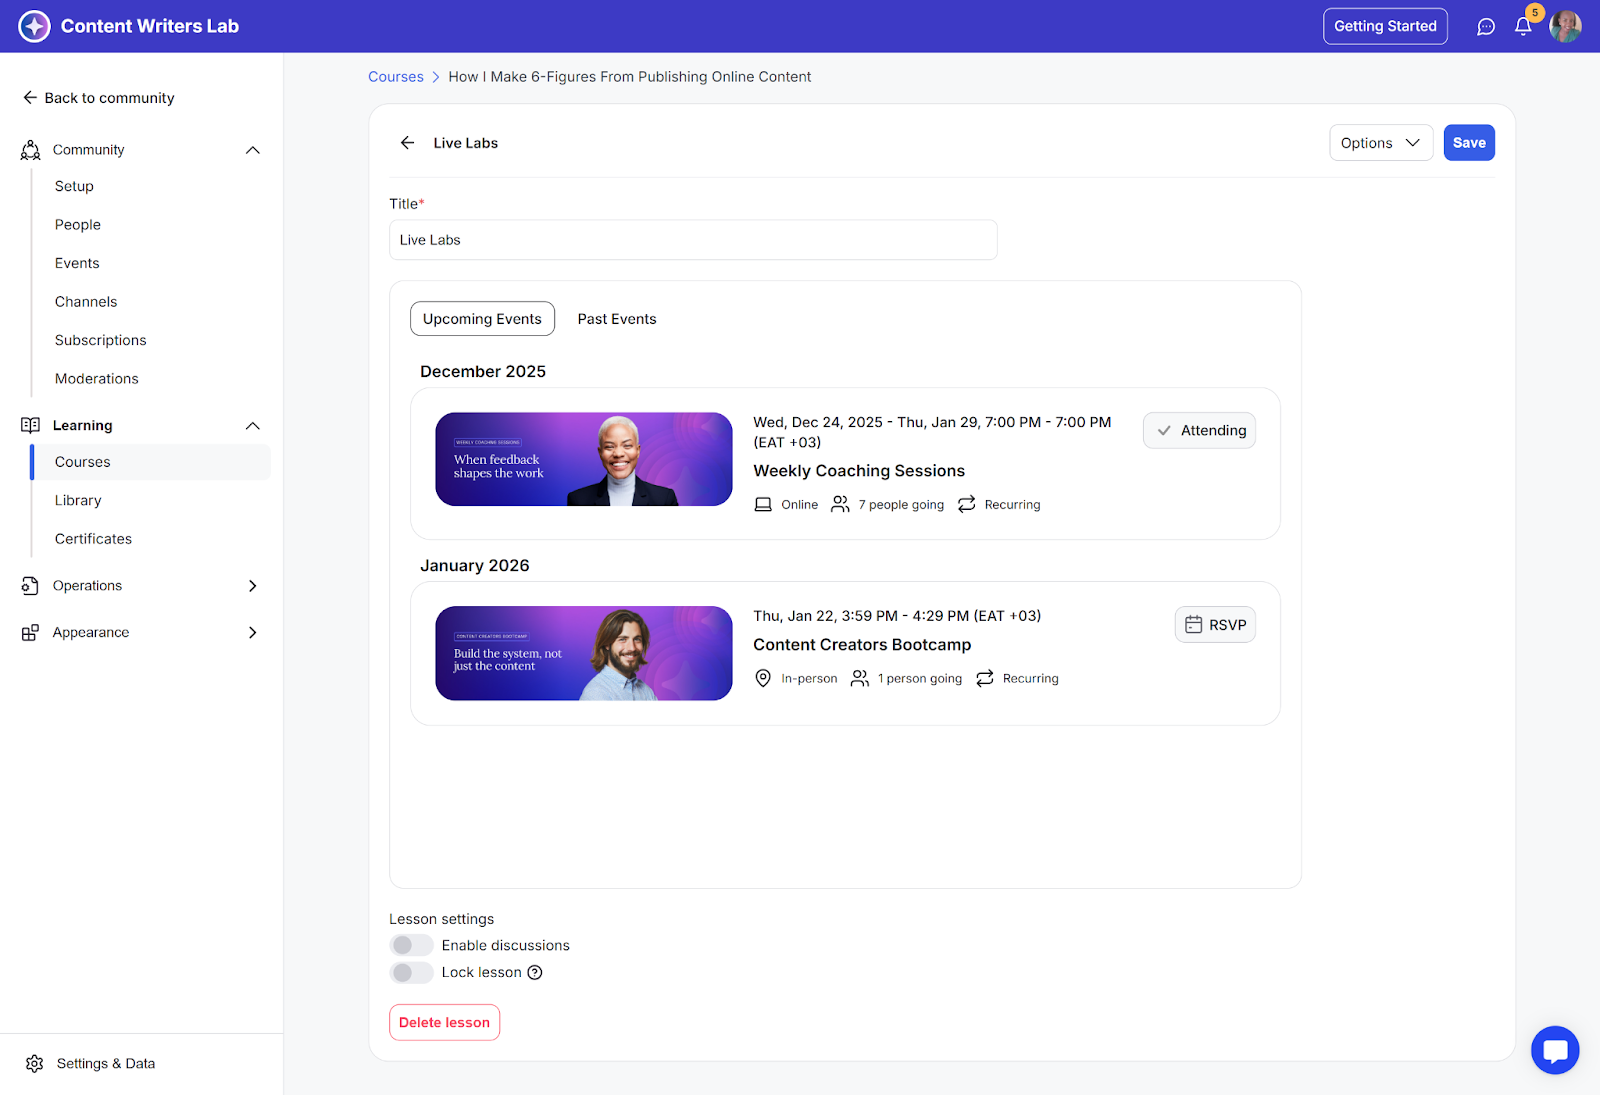
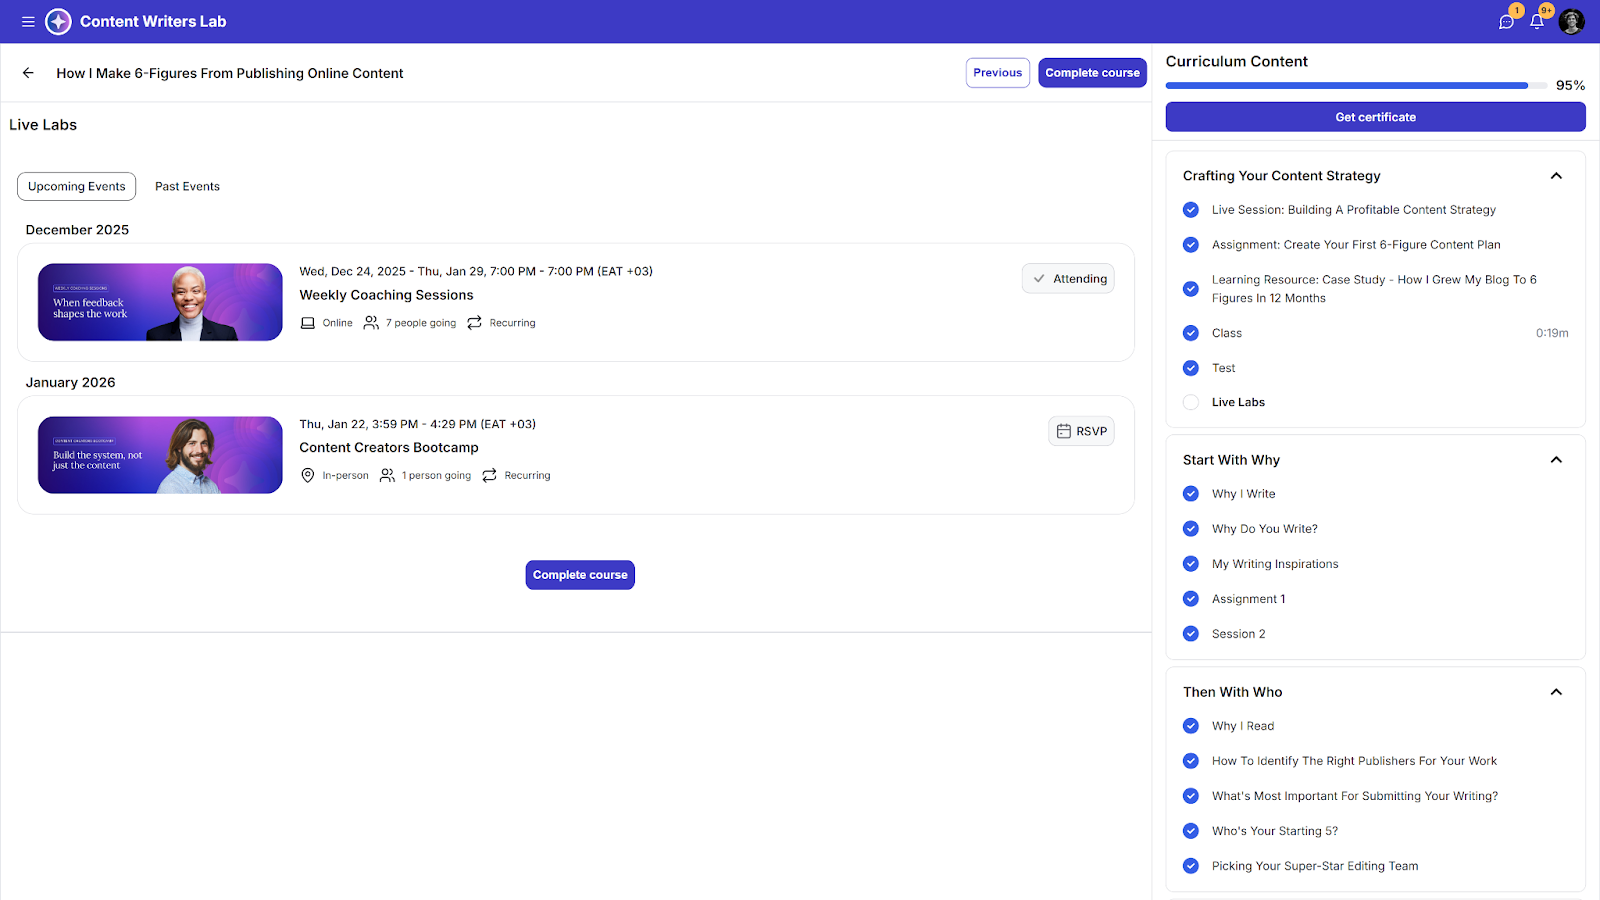
Step 9: This is how the events will appear on the event RSVP lesson on the lecture page while the student is taking the course.