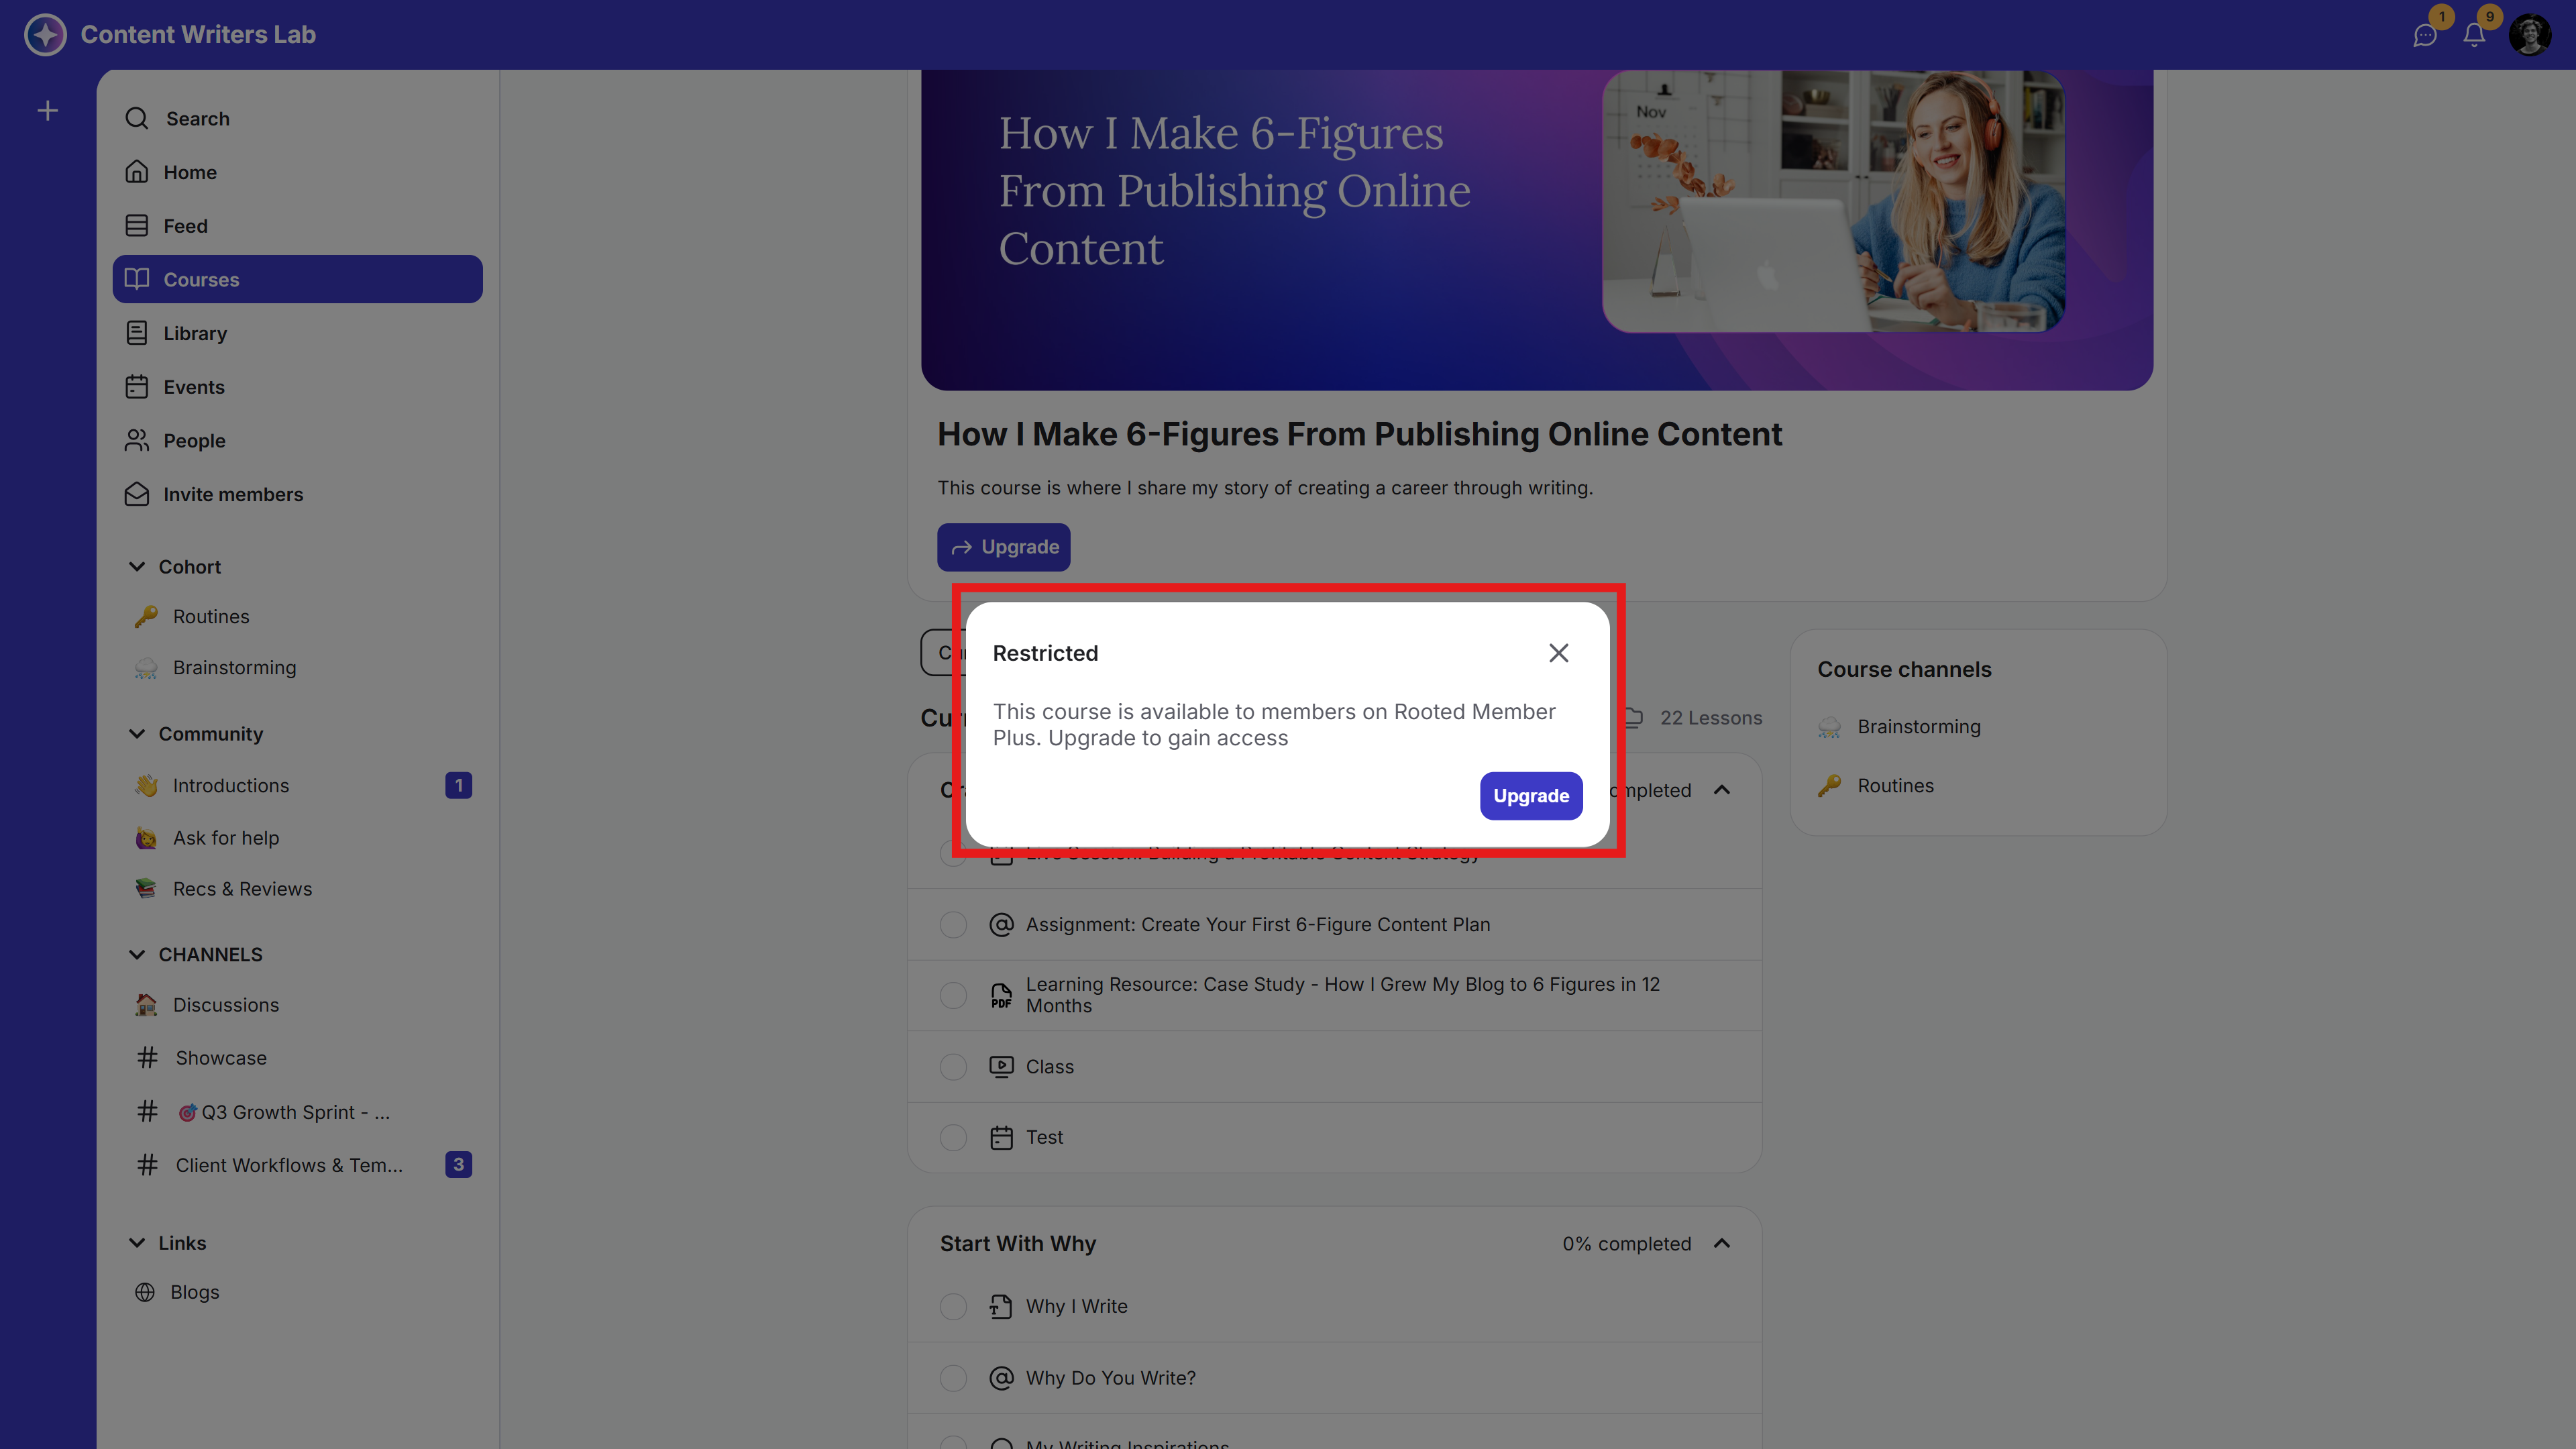
A lock screen is a gated view that appears when a member tries to access content they don’t have permission to see. Instead of the resource, members without access will see the lock screen, where you can control what message, instructions, or upgrade options are shown.
Lock screens help you control access to resources and guide members toward upgrading their membership plans. You can use them to:
Restrict access to certain pages or resources.
Encourage members to upgrade for more content.
Display instructions for accessing a resource.
Redirect members to an external URL.
Tease content to increase engagement.
Lock screens can be added to any resource: Course, Library Content, Channel, or Events. This guide shows how to set up a lock screen for a Course.
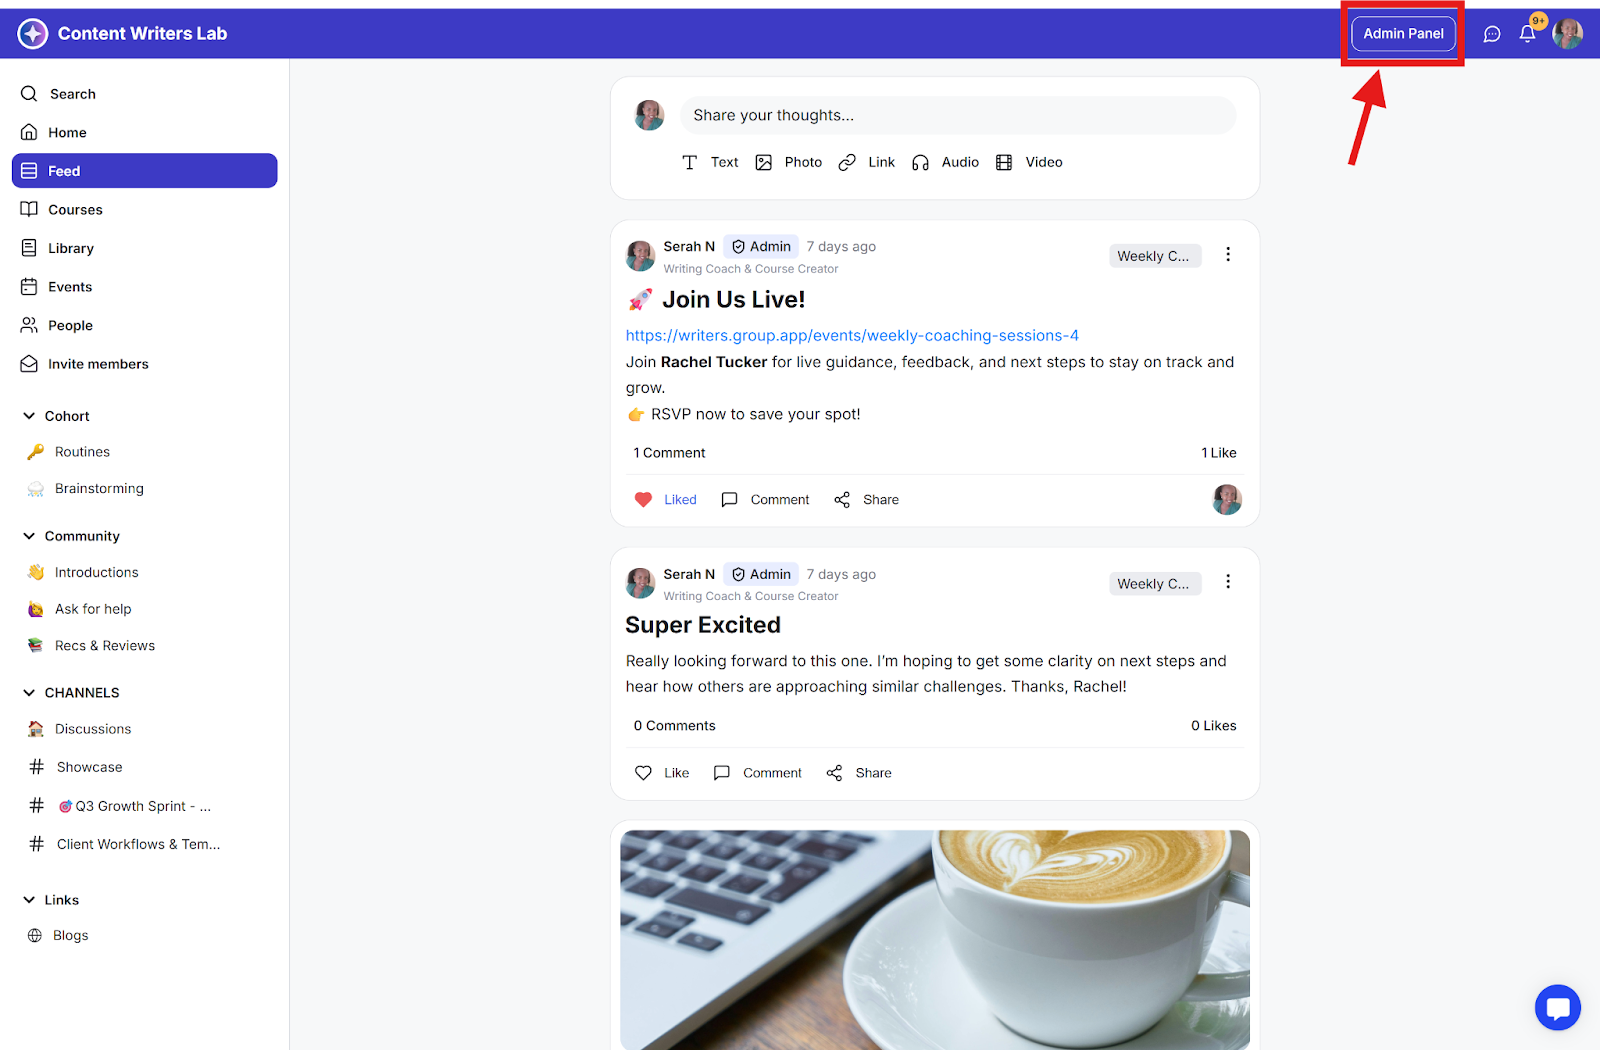
Step 1: Click the Admin Panel button.
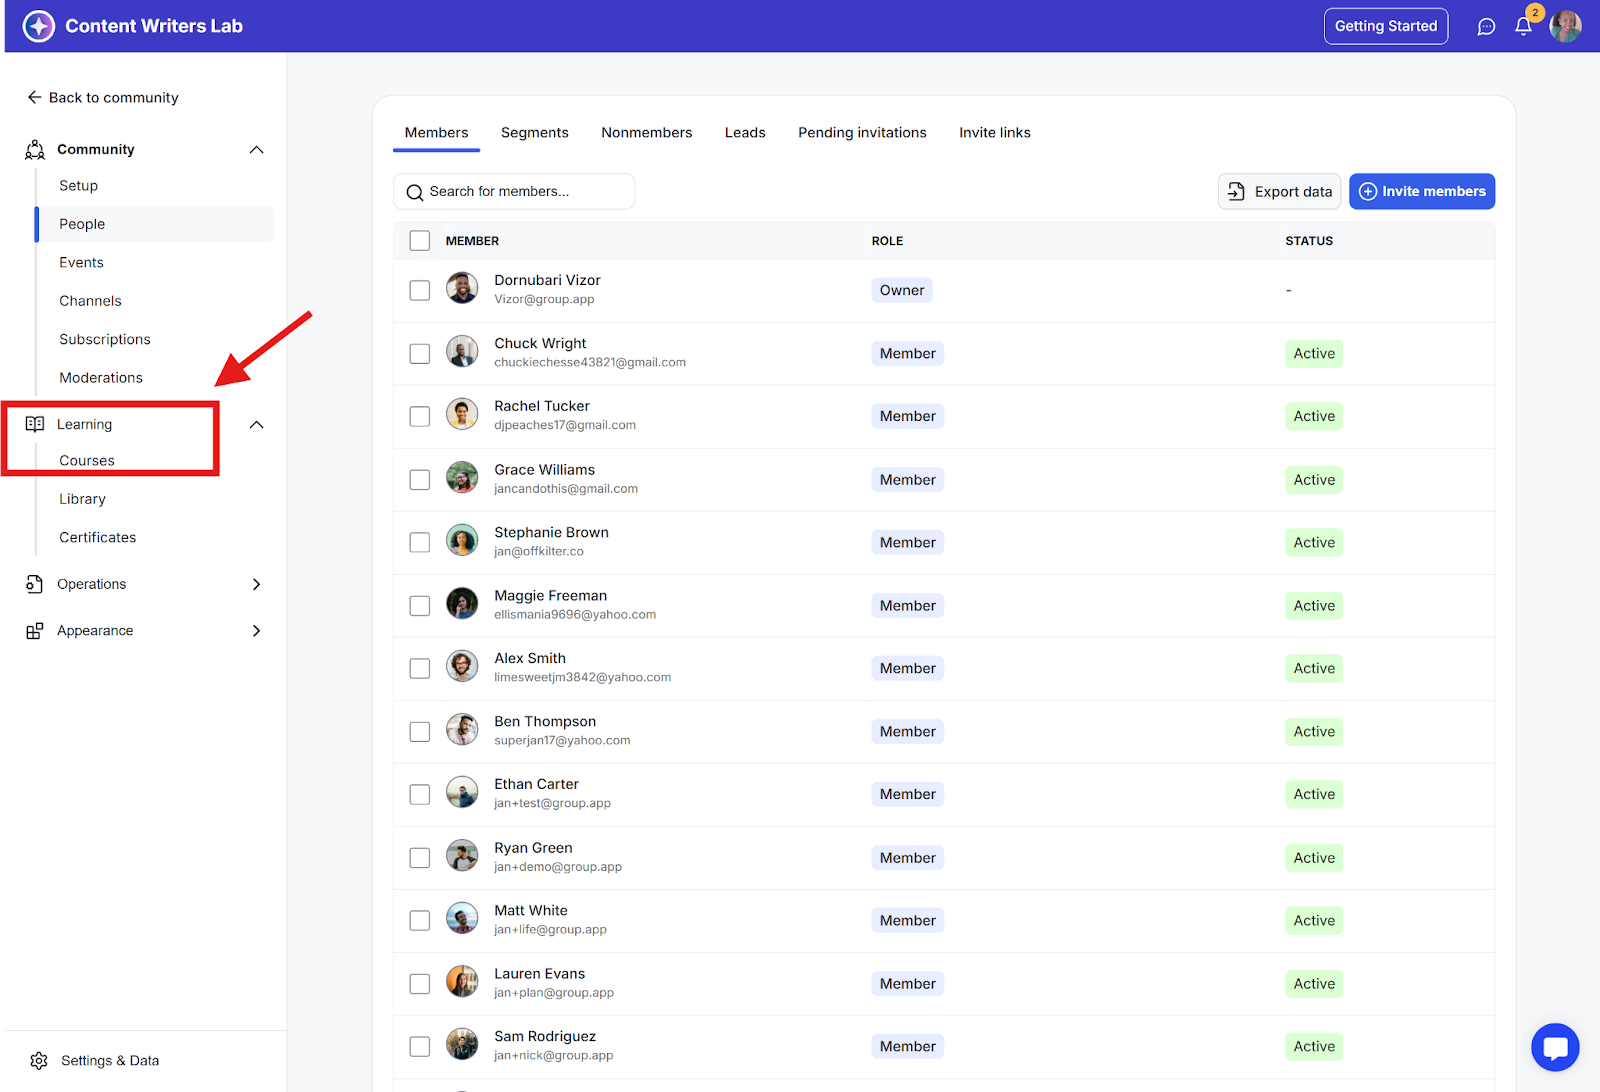
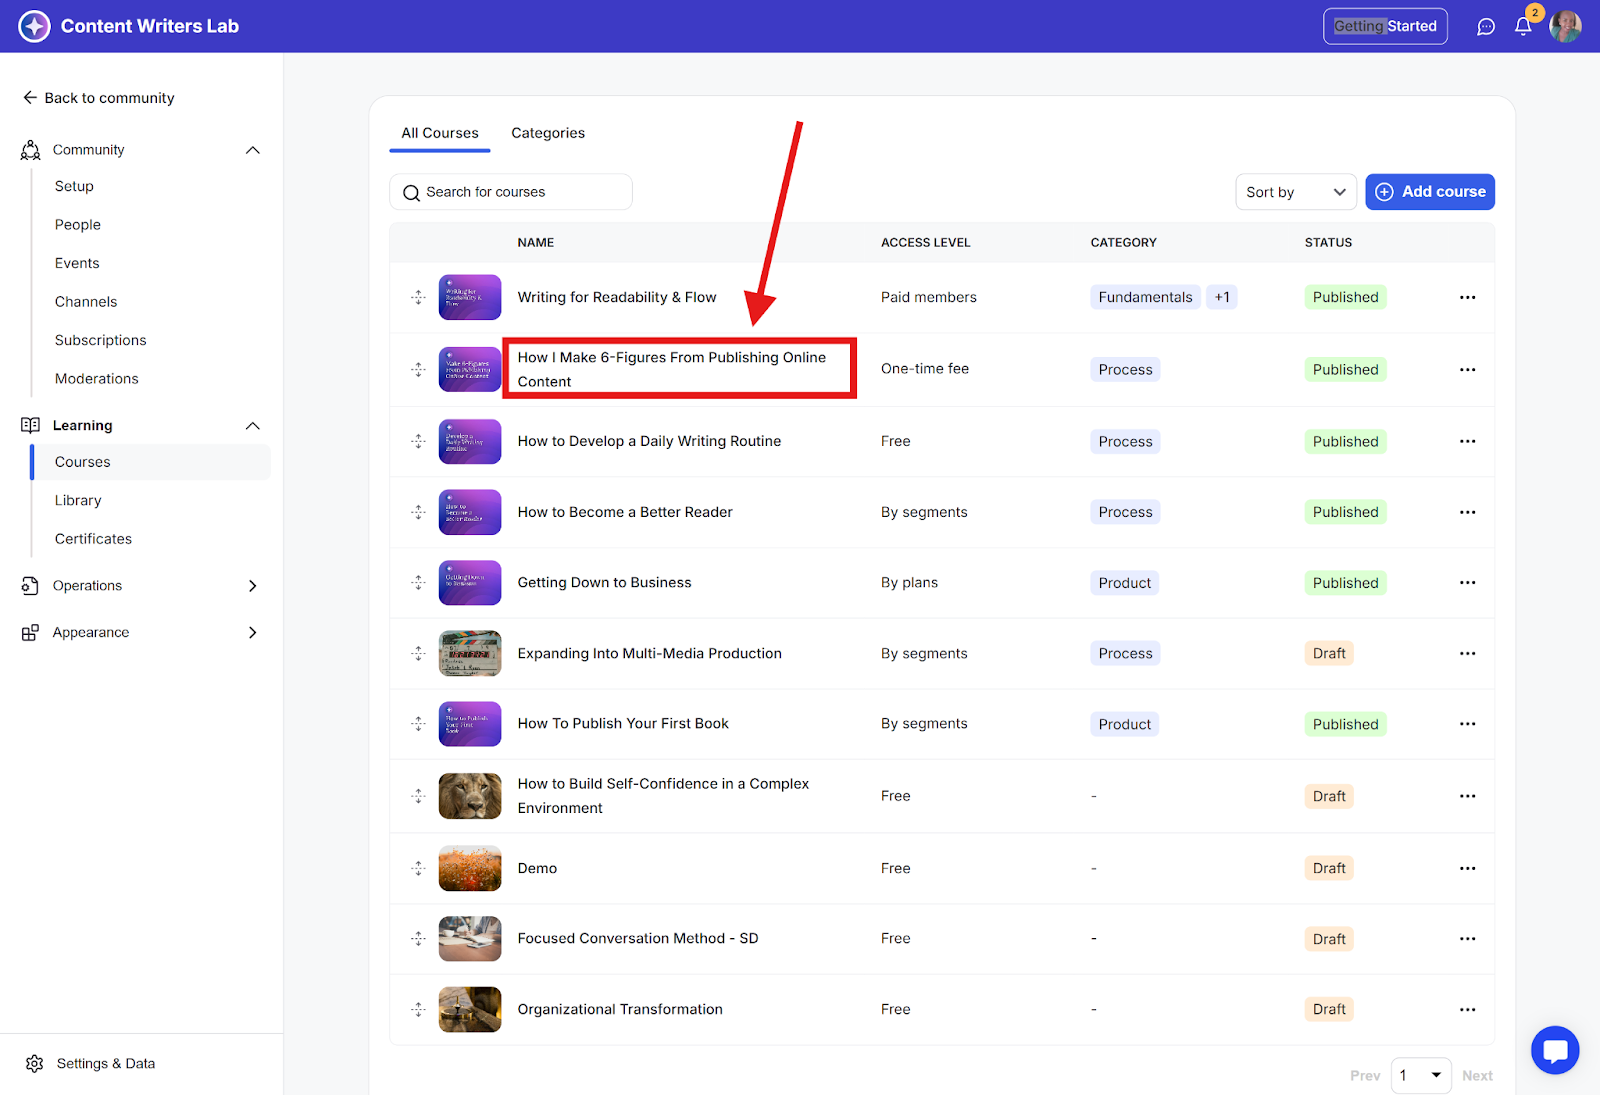
Step 2: In the left navigation menu, go to Learning and click Courses.
Step 3: From the list, click the course you want to apply the lock screen to.
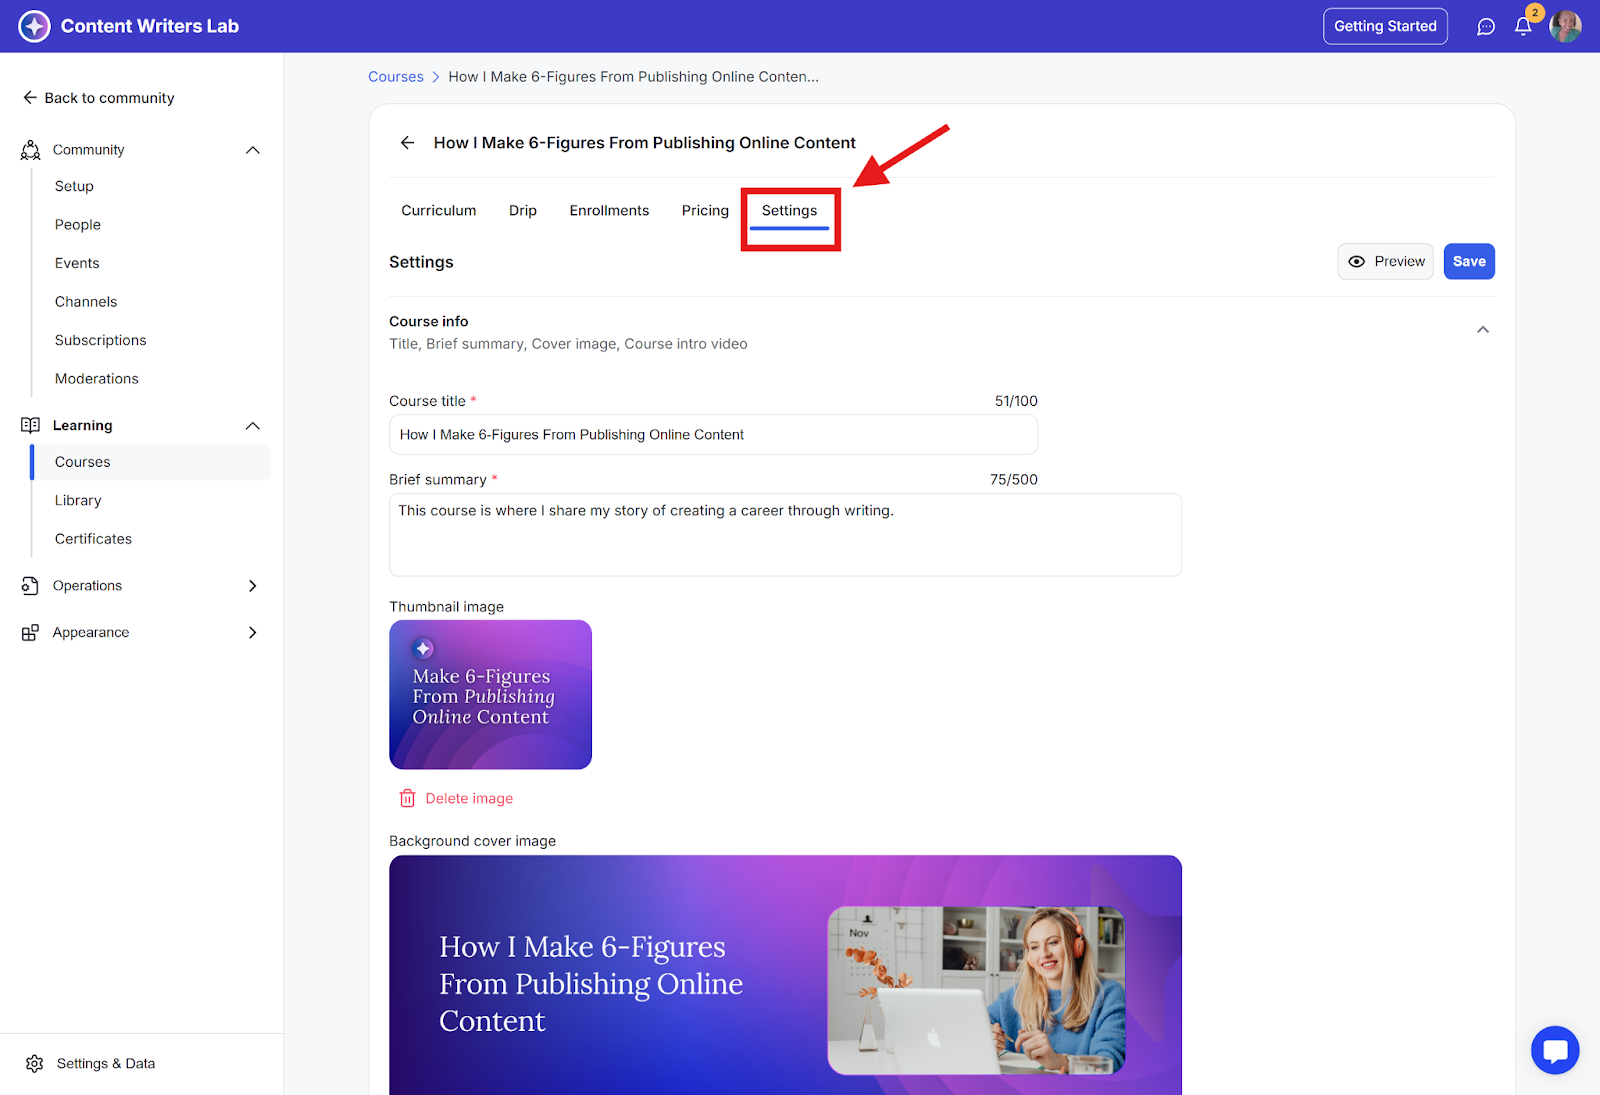
Step 4: Click the Settings tab.
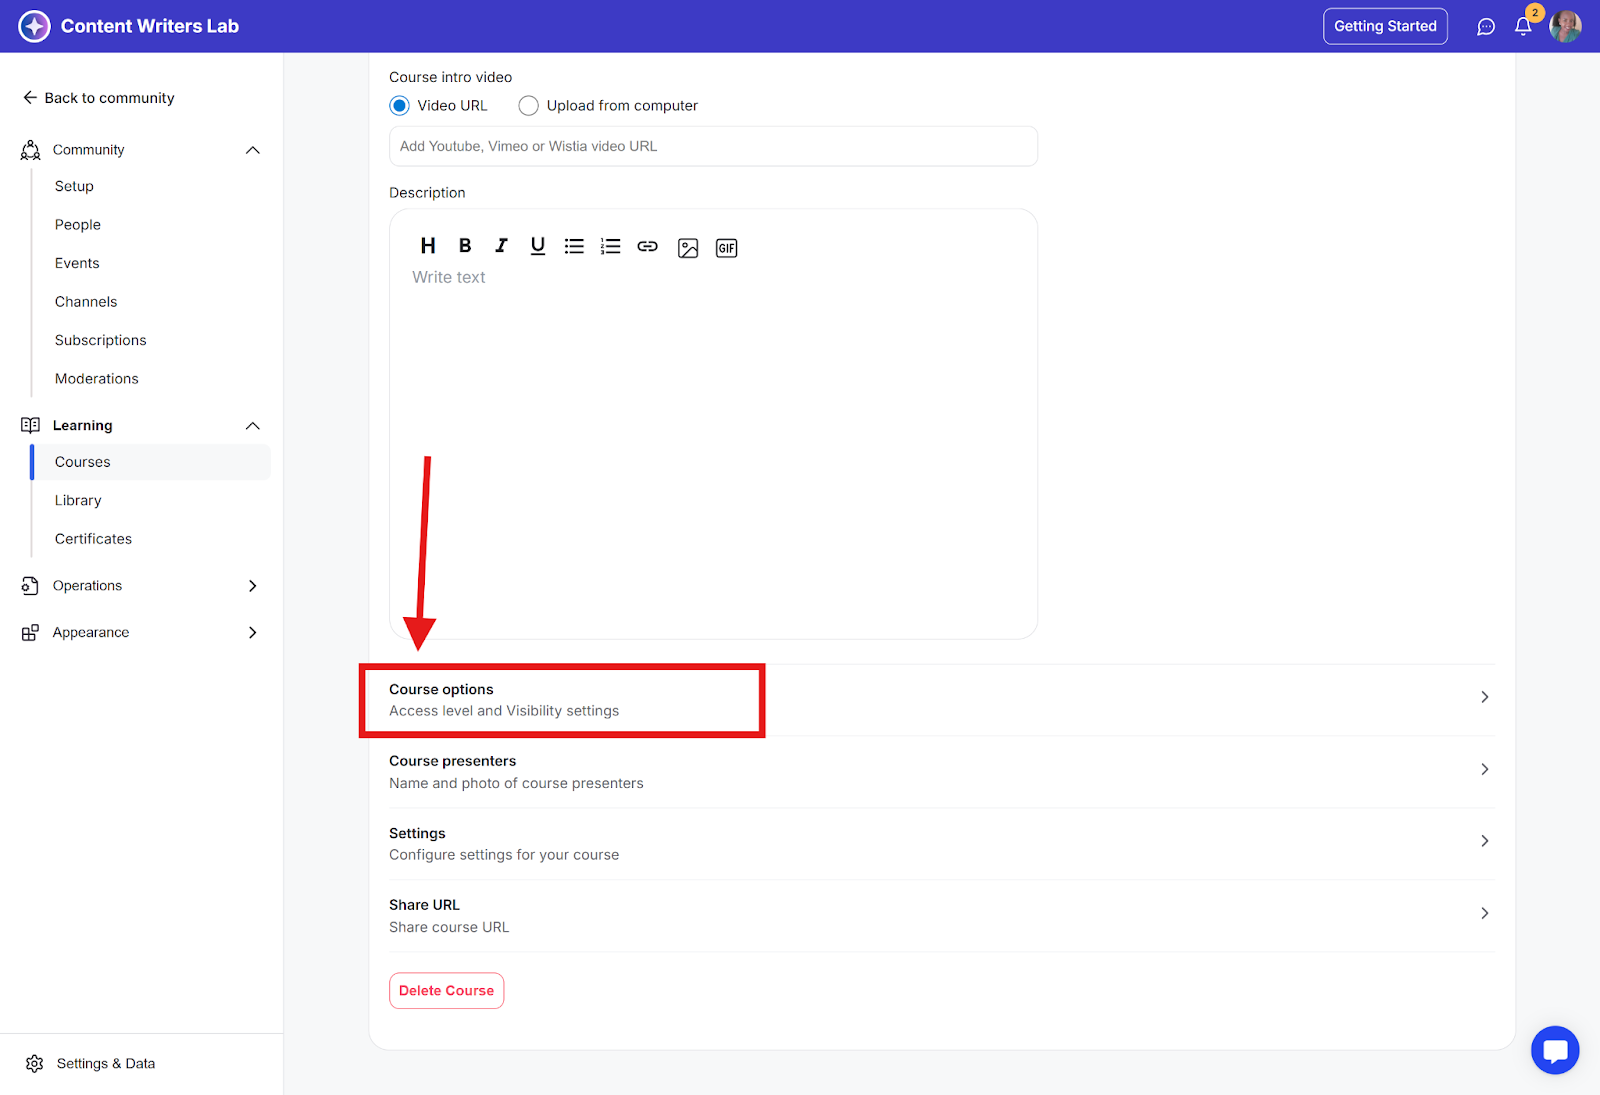
Step 5: Scroll down to the Course Options.
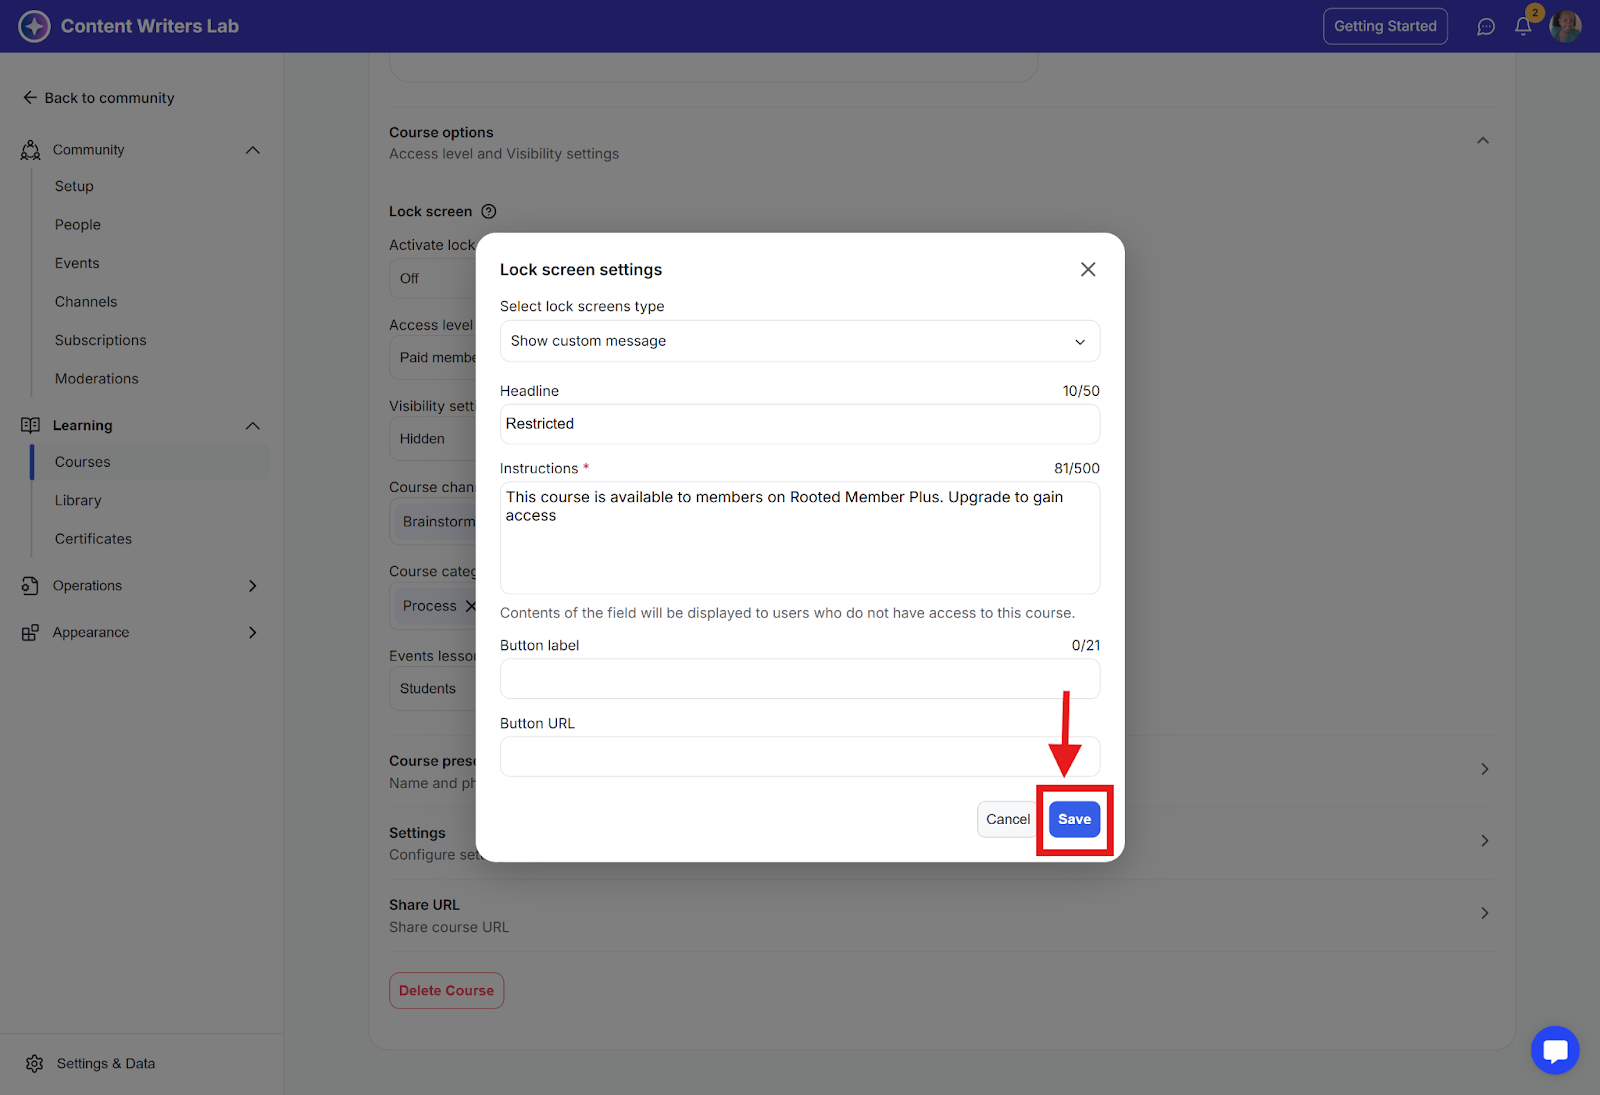
Step 6: Go to the Lock Screen option and select On from the drop-down menu. Fill in the following details:
Instructions: Text displayed below the “Restricted” header.
Button Label (optional): Text displayed on the button to redirect users.
Button URL (optional): Link where users are redirected after clicking the button.
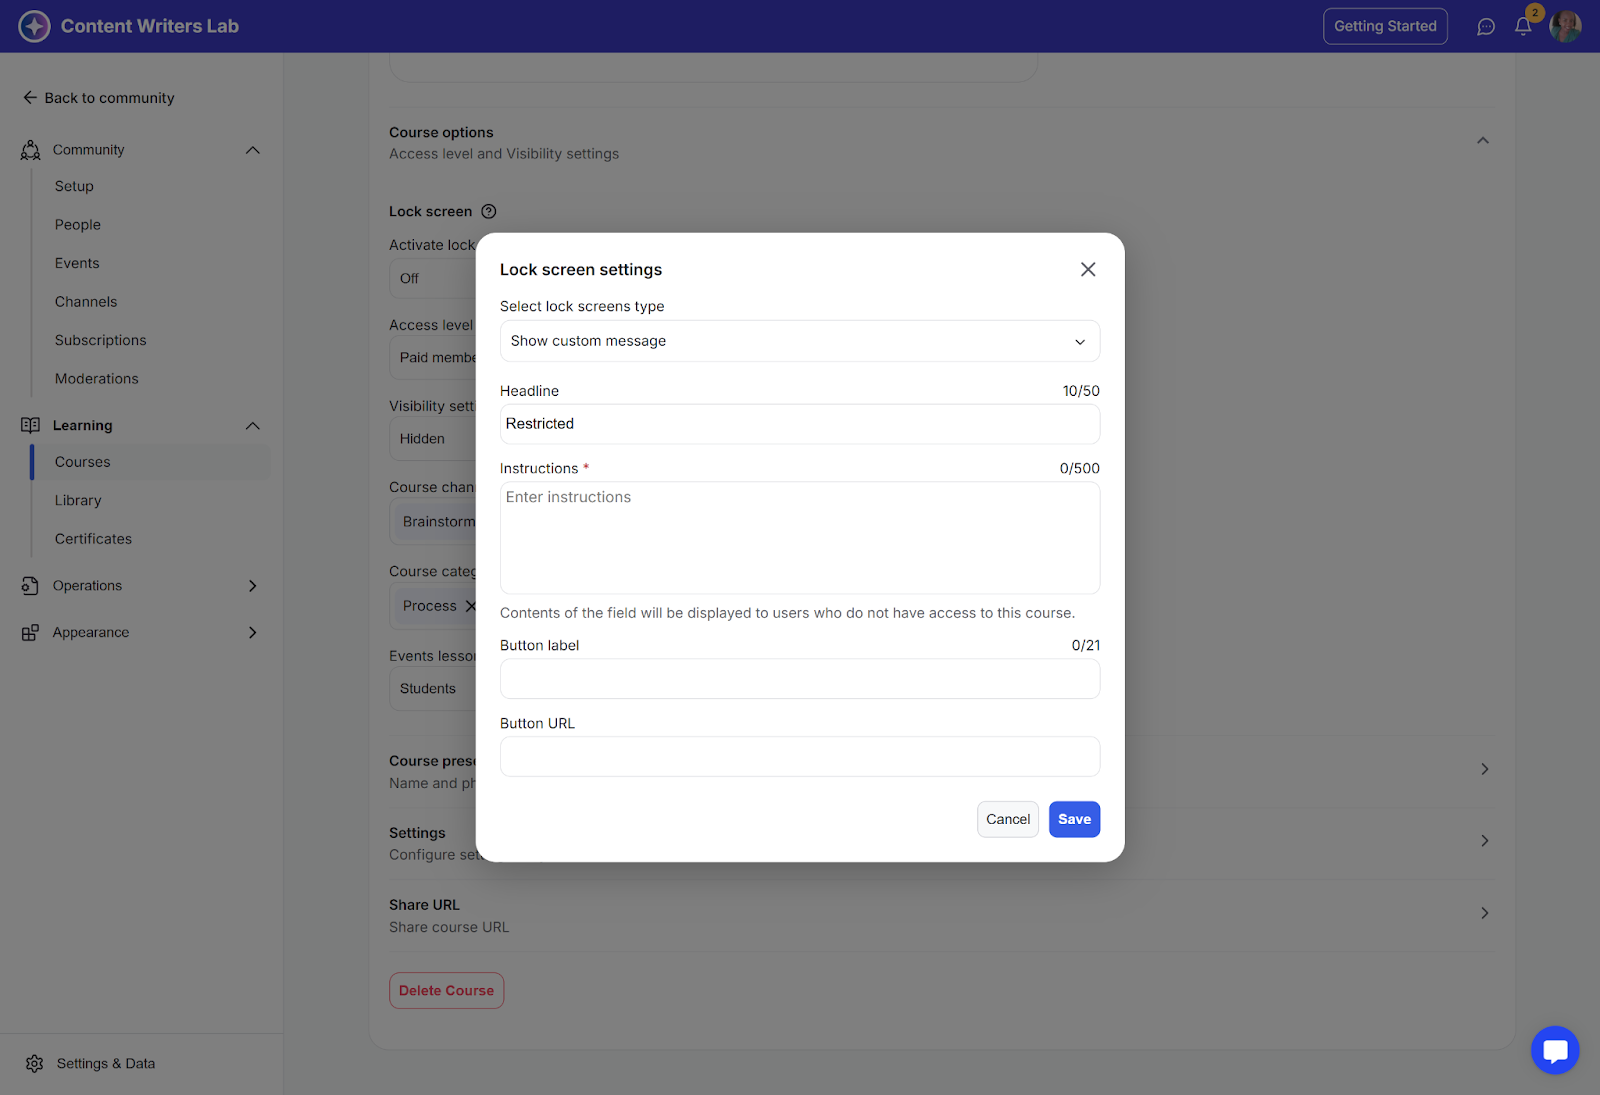
Step 7: Use the Select Lock Screen Type dropdown to choose how the lock screen behaves: either display a custom message to your members or redirect them to a specific URL.
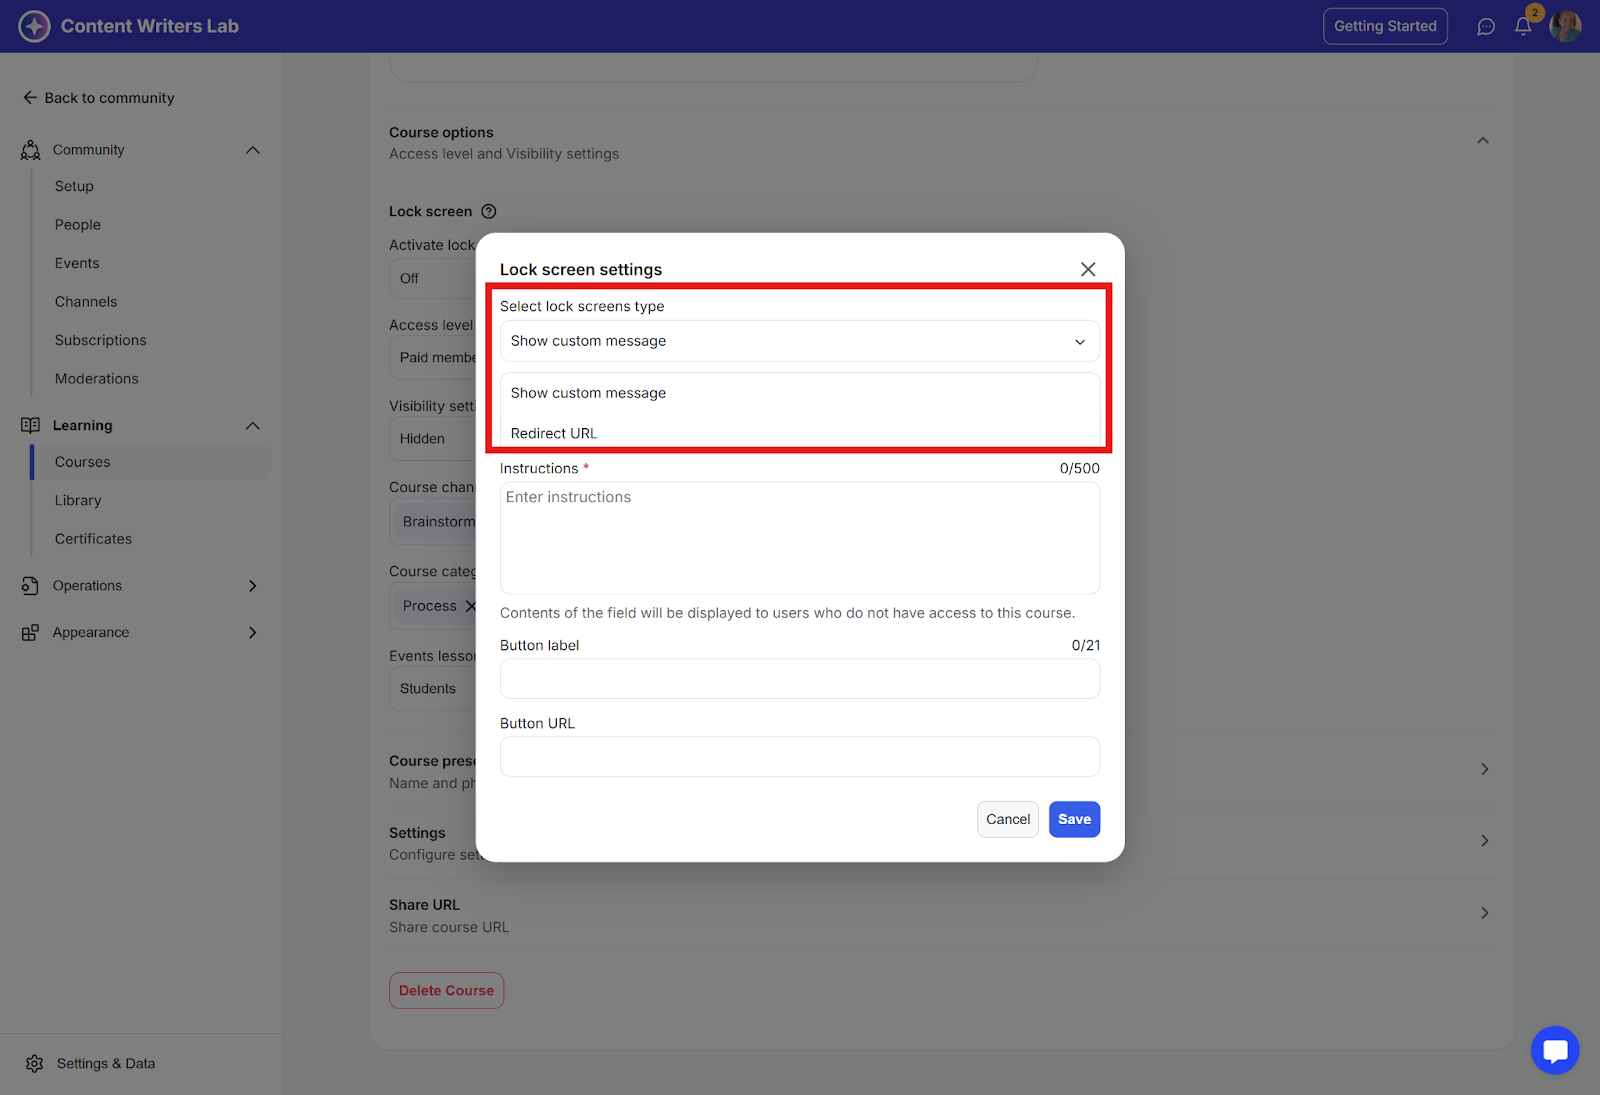
Step 8: Click Save to apply your lock screen settings.