Inviting people to join your community using custom invites allows you to preconfigure access to courses, channels, and resources within your community without needing to know their specific email addresses.
It is especially useful when inviting specific groups of people, such as students belonging to a course cohort or employees of an organization.
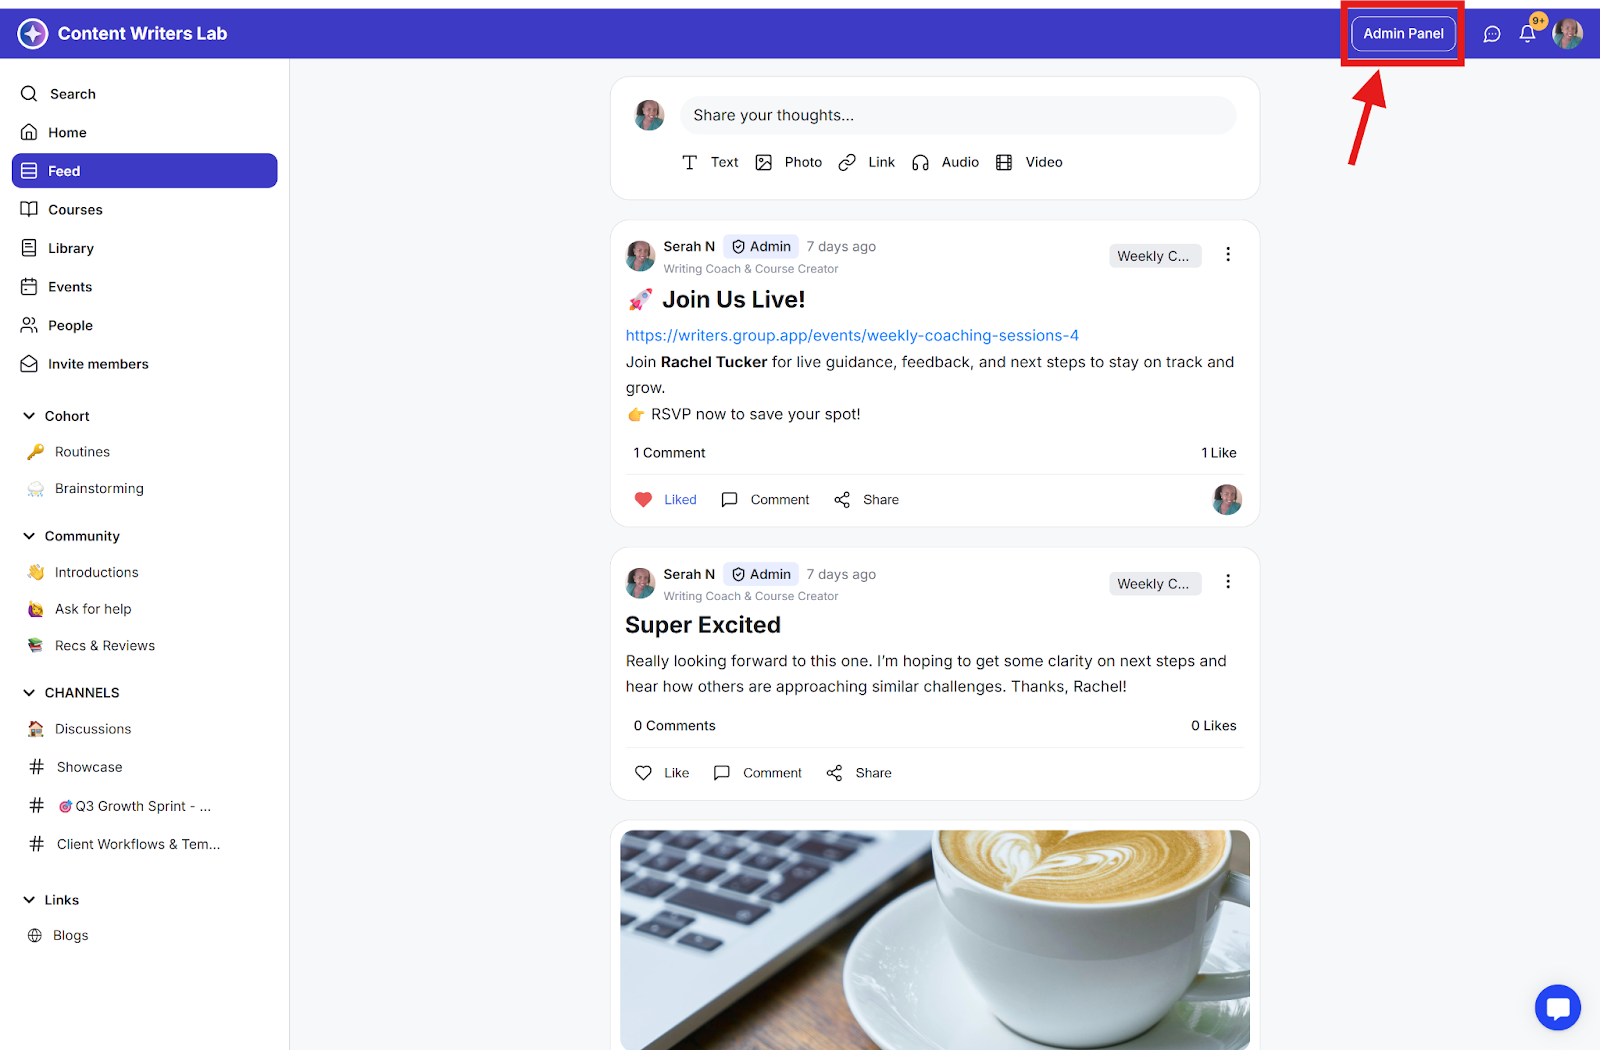
Step 1: Click the Admin Panel button.
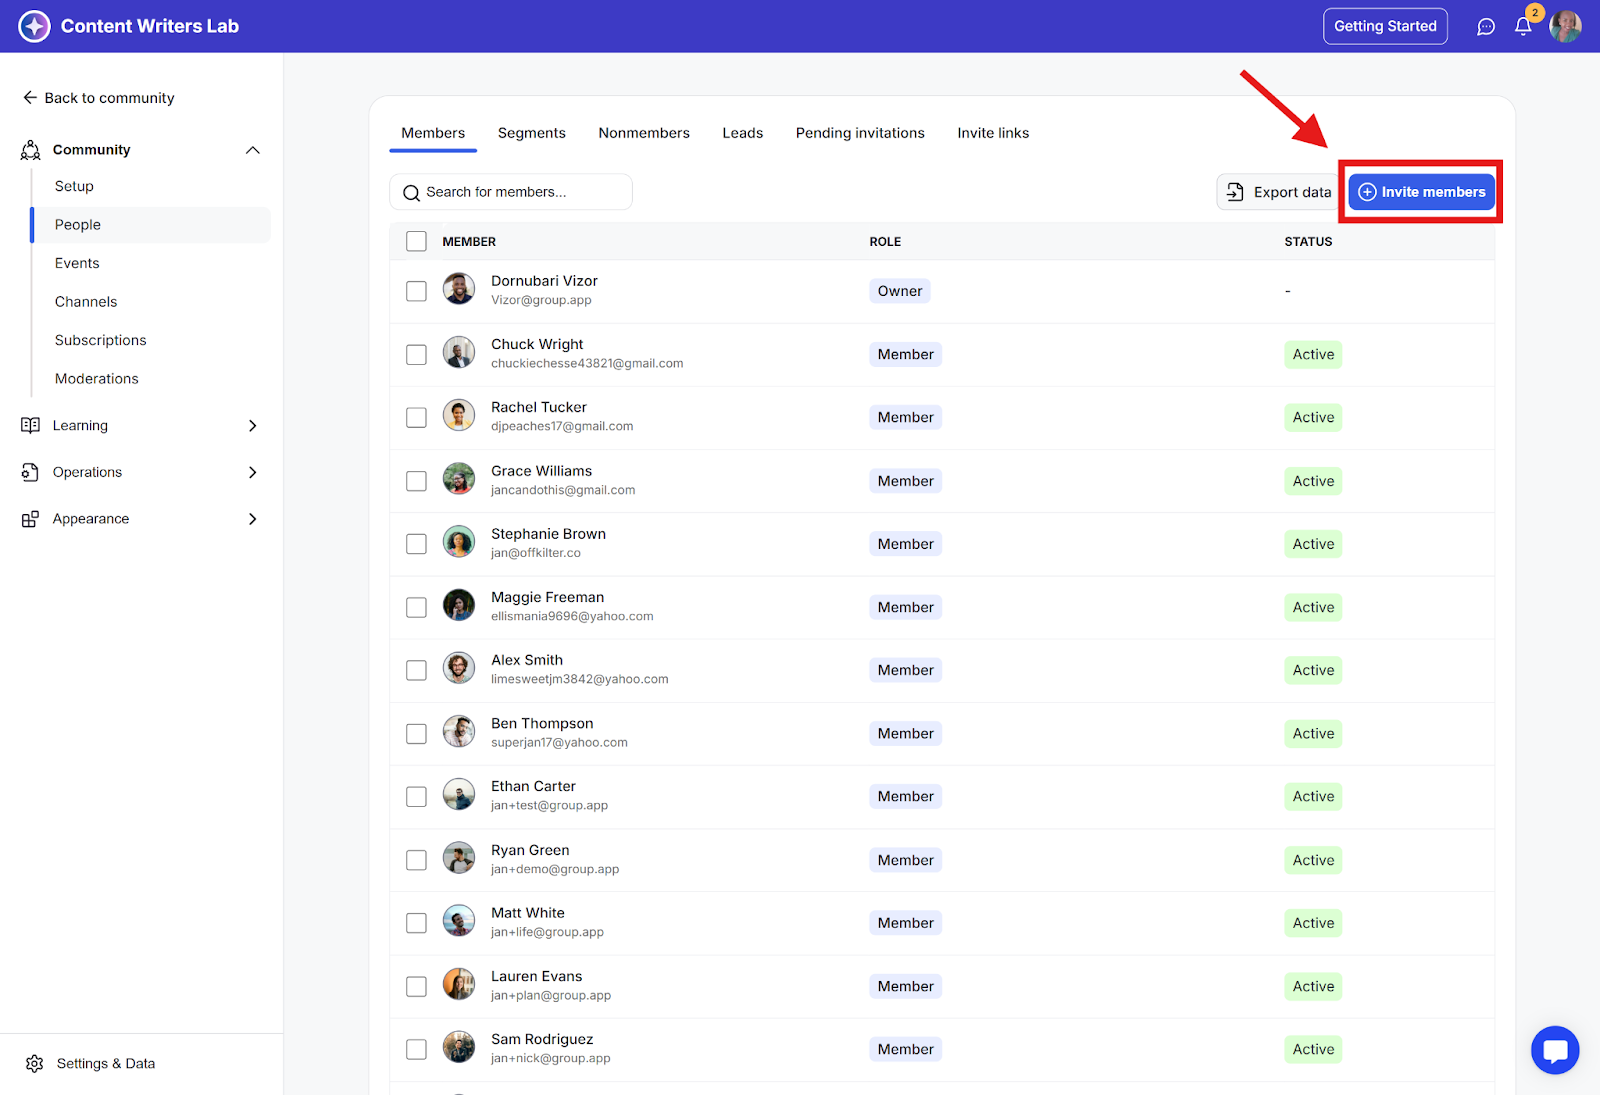
Step 2: Click People on the side menu, then click on the Invite Members button.
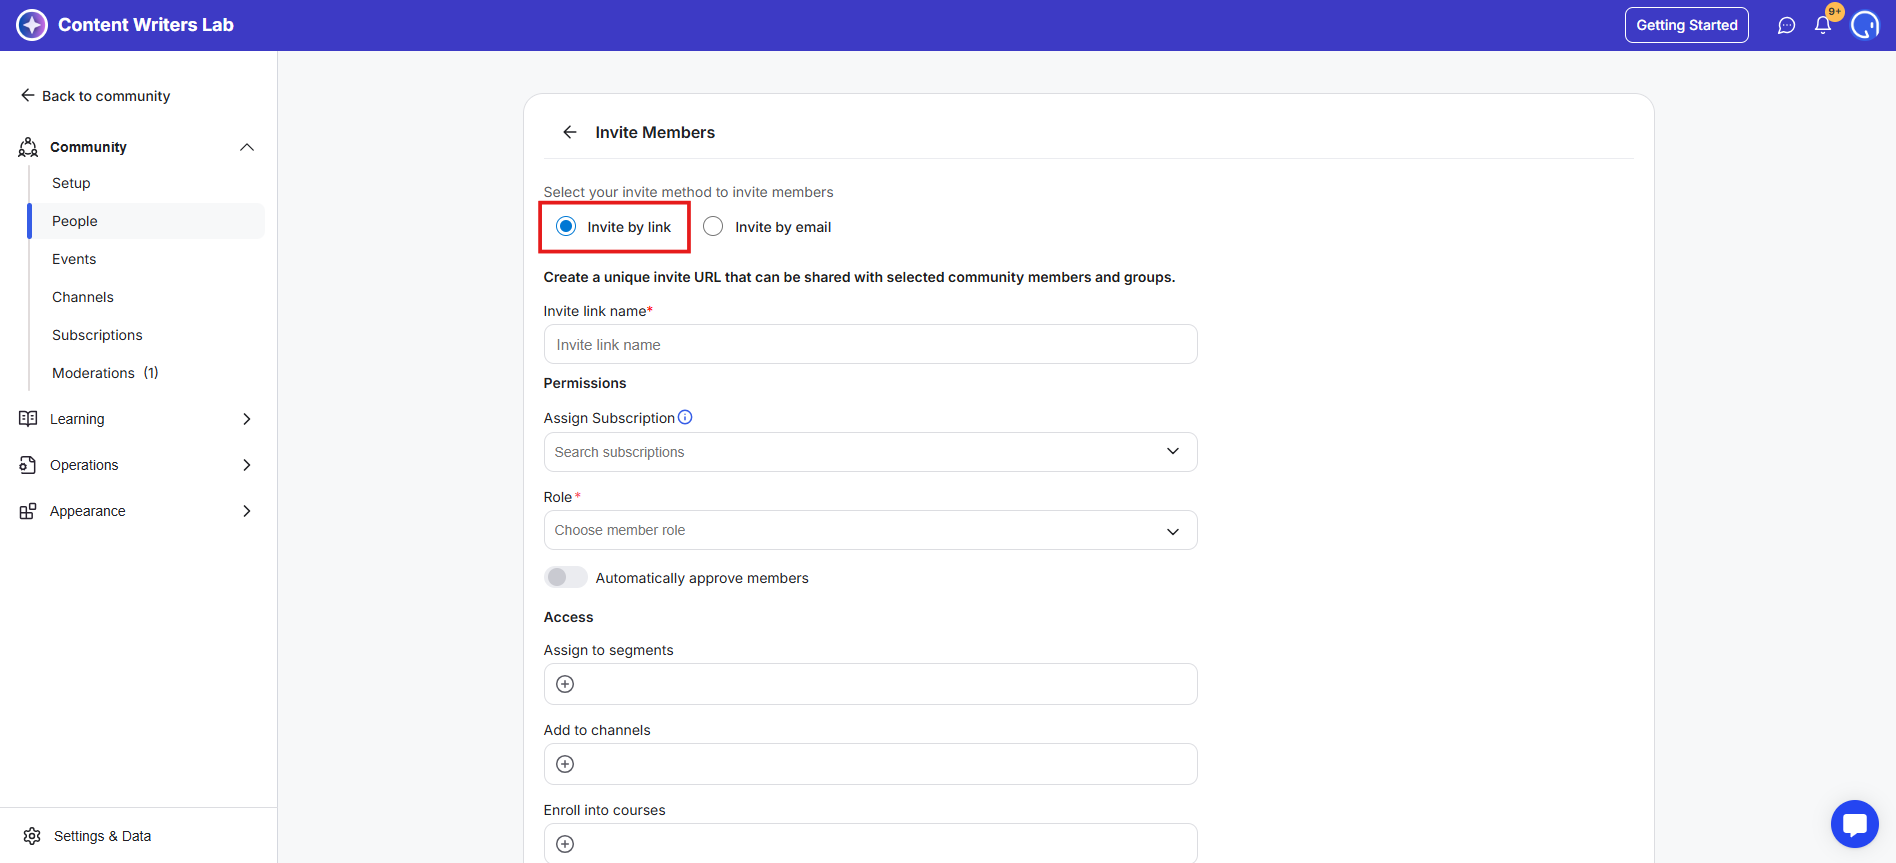
Step 3: Click the Invite by Link option.
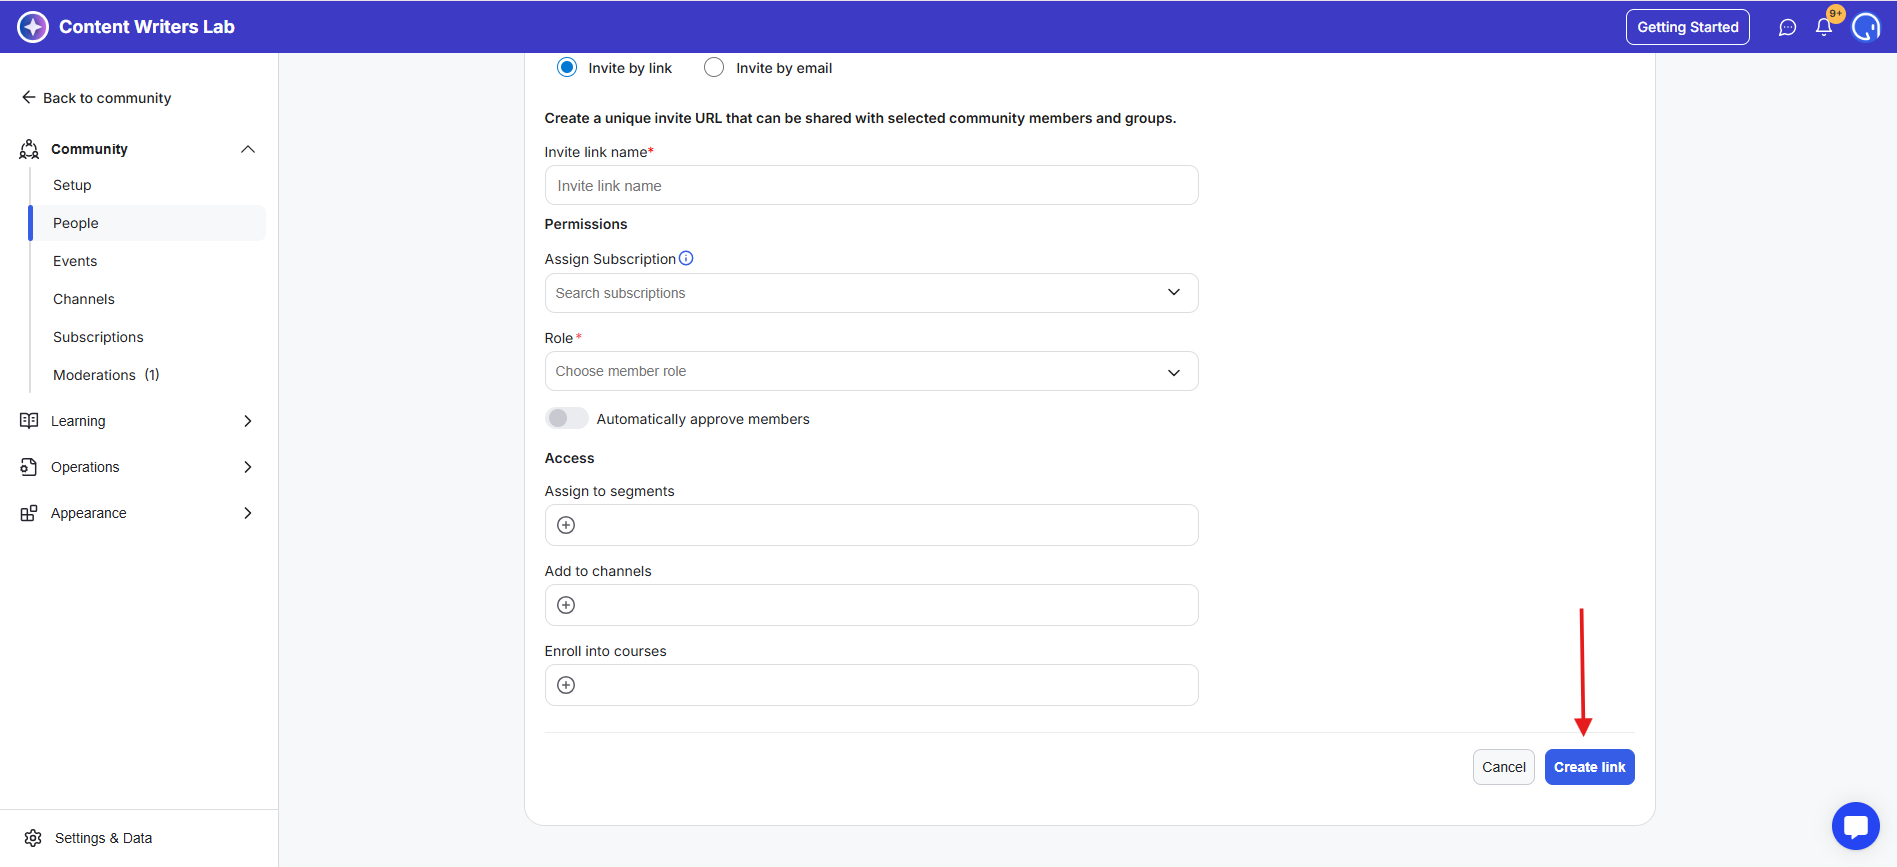
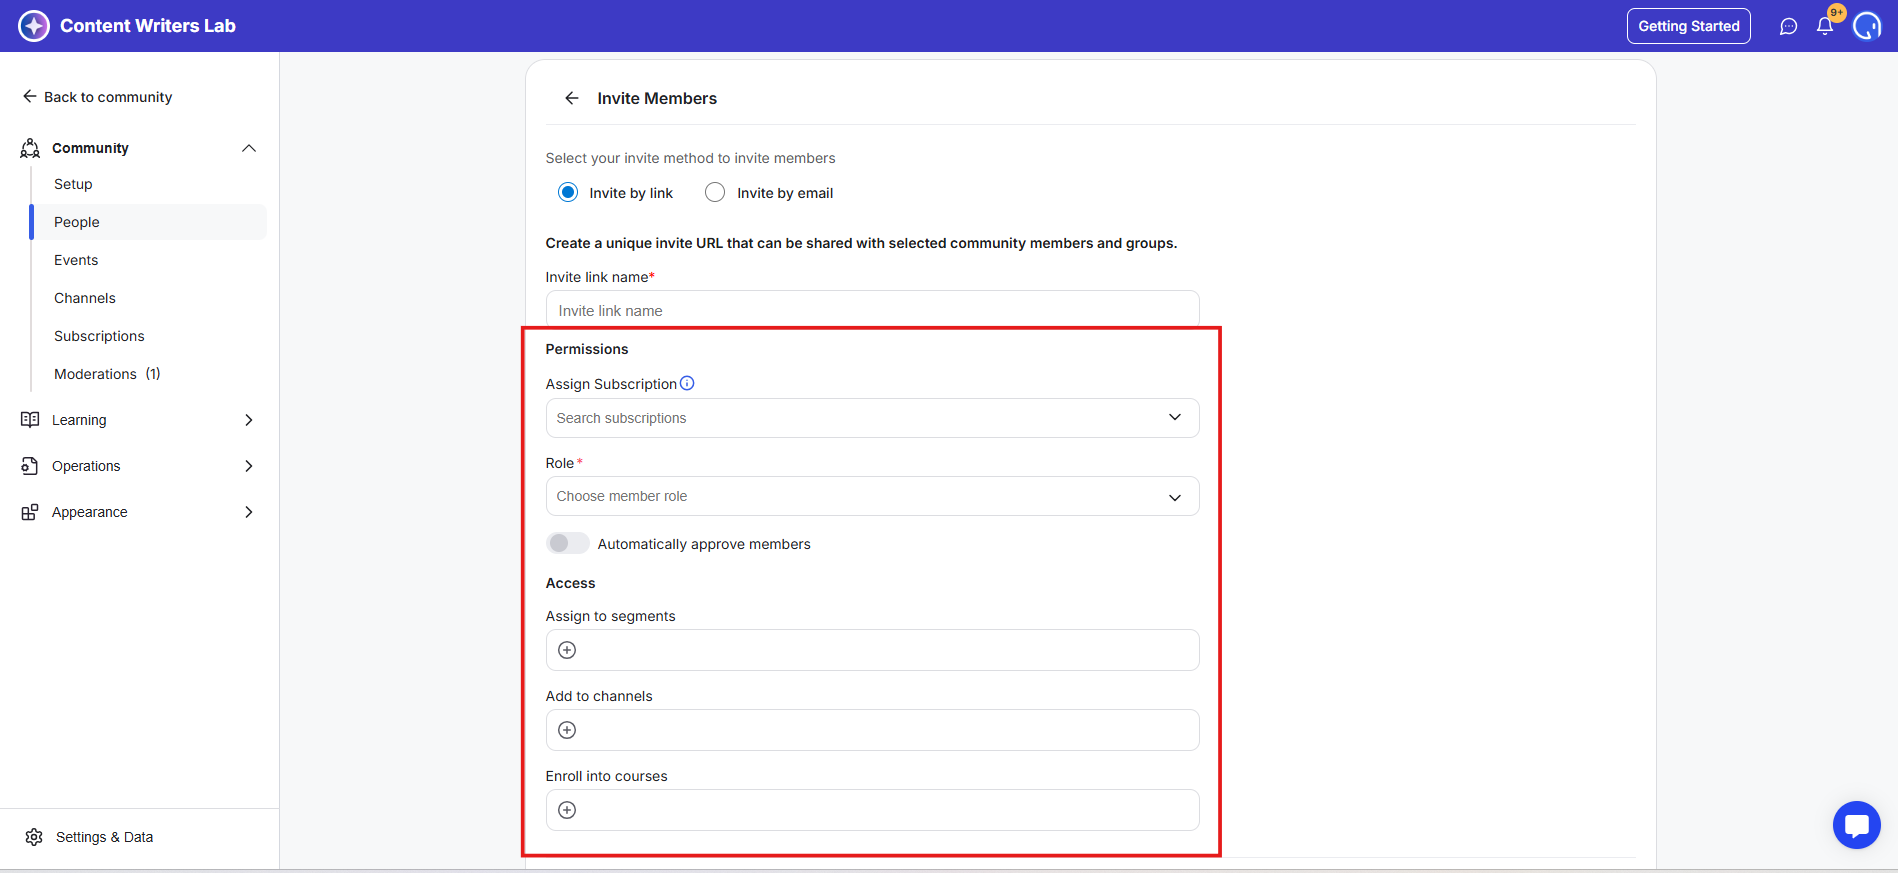
Step 4: You will have to complete the following fields before creating the invite link:
Invite link name: This will be the name of the invite link.
Role: You can assign a role to the invited member within your community. There are three options:
Admin
Moderator
Member
Assign Subscription: You can assign a specific membership subscription plan to an invitation. Invited members will then see this subscription plan during the sign-up process.
Automatically approve members: When this option is turned on, membership requests are automatically approved as soon as users sign up for your community.
Assign to segments: After completing the sign-up process, the invited member will be added to the community segments that you select.
Add to channels: After completing the sign-up process, the invited member will be added and given access to the channel that you select.
Enroll into courses: After completing the sign-up process, invited members will be automatically enrolled in the courses you select.
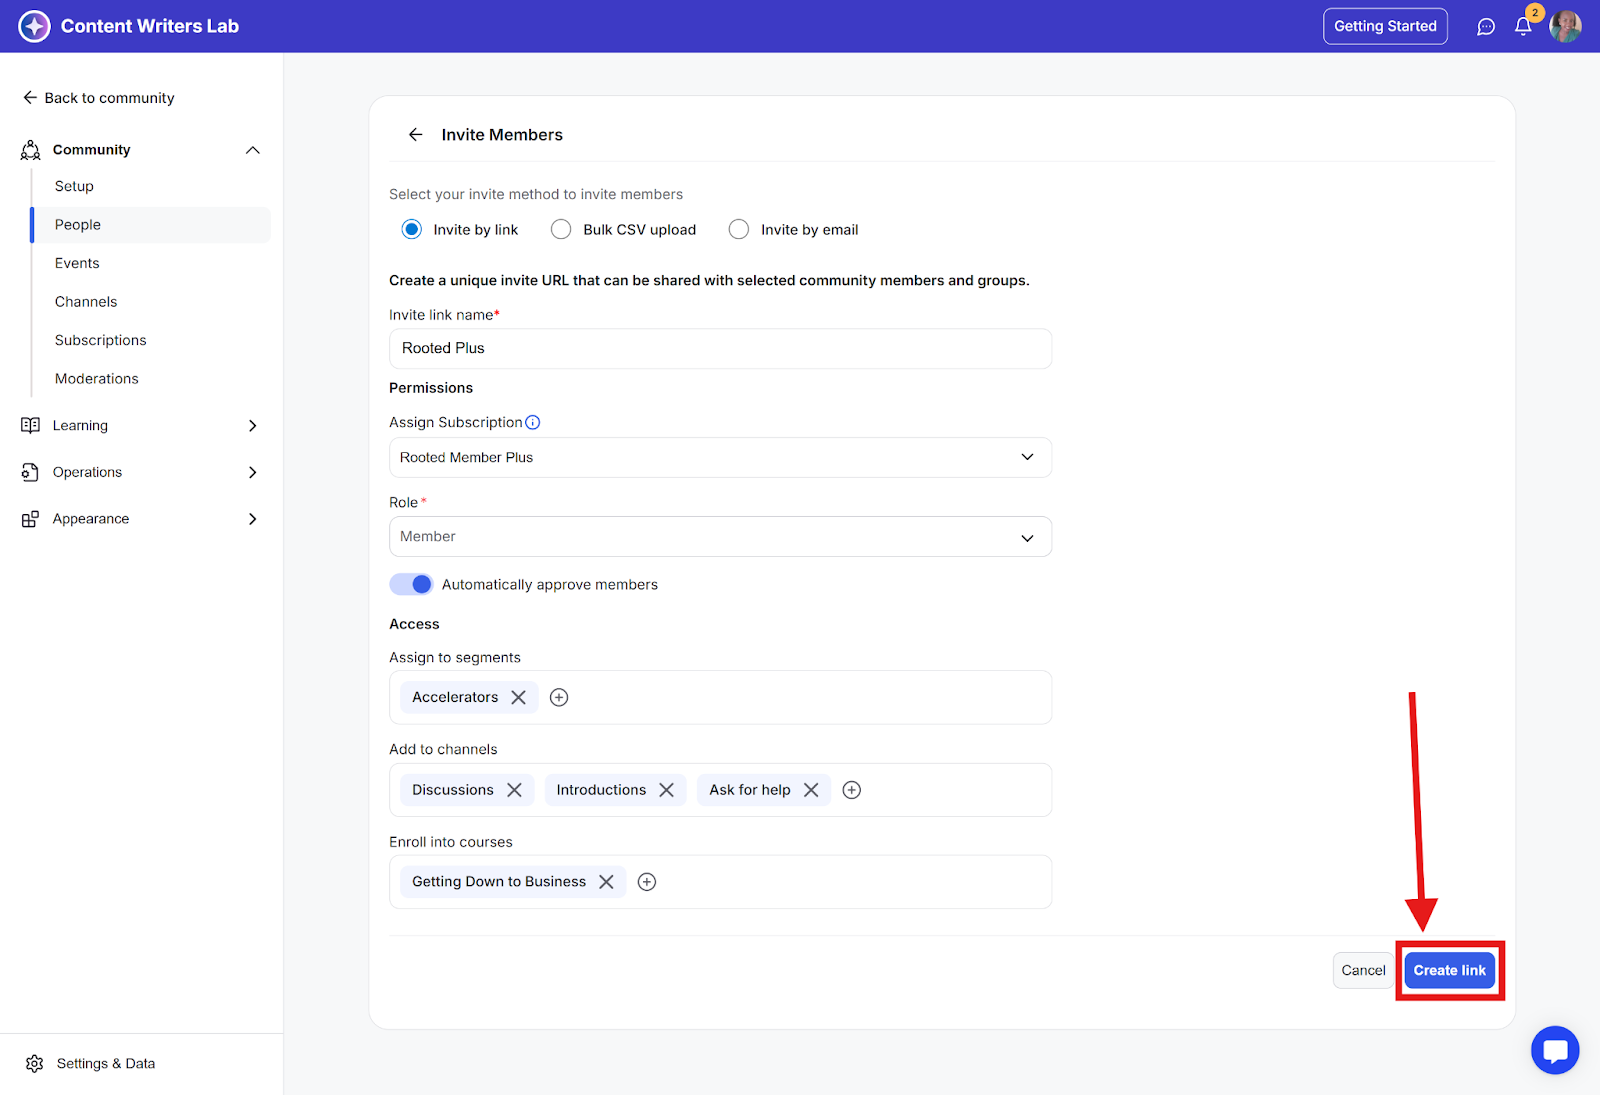
Step 5: Click the Create Link button.
Step 6: To find the custom community invite link that you created, click the Invite Links tab on the People page.