One way to monetize your course is by charging users for access. In Course Settings, you have the option to restrict access to the course until the user has made the payment for course access.
How to configure pricing for Courses
Learn to configure pricing for Courses
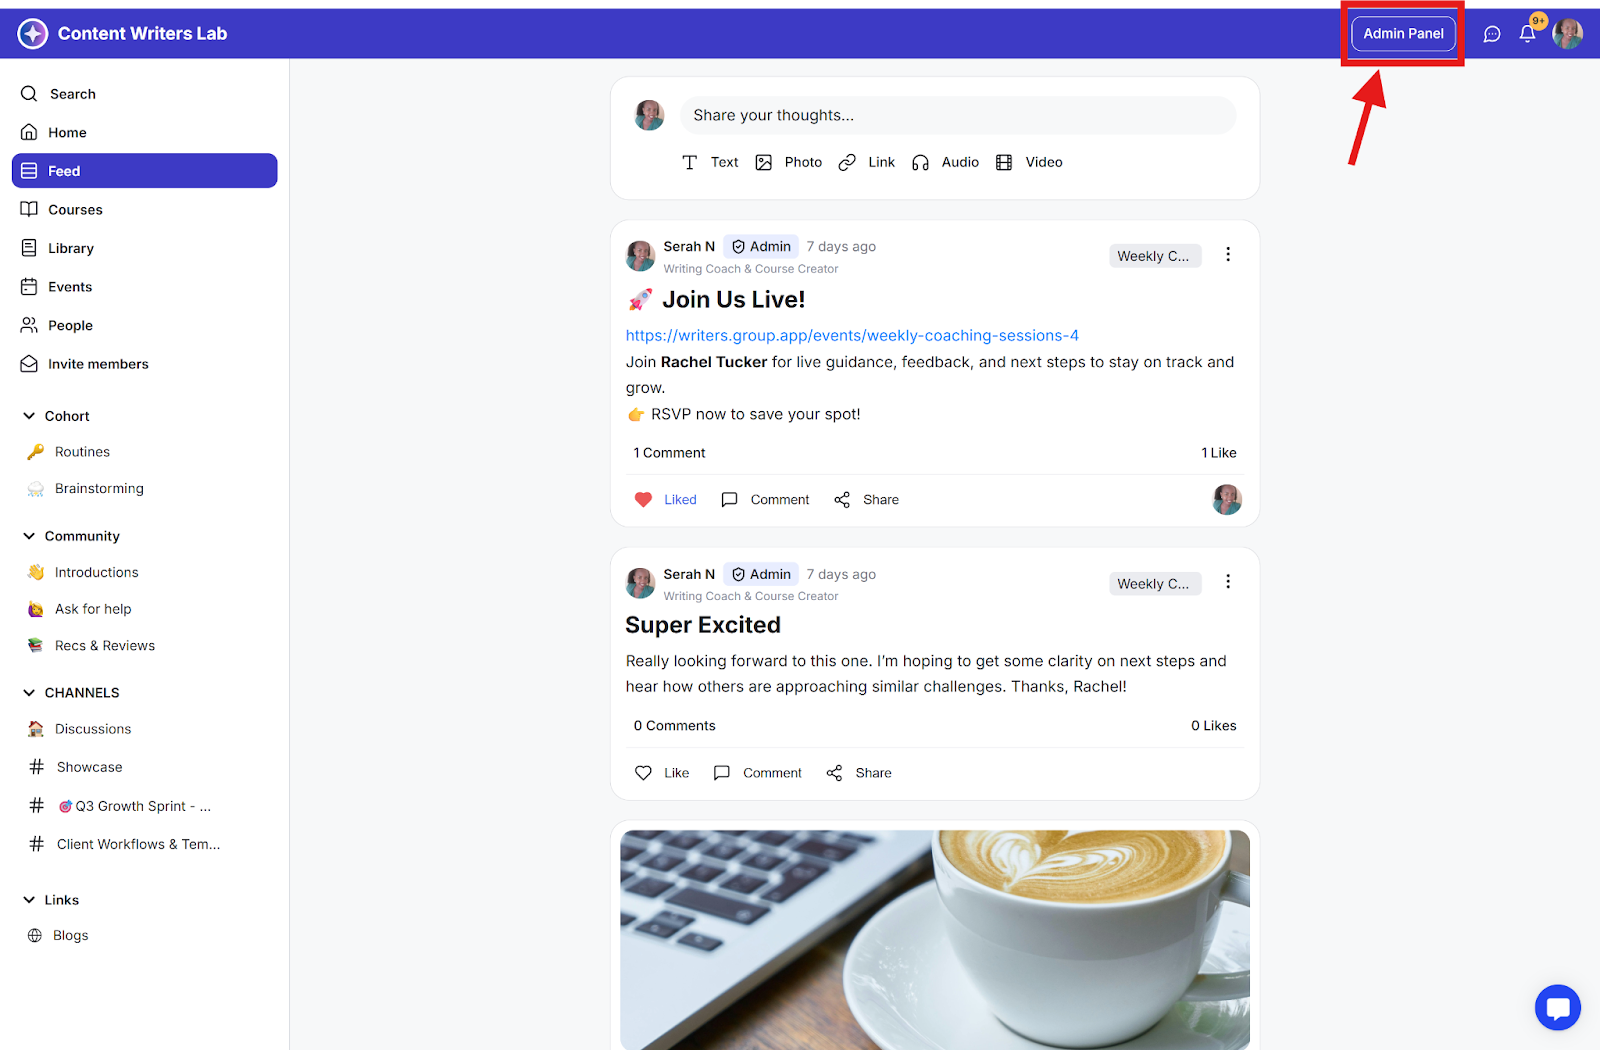
Step 1: Click on the Admin Panel button.
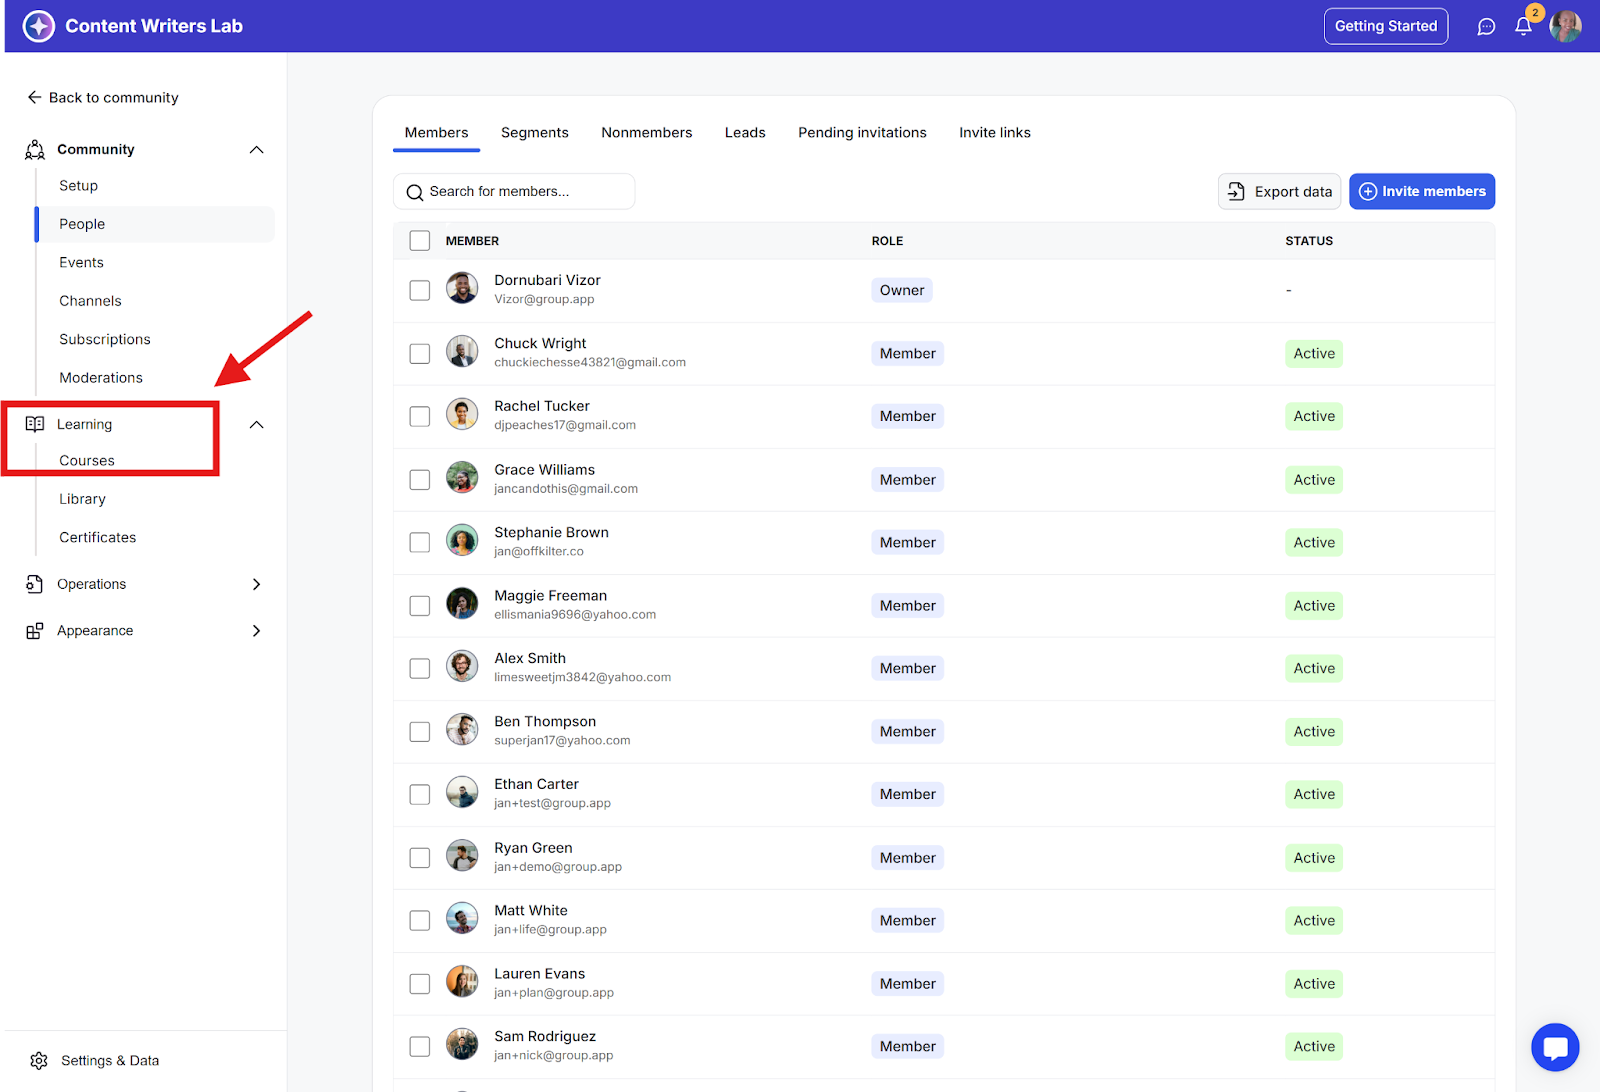
Step 2: Click Learning on the side menu and select Courses.
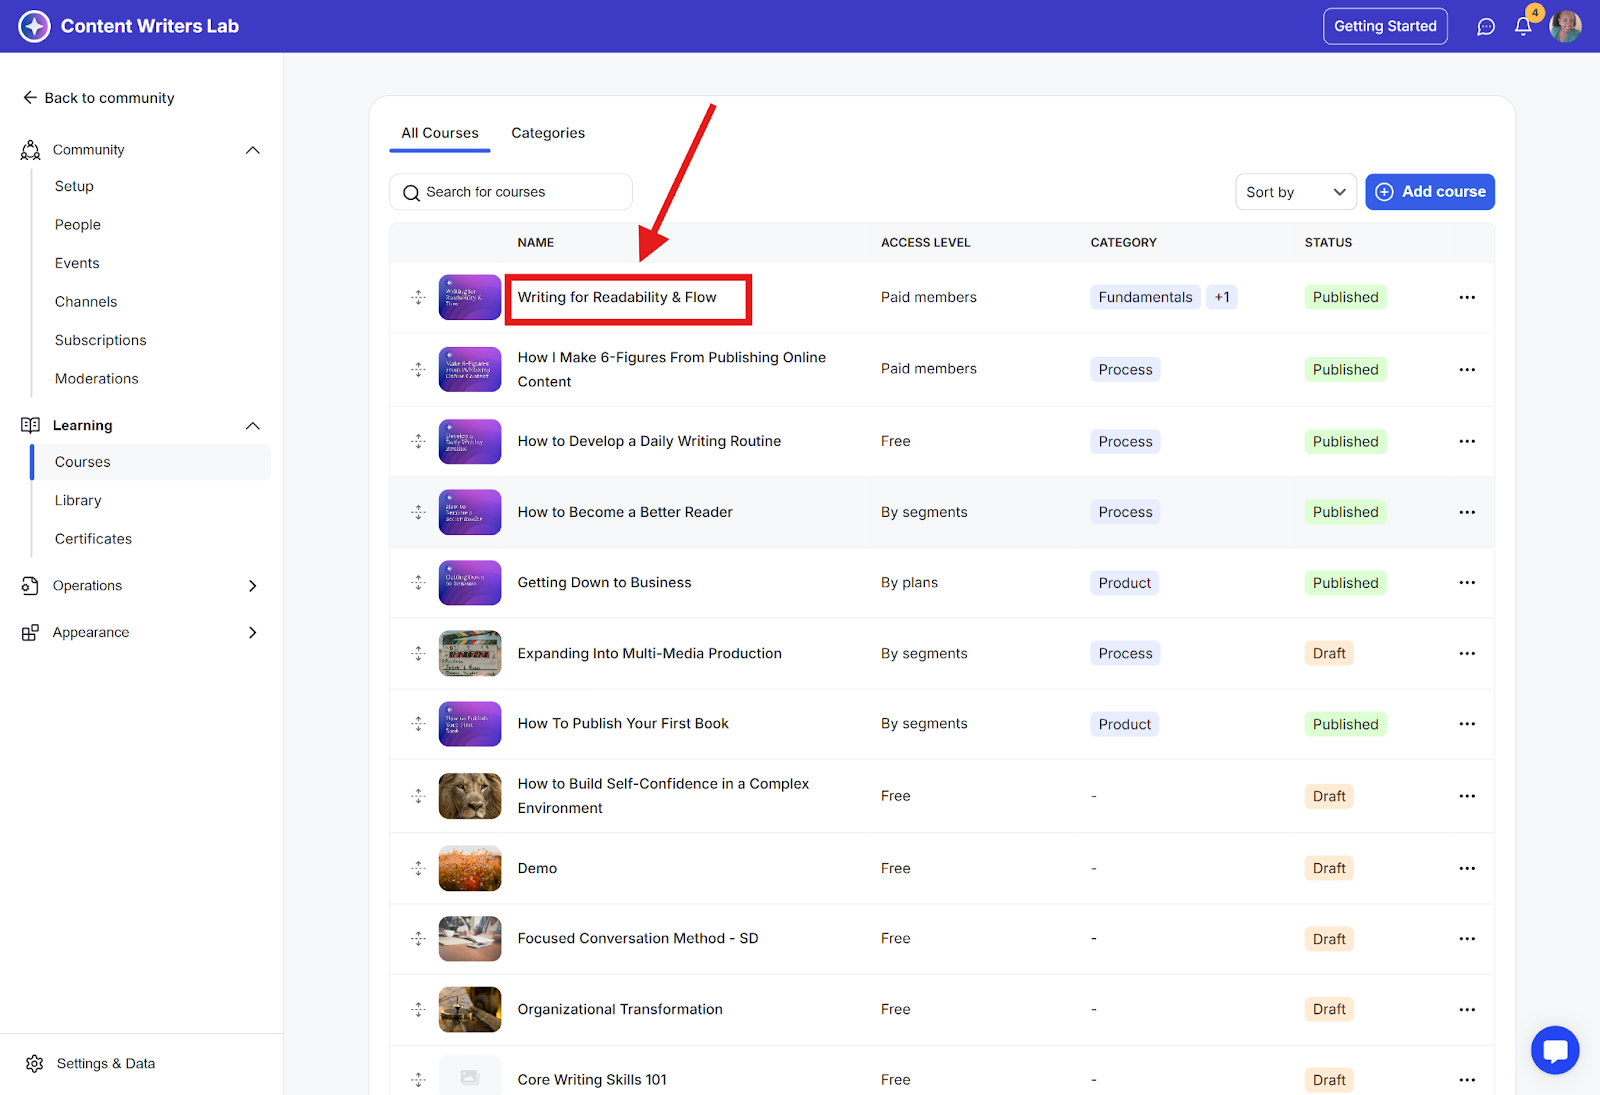
Step 3: Click the course you want to configure on the course list, or create a new course.
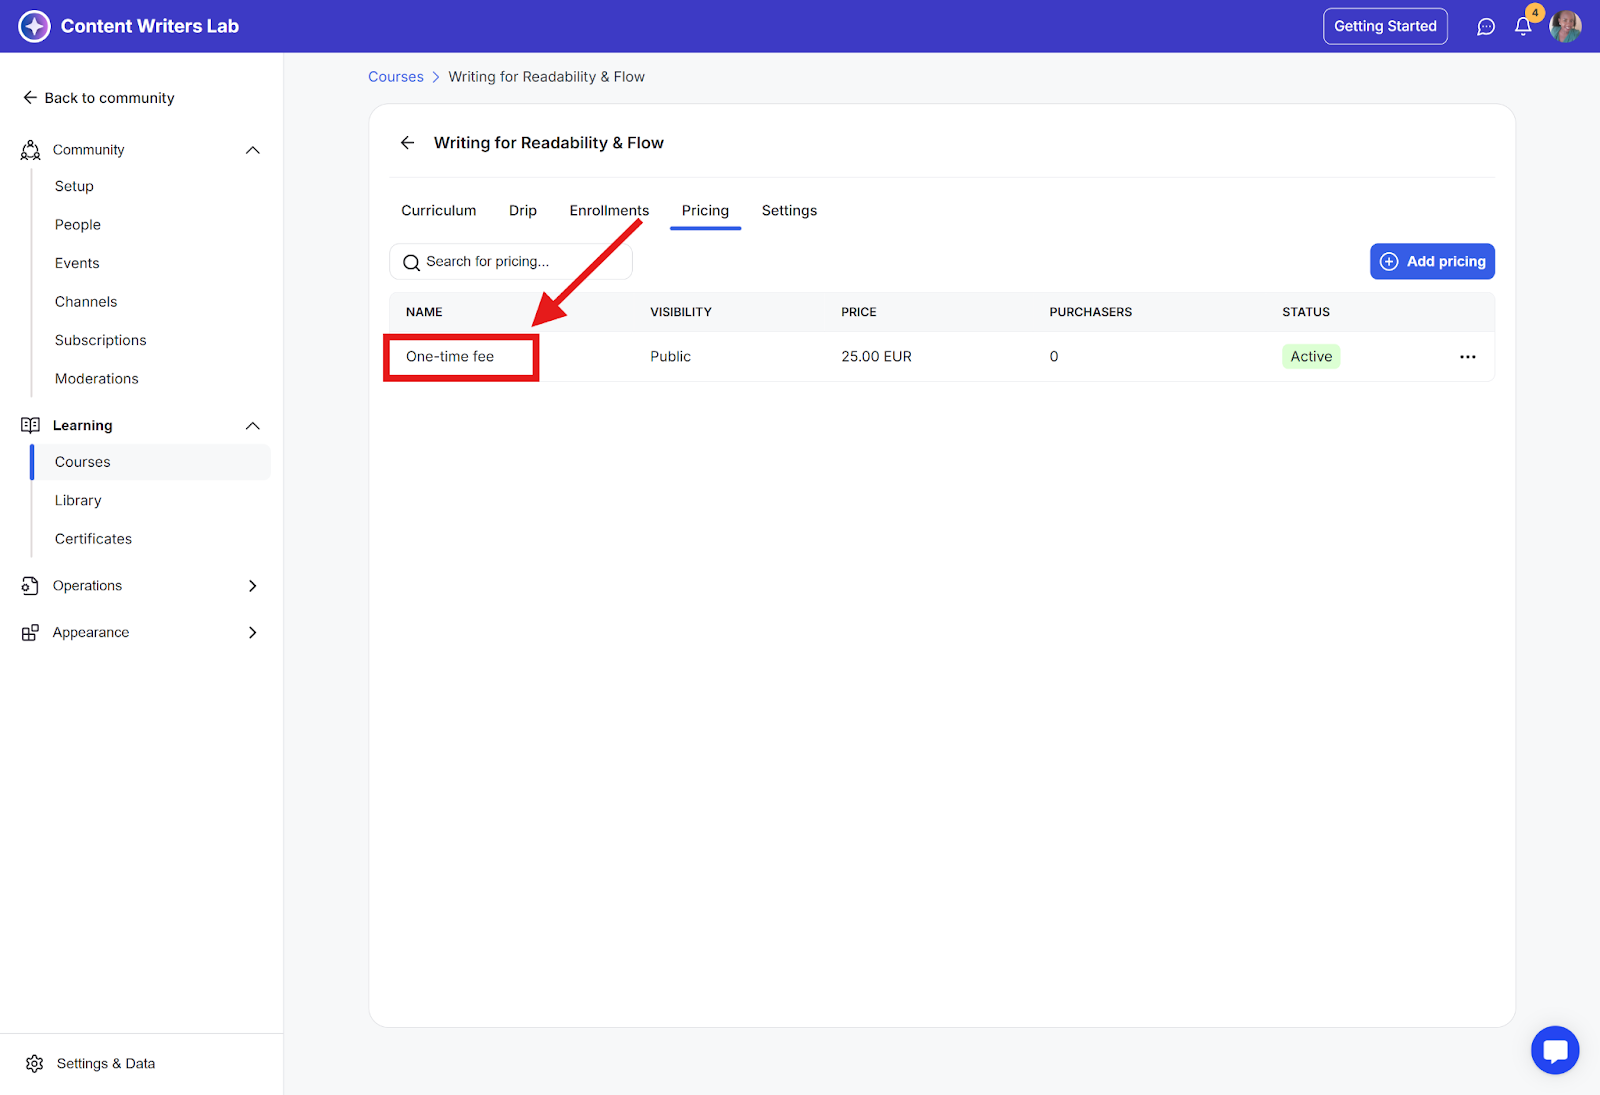
Step 4: Click the Pricing tab.
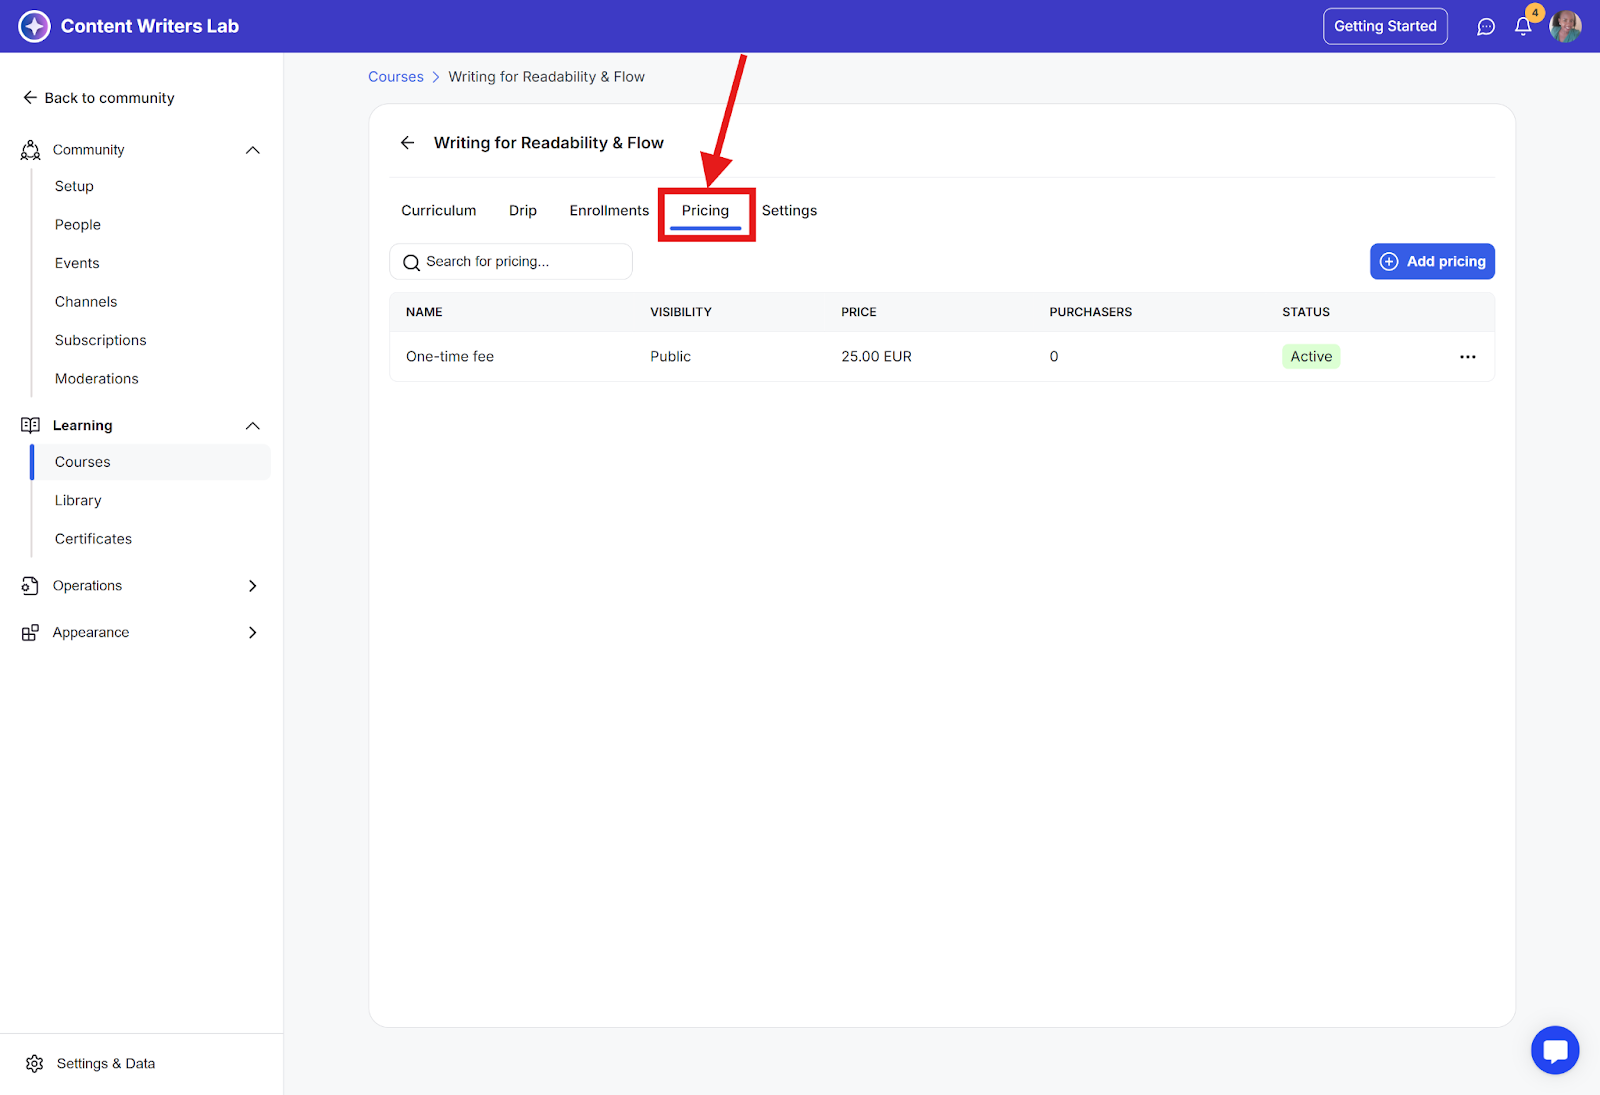
Step 5: Click on the name of the pricing.
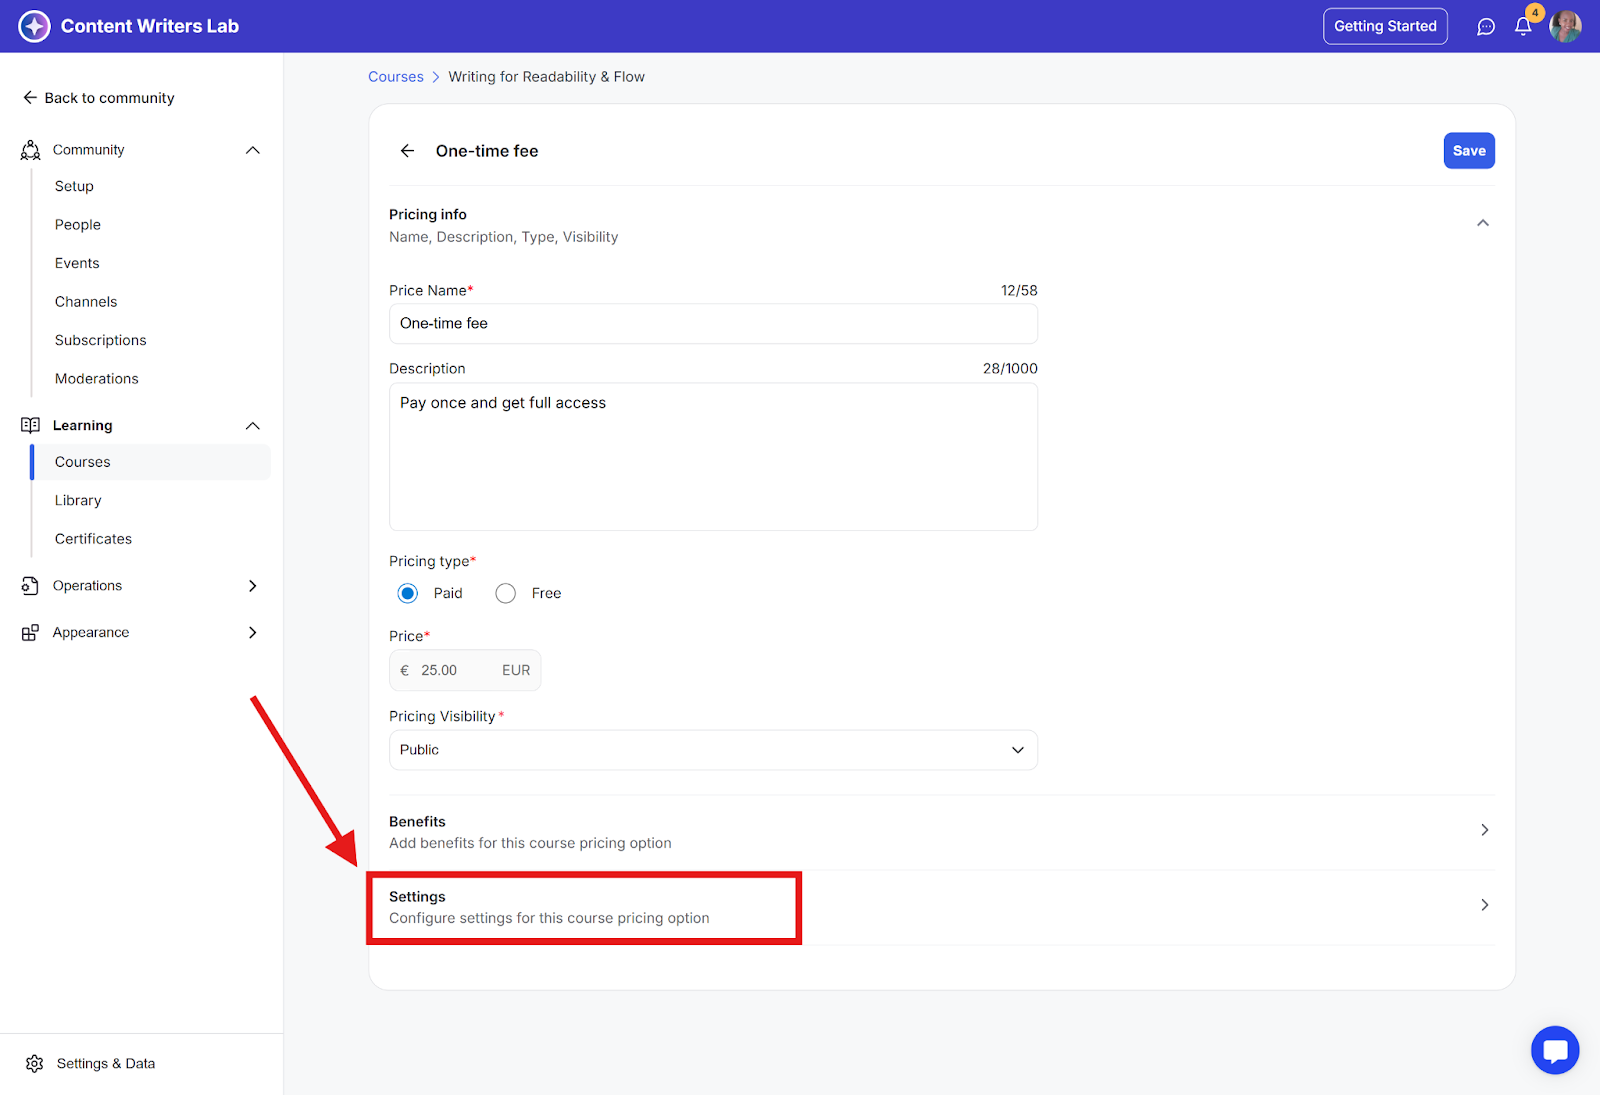
Step 6: Scroll down to Settings.
Step 7: Use the toggles to configure the following options:
Custom domain URL
Access duration
Disable repeat purchases
Add the buyer to your community (automatically subscribes the buyer to your free active plan)
Add member to segment
Collect billing address
Collect tax information
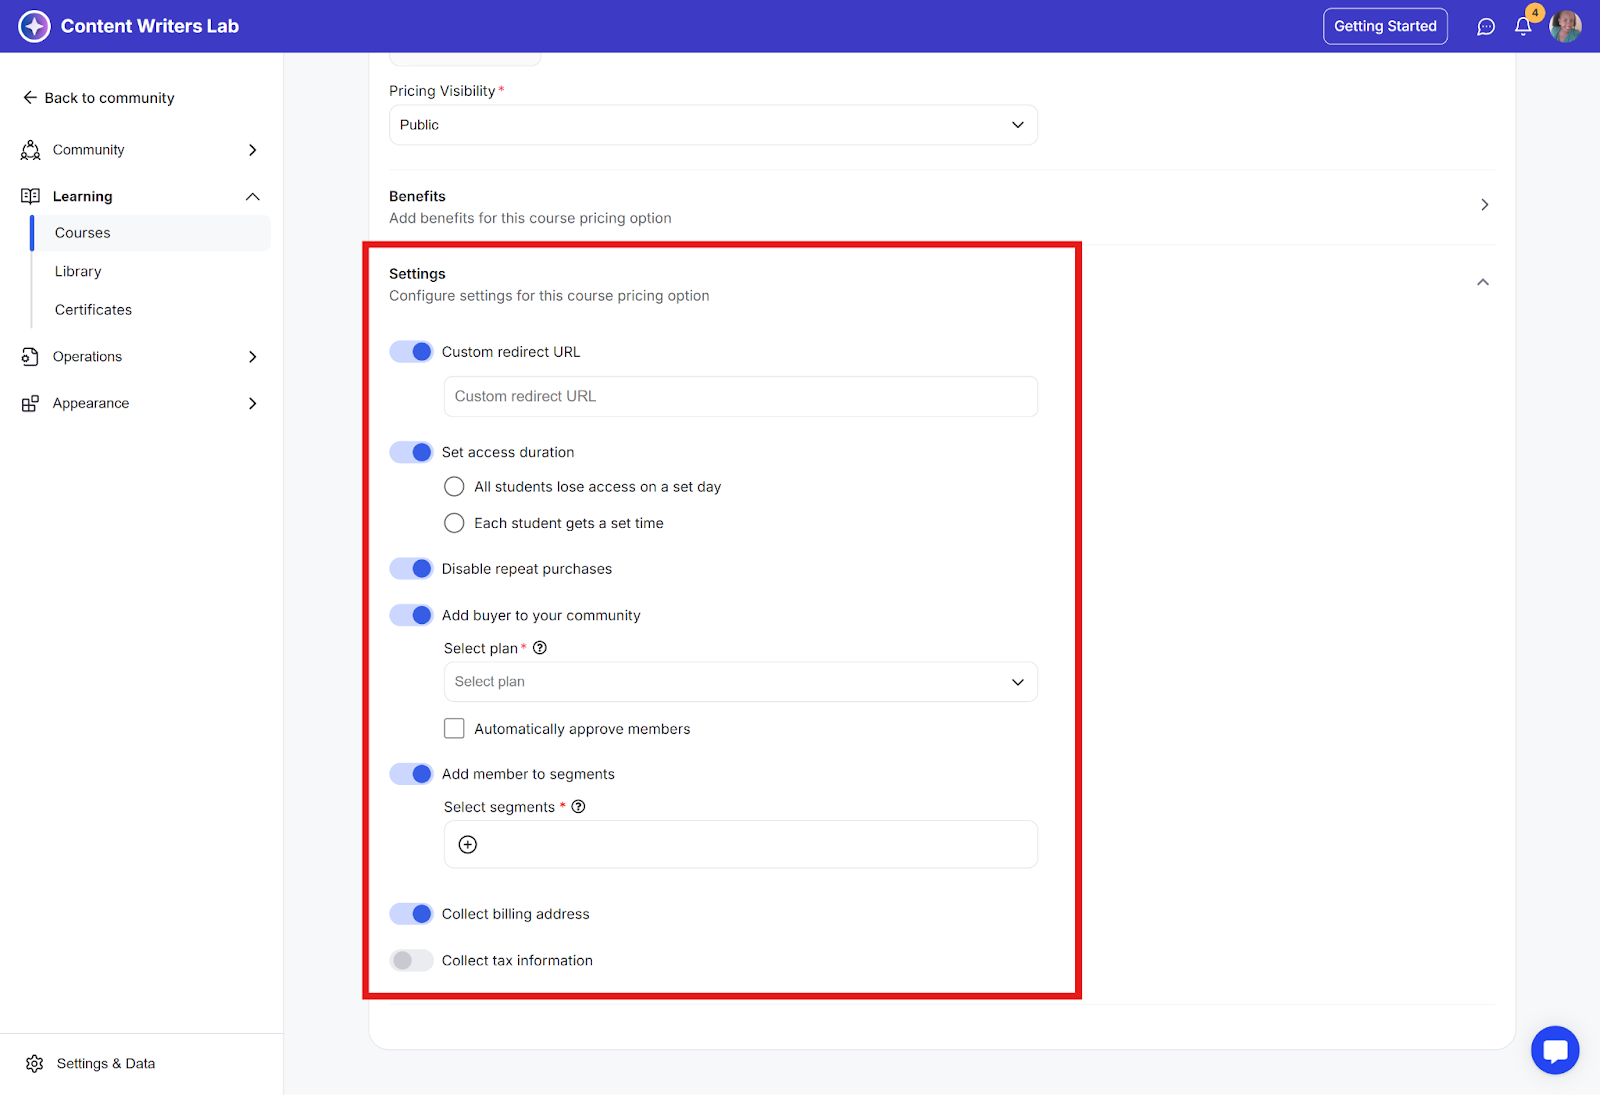
Each option can be turned on or off using its toggle, allowing you to control access and post-purchase behavior.
