Auto-Join automatically adds new members to a channel when they join your community. This ensures everyone is included in important channels from day one and removes the need to manually add members.
Step 1: Go to the Admin Panel from the top-right corner of the dashboard.

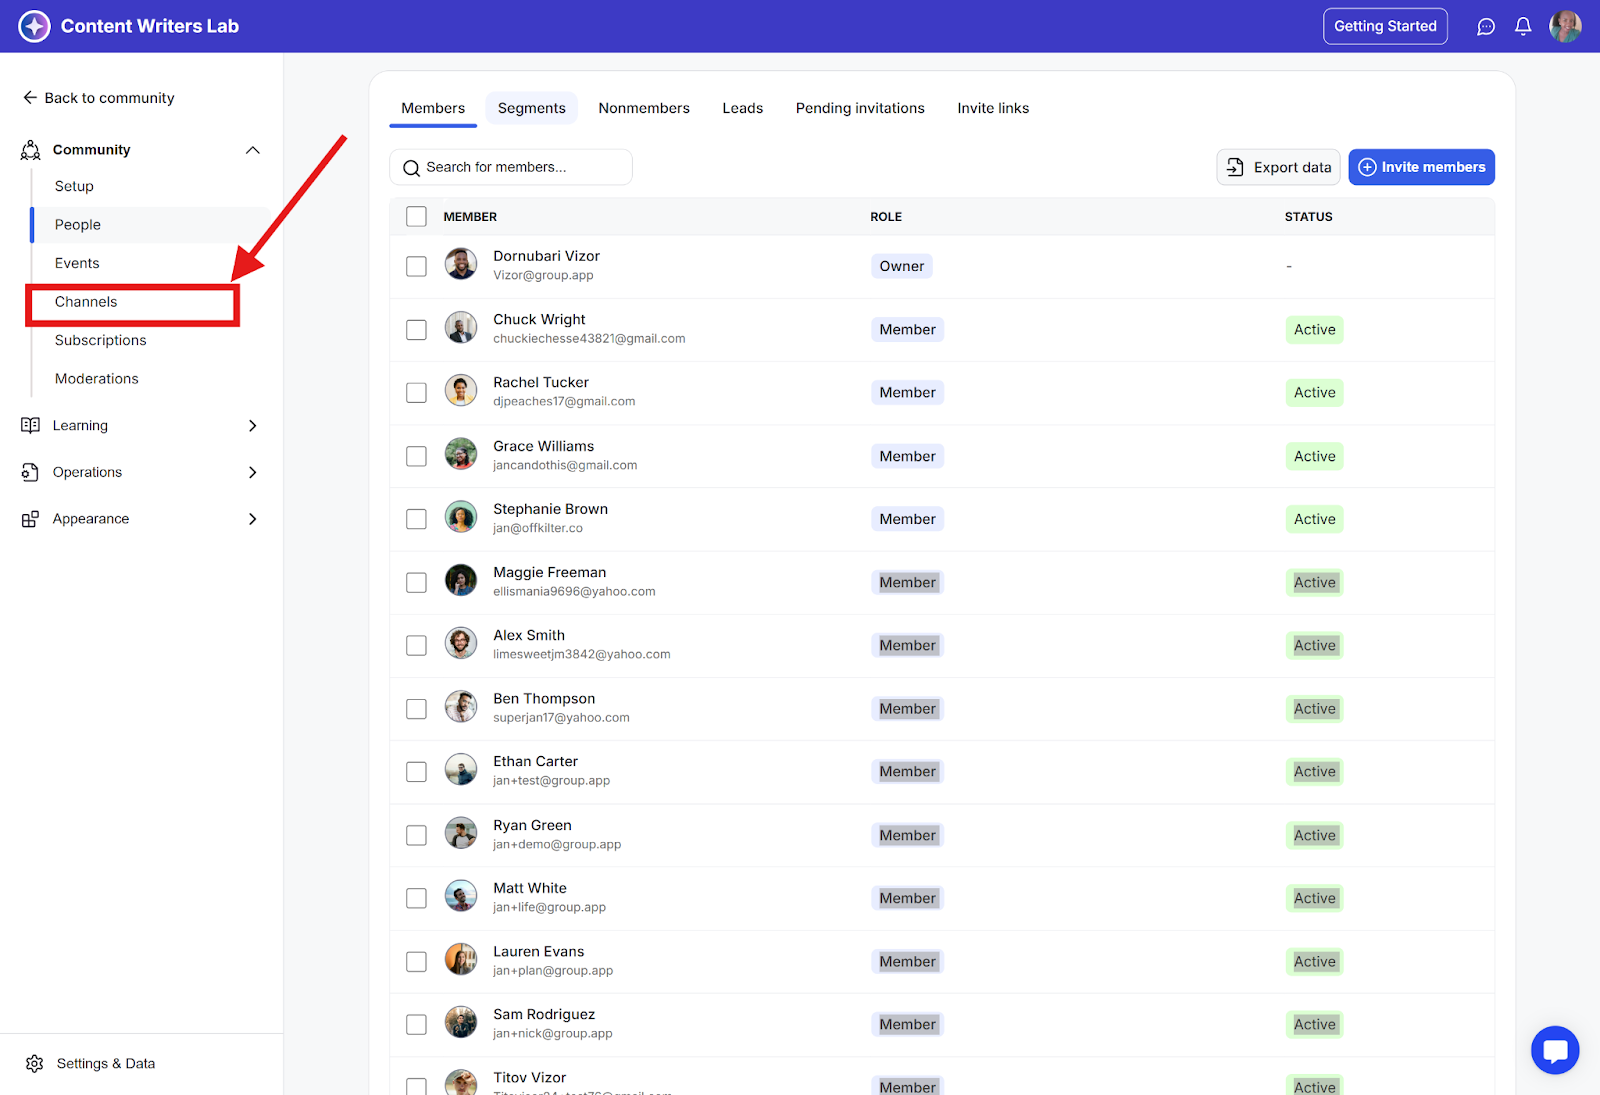
Step 2: Click on Channels in the menu to view all channels.
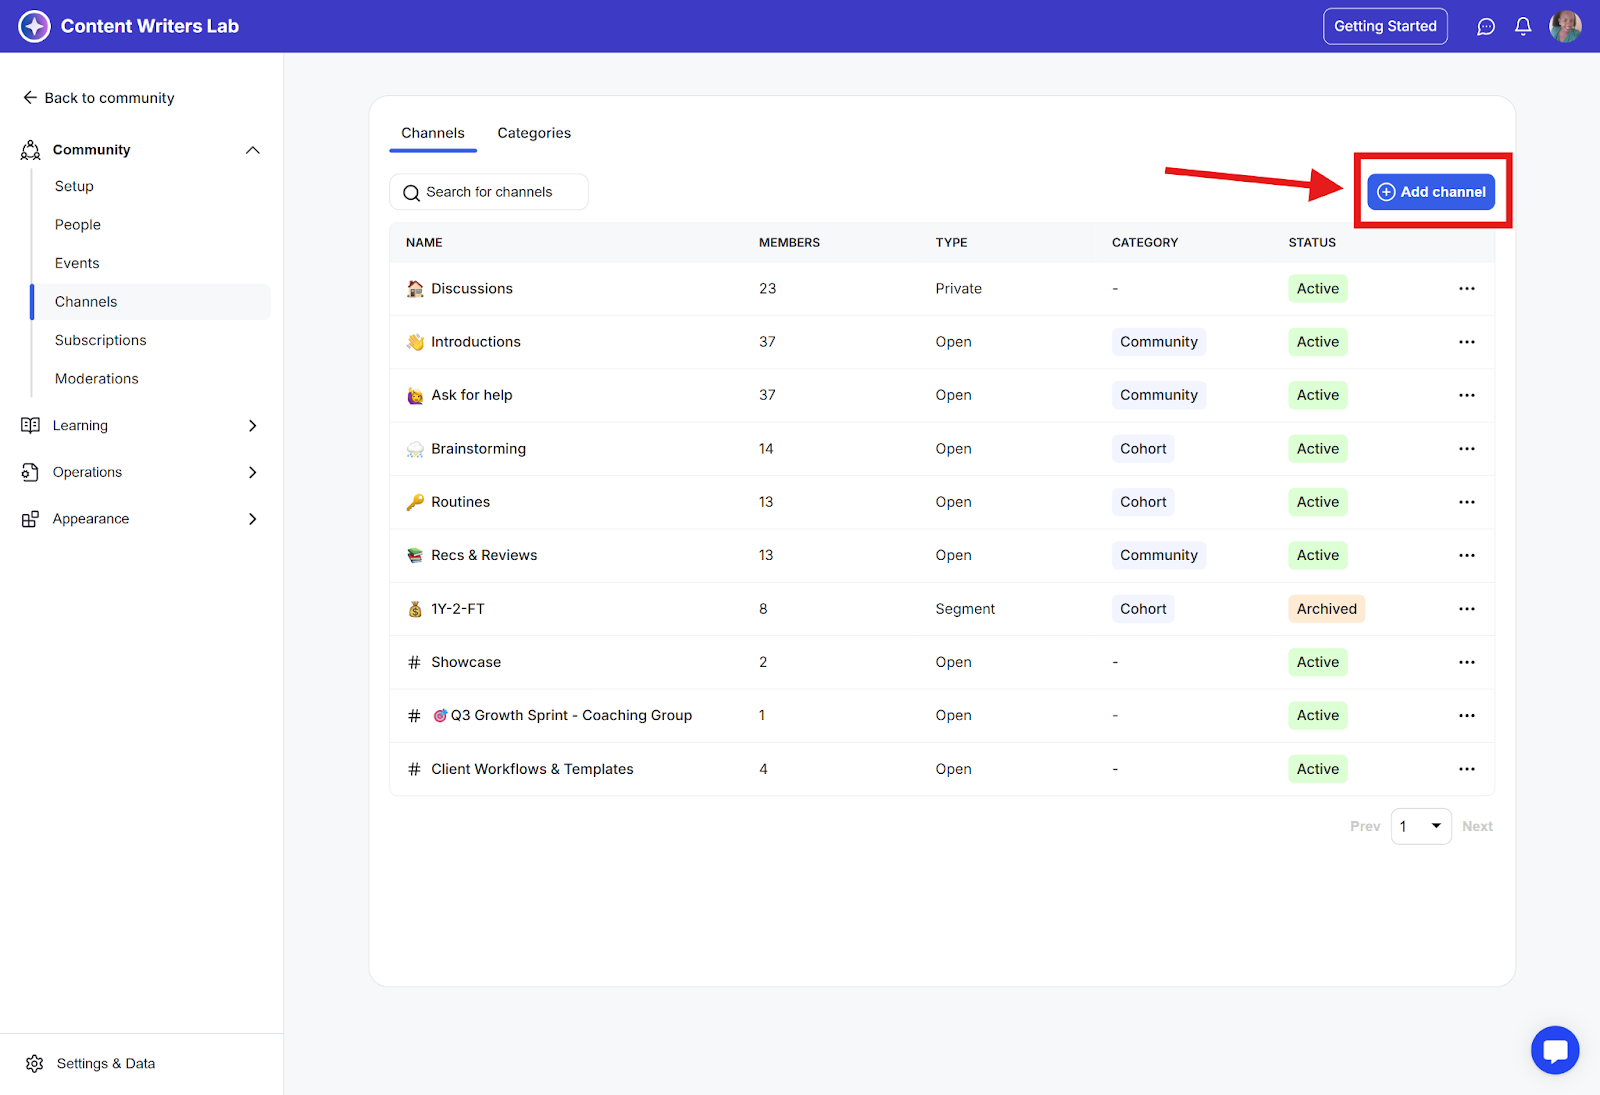
Step 3: Click Add Channel to create a new channel.
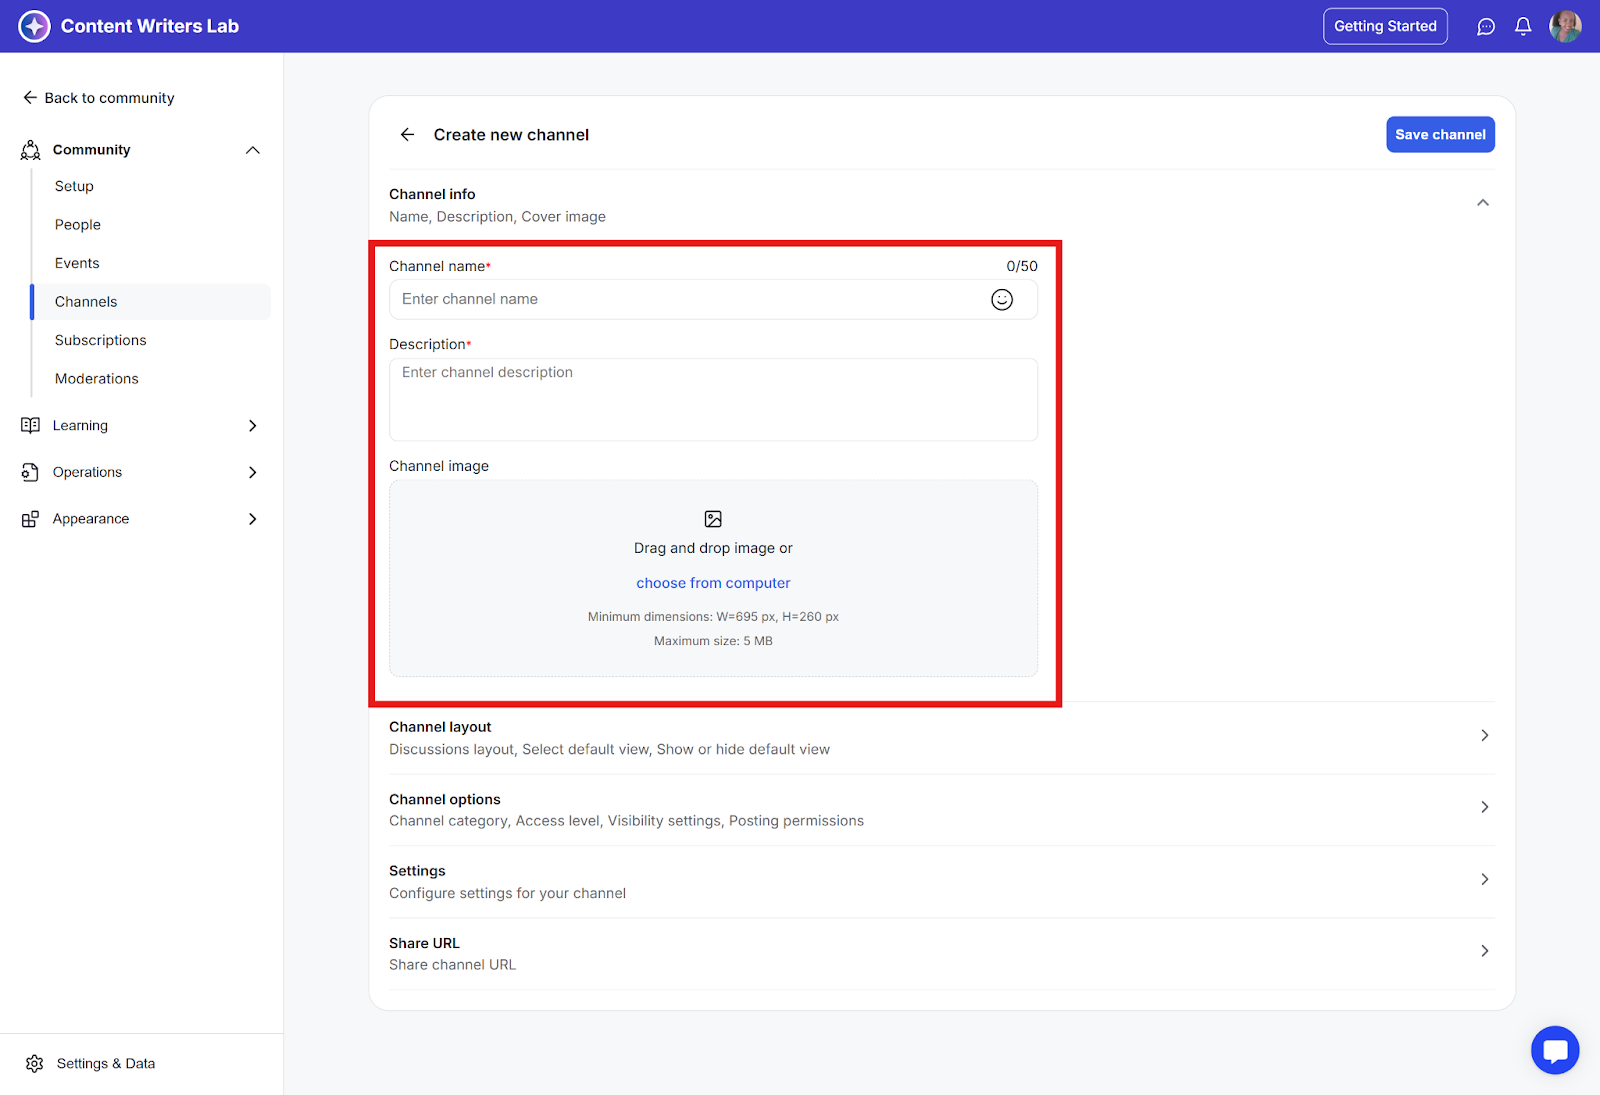
Step 4: Fill in the Name, Description, and upload a Cover Image.
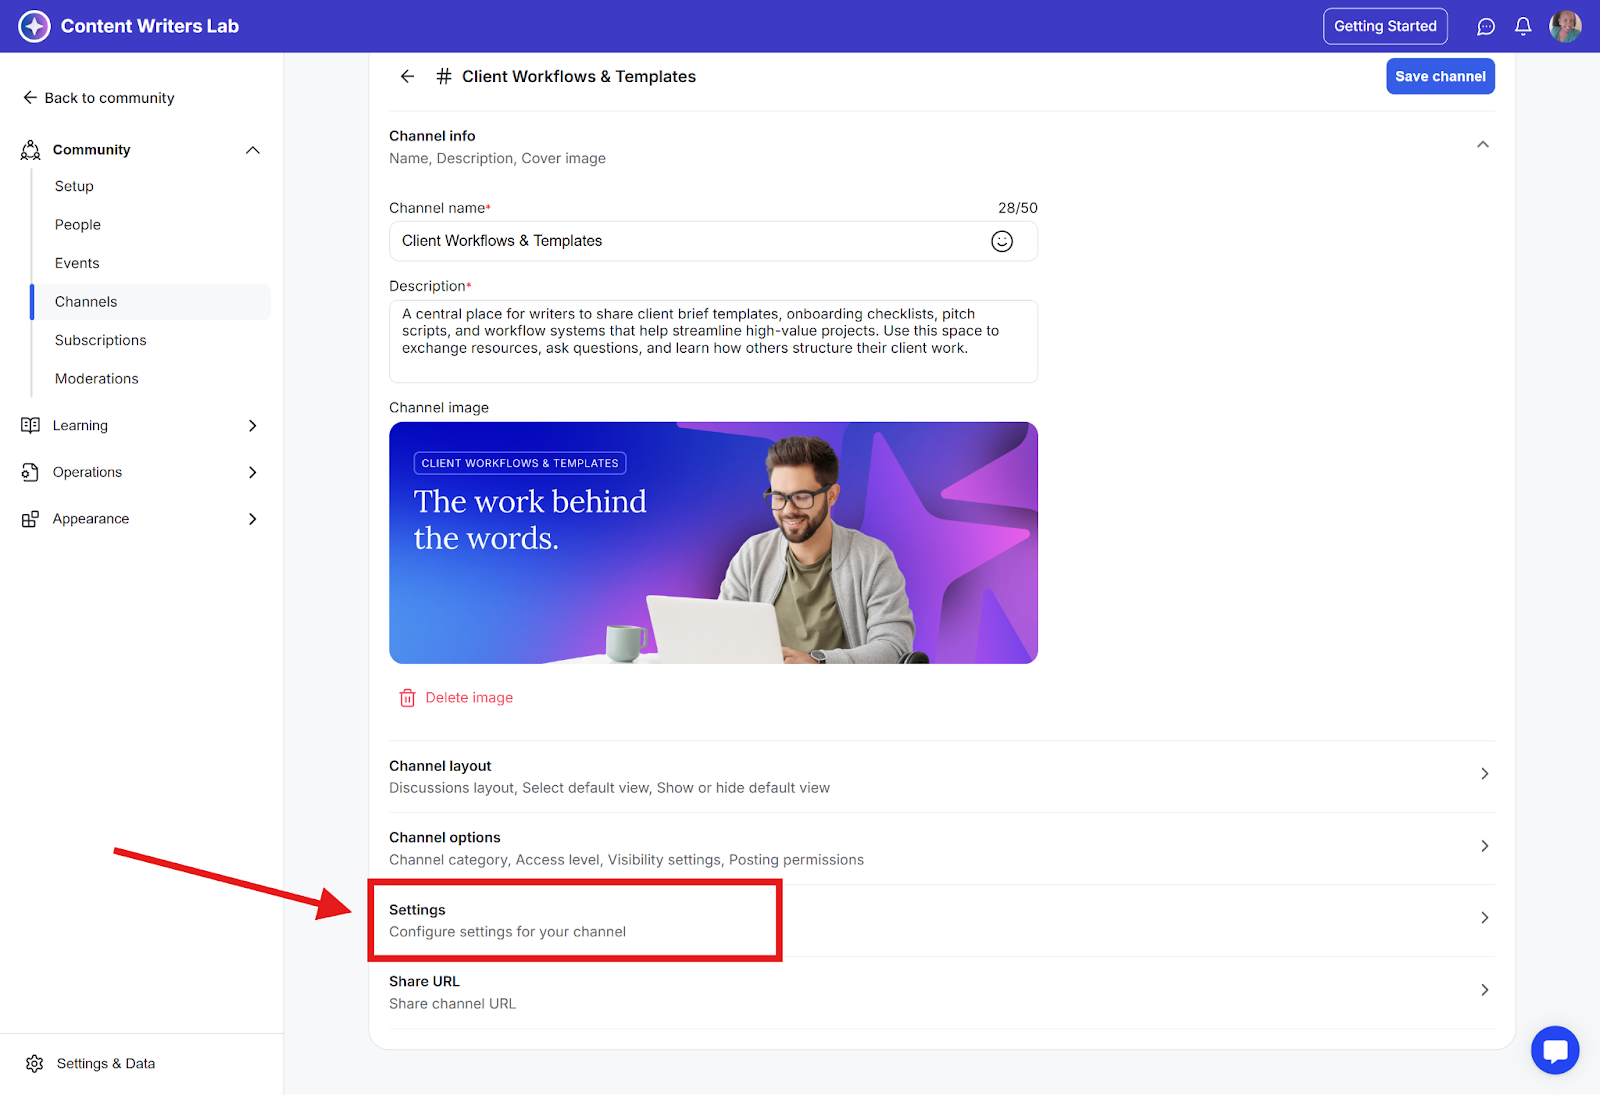
Step 5: Scroll down to Settings and click it.

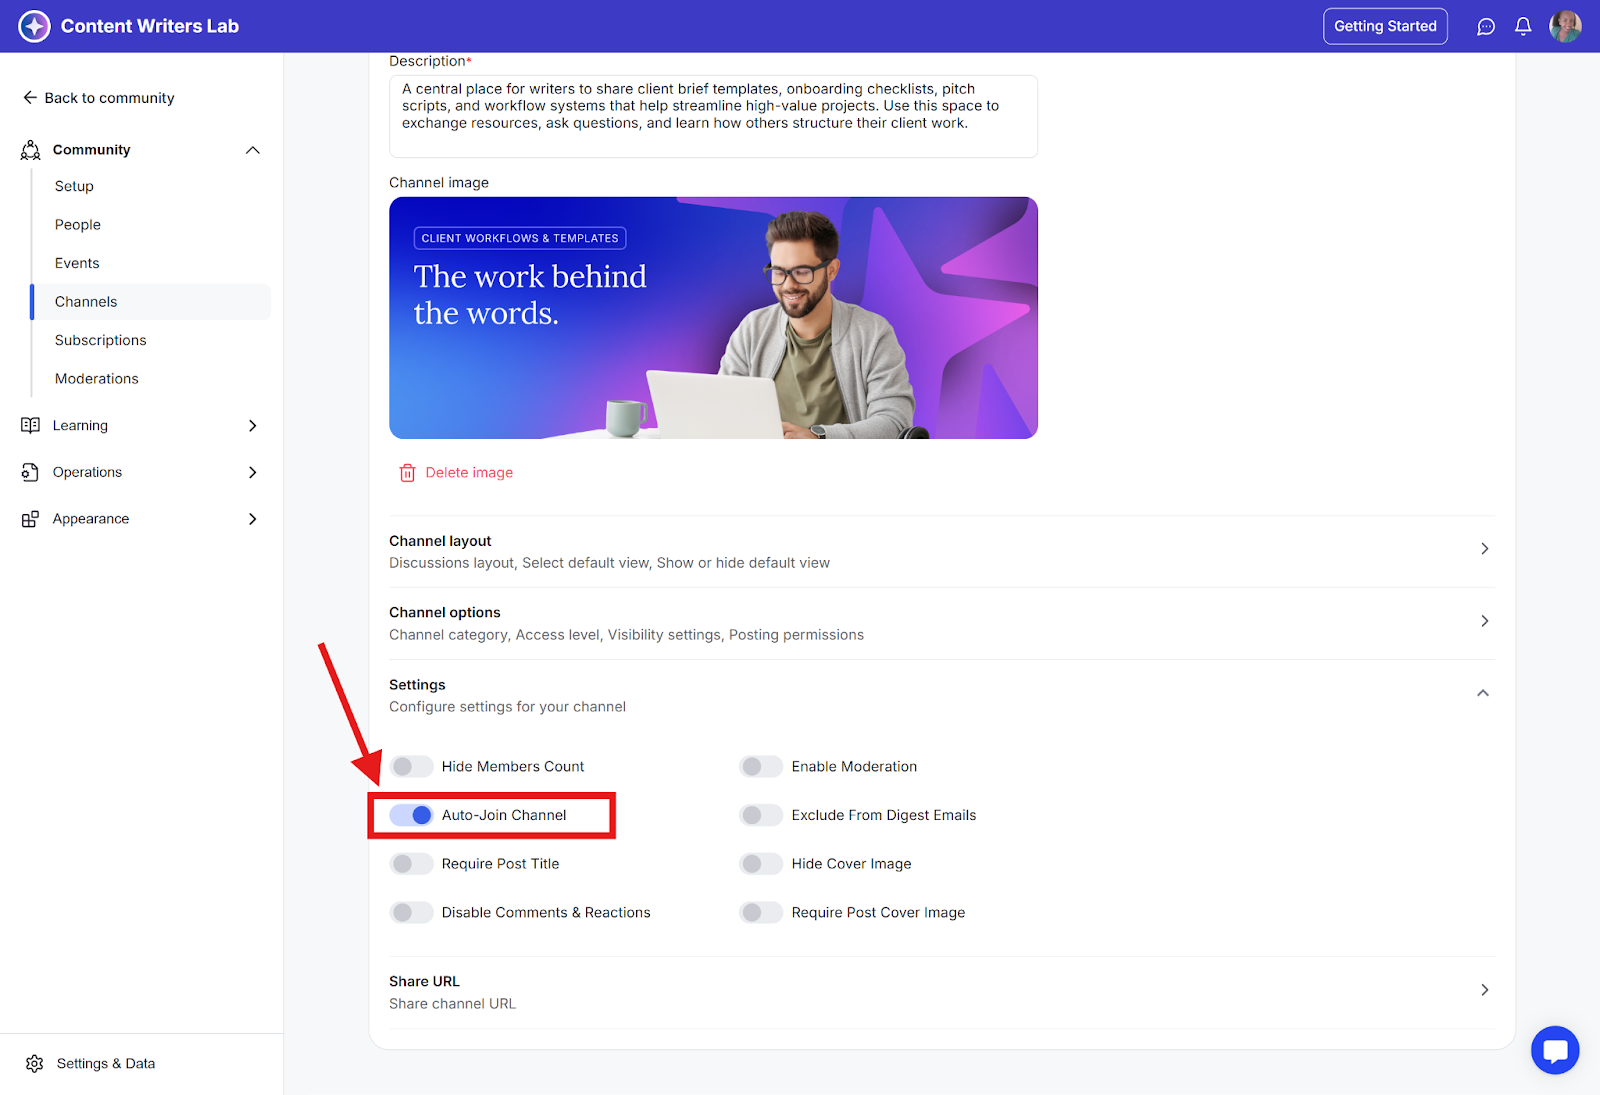
Step 6: In Settings, find the Auto-Join Channel option and toggle it on. The toggle will turn blue when active.

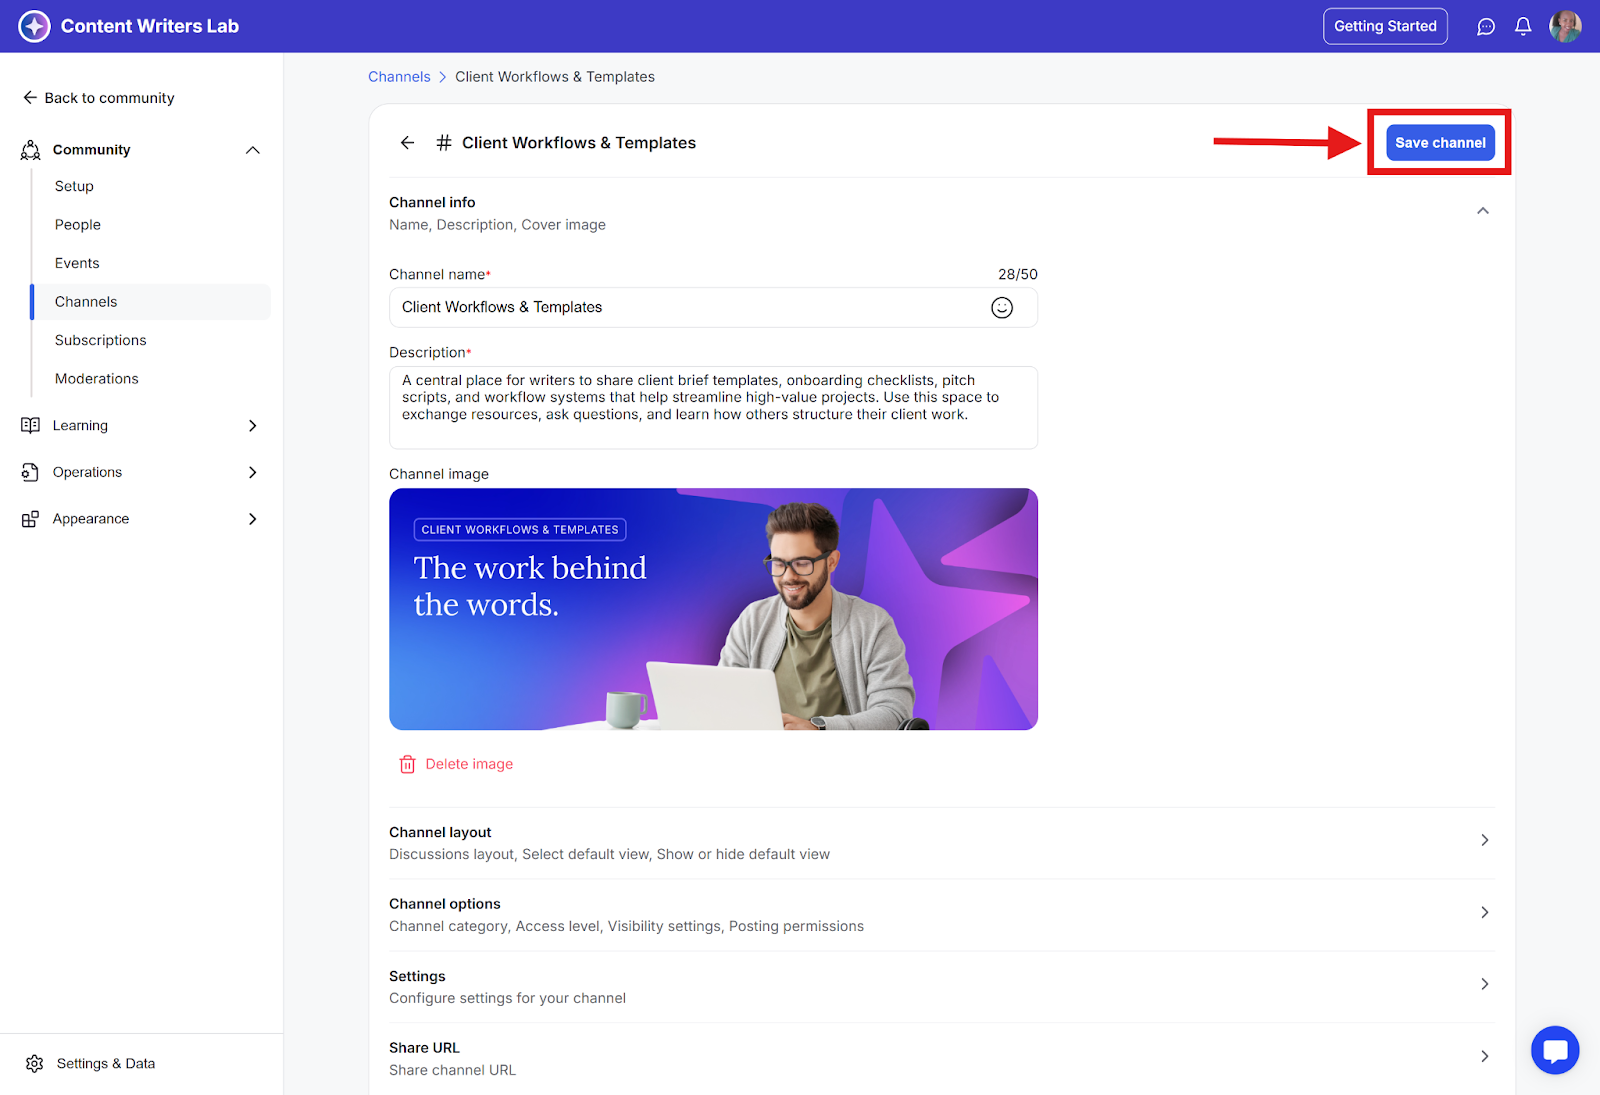
Step 7: Click Save Channel at the top-right corner to create the new channel.
Step 1: Go to the Admin Panel from the top-right corner of the dashboard.

Step 2: Click Channels in the menu to view all your channels.

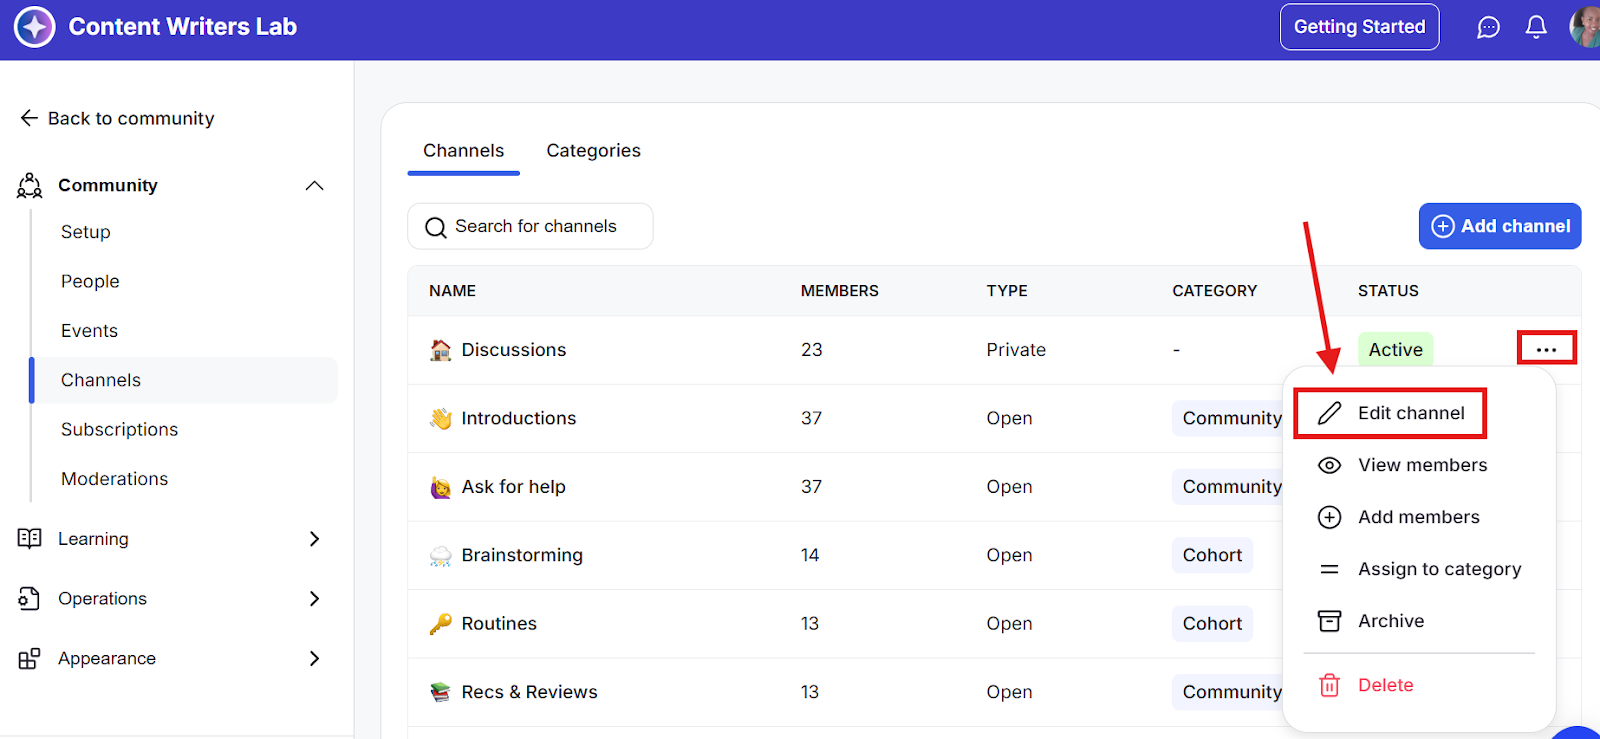
Step 3: Find the channel you want to enable Auto-Join for, click the three-dot menu next to its name, and select Edit Channel.
Step 4: Scroll down to Settings in the Edit Channel page and open it.
Step 5: In the Settings list, find Auto-Join and toggle it on. The toggle turns blue when active.
Step 6: Click Save Channel at the top-right corner to apply the changes.

