Setting up a custom domain allows you to replace your default community URL (example.group.app) with your own branded web address.
To do this, you’ll need to configure two things:
DNS Settings:
DNS (Domain Name System) controls where your domain directs traffic. You’ll access your DNS settings through your domain provider, such as GoDaddy or Cloudflare.
CNAME Record:
A CNAME record connects your custom subdomain (for example, community.yourdomain.com) to your default GroupApp subdomain. This tells your domain to point visitors to your community.
Step 1: Log in to your DNS provider:
Step 2: Navigate to the domain to which you would like to map a custom subdomain and add a CNAME record that points to your default GroupApp subdomain (example.group.app).
Cloudflare Example

Cloudflare User Note: If you are using Cloudflare for your DNS provider, make sure to disable the orange Cloud icon for your newly created CNAME record.
Below are links to popular DNS providers and their guides for setting up CNAME:
Step 1: To configure a custom domain, first click Admin Panel.

Step 2: Go to Appearance on the side menu and select Branding.
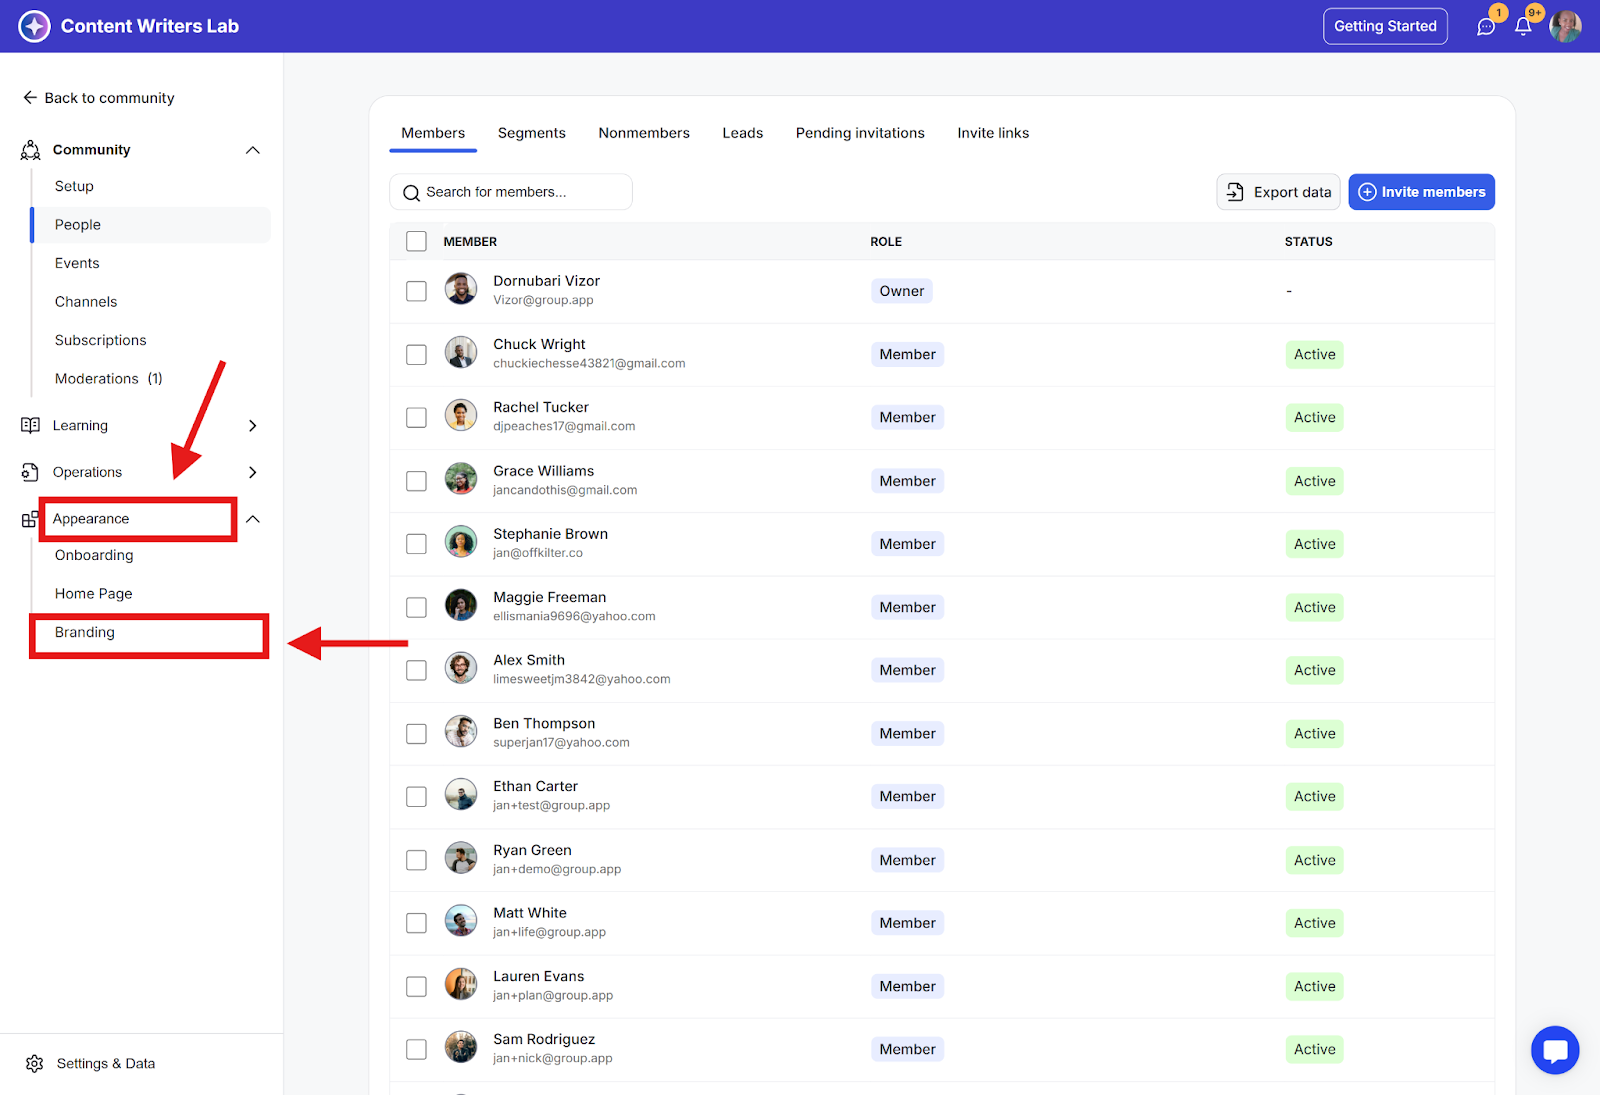
Step 3: Scroll to the bottom of the page to find the Custom Subdomain section.
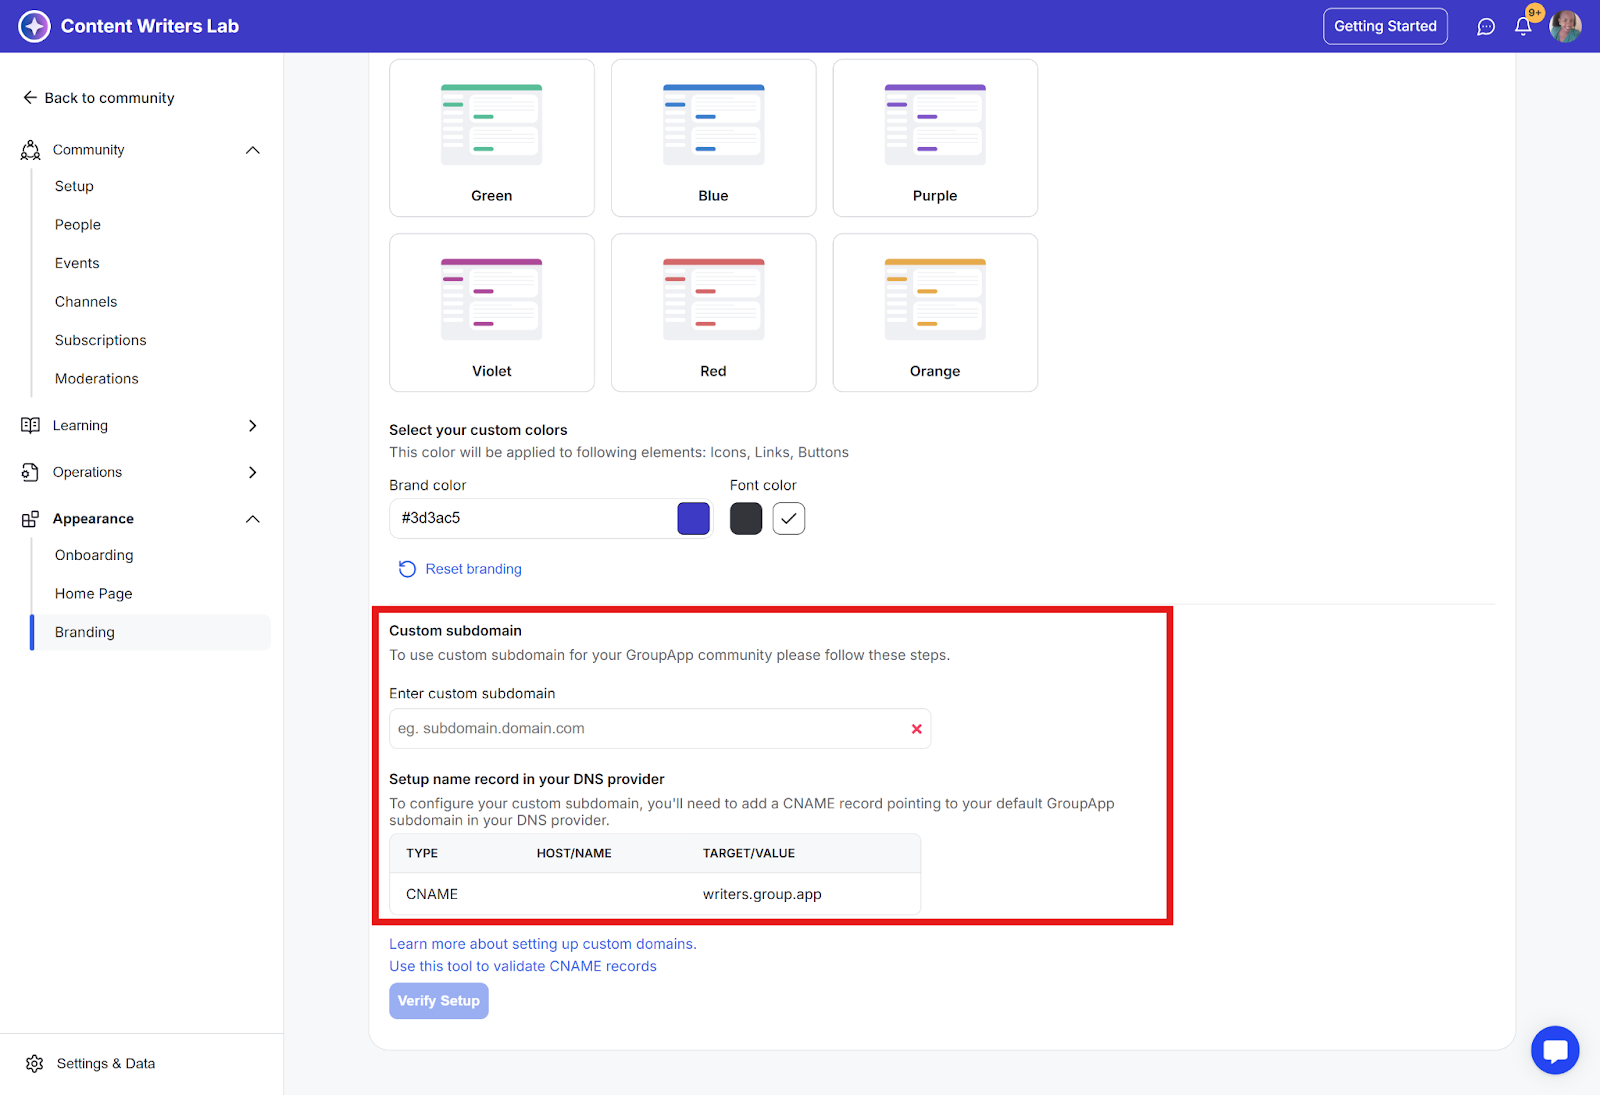
Step 4: Enter the custom subdomain that you created a CNAME record for, and click Verify Setup.
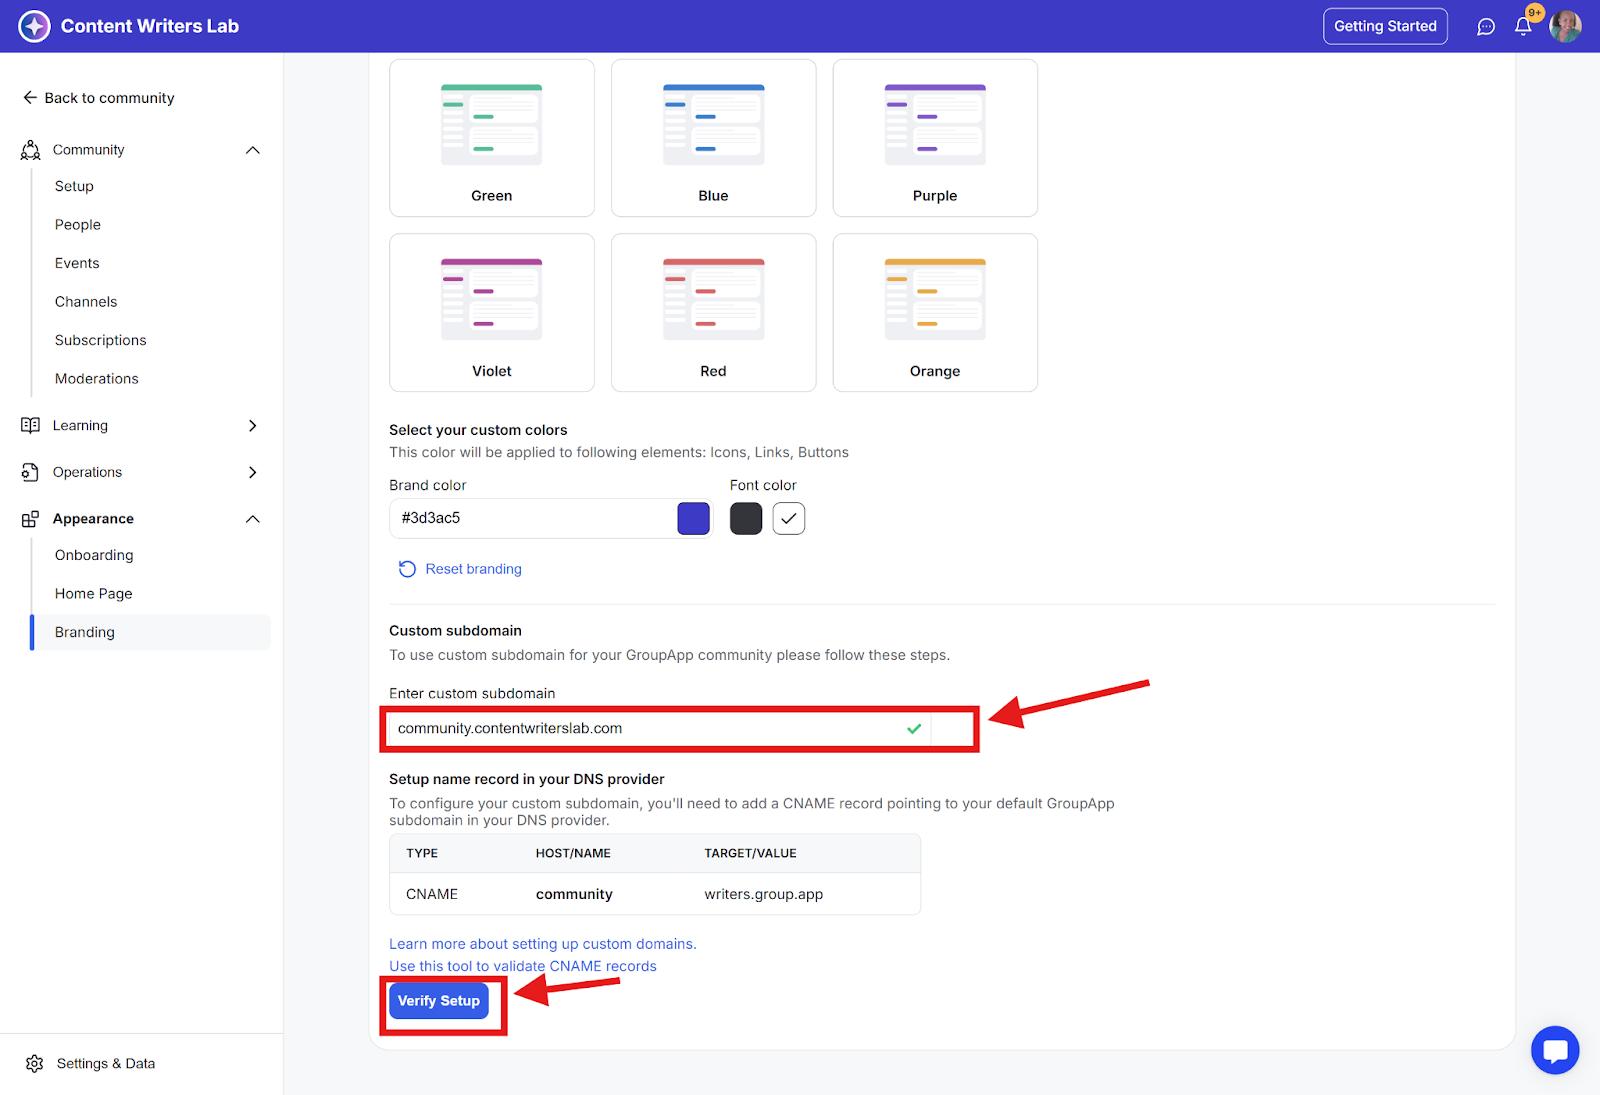
Step 5: GroupApp will verify your setup and apply the custom subdomain to your community
The status of your custom subdomain will change from pending to active once your custom subdomain is ready to be used. If your custom subdomain is not active within 3 to 24 hours, contact us.
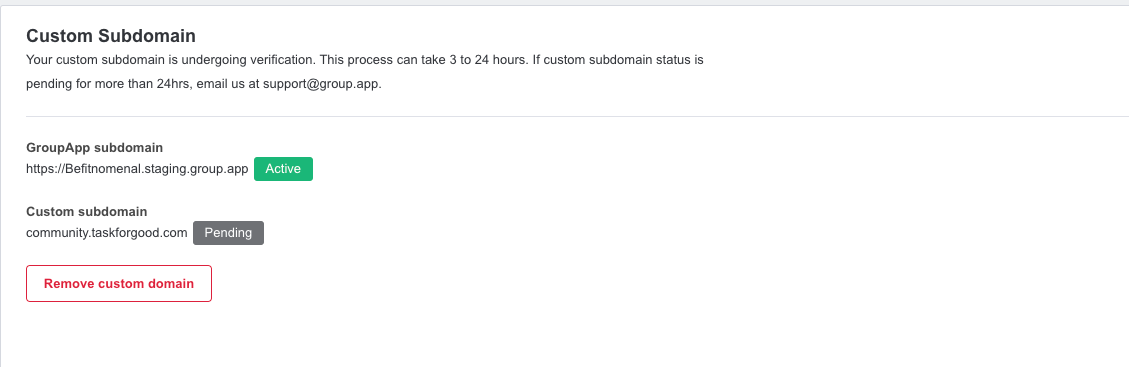
Note: GroupApp's default community URL will redirect to your new custom subdomain once your custom subdomain is active.
