You can configure event pricing to control access, offer paid registration, or manage how attendees enroll. This guide shows how to configure pricing for both a new event and an existing event.
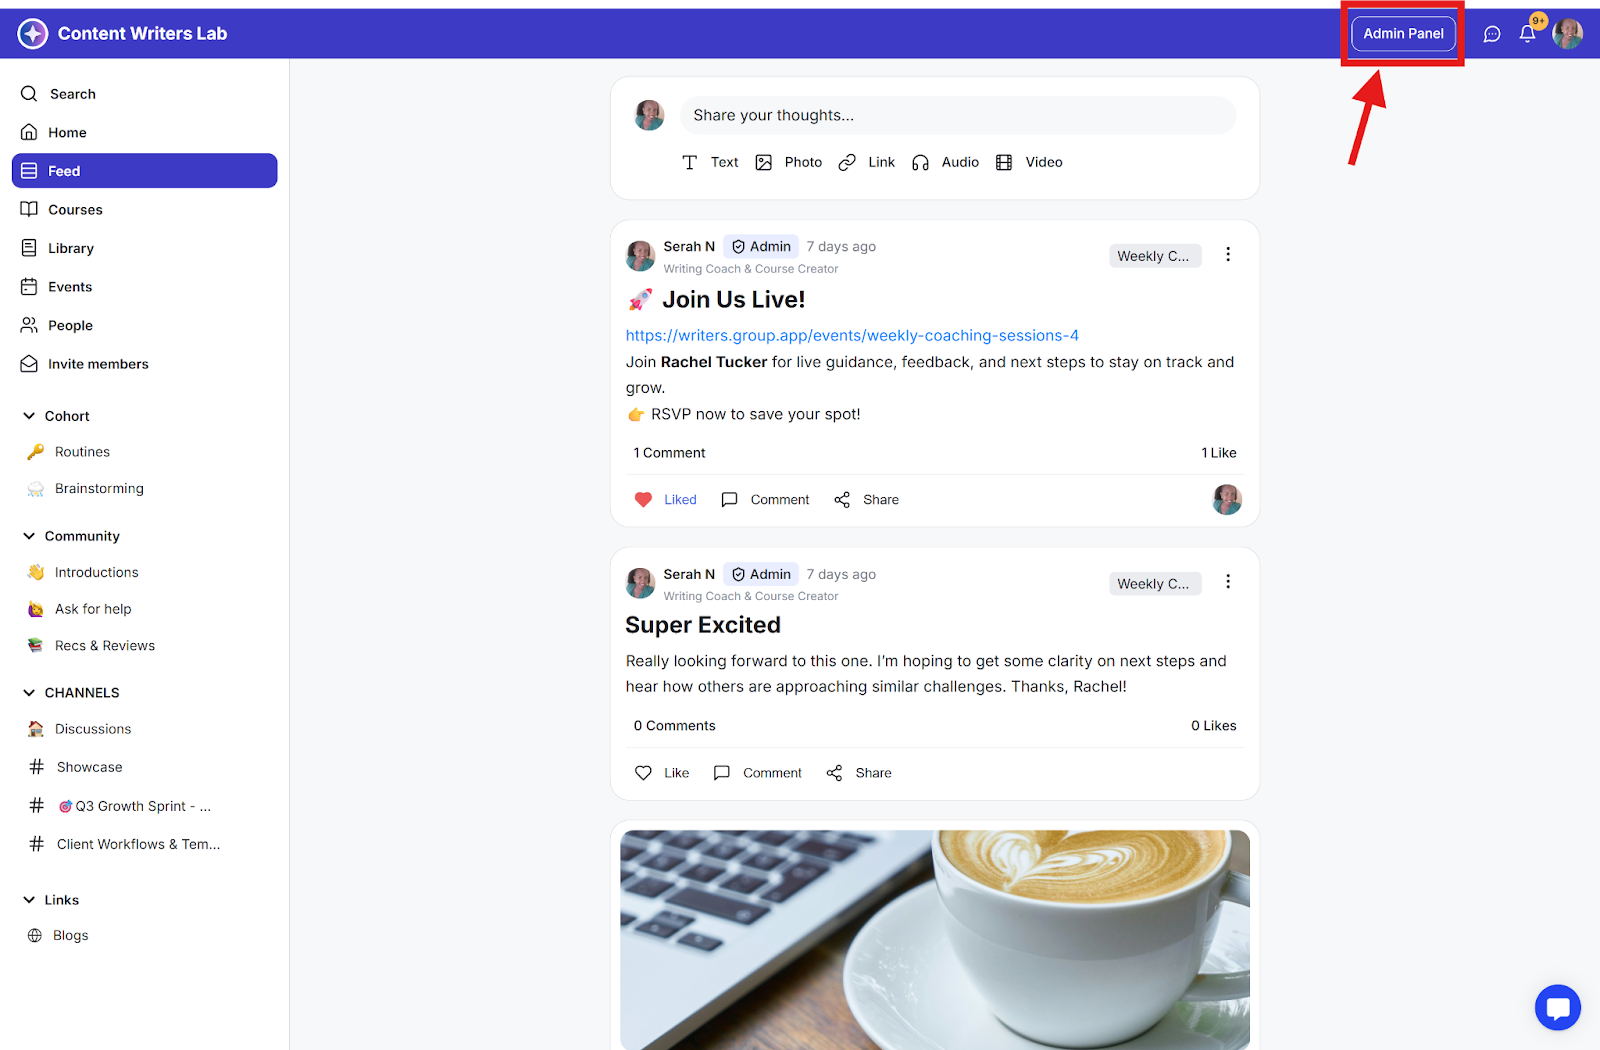
Step 1: From your community, click the Admin Panel in the top-right corner.
Step 2: In the side menu, click Events to access the events dashboard.
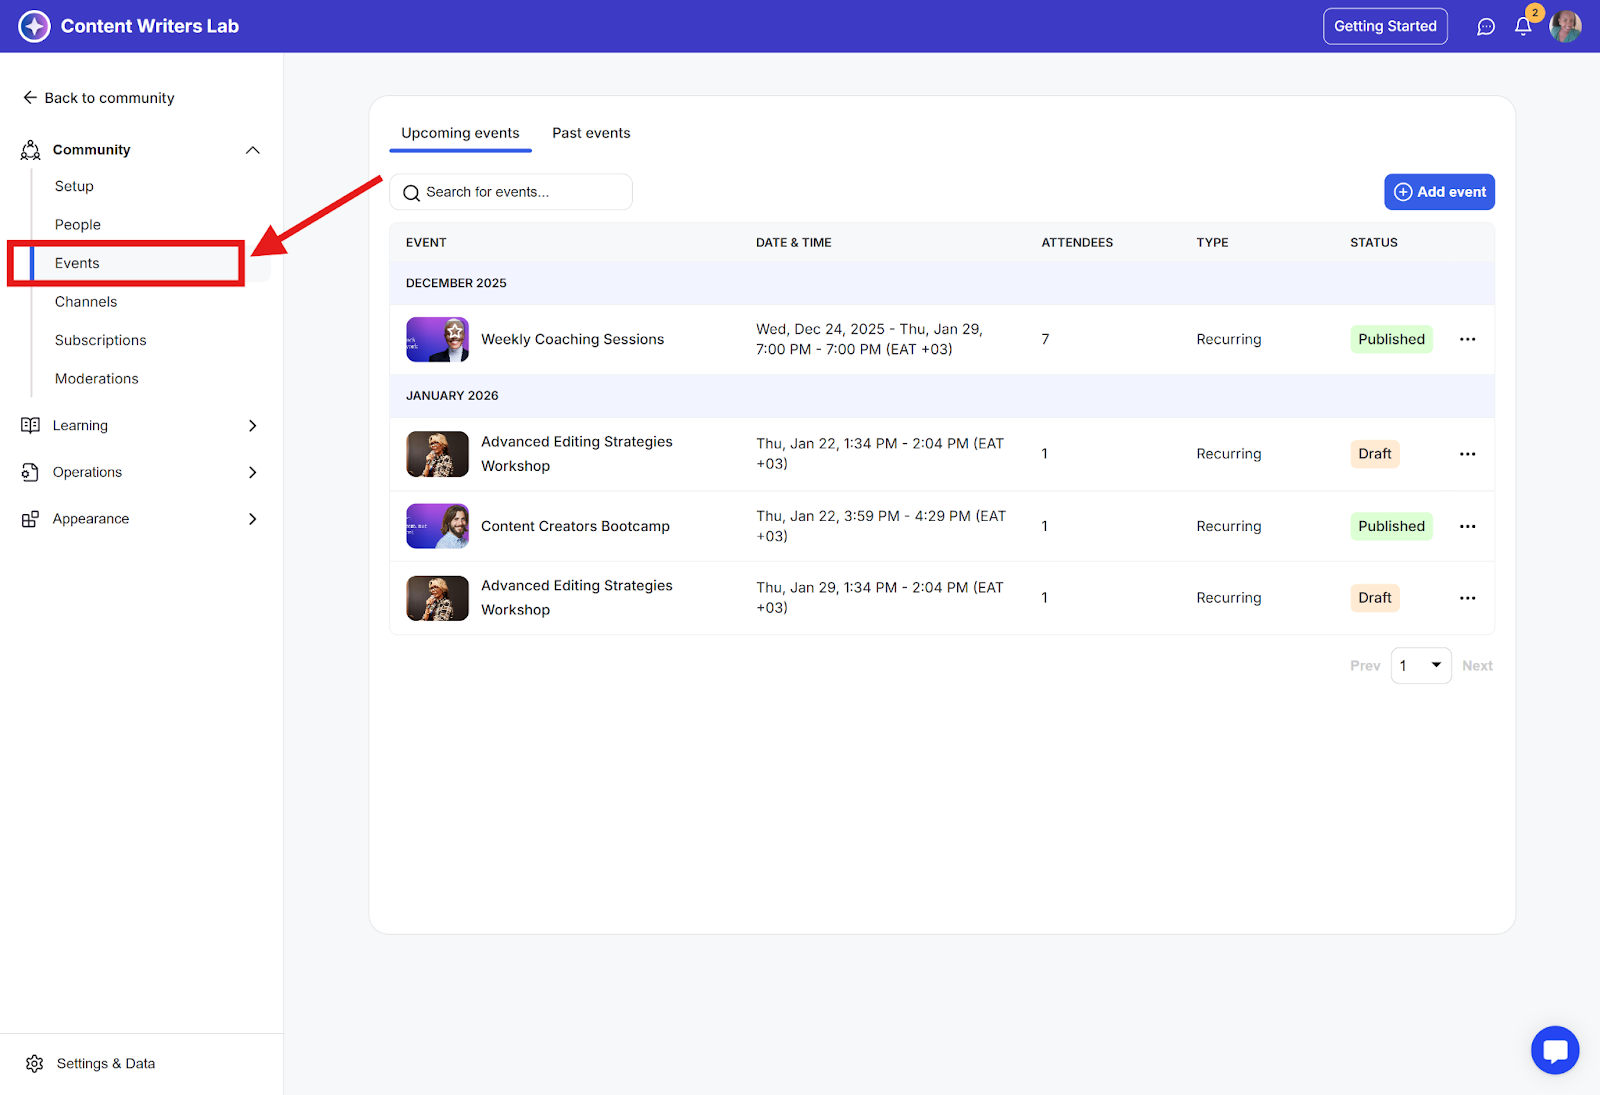
Step 3: Click the Add Event button to create a new event.

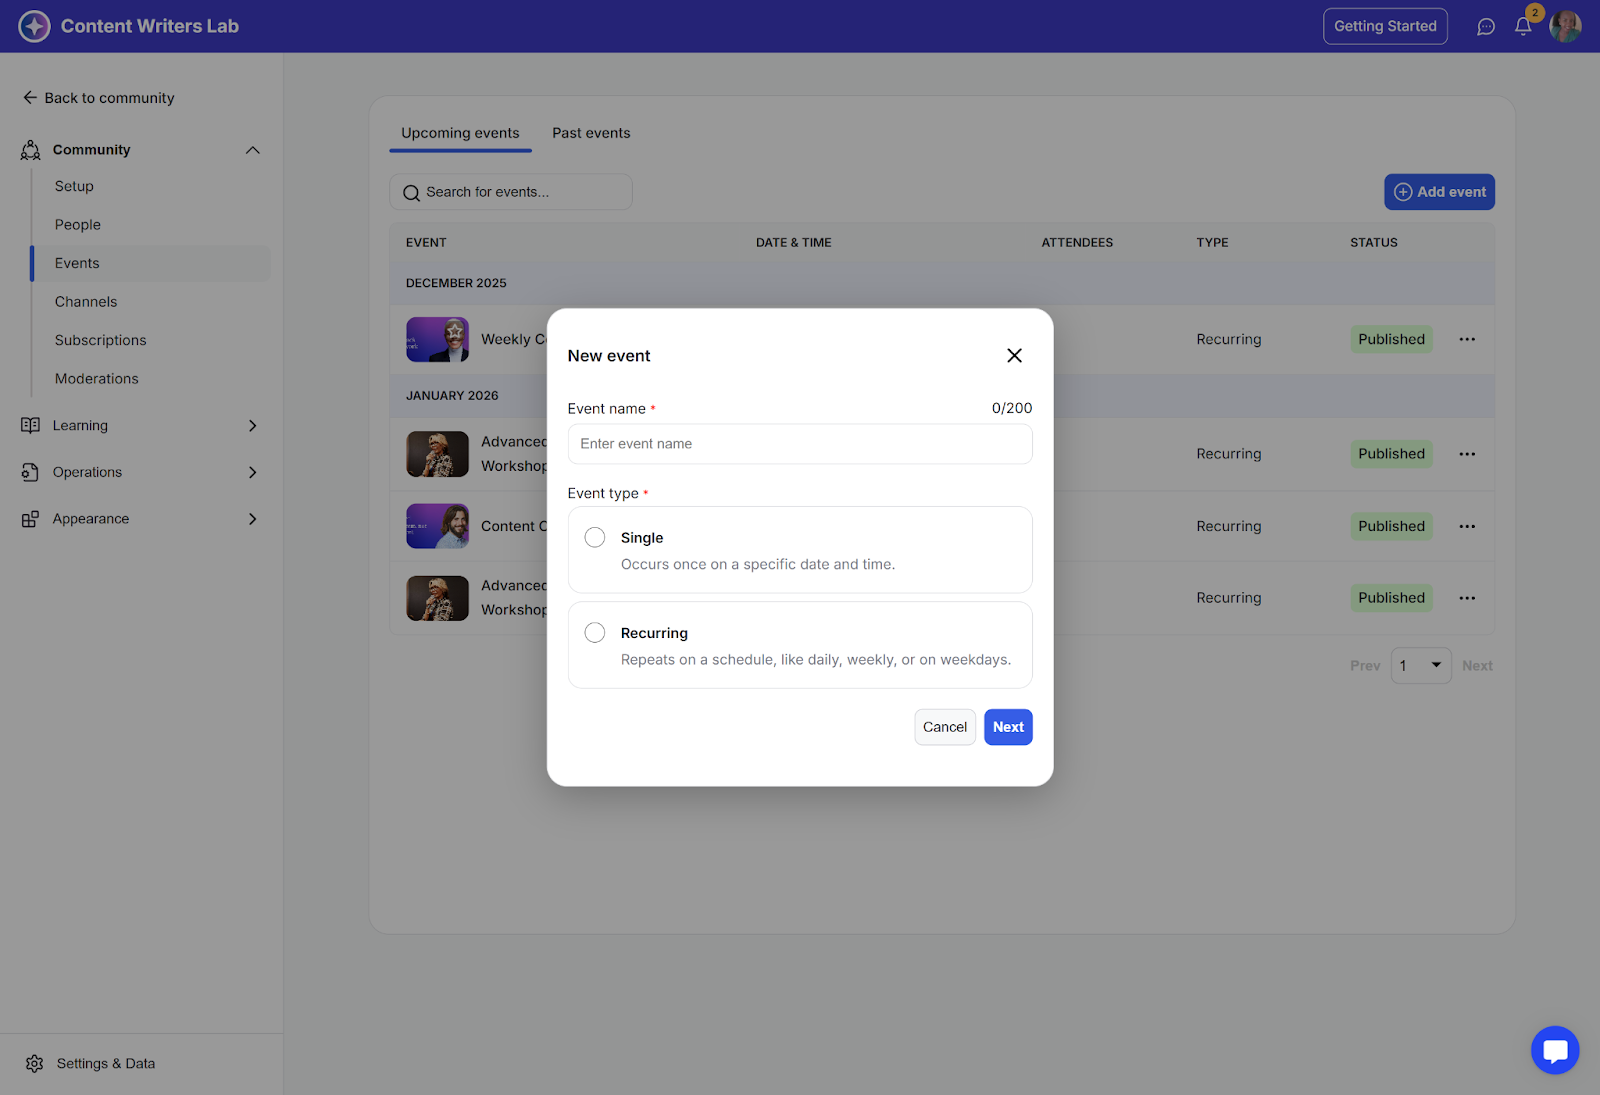
Step 4: This opens the Events Manager. Enter the event name and select the event type, then click Next.
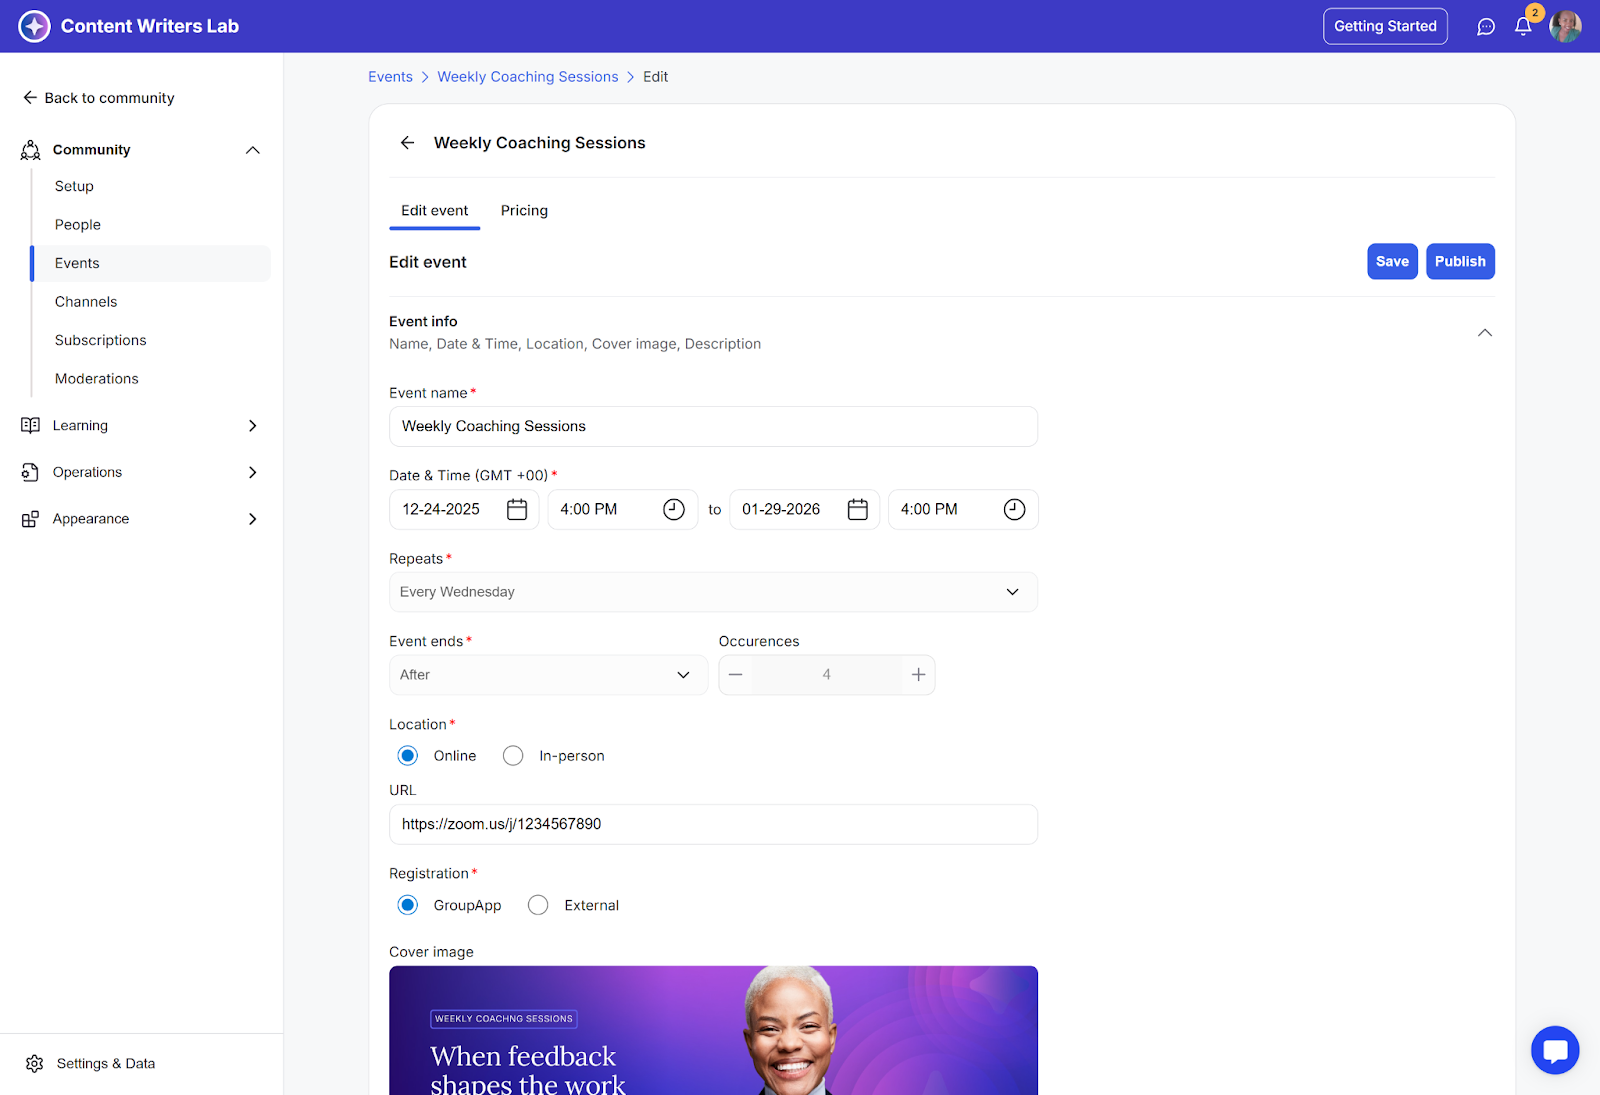
Step 5: On the next page, fill in the event details and select the relevant event options. Once completed, click Save.
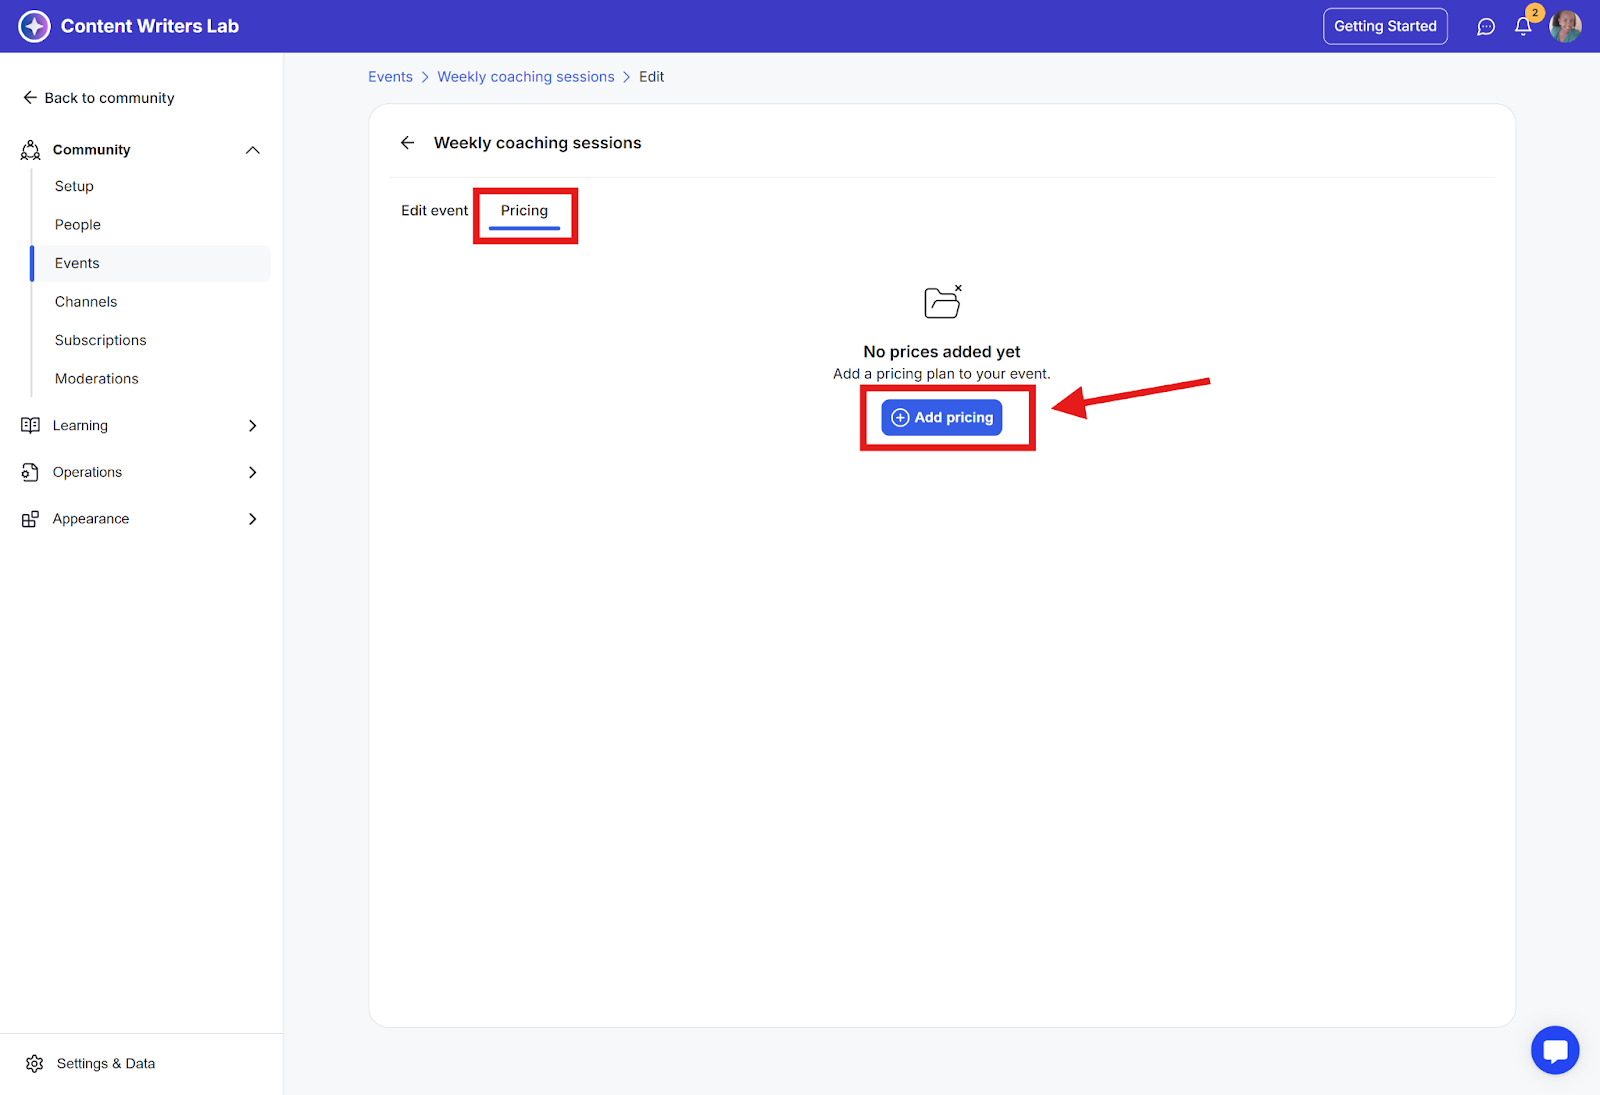
Step 6: After saving the event details, navigate to the Pricing tab and click Add Pricing.
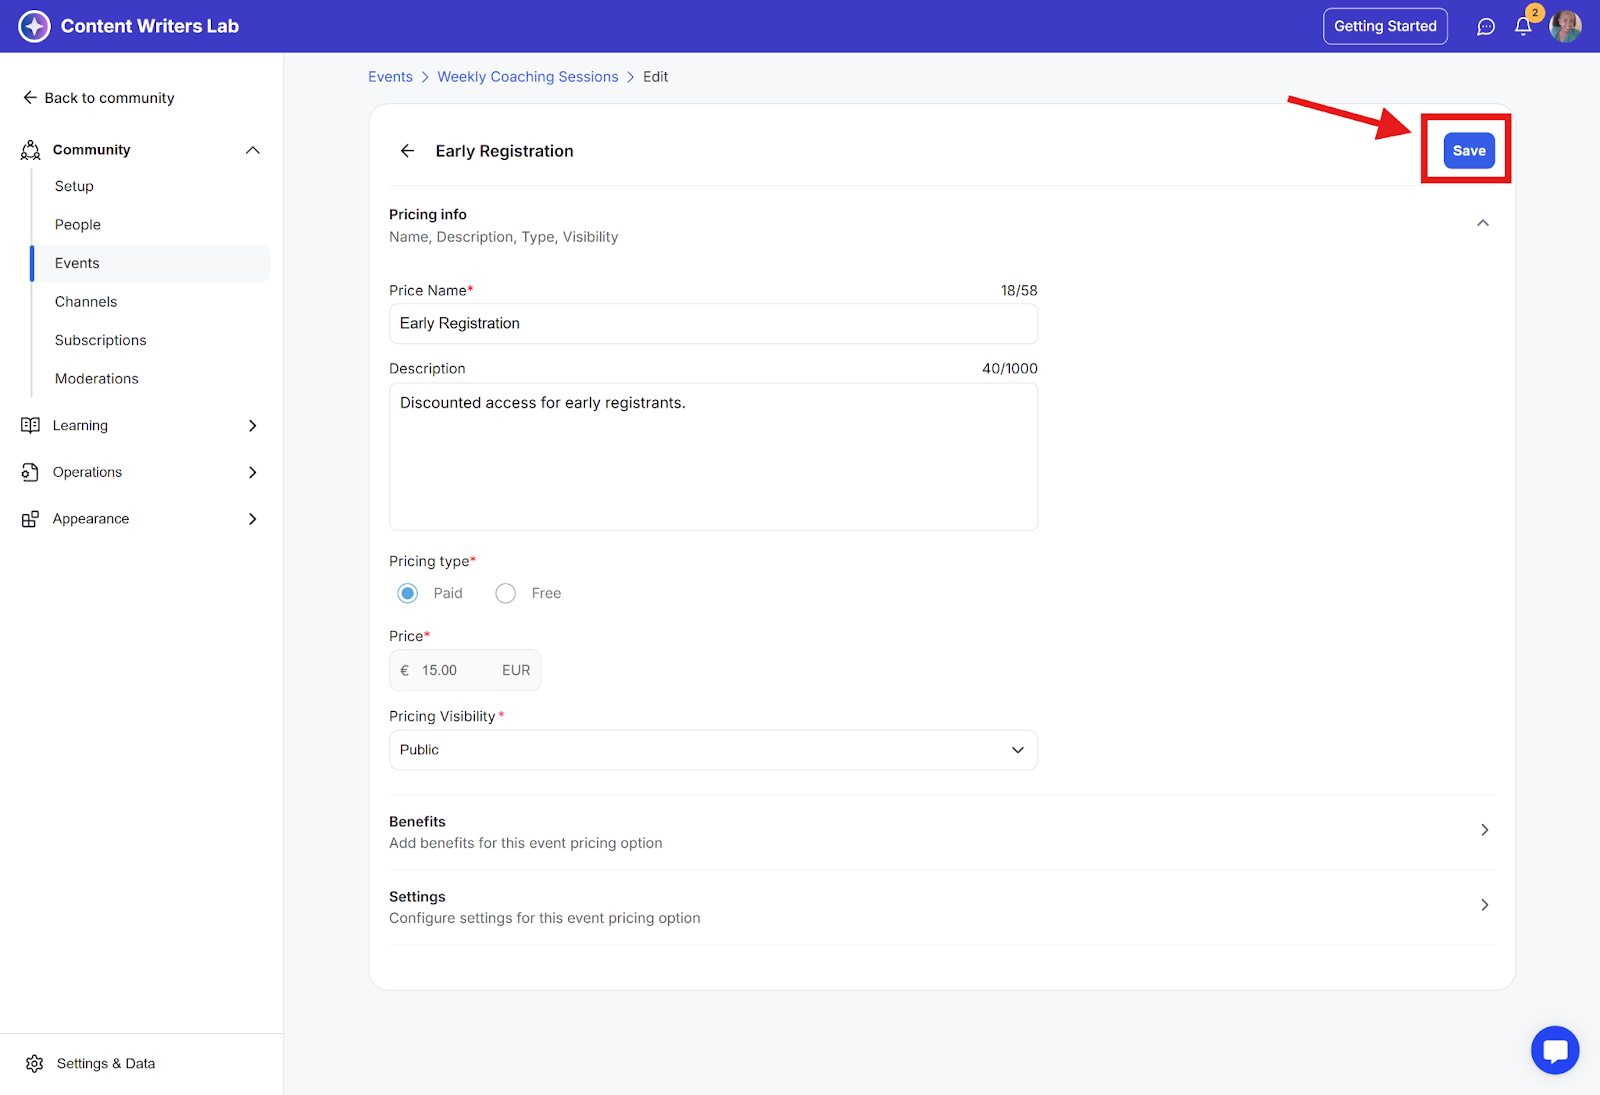
Step 7: Fill in the pricing information, select your preferred options, and click Save.
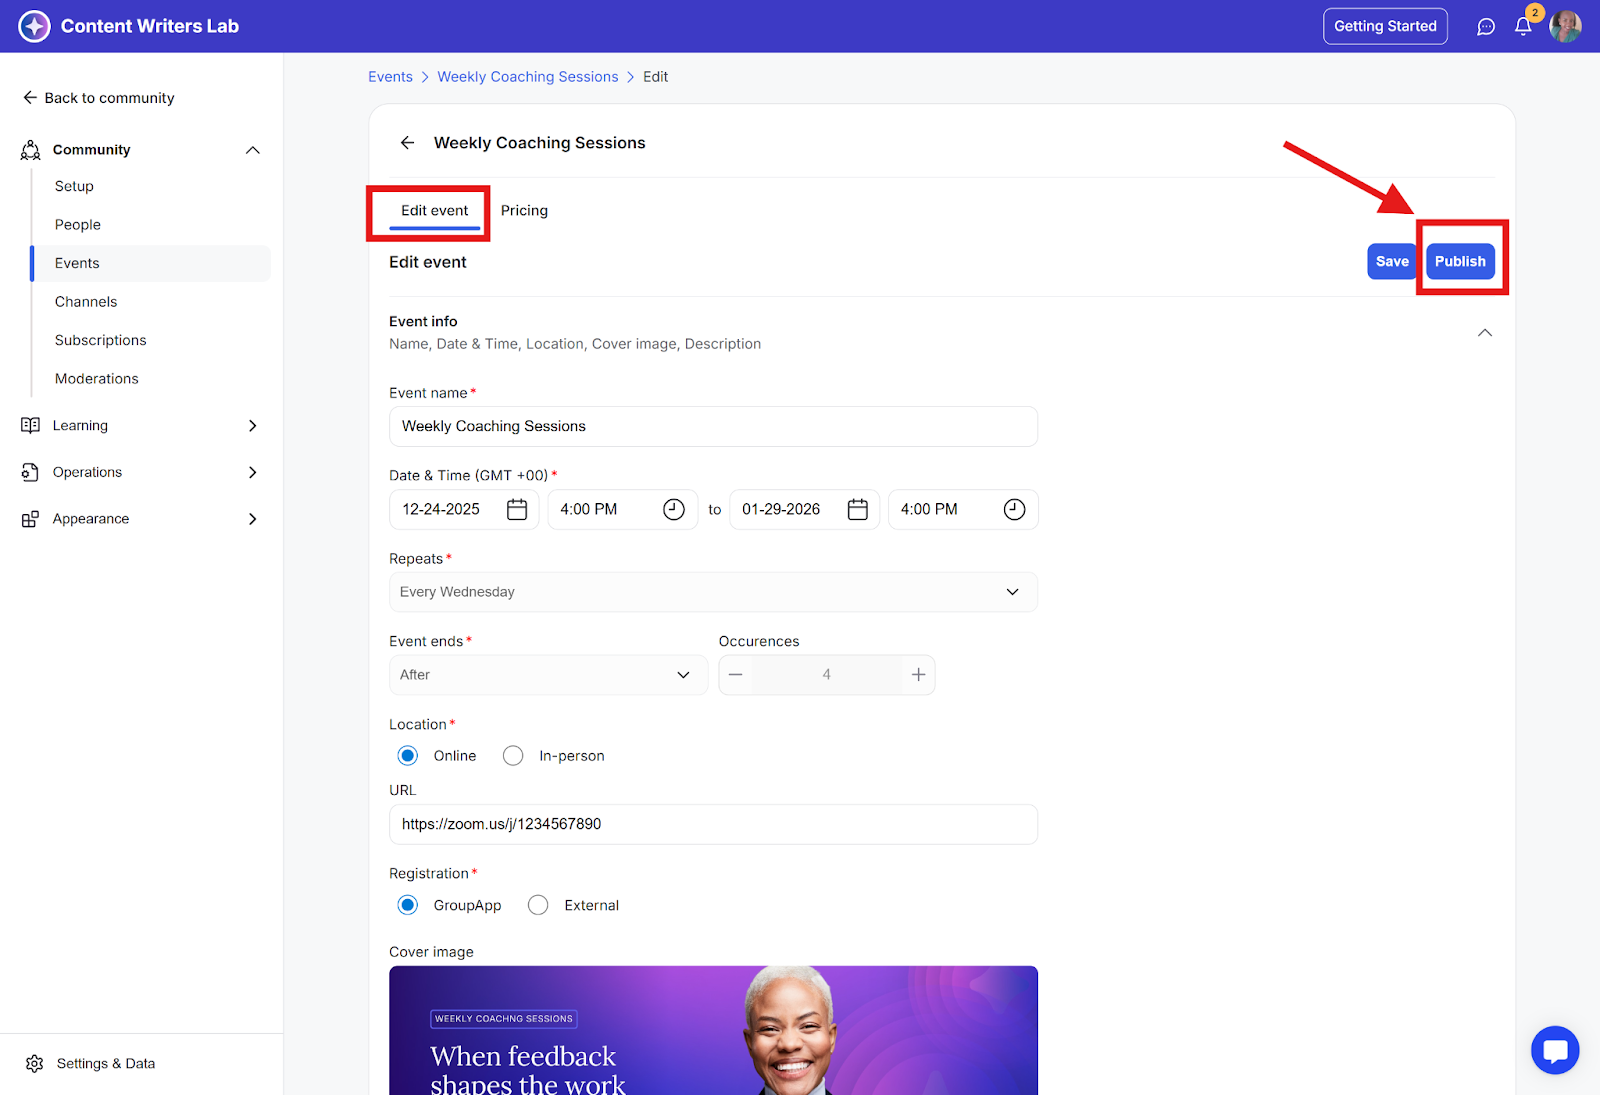
Step 8: Go back to the Edit Event tab, select Publish event to make the event go live.
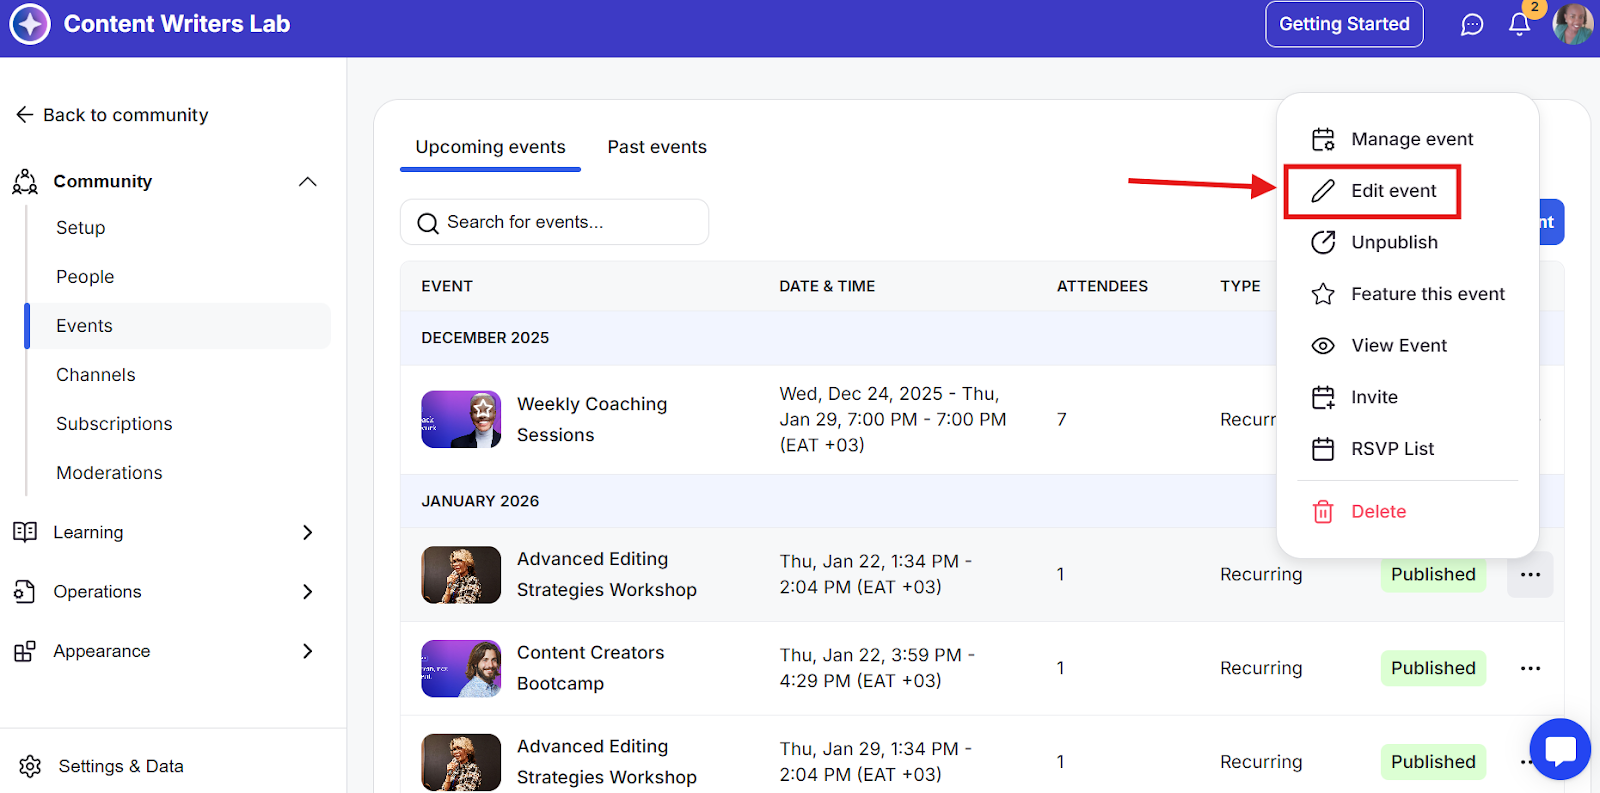
Step 1: On the Events page, navigate to the event you want to update and click the three-dot icon on the left. Then, select Edit Event.
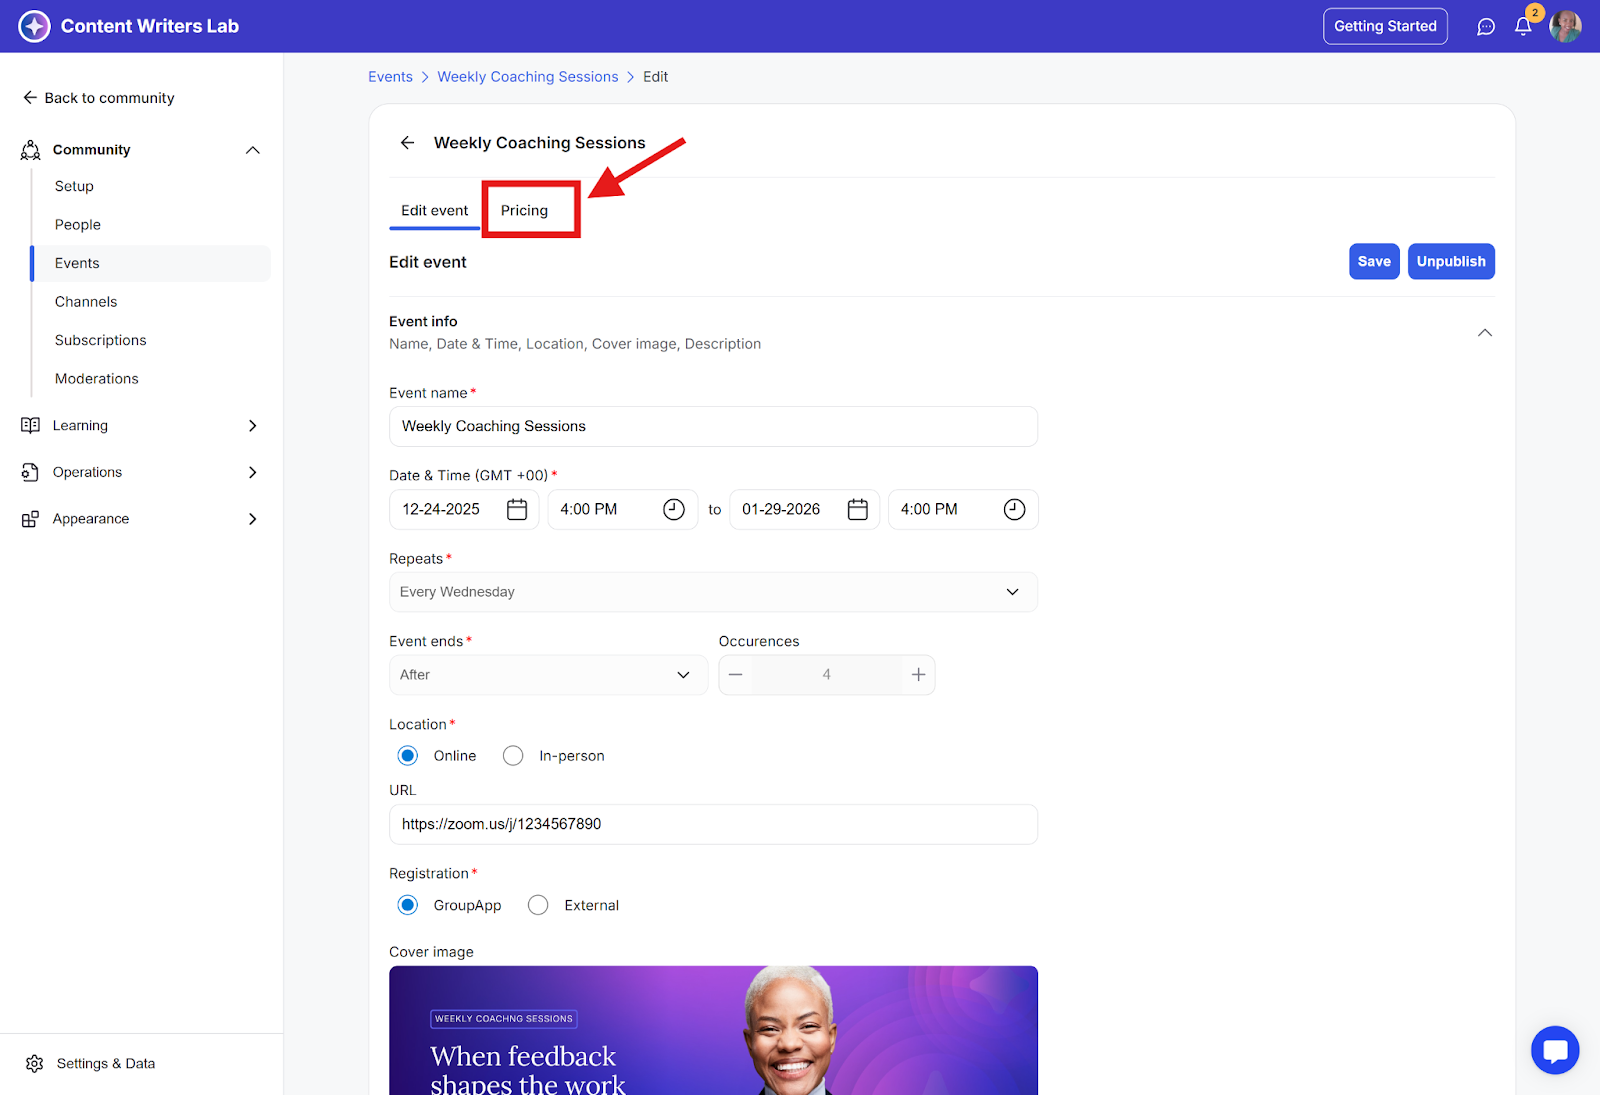
Step 2: On the Edit Event page, click the Pricing tab.
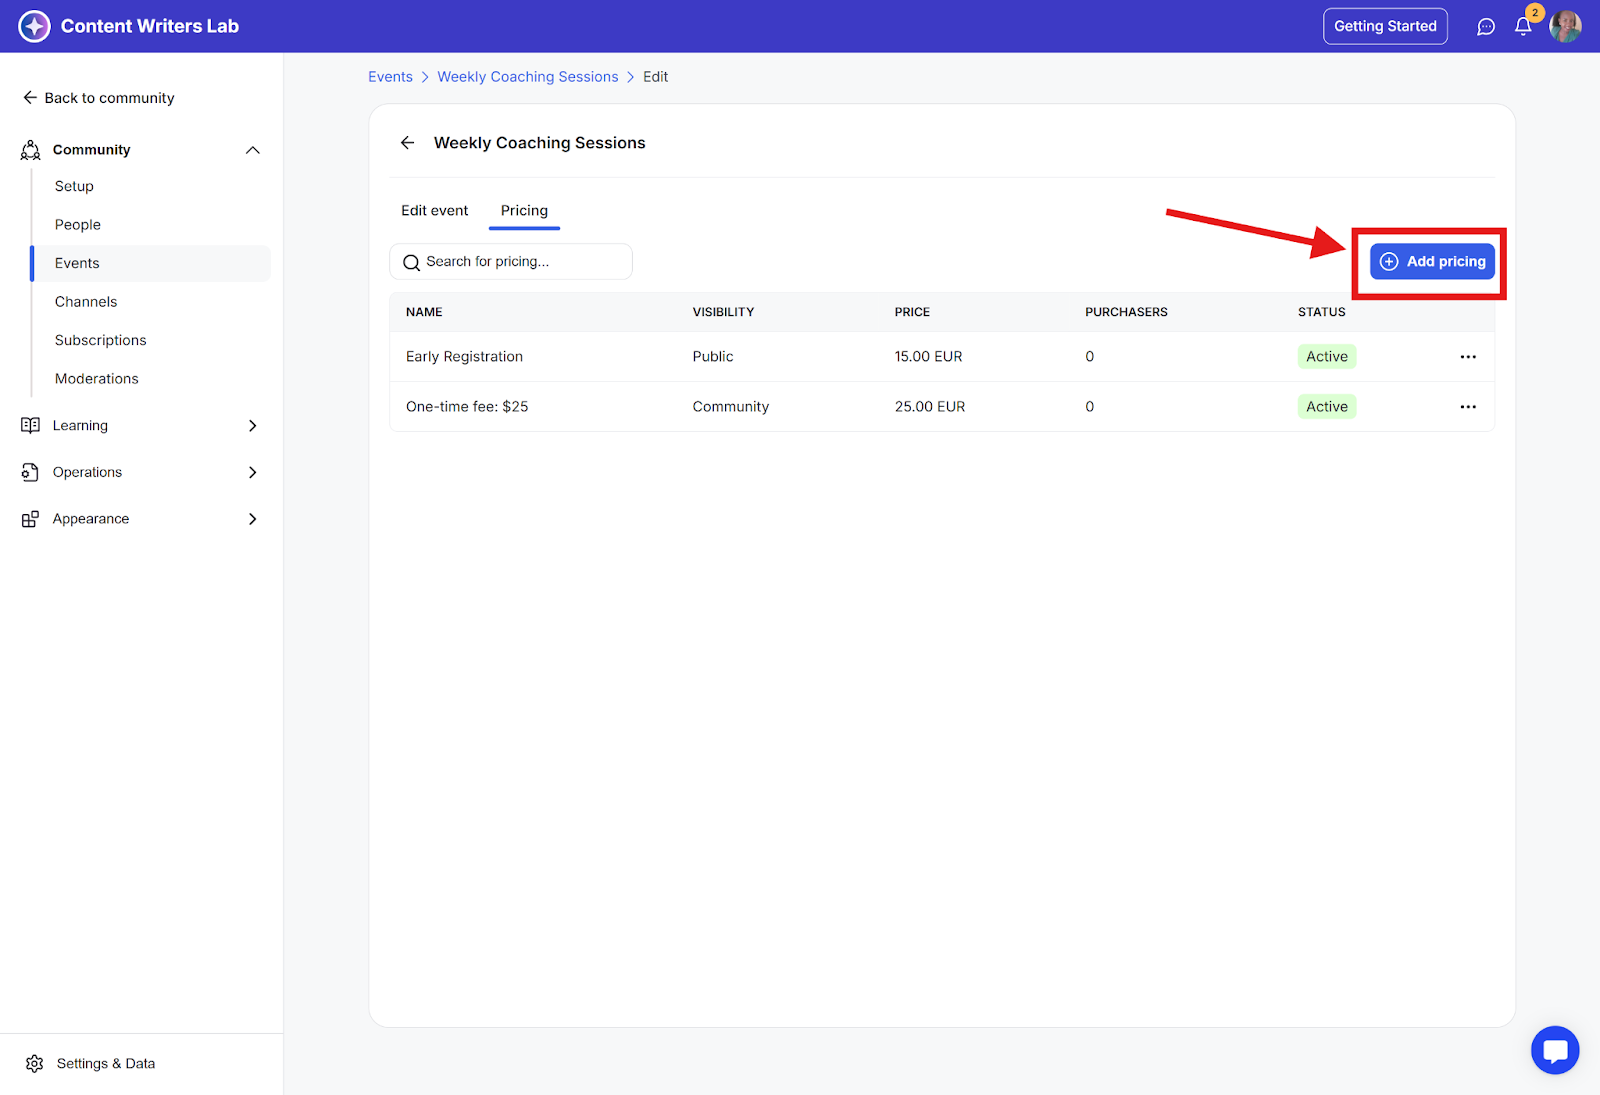
Step 3: Click the Add Pricing button and add new pricing details.
Step 4: To edit an existing price, click the three-dot icon next to the pricing option, select Edit, make your changes, and click Save.
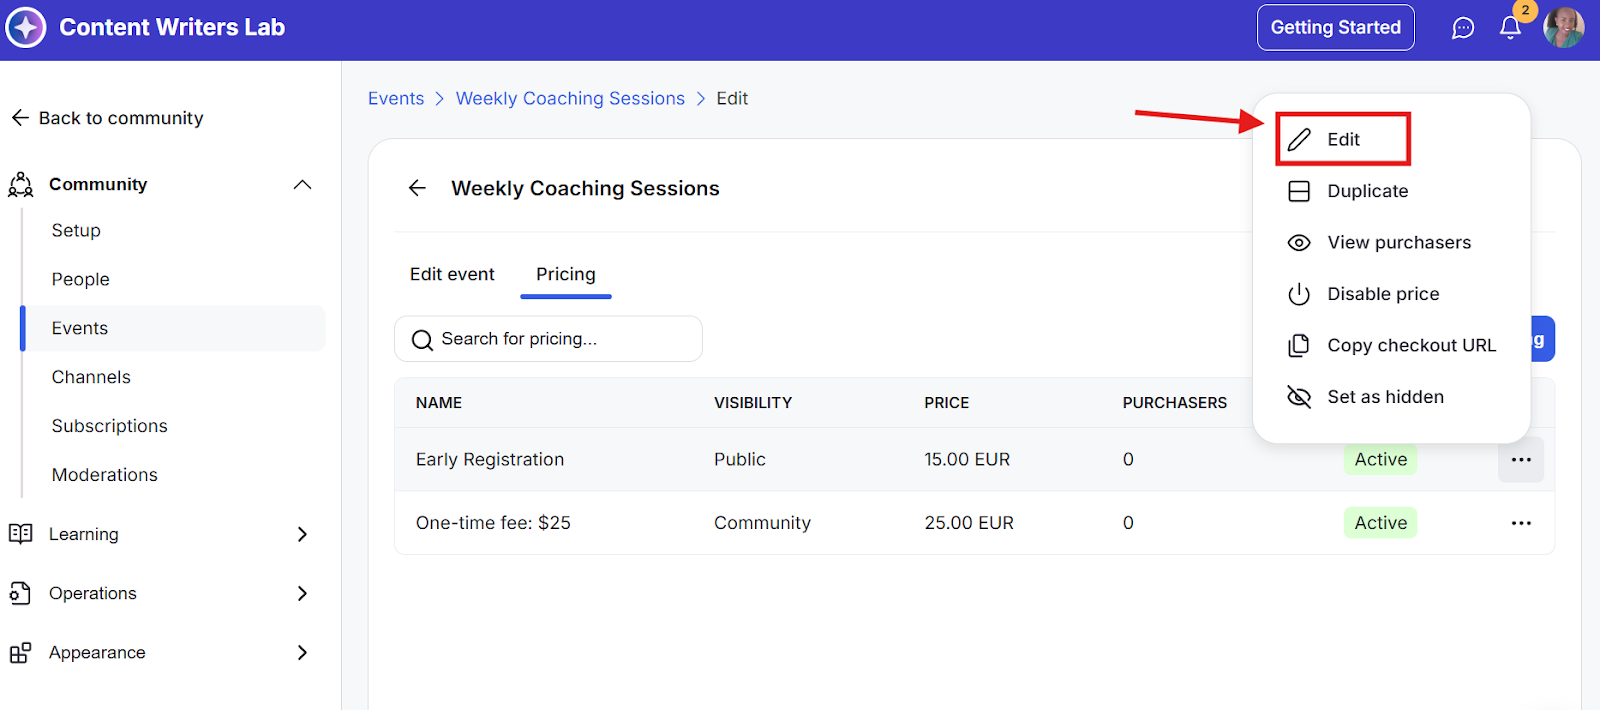
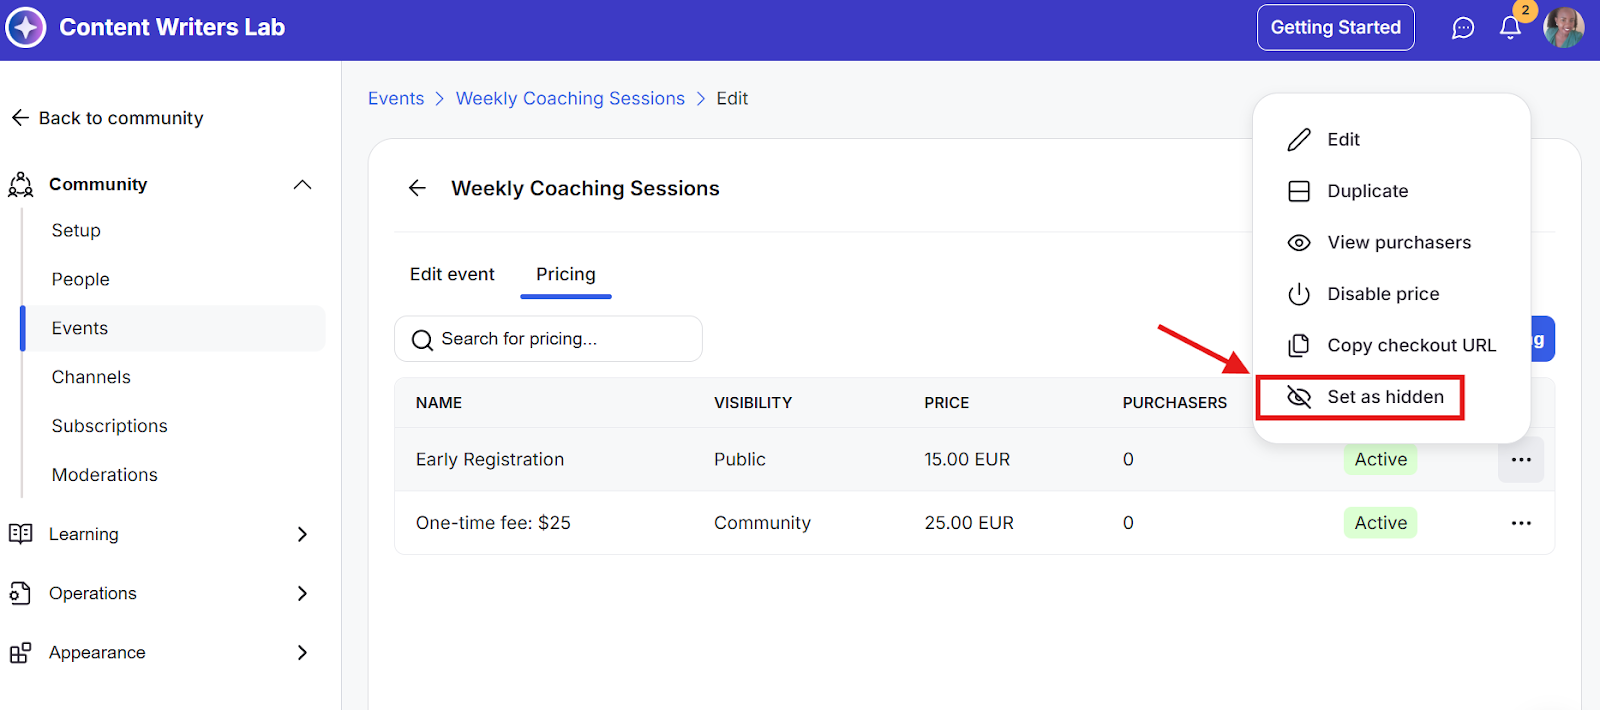
Step 5: If you have multiple pricing options, you can hide or show specific prices. Click the three-dot icon next to a pricing option, then select Set as Shown or Set as Hidden.
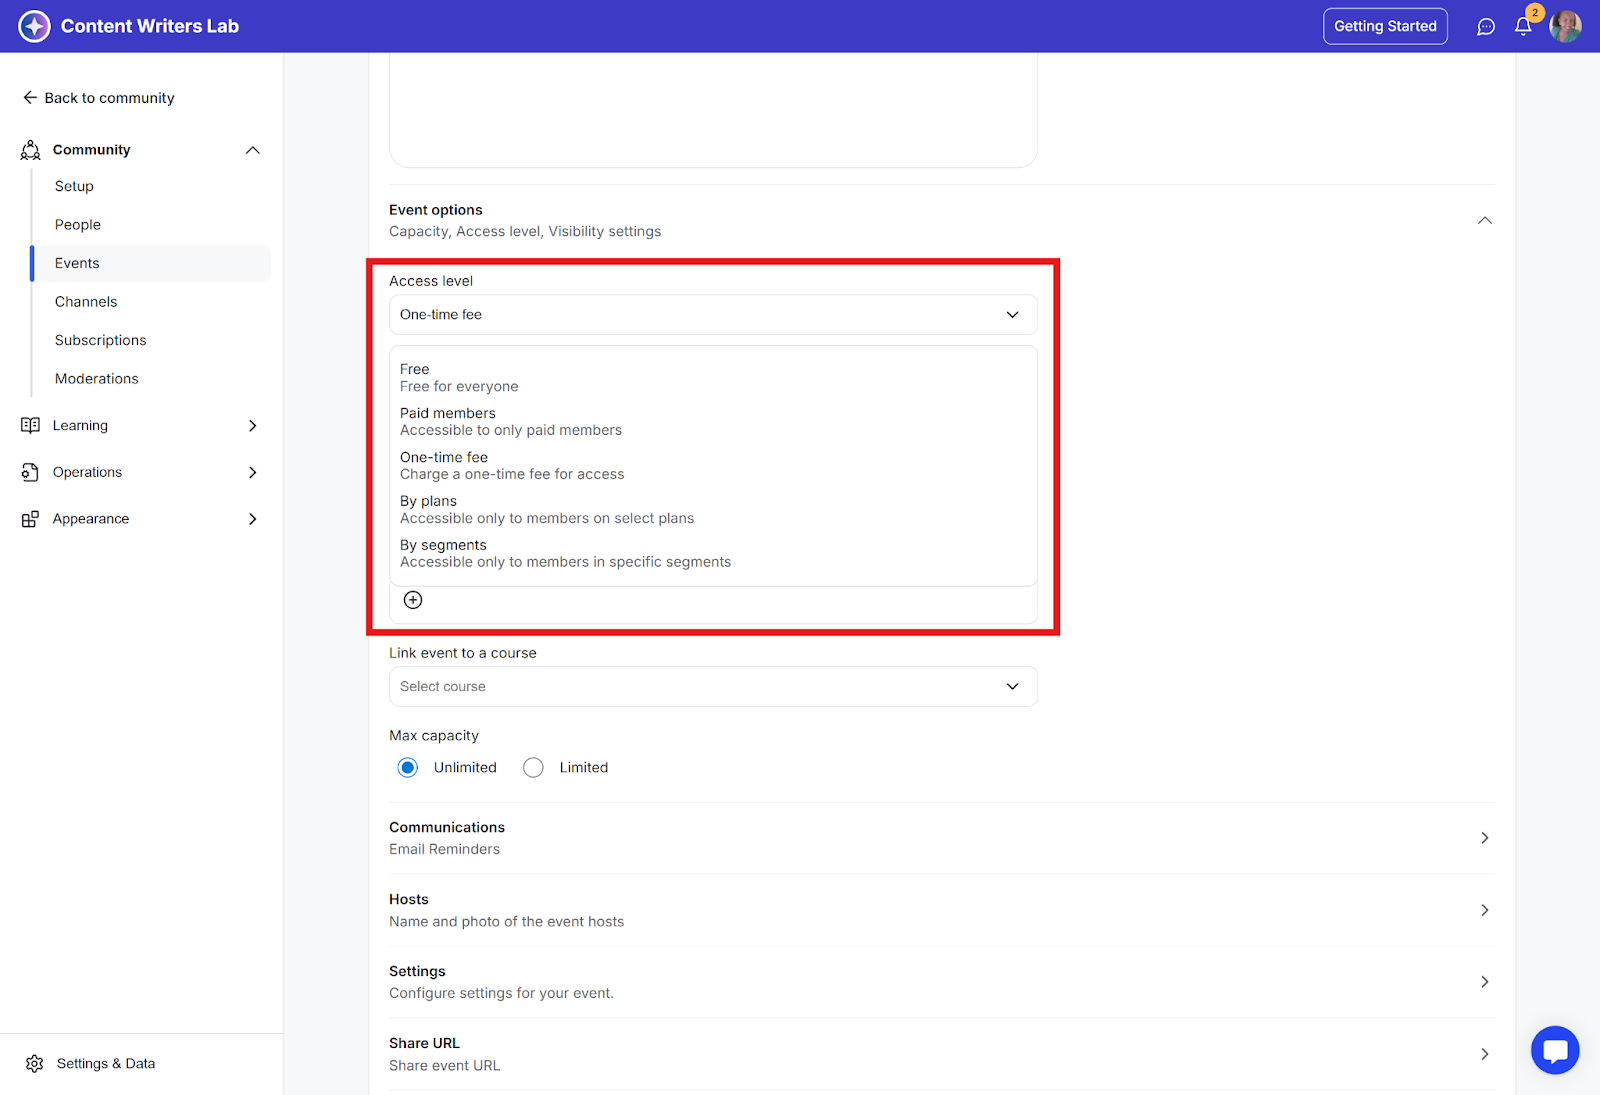
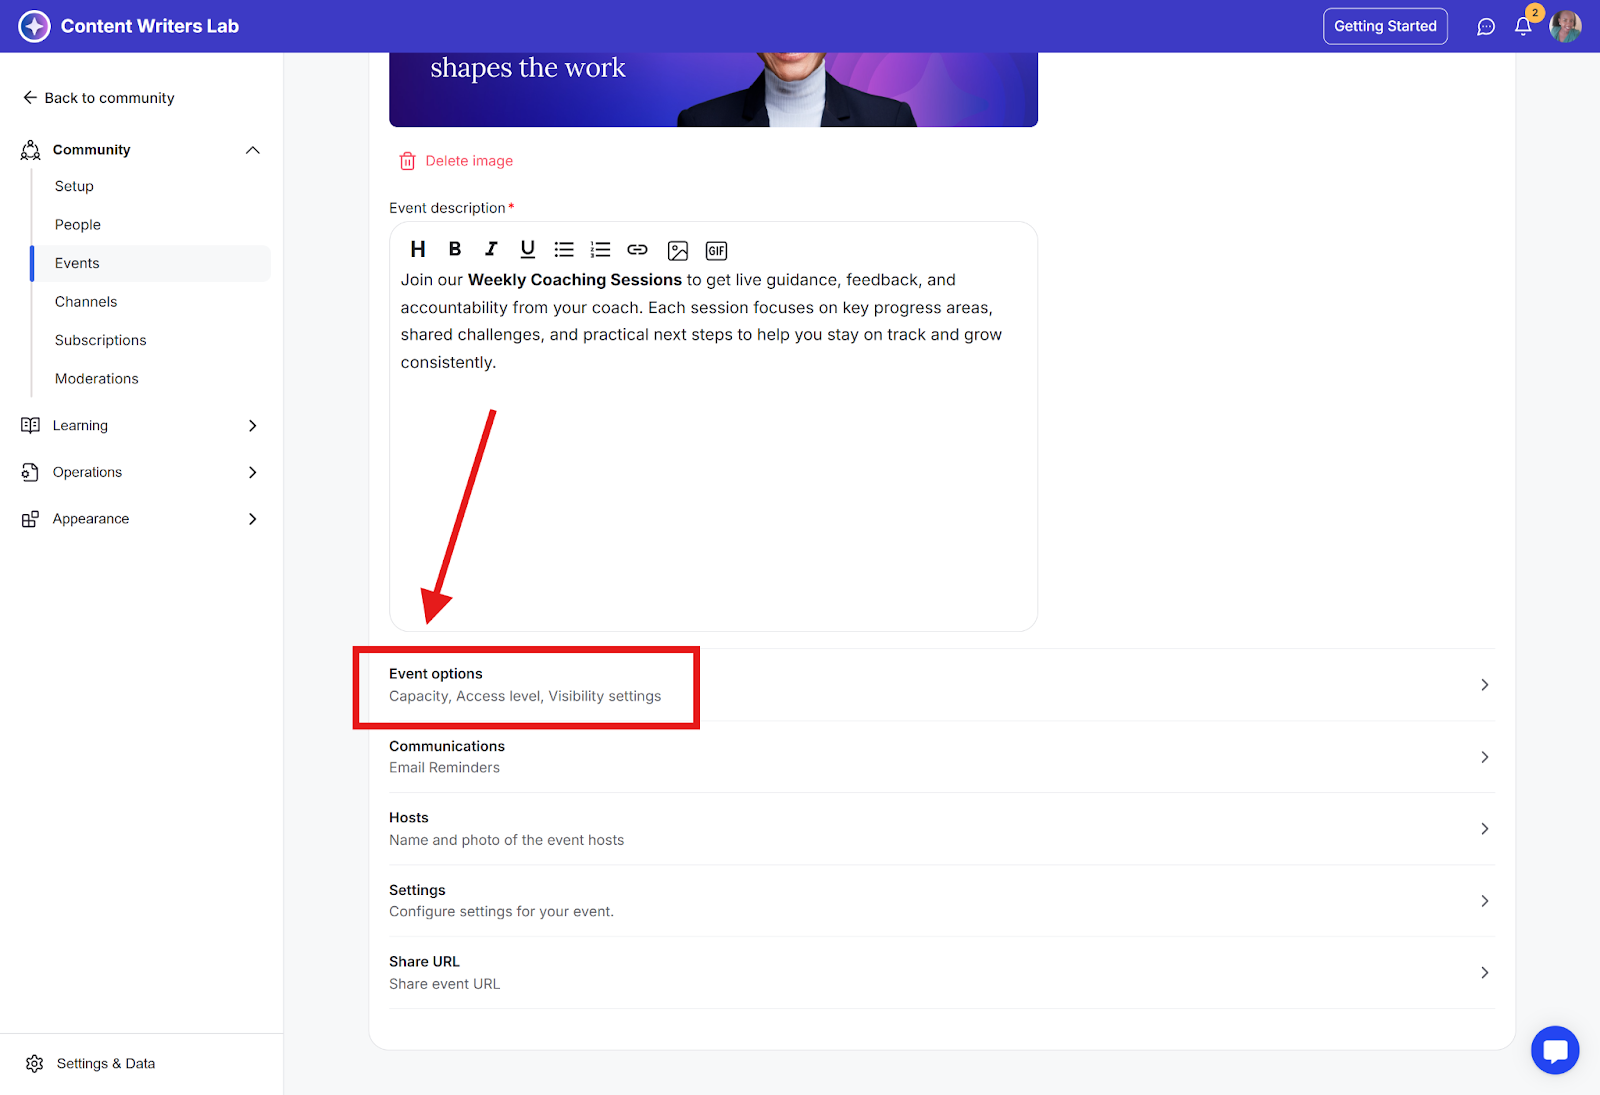
Step 6: To enable the One-time fee access level for this event, go to the Edit Event tab and scroll down to Event Options.
Step 7: Go to the Access Level dropdown and select the One-Time Fee option. Finally, click the Save button to save your changes.