Your Community About card appears on the right-hand side of your community home page.
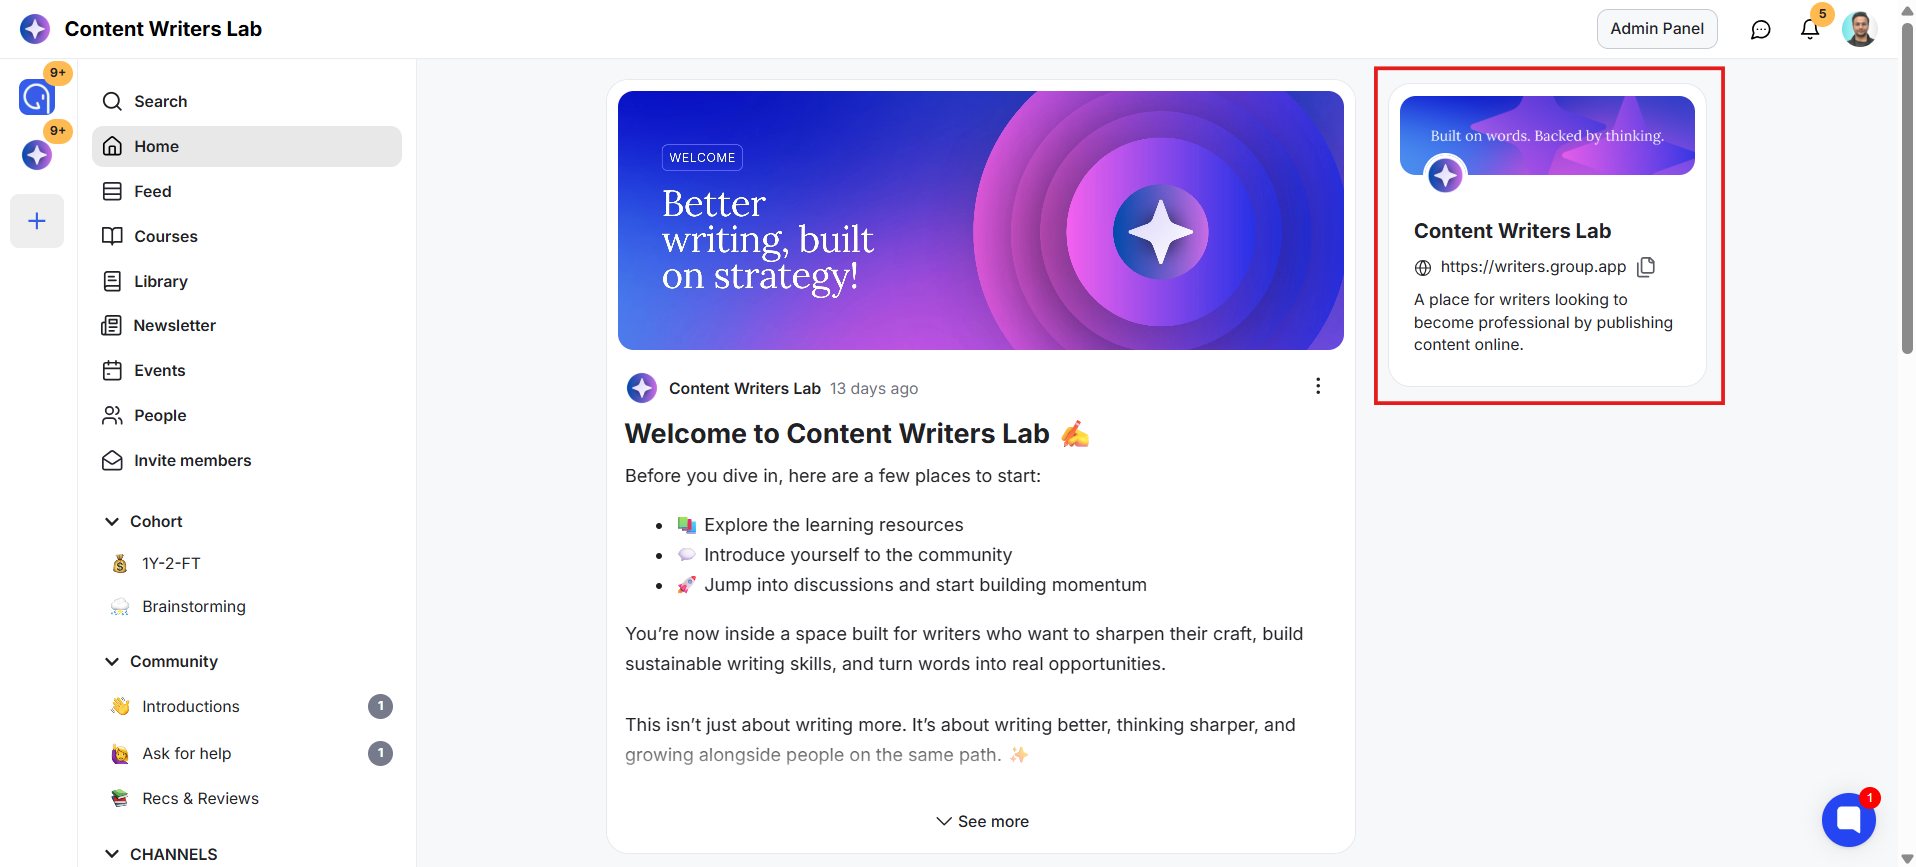
It gives members a quick overview of your community and displays your community cover image, logo, name, description, and community URL. The URL can also be copied directly from the card when you want to share your community.
The information on this card comes from your Branding and Community Settings.
Here's how to update each part.
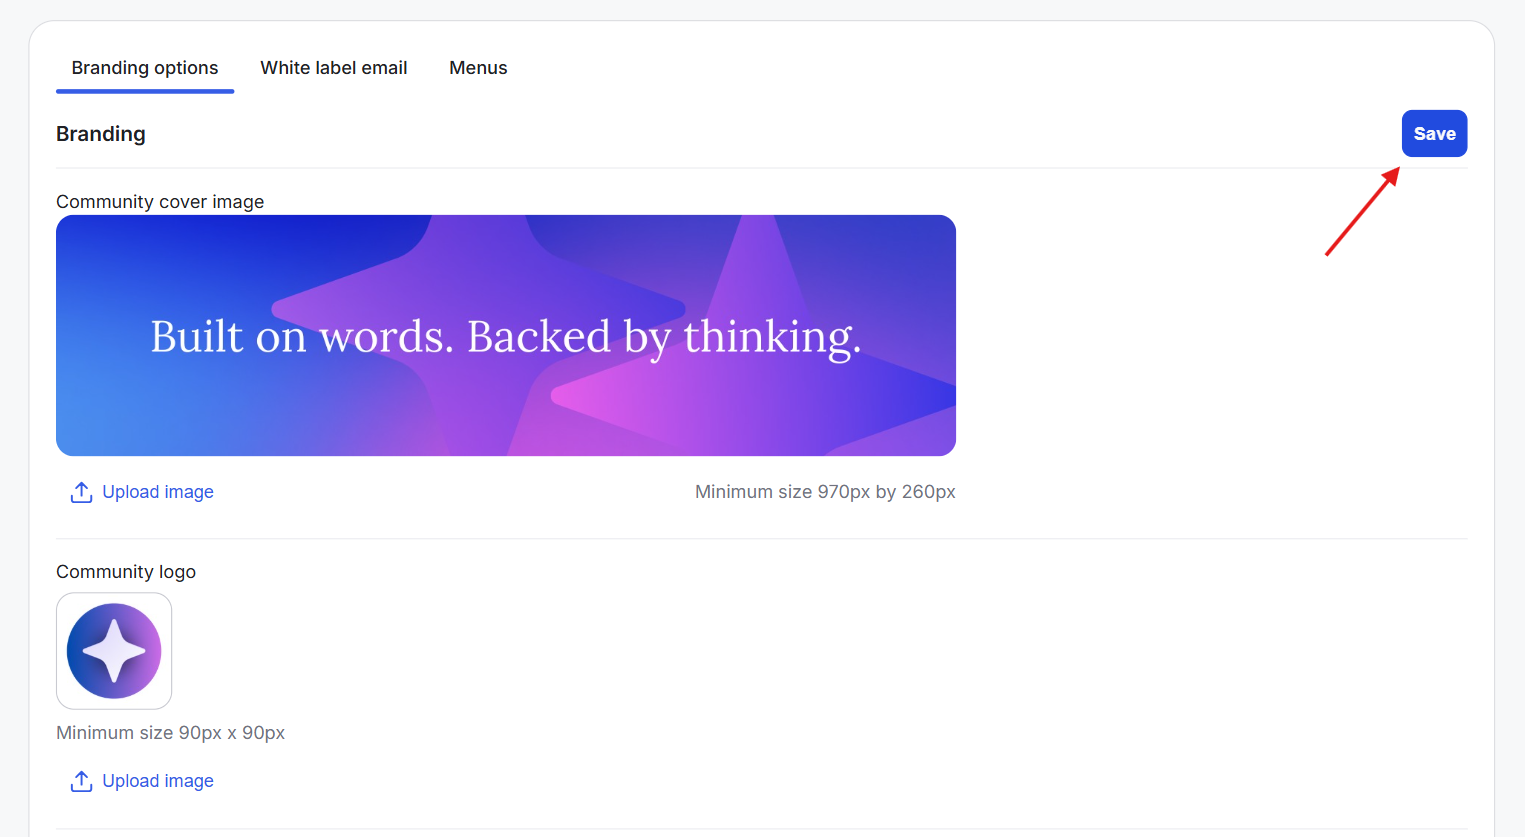
Your Community About card uses the same cover image and logo configured in your community's Branding settings. The logo is also used in other areas of your community, including the top-left corner.
1) Go to the Admin Panel. Click Appearance and select Branding to open all the branding options.
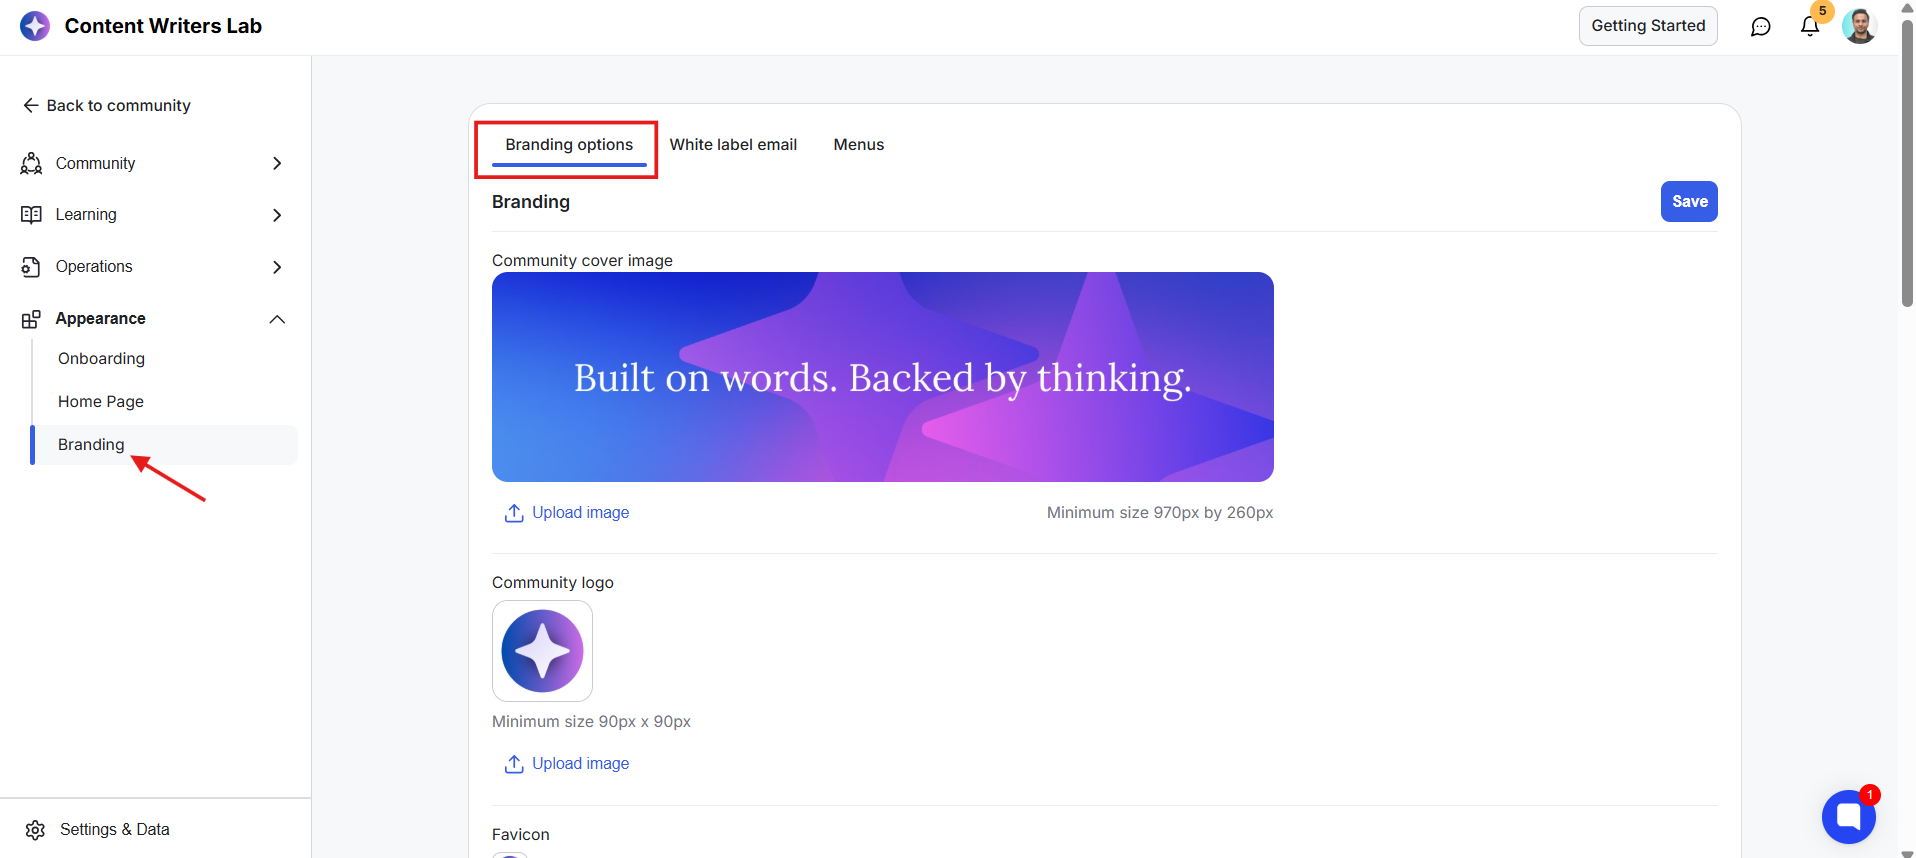
2) To update the Community Cover Image, click Upload Image and select your image. The minimum recommended size is 970 × 260 px.
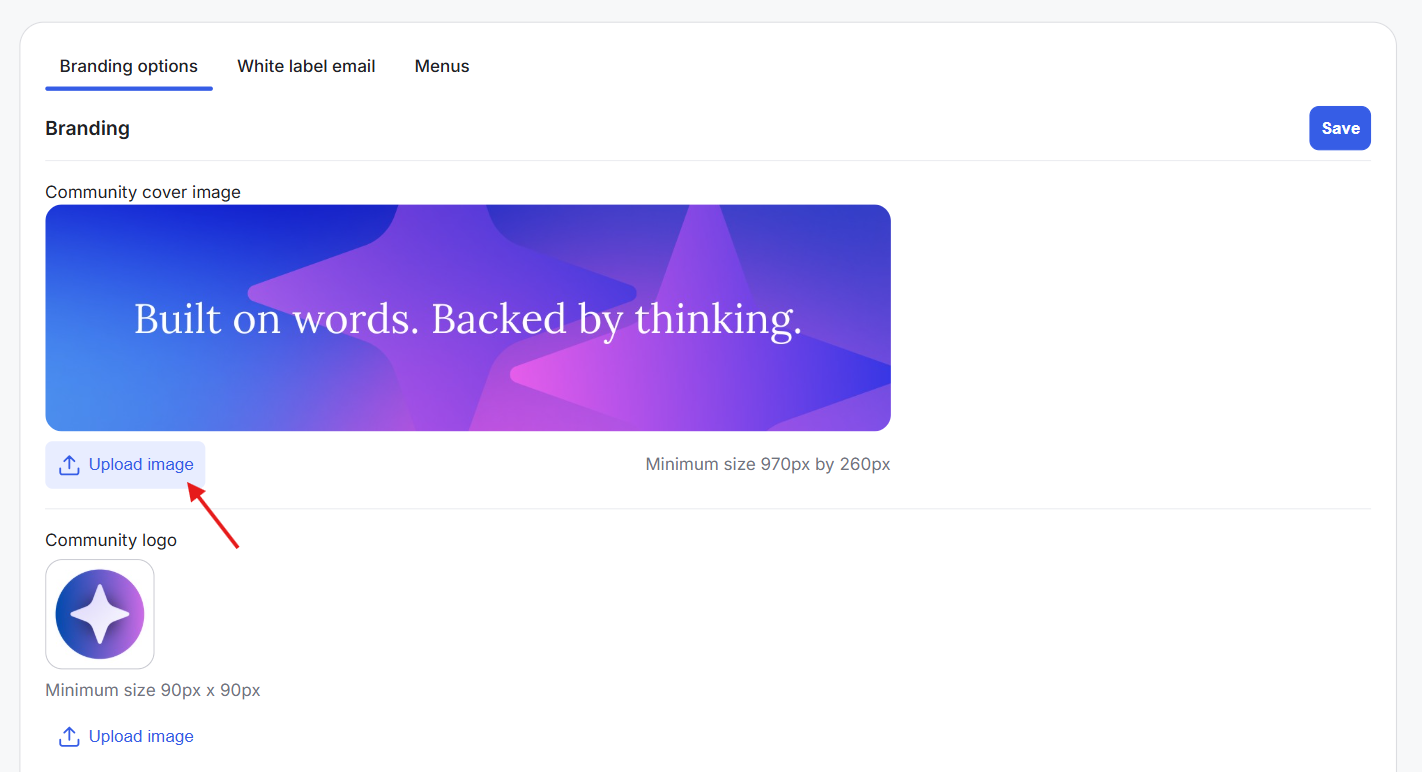
3) To update the Community Logo, upload your new logo. The minimum recommended size is 90 × 90 px. Since the logo is displayed inside a round frame in the Community About card and main logo frame, use an image that still looks clear when displayed in a circular shape.
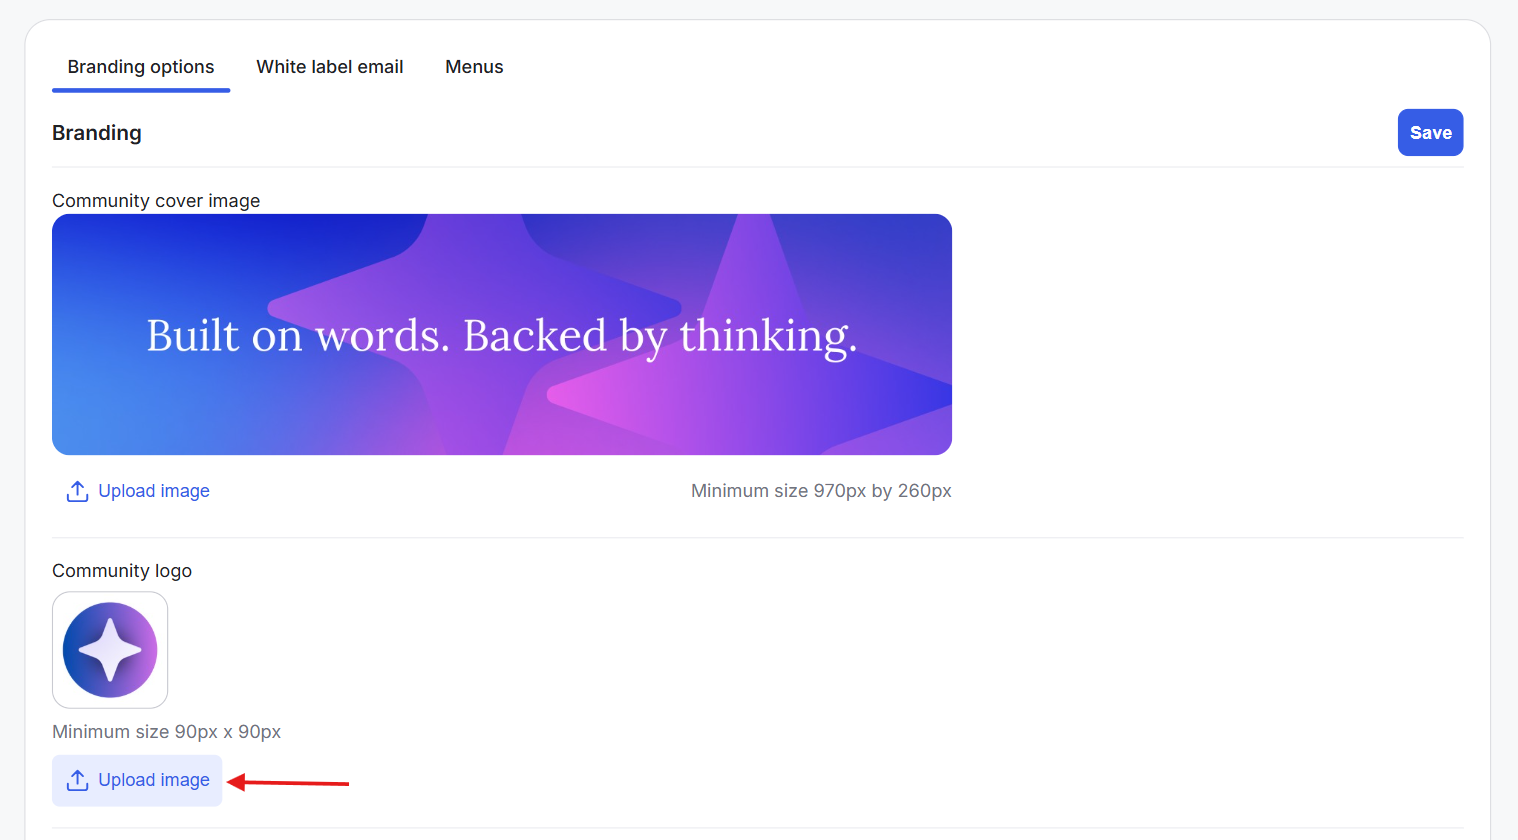
4) Click Save to apply your changes.
The rest of the information displayed on the Community About card comes from your main community settings.
1) Go to the Admin Panel. Click Settings & Data and select Settings. This opens your main community settings.
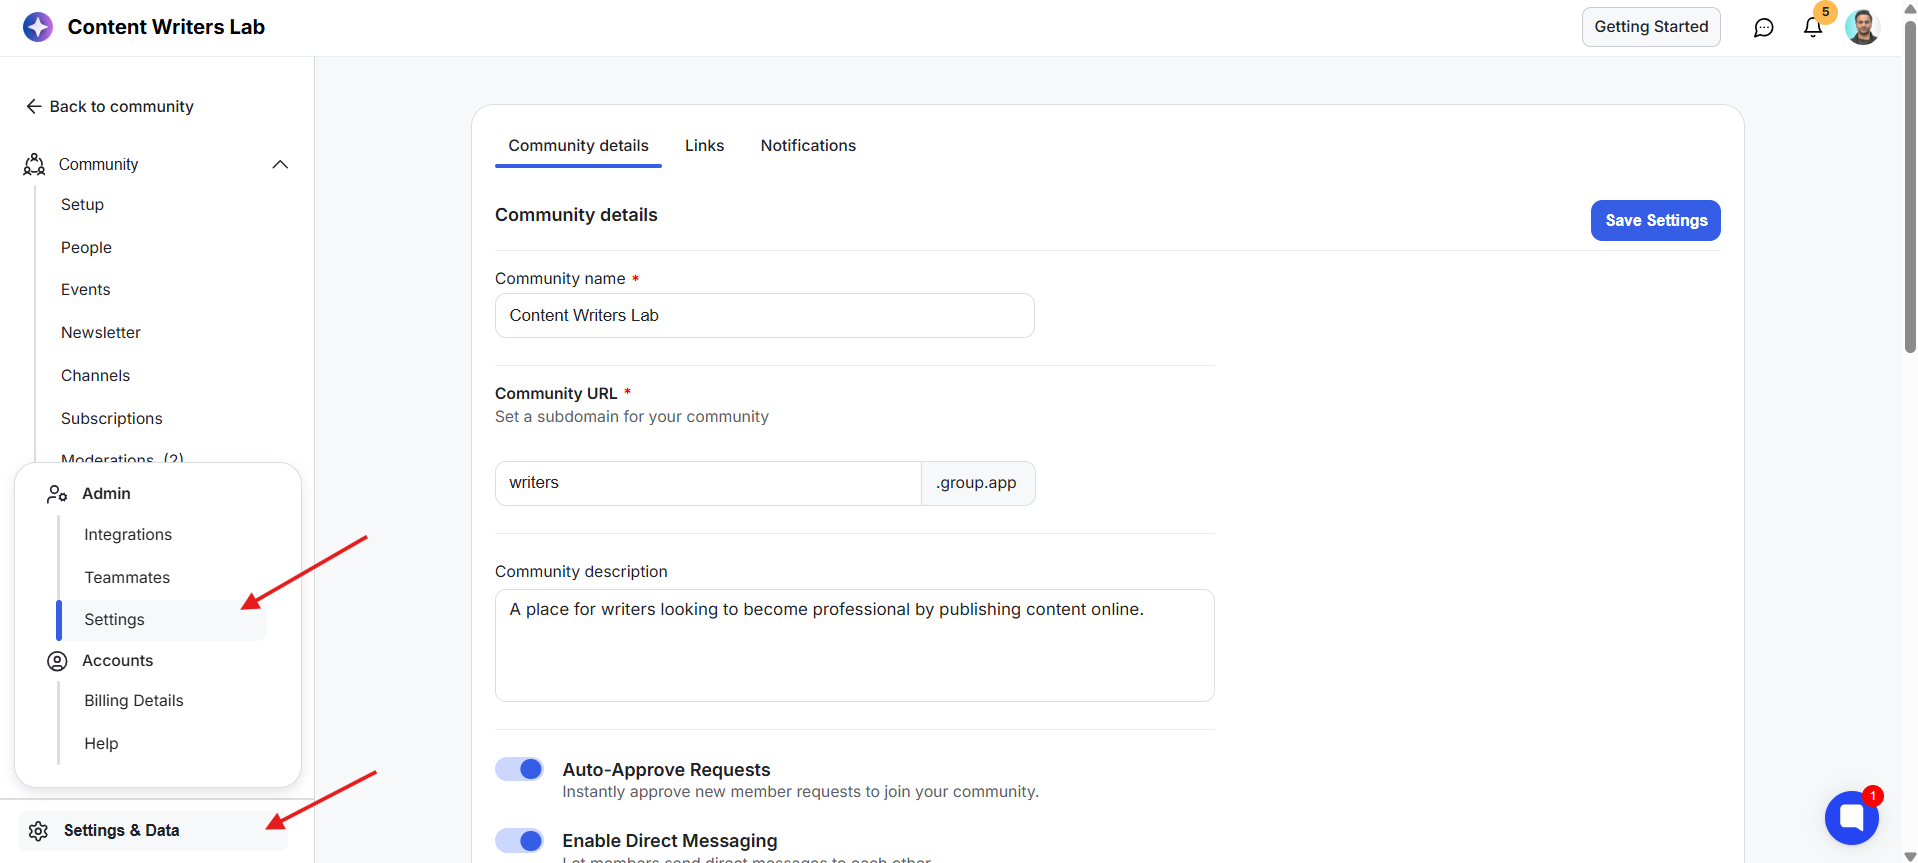
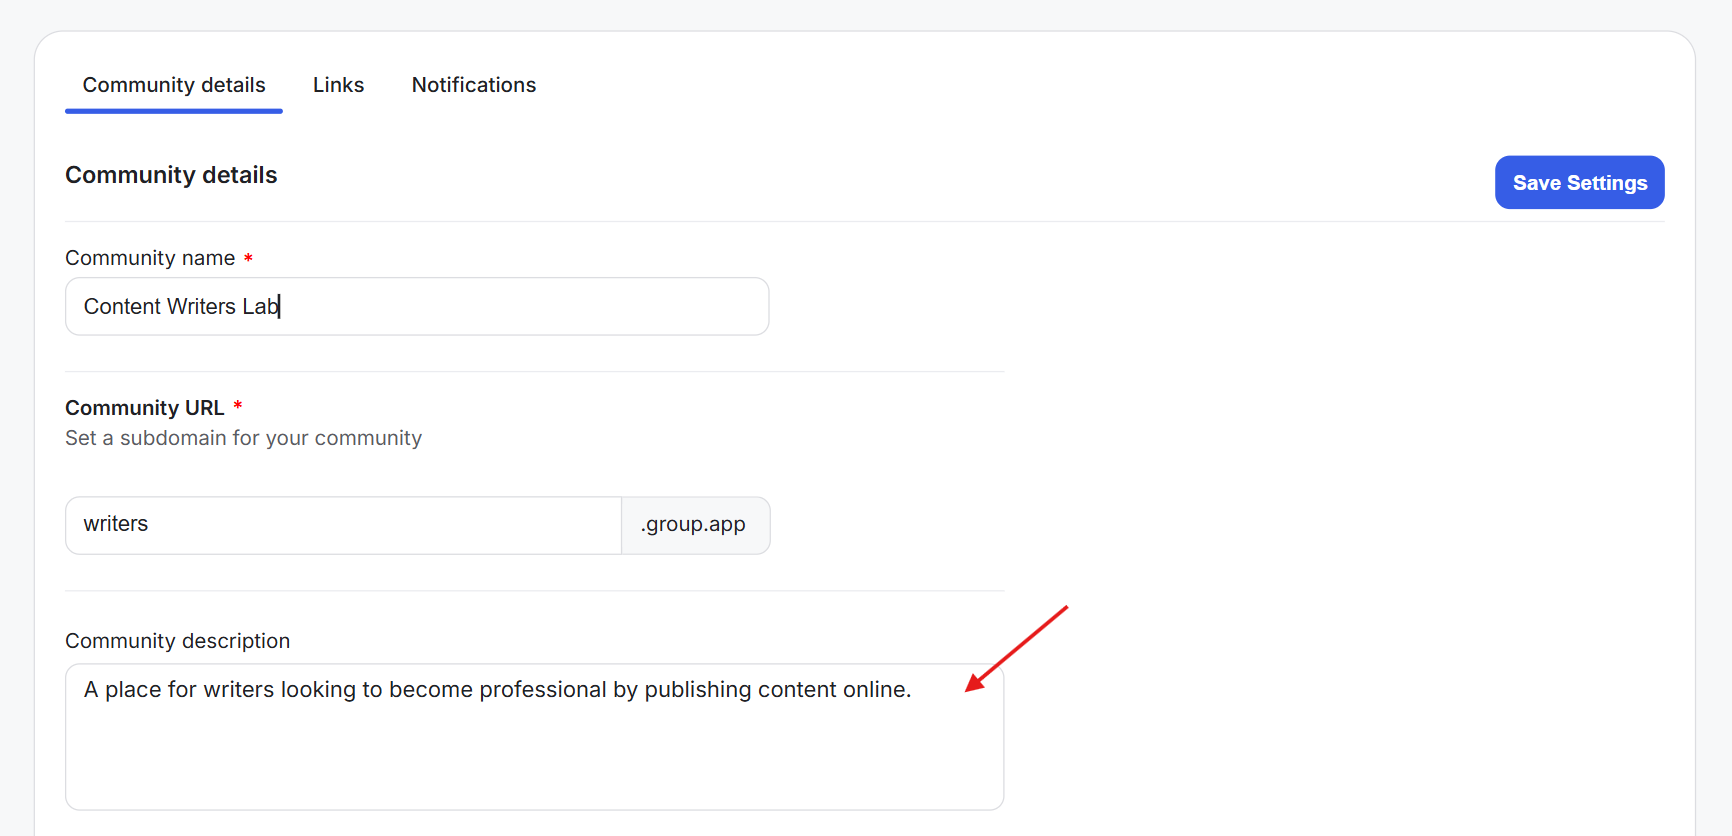
2) Update the Community Name. Your community name appears on the About card, next to your logo in the top bar, on your About page, and in other member and public facing areas of your community.
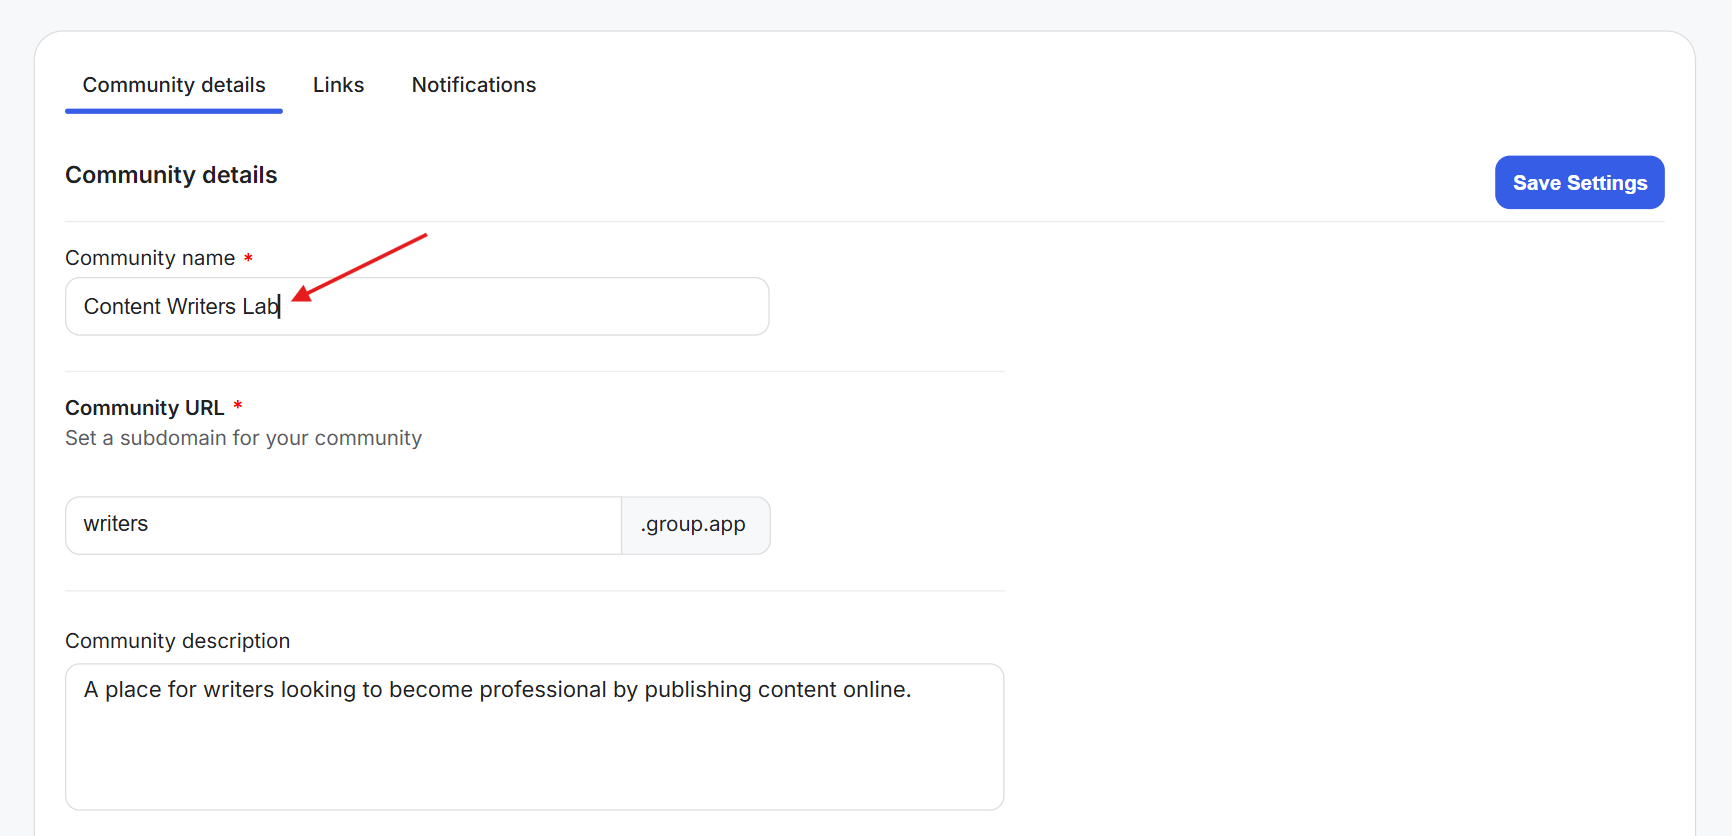
3) Update your Community URL (Subdomain) if needed. If you have a custom domain configured for your community, your custom domain will be displayed instead.
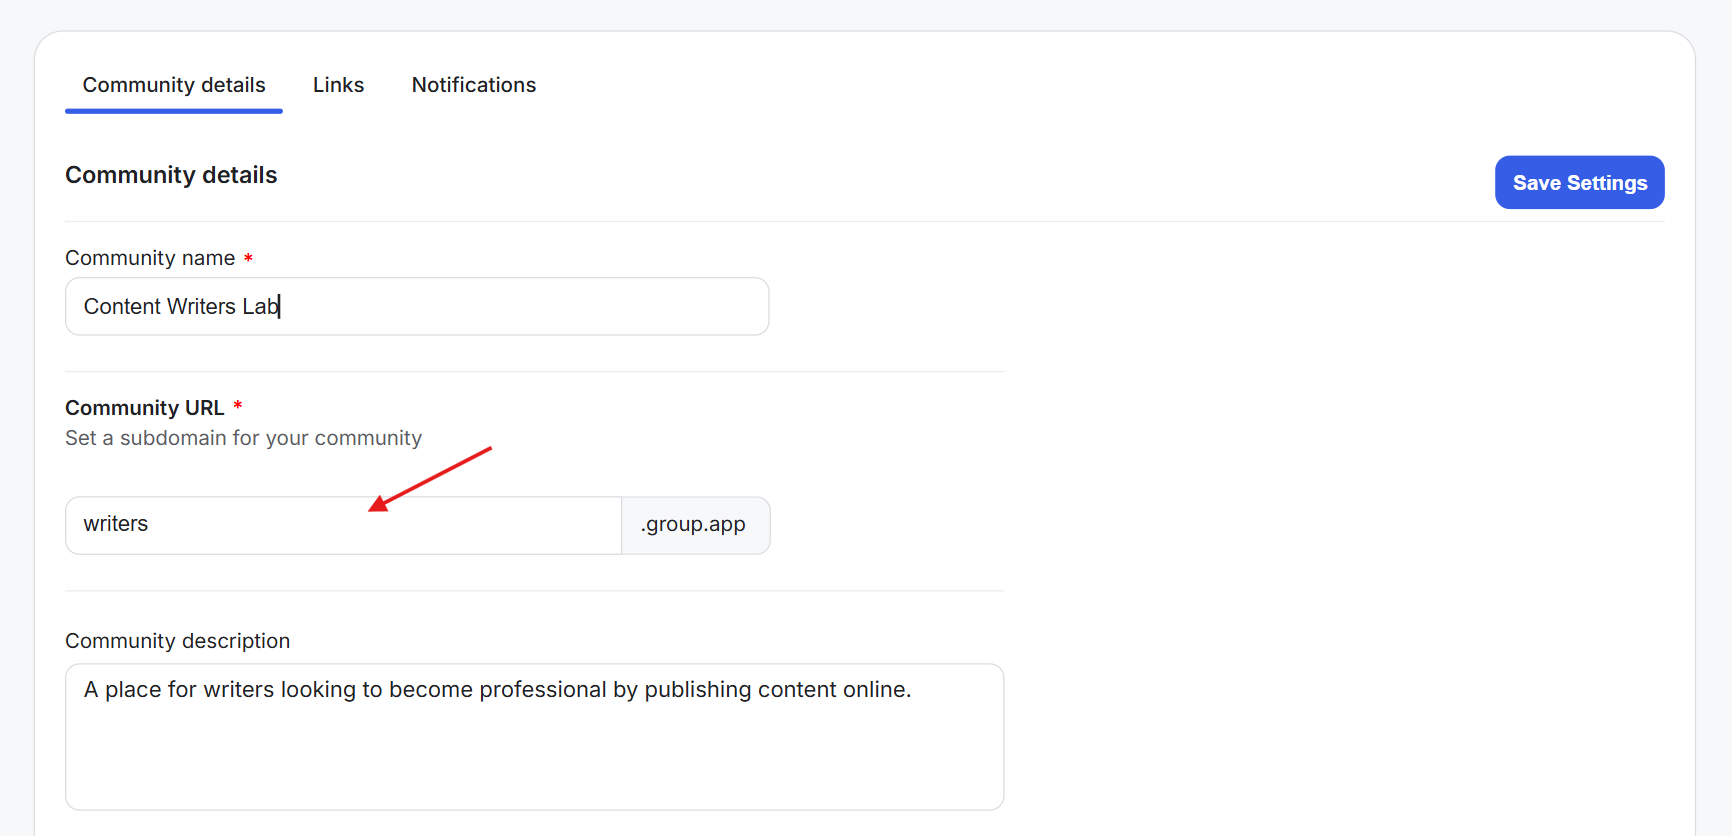
4) Update your Community Description. Keep it concise so members can quickly understand what your community is about.
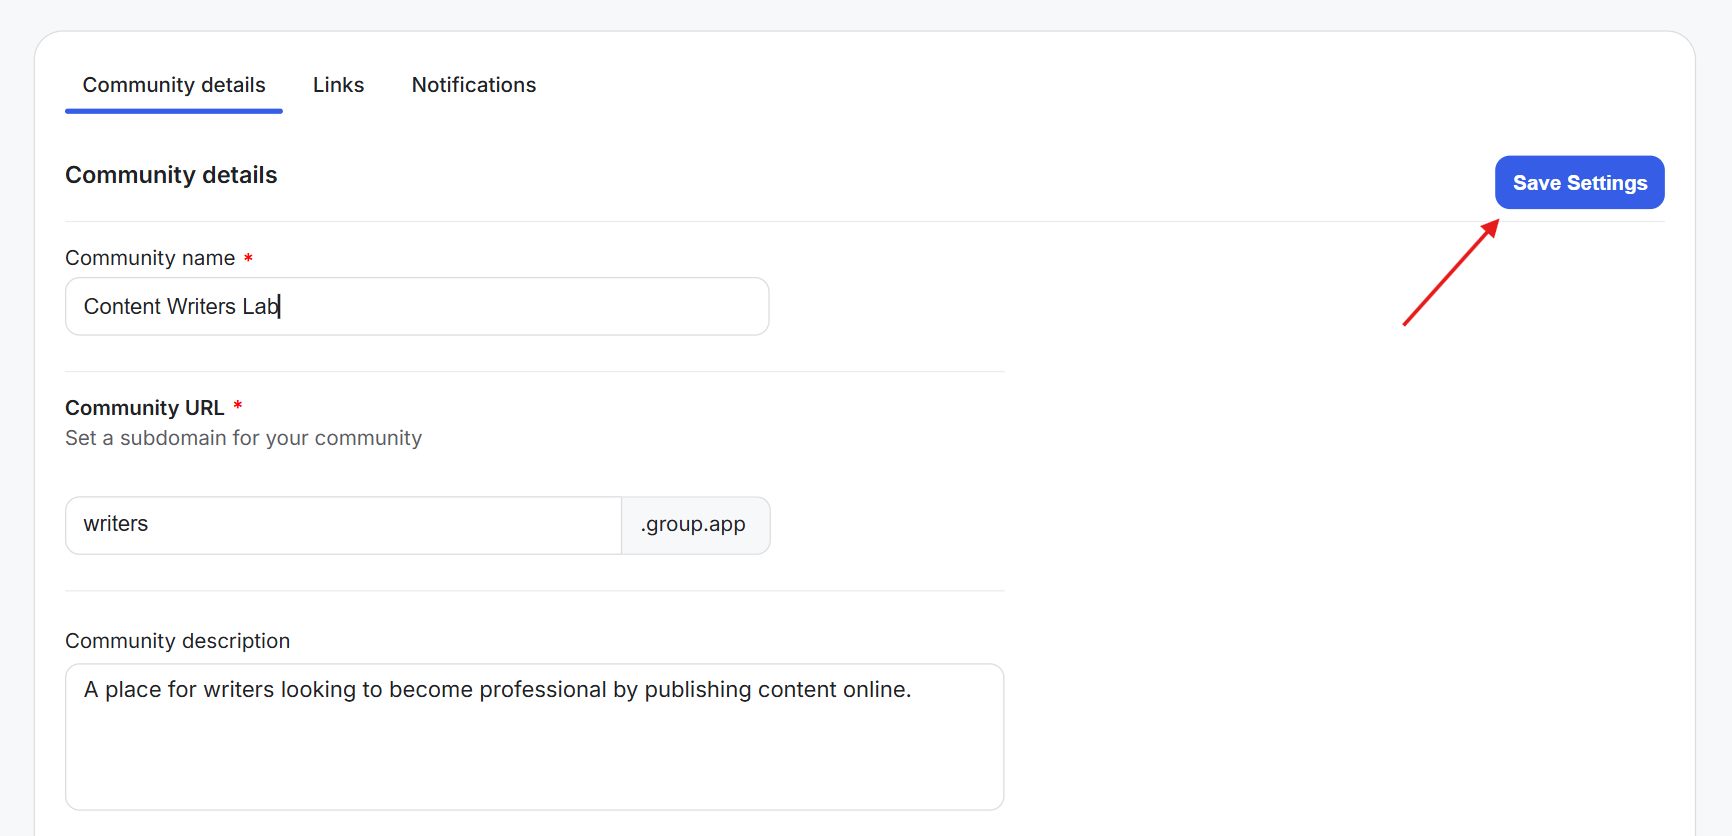
5) Click Save Settings.
Your changes will be reflected on the Community About card and anywhere else the updated branding or community information is used.