Add-ons let you offer additional products during checkout. They appear directly on the checkout page, giving members the option to include extra items before completing their purchase. The Add-ons feature is available on the Scale and Organization Plan.
In GroupApp, an add-on is a separate product that gets attached to a primary offer on the checkout page. This could be a course, a subscription plan, or a library resource. Each add-on has its own pricing, and its cost is automatically included in the total at checkout.
You can control how an add-on is applied:
Required: Automatically included in the purchase
Optional: Members can choose to add it
You can create add-ons on the checkout pages of:
Courses
Events
Subscription Plans
Library Resources
You can use the following as add-ons:
Courses
Subscription Plans
Library Resources
Note: Events cannot be used as add-ons since they expire.
1) Add-ons can be created from either a Subscription Plan or the Pricing section of a Course or Library Resource. In this example, we’ll walk through creating add-ons using a subscription plan.
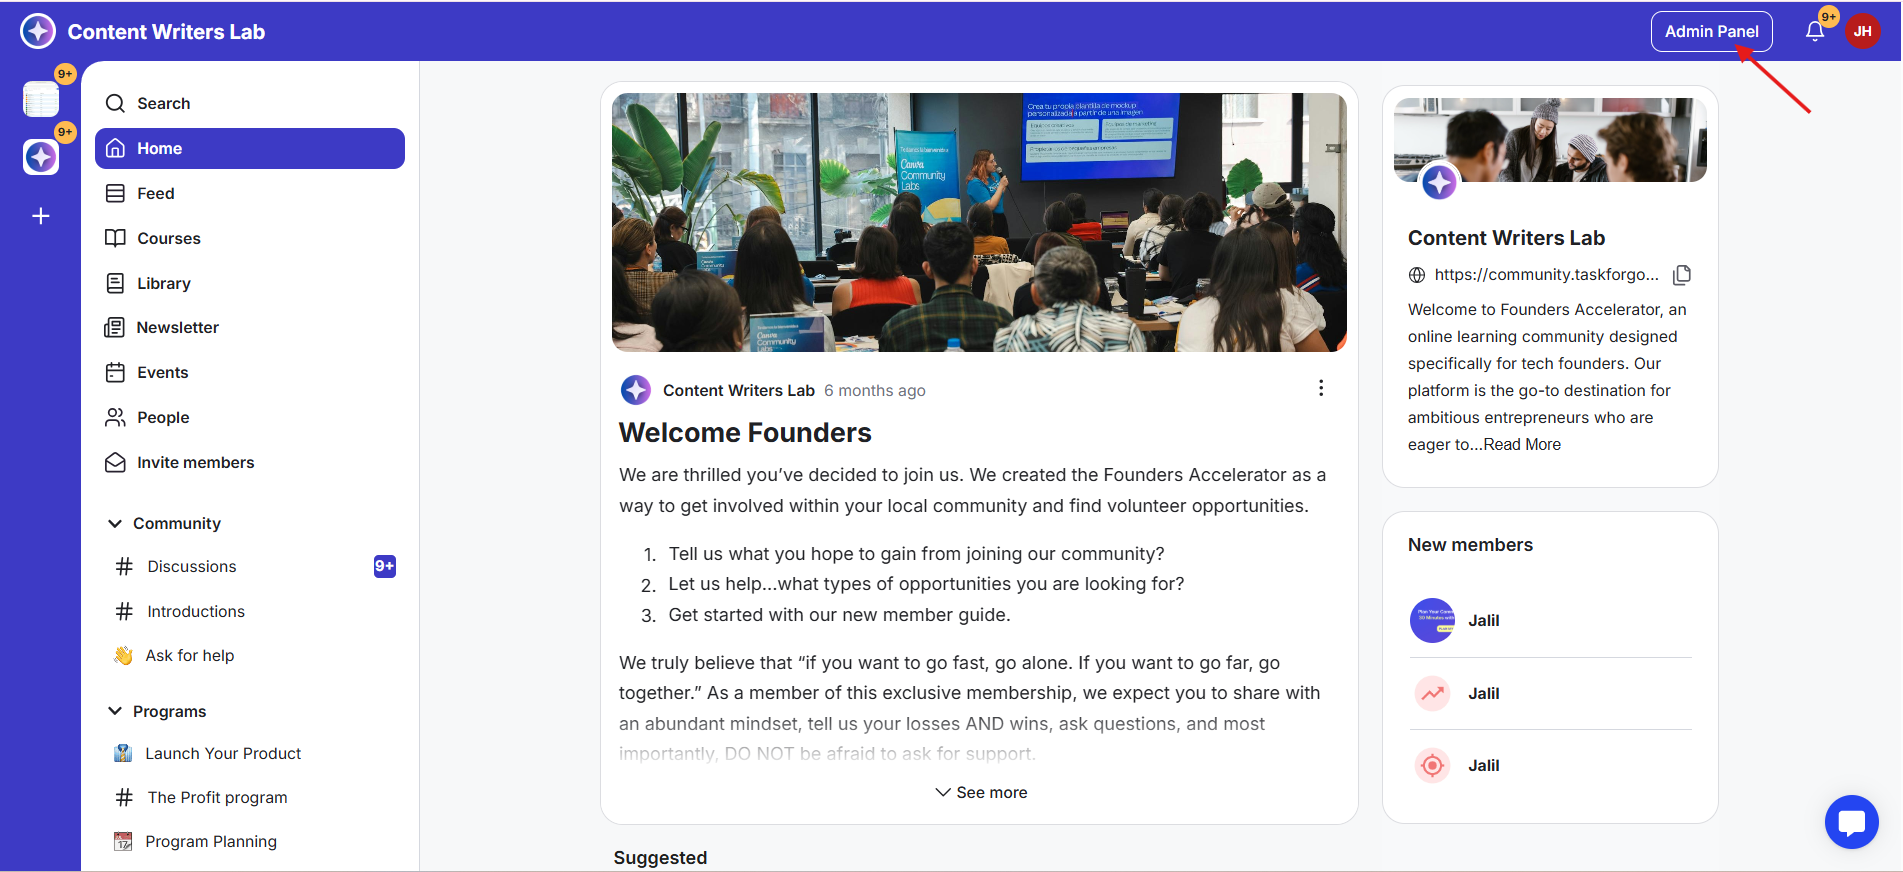
2) Go to your Admin Panel. This takes you to the backend of your community, where you can manage all products and settings.
3) From the left-side menu, open the Community dropdown, then click Subscriptions. This will take you to the Subscriptions dashboard, where all your existing plans are listed.
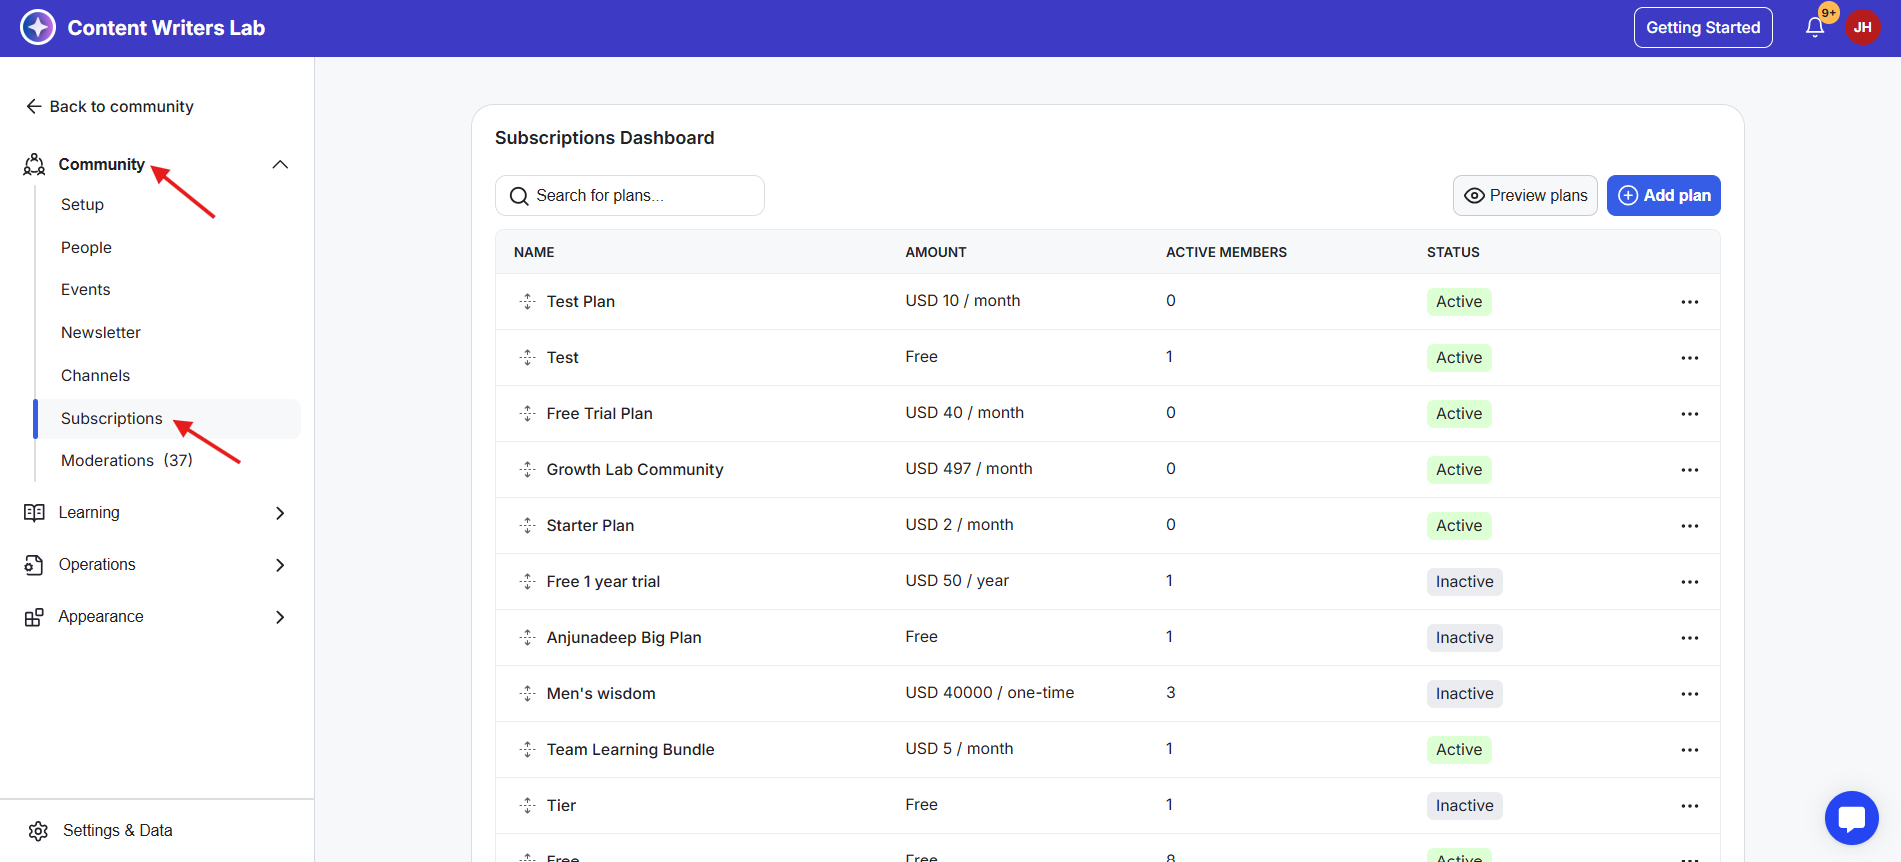
4) From here, you can either create a new subscription or update an existing one.
5) If you want to add add-ons to an existing plan, click on that plan to open it.
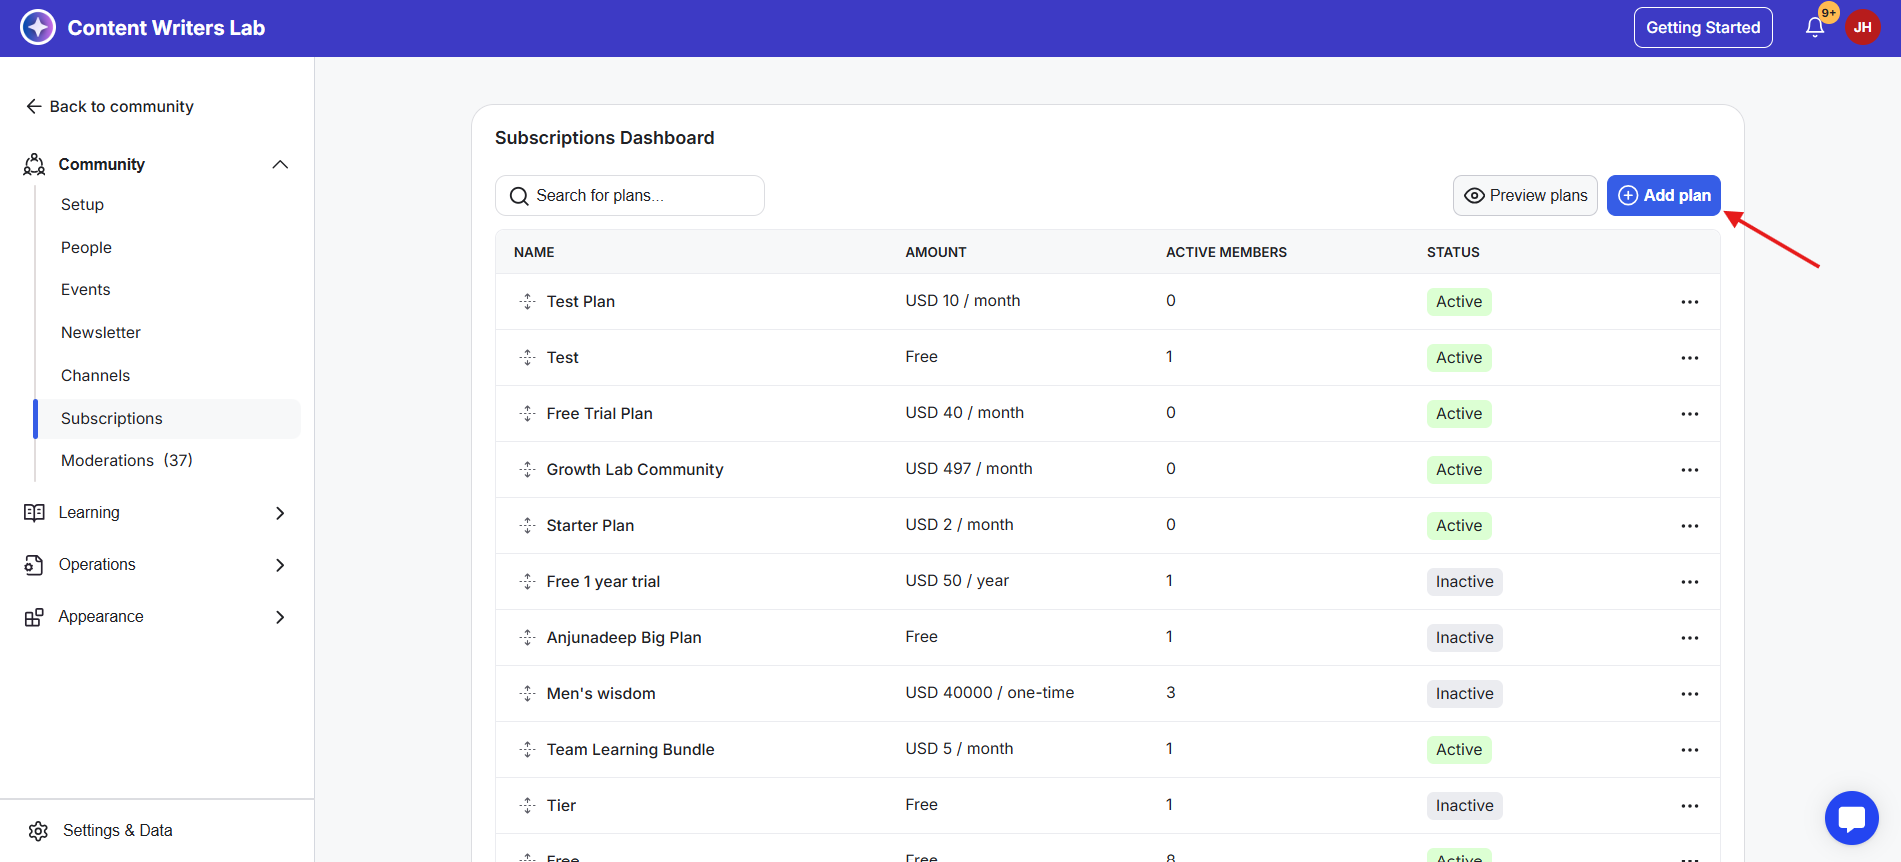
6) To create a new plan, click the + Add Plan button in the top-right corner. This opens the Subscription Builder.
7) If you're working with a course or library resource instead, go to that product, open its Pricing tab, and select a pricing option where you want to add add-ons.
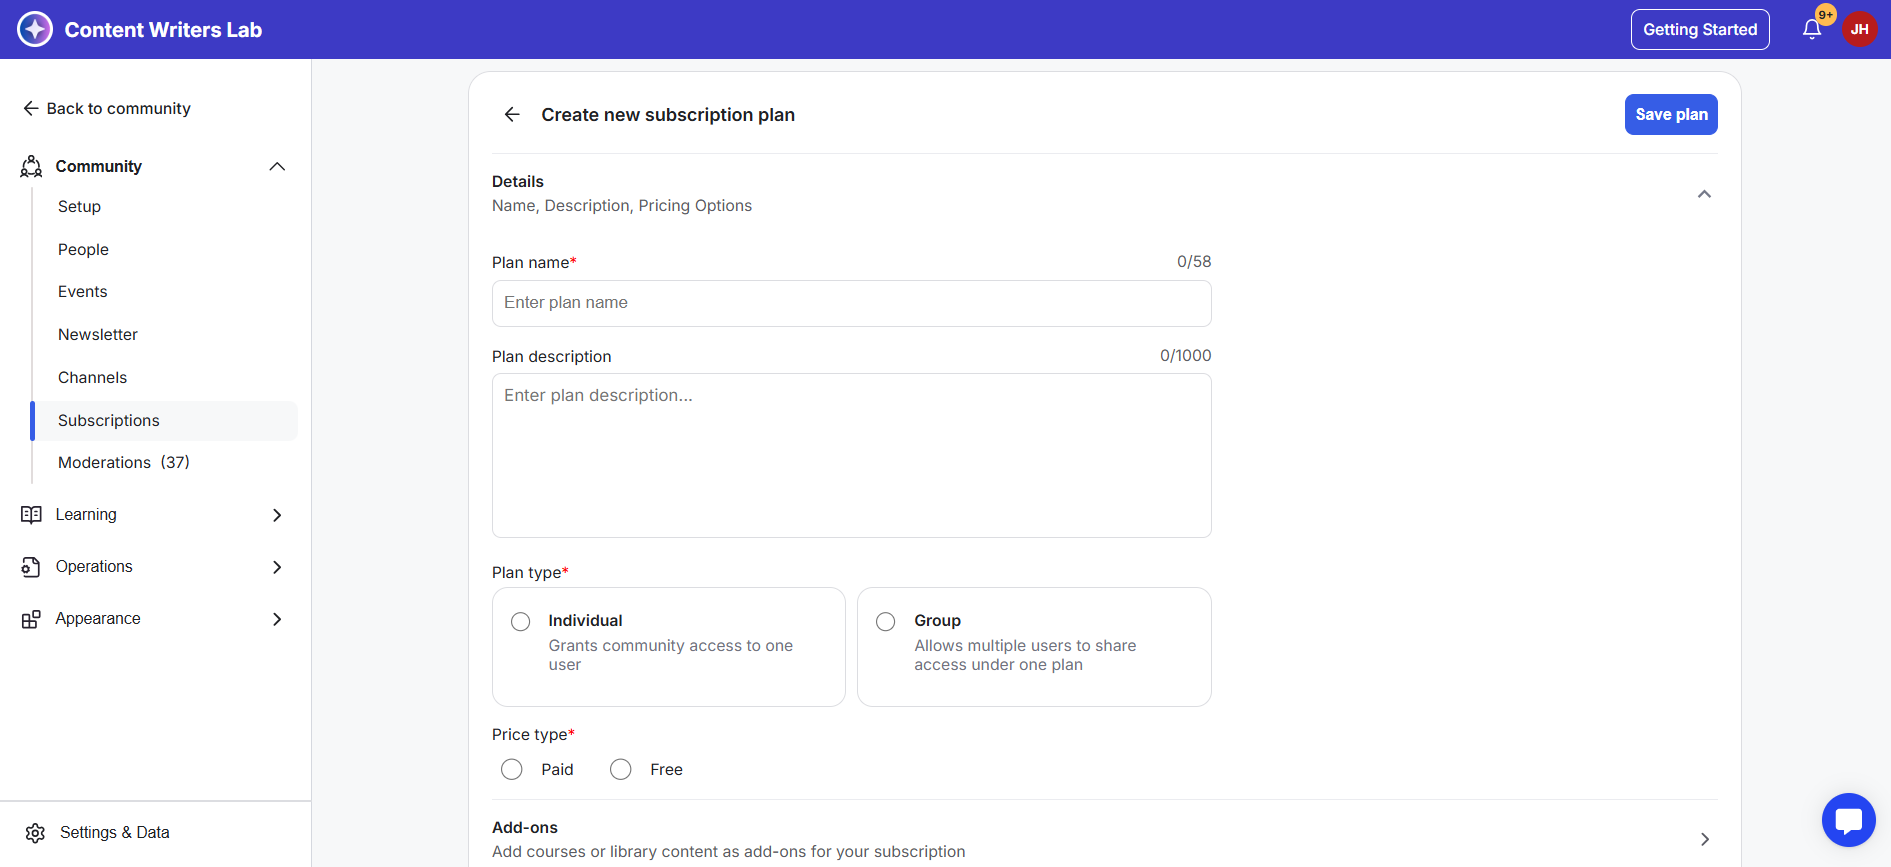
8) In the builder, configure your subscription details, including name, description, type, pricing, benefits, and other settings.
9) Once your main setup is complete, click on the Add-ons tab. If you already have add-ons created, they will be listed in this section.
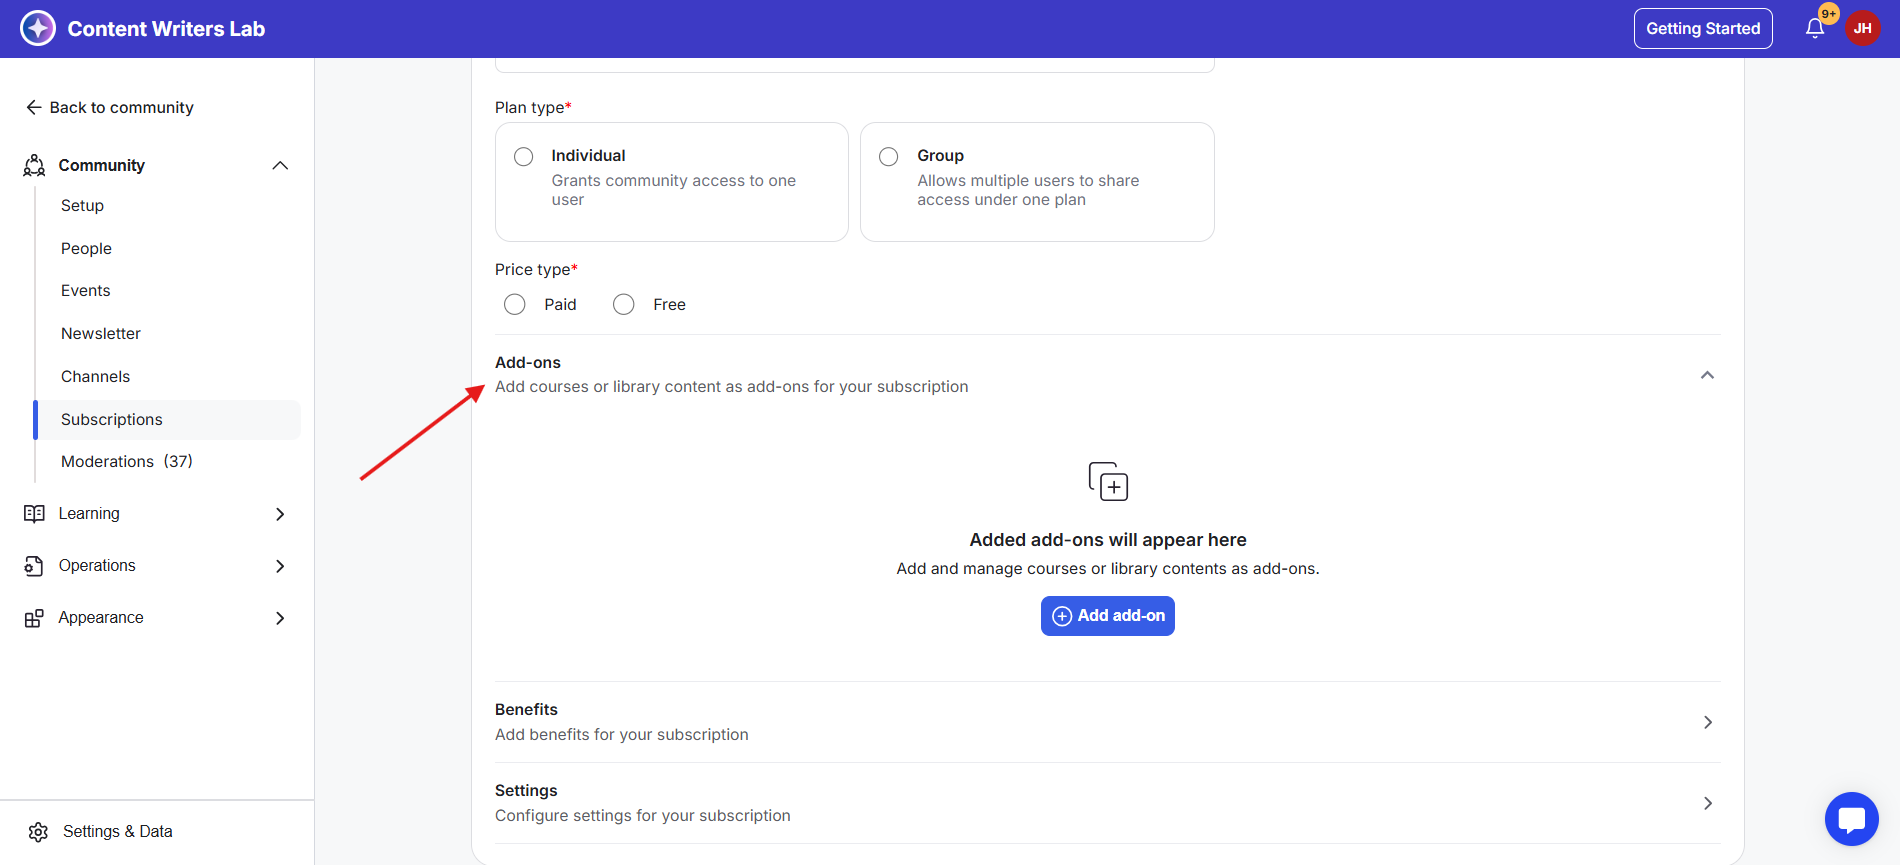
10) Click the + Add Add-on button. This opens a pop-up where you can search and select products to attach as add-ons.

11) This opens a pop-up where you can search and select products to attach as add-ons. You’ll also see tabs for Courses and Library Content to help you filter your search.
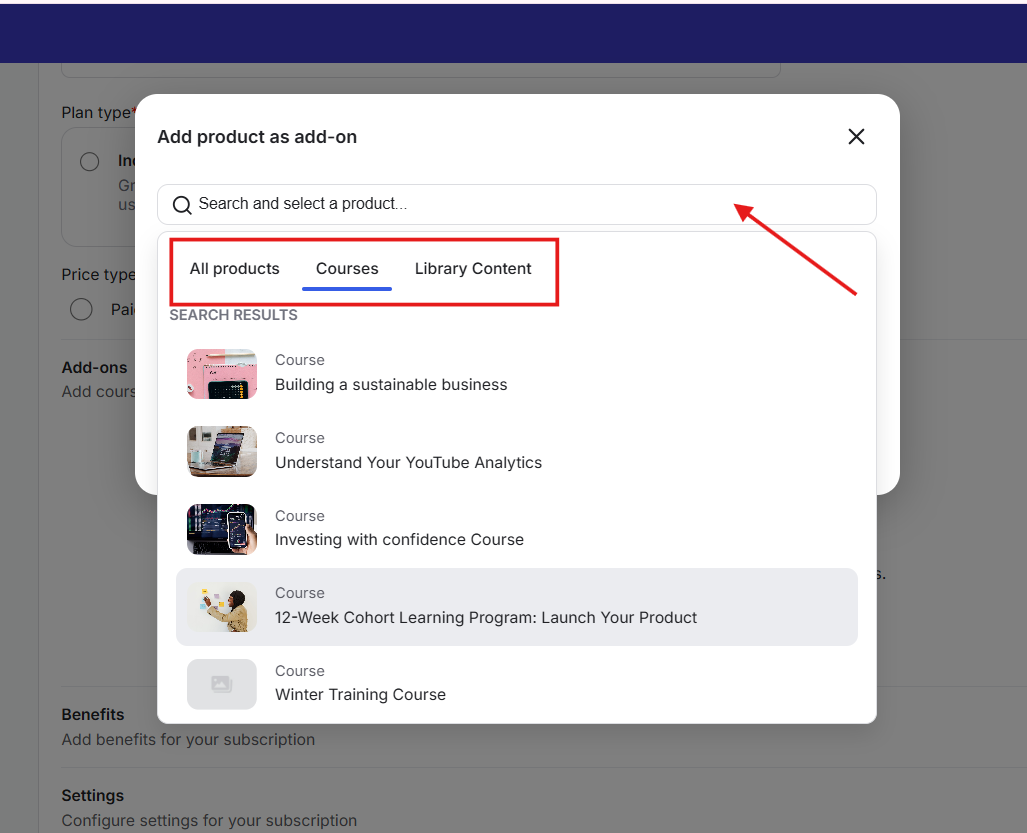
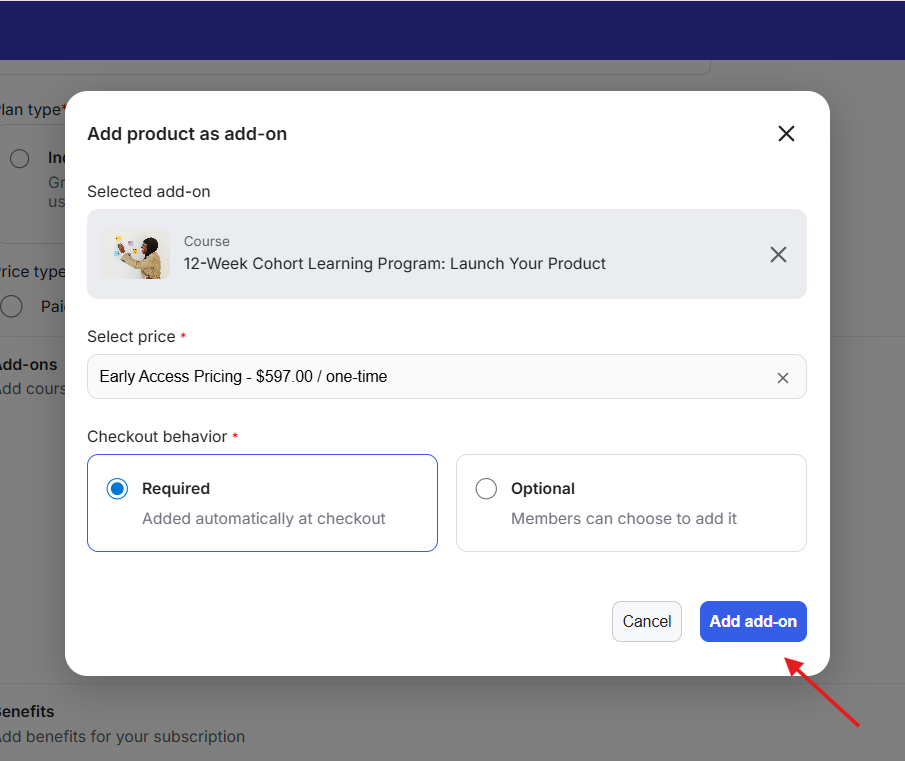
12) Select the product you want to use as an add-on (course or library resource).
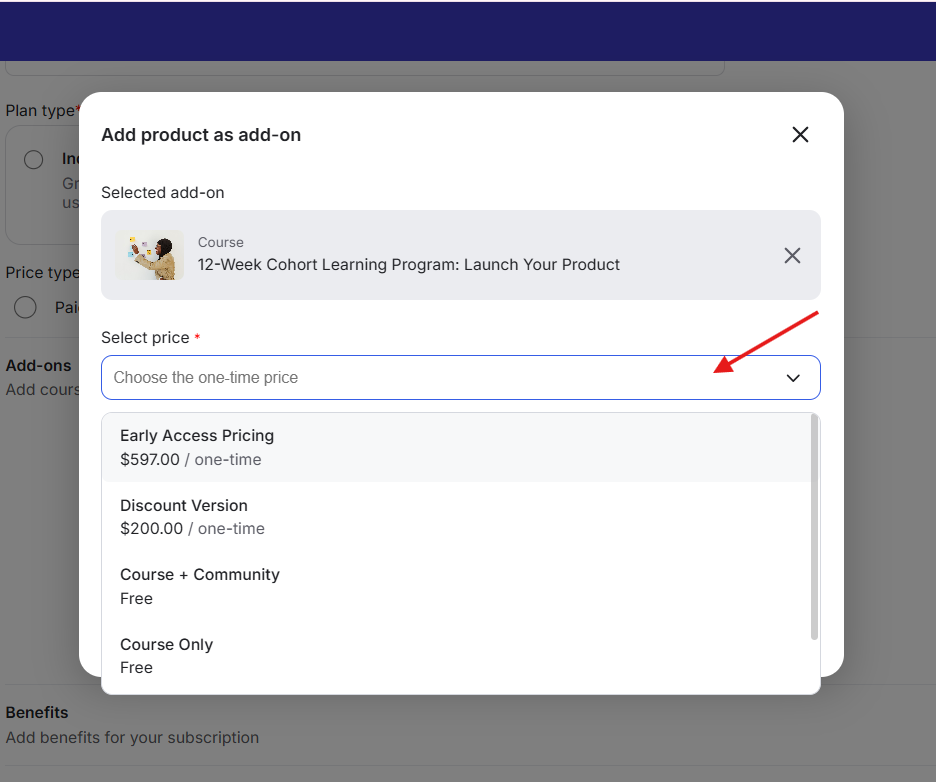
13) After selecting the product, the Select Price field will appear. Here, choose one of the existing pricing options that has already been set up for that product.
14) Set the checkout behavior for this add-on.
15) You can either set it as Required, which means the add-on is automatically included in the checkout and cannot be removed. Or you can set it as Optional. In this case, members can choose whether to include the add-on
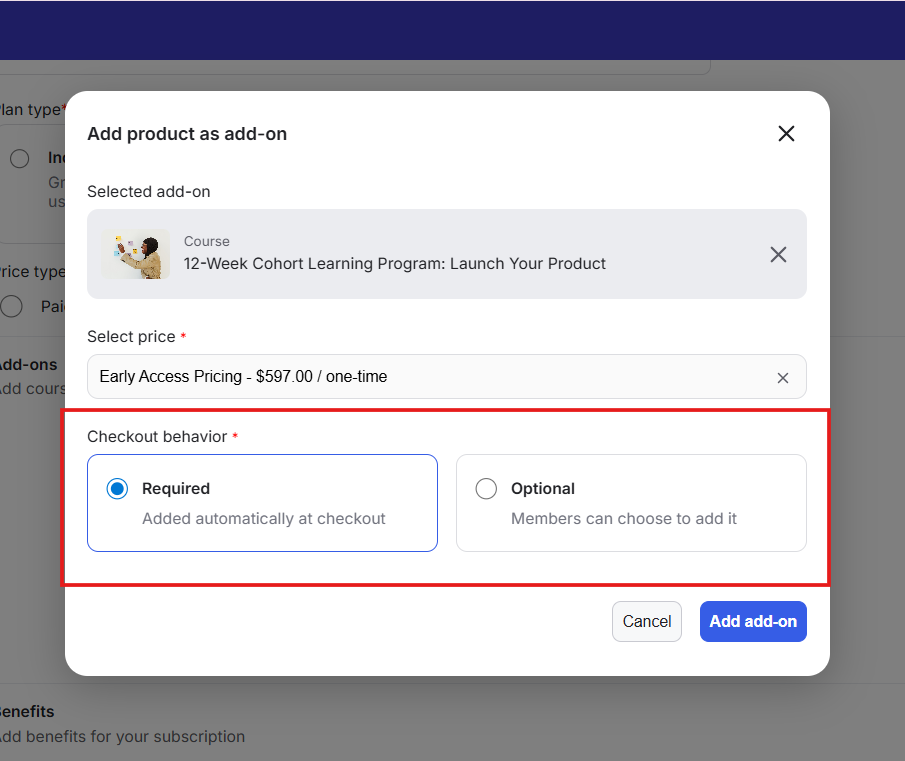
16) Once everything is set, click the Add Add-on button to save. The add-on will now be linked to your subscription or pricing option.
17) Finally, save the plan or pricing.
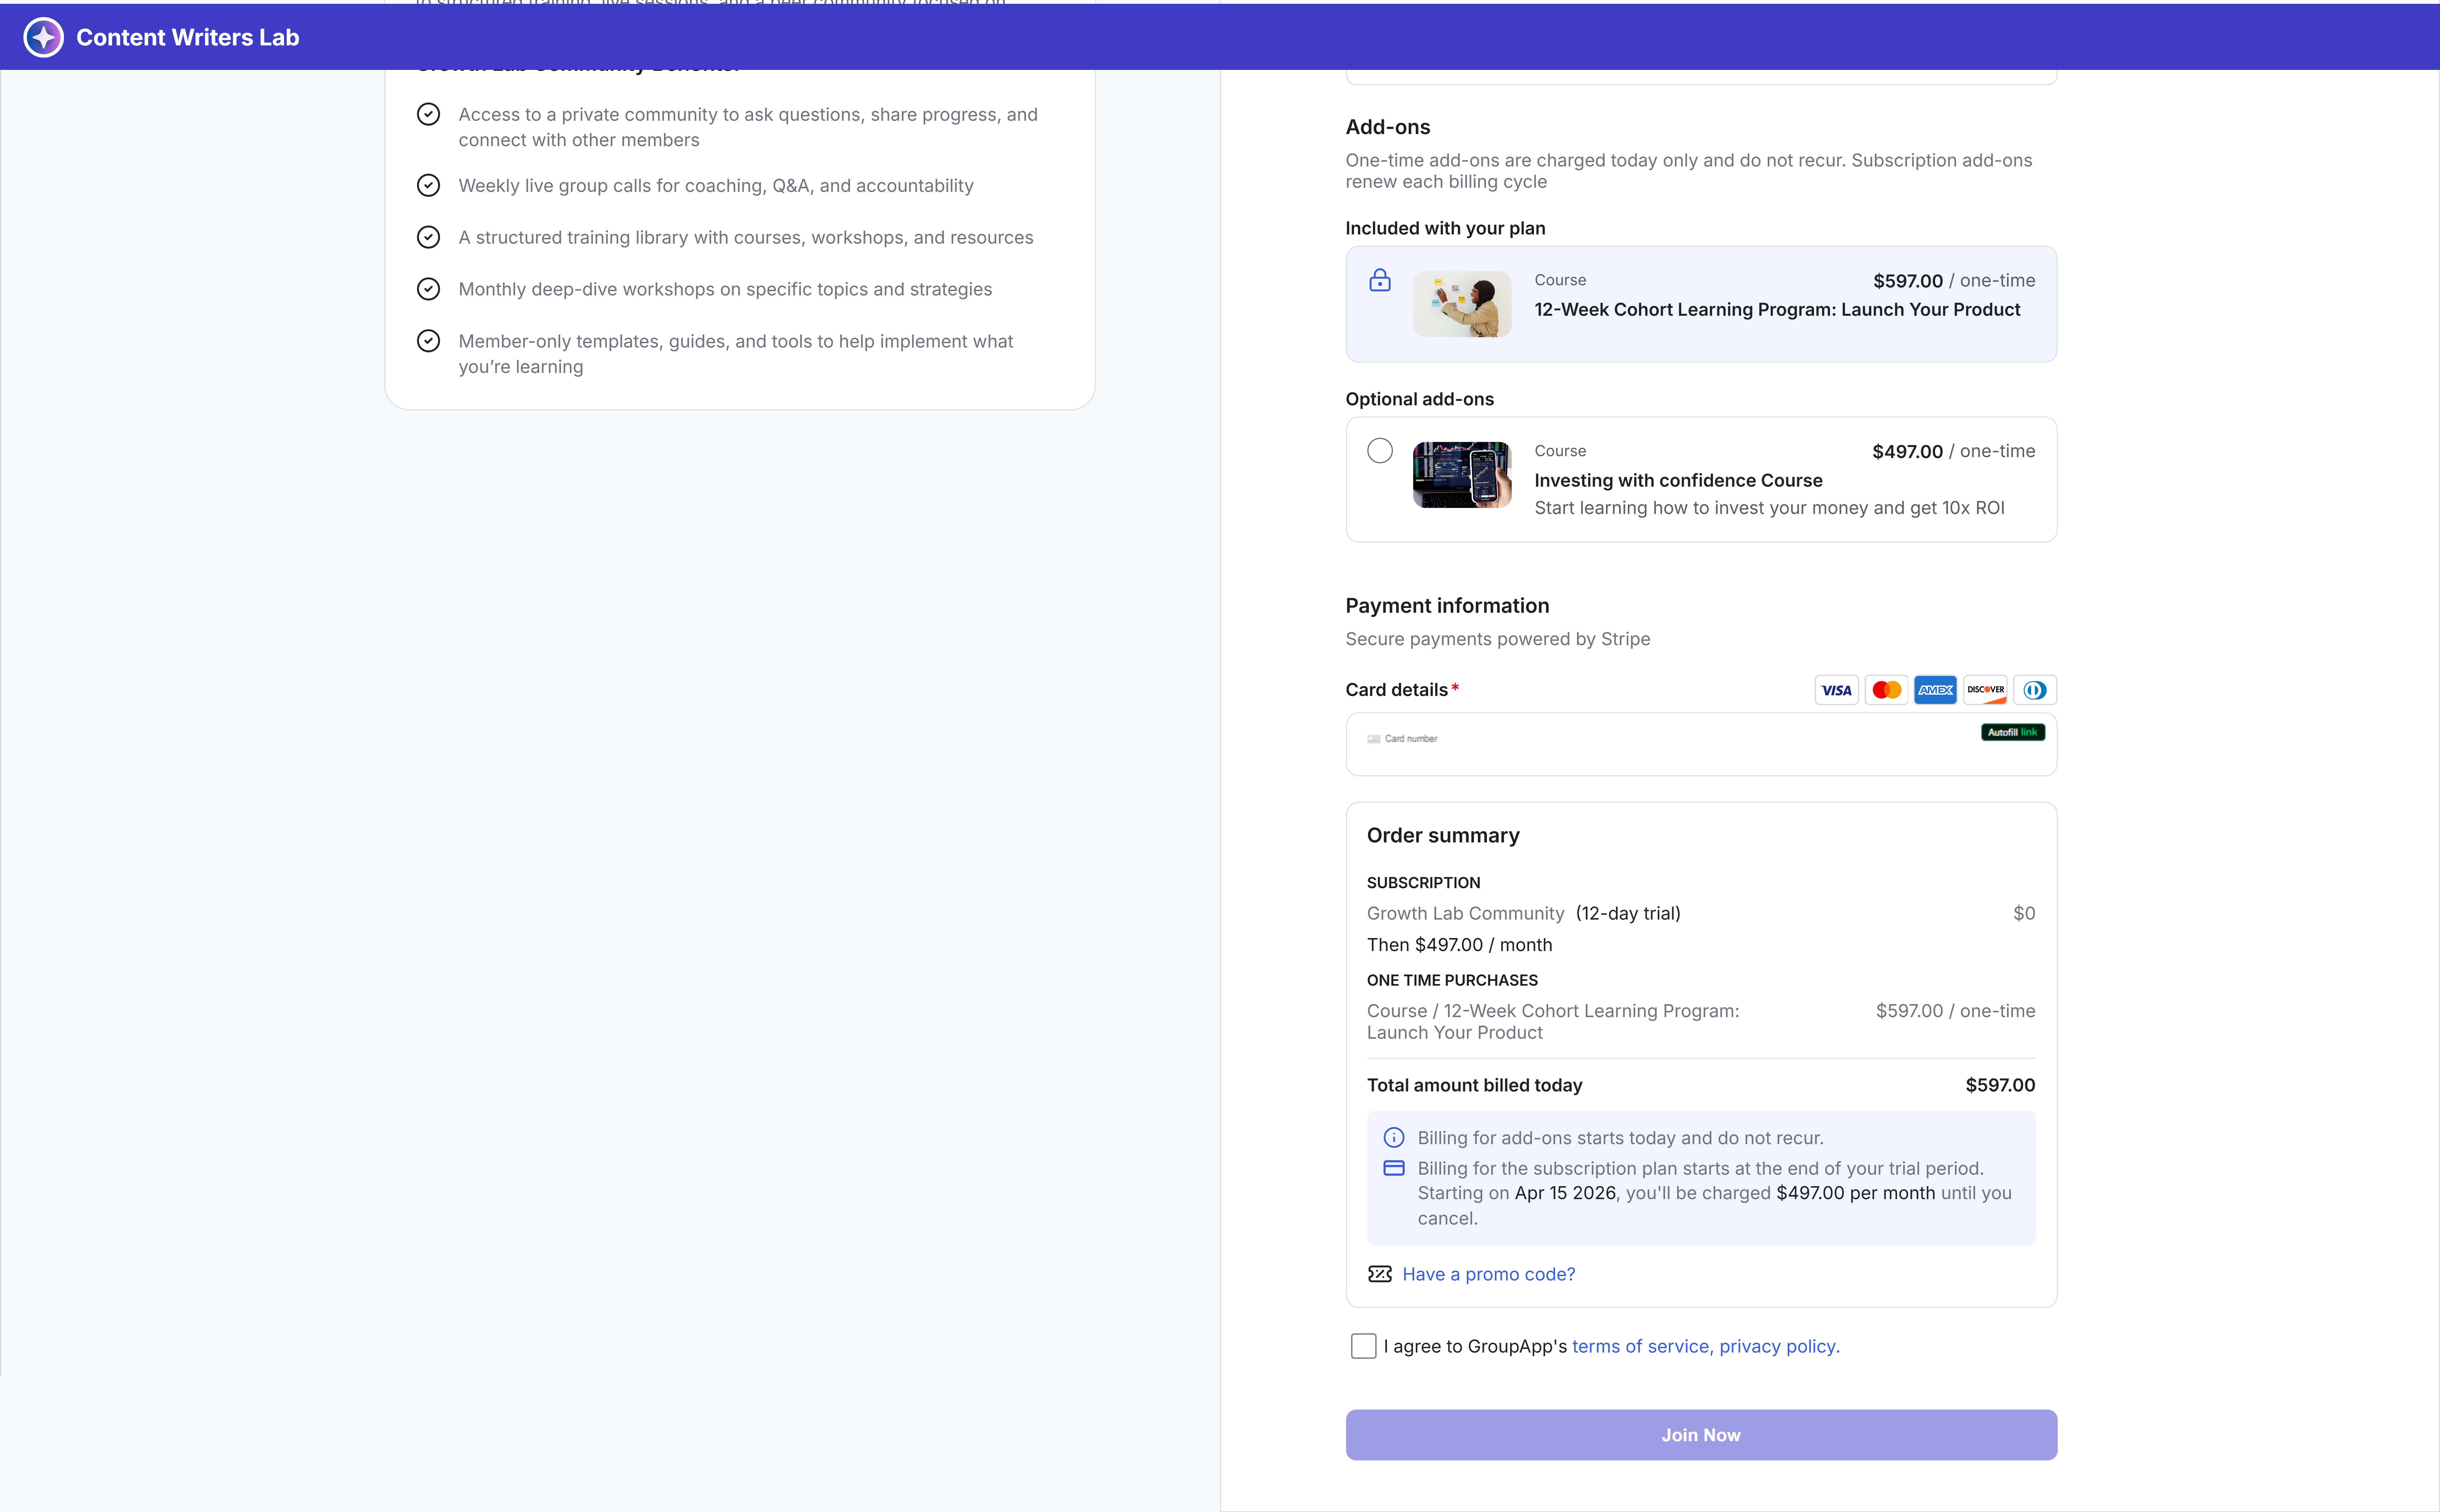
After being added, add-ons appear as a separate section on the checkout page.
1) Required add-ons are already selected and locked, so members cannot remove them
2) Optional add-ons appear as selectable options that members can choose to include
In both cases, the add-on price is automatically included in the final bill summary.
To update or remove an existing add-on, you need to access the product where it was created.
1) Go to the Subscription Plan or the Pricing option of the course or library resource where the add-on is attached.
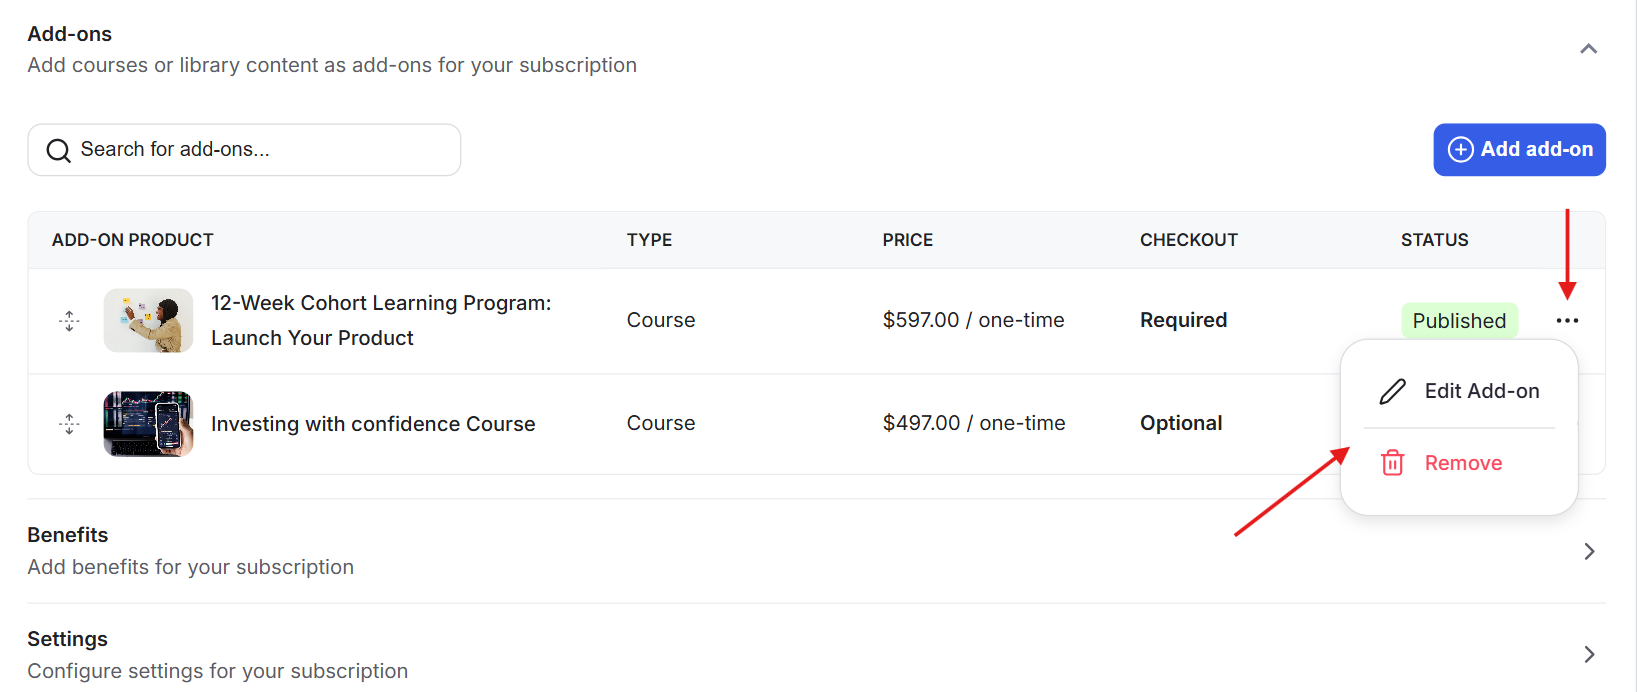
2) Open the Add-ons tab. This will show all add-ons linked to that plan or pricing option.
3) Locate the add-on you want to update.
4) Click on the three-dot menu next to it.
5) From here, you can edit the add-on or remove the add-on.
6) Make your changes and save.
7) If you remove the add-on, it will no longer appear on the checkout page.
Add-ons are designed to bundle additional products into a single checkout. This makes it easier for members to purchase everything they need in one place.
To use a product as an add-on, it must meet the following requirements:
Courses and Library Resources must be published, have a one-time access level, and include at least one active pricing option.
Subscription Plans can be added as add-ons to one-time products such as courses or library resources. They cannot be added to other subscriptions. This is because a member can only have one active subscription at a time.
Events cannot be used as add-ons because they expire.
When configuring an add-on, you can choose how it behaves during checkout. An optional add-on works like an upsell and can be selected by the member. A required add-on is automatically included and must be purchased to complete checkout
On the checkout page, the add-on description is pulled directly from the pricing description of the selected product.
Access to add-ons depends on the type of product and how it is purchased.
One-time add-ons provide lifetime access. Members will continue to have access even if they cancel the main subscription.
Recurring add-ons only remain accessible while the subscription is active. Once the subscription ends, access is removed.
If the community admin cancels a subscription add-on, the user will still retain lifetime access to any one-time products included in that purchase.
The account owner keeps lifetime access to one-time add-ons, even after canceling the group subscription.
Sub-accounts lose access to all add-ons immediately if they are removed from the group, regardless of the owner’s subscription status.
Add-ons are fully integrated into the checkout experience.
If a member already owns a product that is offered as an add-on, the checkout page will show it as already active. The member will not be charged again for that item.
Sub-accounts have limited permissions. They cannot purchase subscription-based add-ons because they cannot manage recurring plans. However, they can still purchase one-time add-ons.
Invoices clearly separate charges. The main product and any add-ons are listed as individual line items, making it easy to understand what was purchased.
Add-ons also work inside payment blocks on landing pages, allowing you to offer them outside of the standard checkout flow.
If a price or subscription plan chosen is set to Hidden, it will be shown on the add-on block regardless of the visibility setting.
If a subscription requires admin approval, the payment flow works in two stages.
Any one-time add-ons are charged immediately at checkout. The subscription fee itself is only charged after the admin approves the request.
This ensures that access and billing are handled correctly without delaying the purchase of one-time products.
The Add-ons feature is available on the Scale and Organization Plan. If you plan to downgrade to a lower plan, you must first remove all add-ons from your checkout pages. Downgrading will not be allowed until these configurations are cleared.
Visibility rules affect how add-ons appear:
If pricing is hidden, the add-on will still appear on the checkout page
If pricing is disabled, the add-on will no longer appear
If a product is unpublished, it will be removed from the checkout page but will still appear in the admin panel
