GroupApp allows you to run automation at scale using the Workflows feature. Bulk Workflow Automation means your workflow can apply not just to one person at a time, but to everyone who matches the selected trigger conditions.
Instead of waiting for a new activity to happen, you can immediately include existing members who already meet the criteria. This helps you automate actions across large groups of members without doing anything manually. It saves time, reduces repetitive work, and ensures consistency across your community.
Bulk Workflow Automation can be applied to both new workflows and pre-existing workflows in your community.
You have two options when activating a bulk workflow:
Current People & Future Additions: People who currently match the trigger conditions will enter your workflow immediately, and anyone who matches in the future will also be included.
Future Additions Only: Only people who match the trigger conditions after the workflow has started will be enrolled.
Here’s the list of supported and non-supported triggers for Bulk Workflow Automation.
Subscribed to a plan
Joined community
Joined a channel
Enrolled in a course
Completed a course
Completed a lesson
Added to a segment
RSVP for an Event
Accessed library content
Submitted landing page form
Submitted onboarding field
Removed from channel
Removed from the segment
Shopify
Receive Webhook
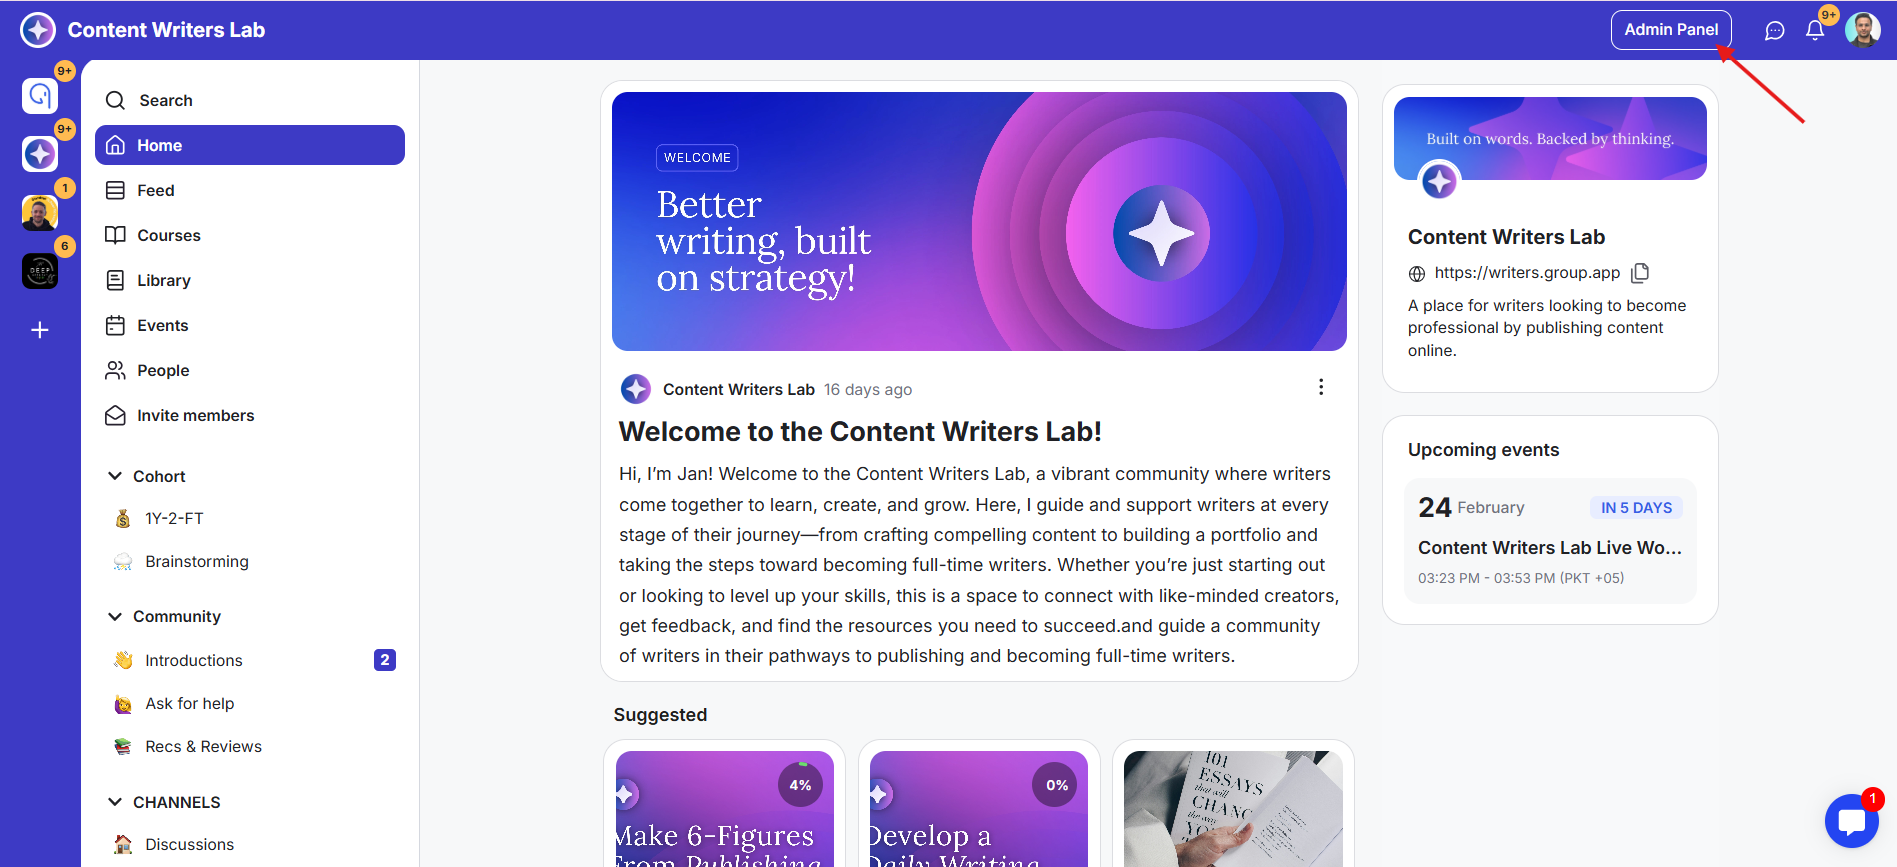
1) Go to the Admin Panel of your community.
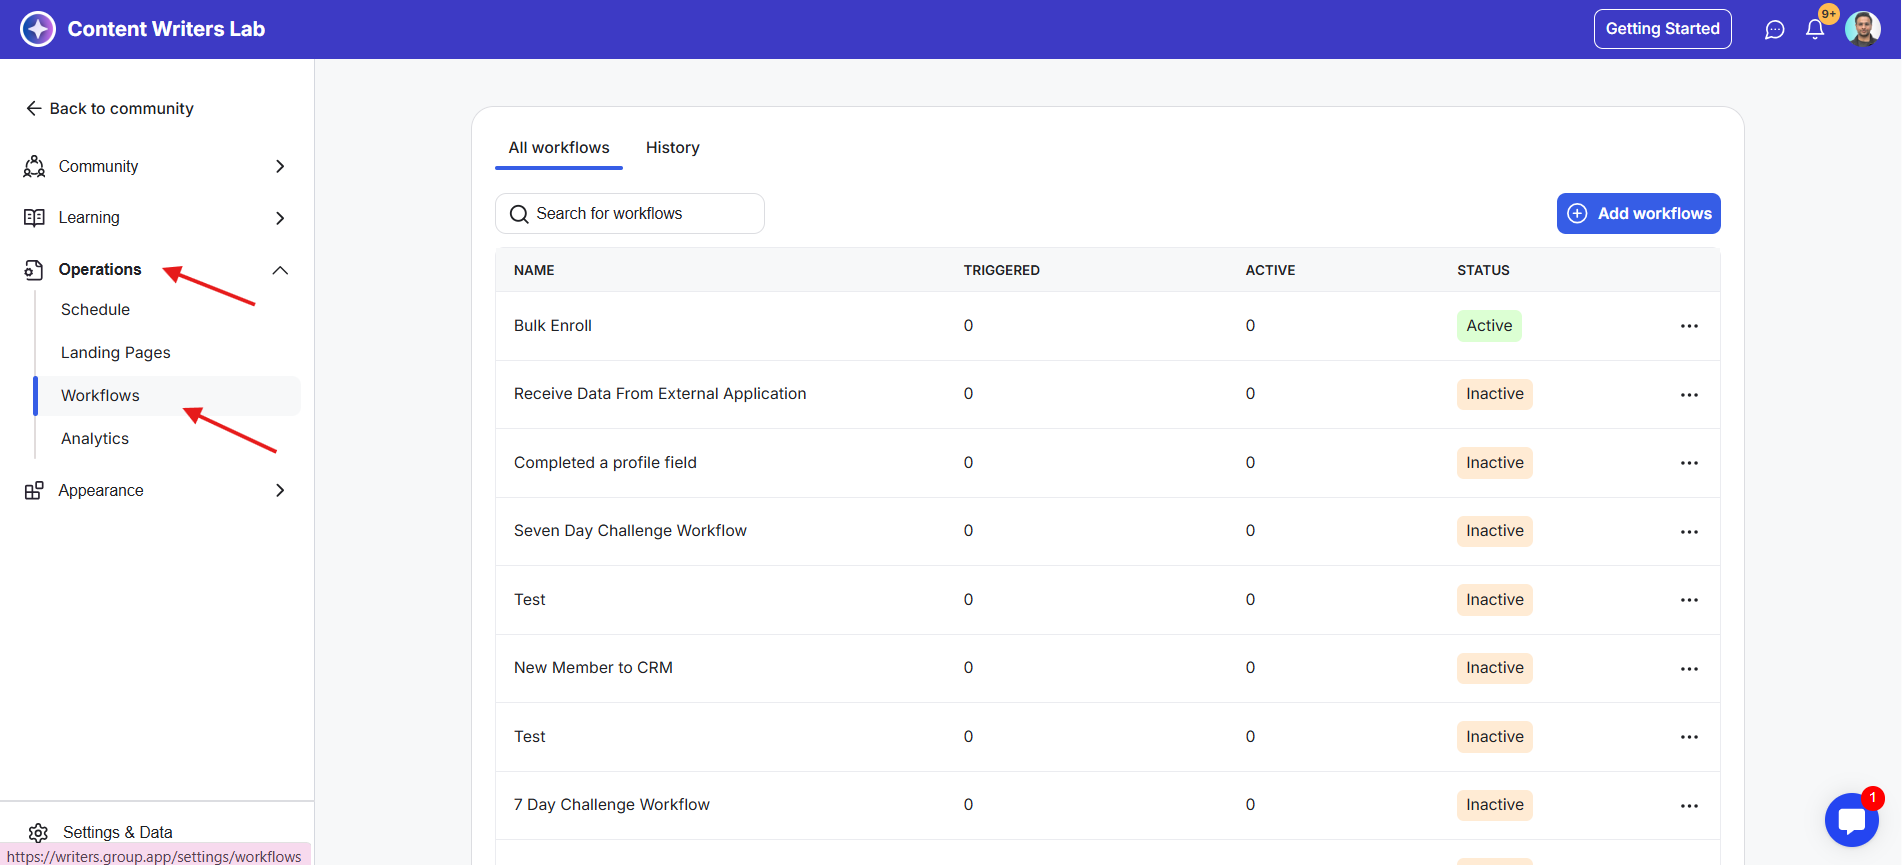
2) Click on the Operations tab on the left-side menu, then click on Workflows from the Operations drop-down menu. This opens the Workflows Dashboard.
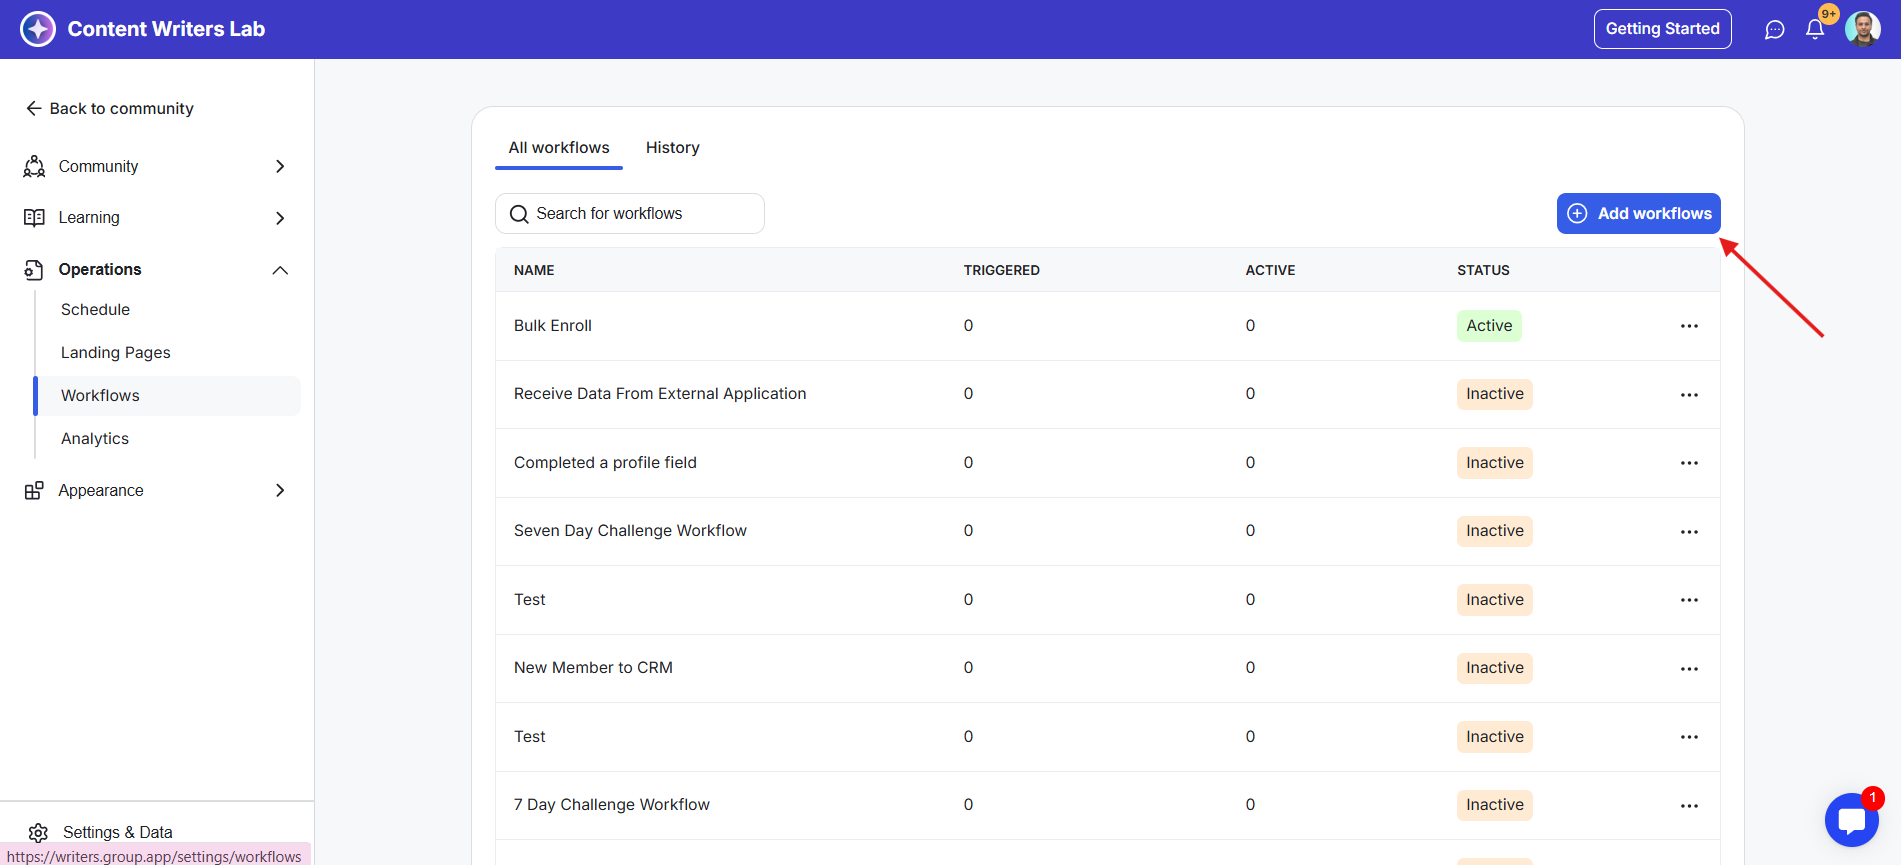
3) You can either modify a pre-existing workflow or create a new one.
4) Click on the blue +Add Workflows button to create a new workflow. This shows the Templates pop-up.
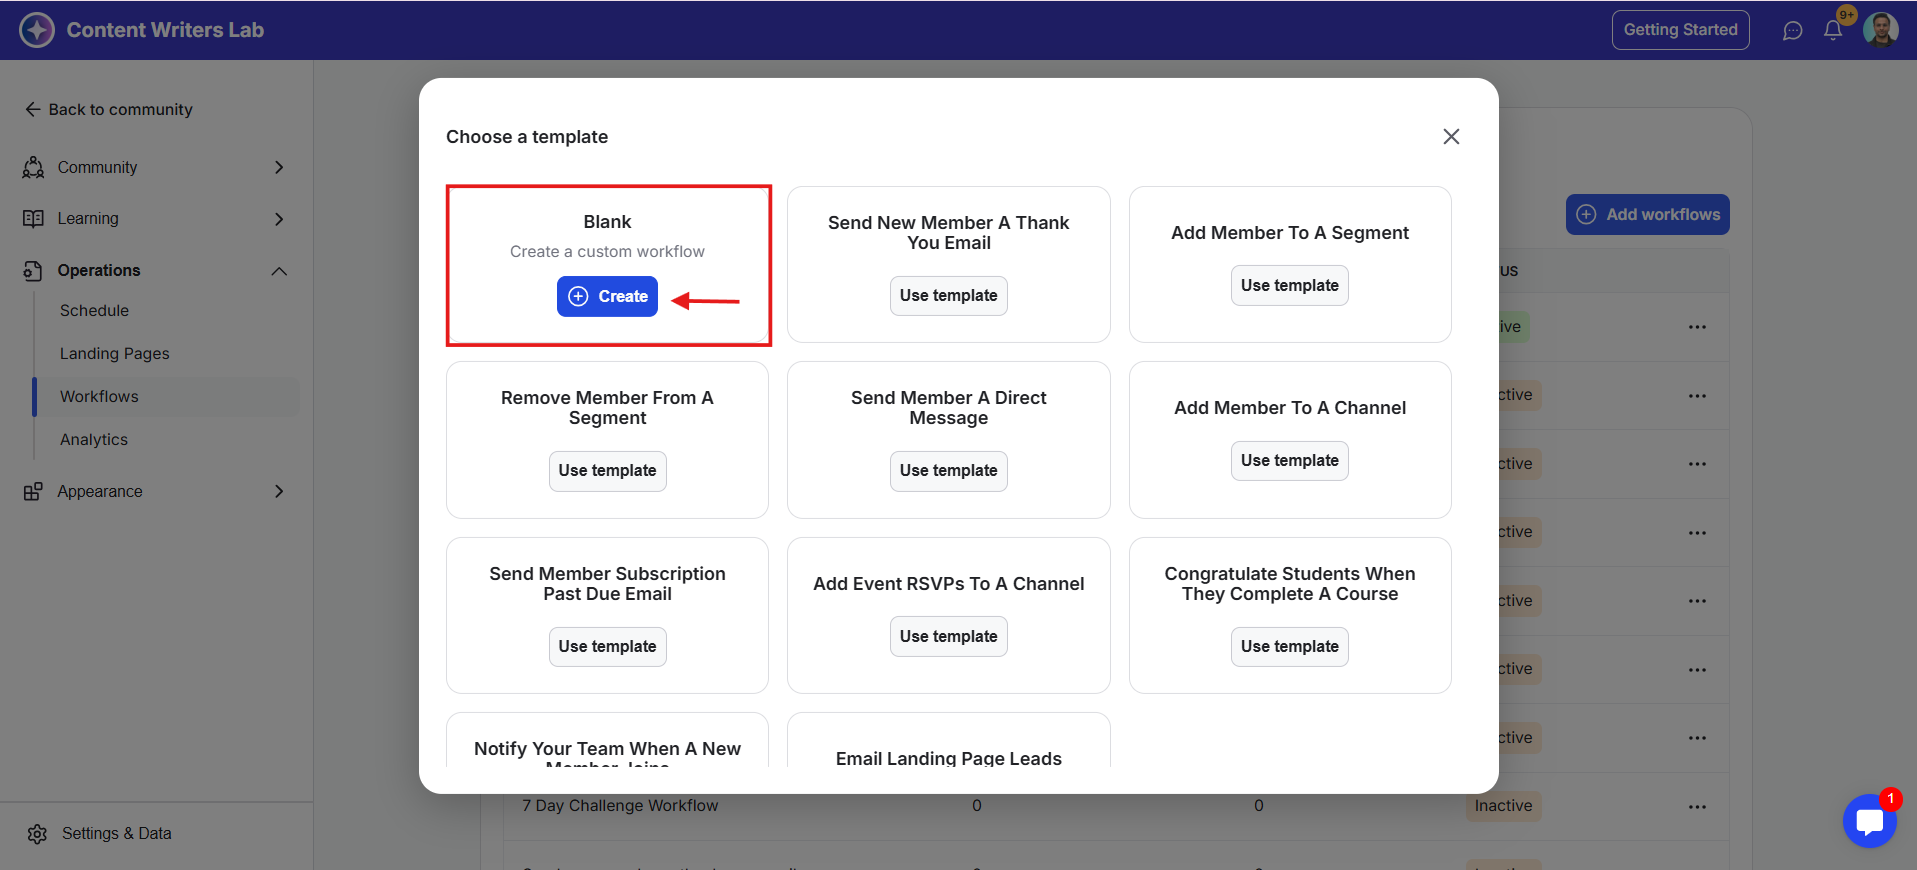
5) Select the first option to create a Custom Workflow, then click Create to build a workflow from scratch. This opens the Workflow Builder.
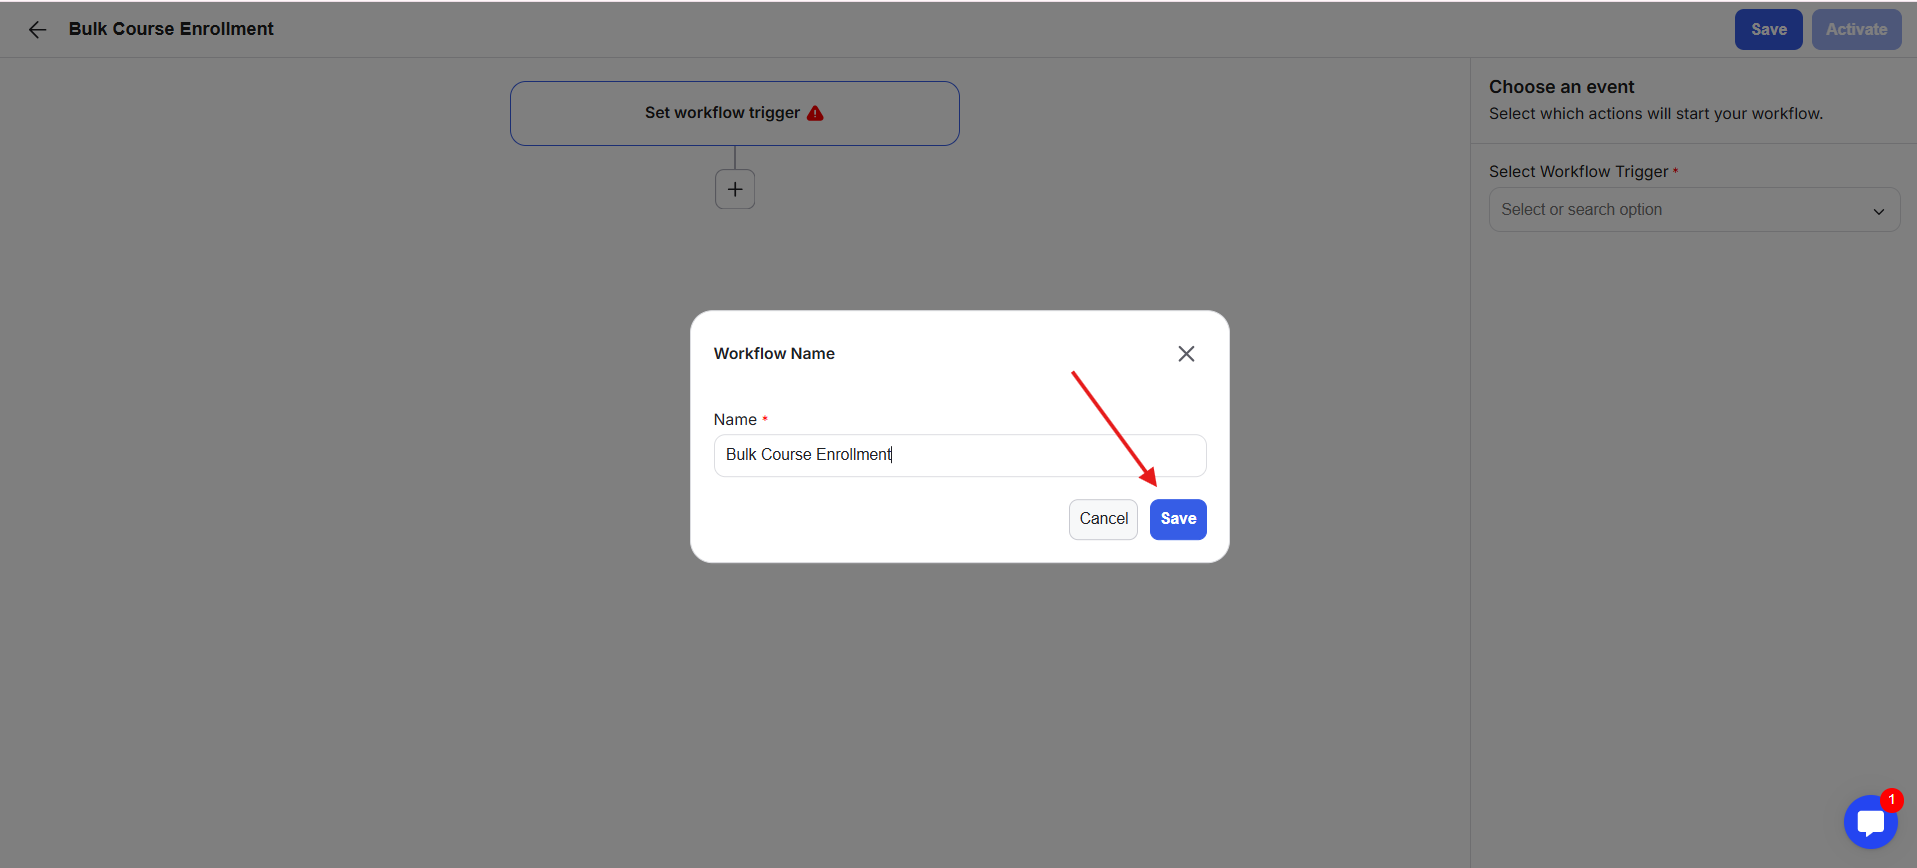
6) Add a Workflow Name as per your use case, then click Save. Now you are ready to start building your workflow.
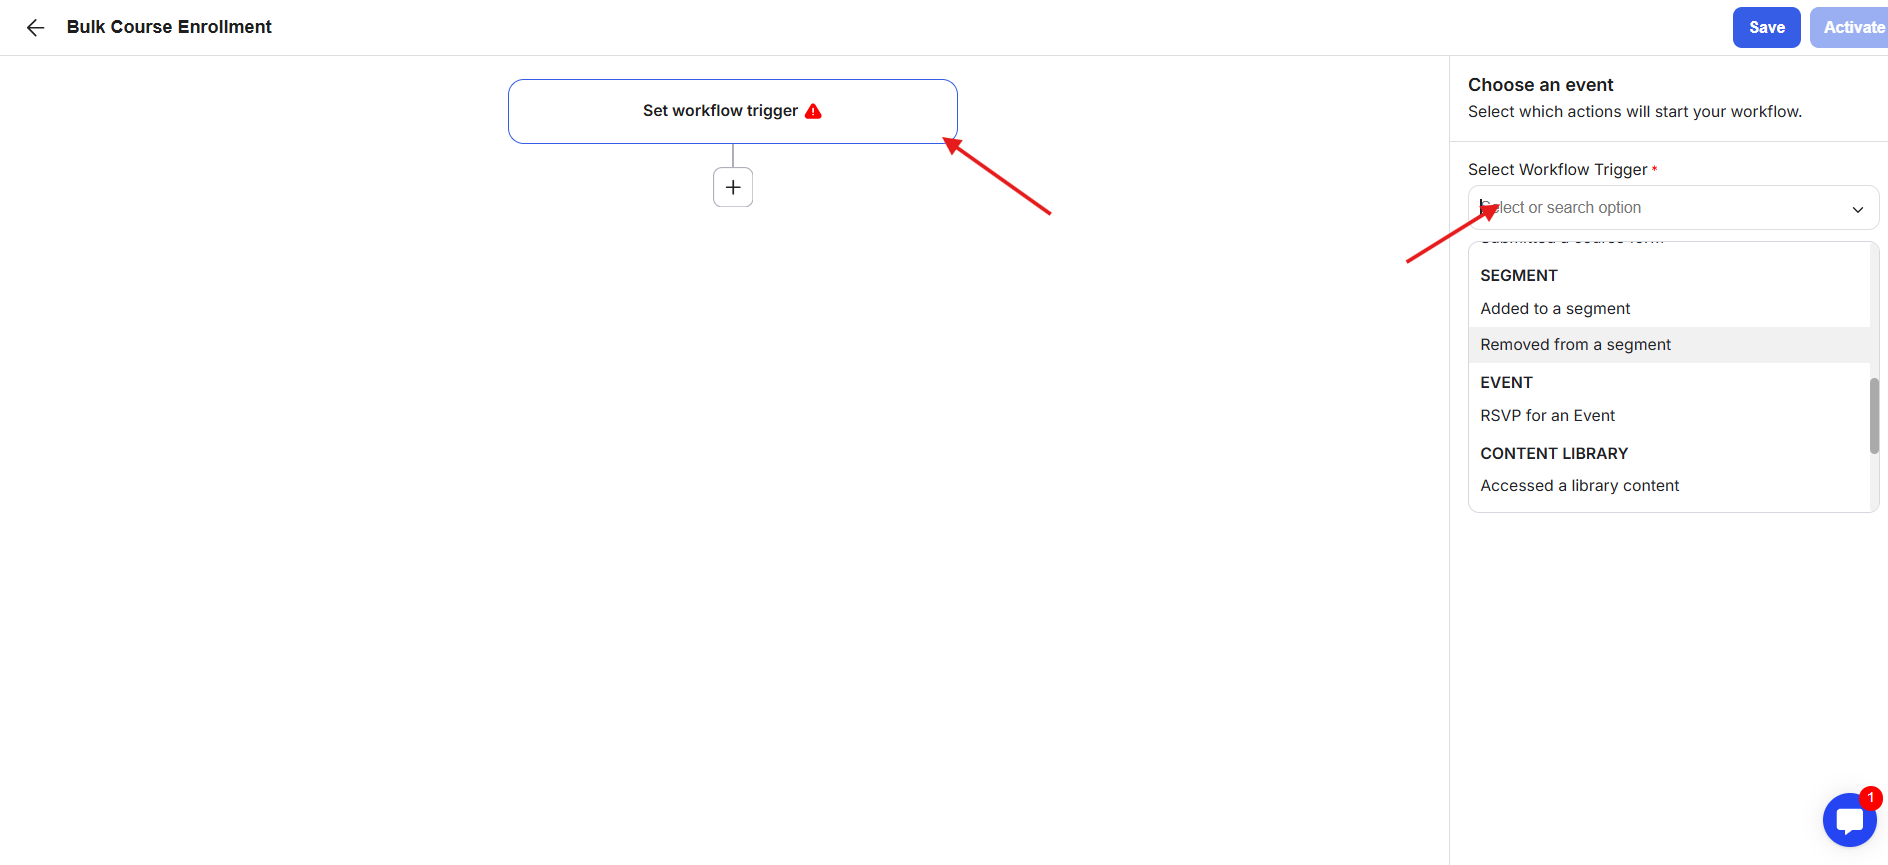
7) Click on the Set Workflow Trigger box.
8) From the right-side panel, choose a trigger by clicking on the Select Workflow Trigger drop-down. This trigger is the action that will start the workflow.
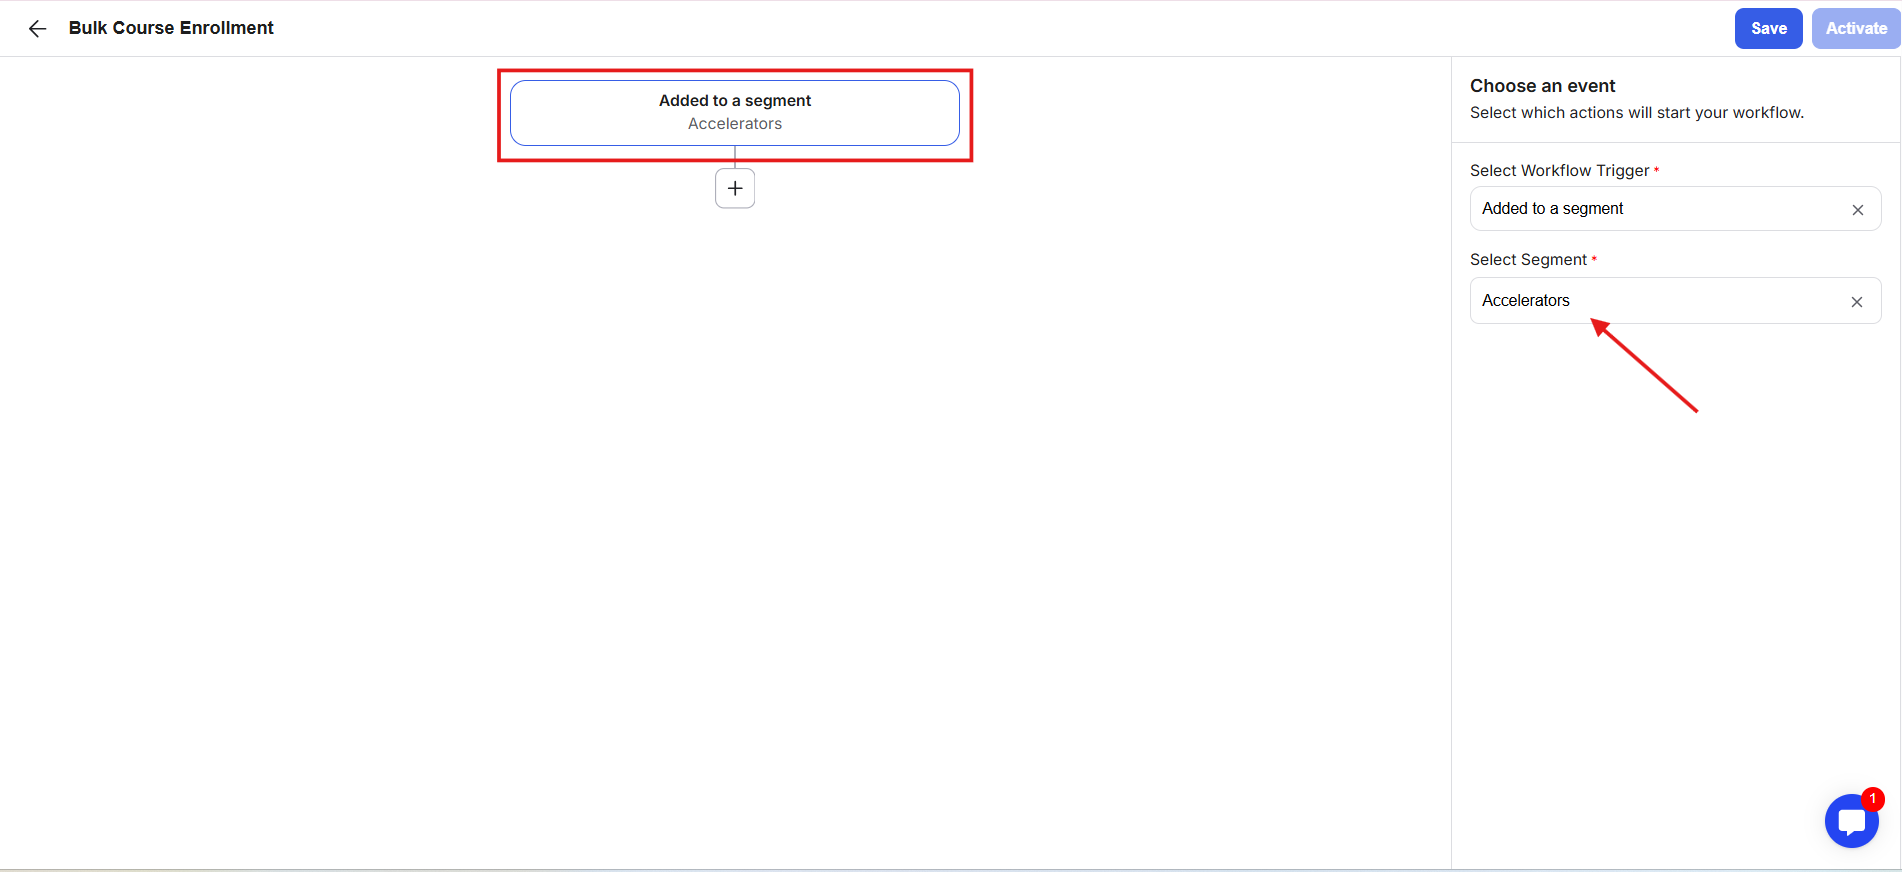
9) As an example, select the Added to a segment trigger. Then specify the segment name by selecting it from the drop-down field below. As soon as you select the trigger, the name in the trigger box updates automatically.
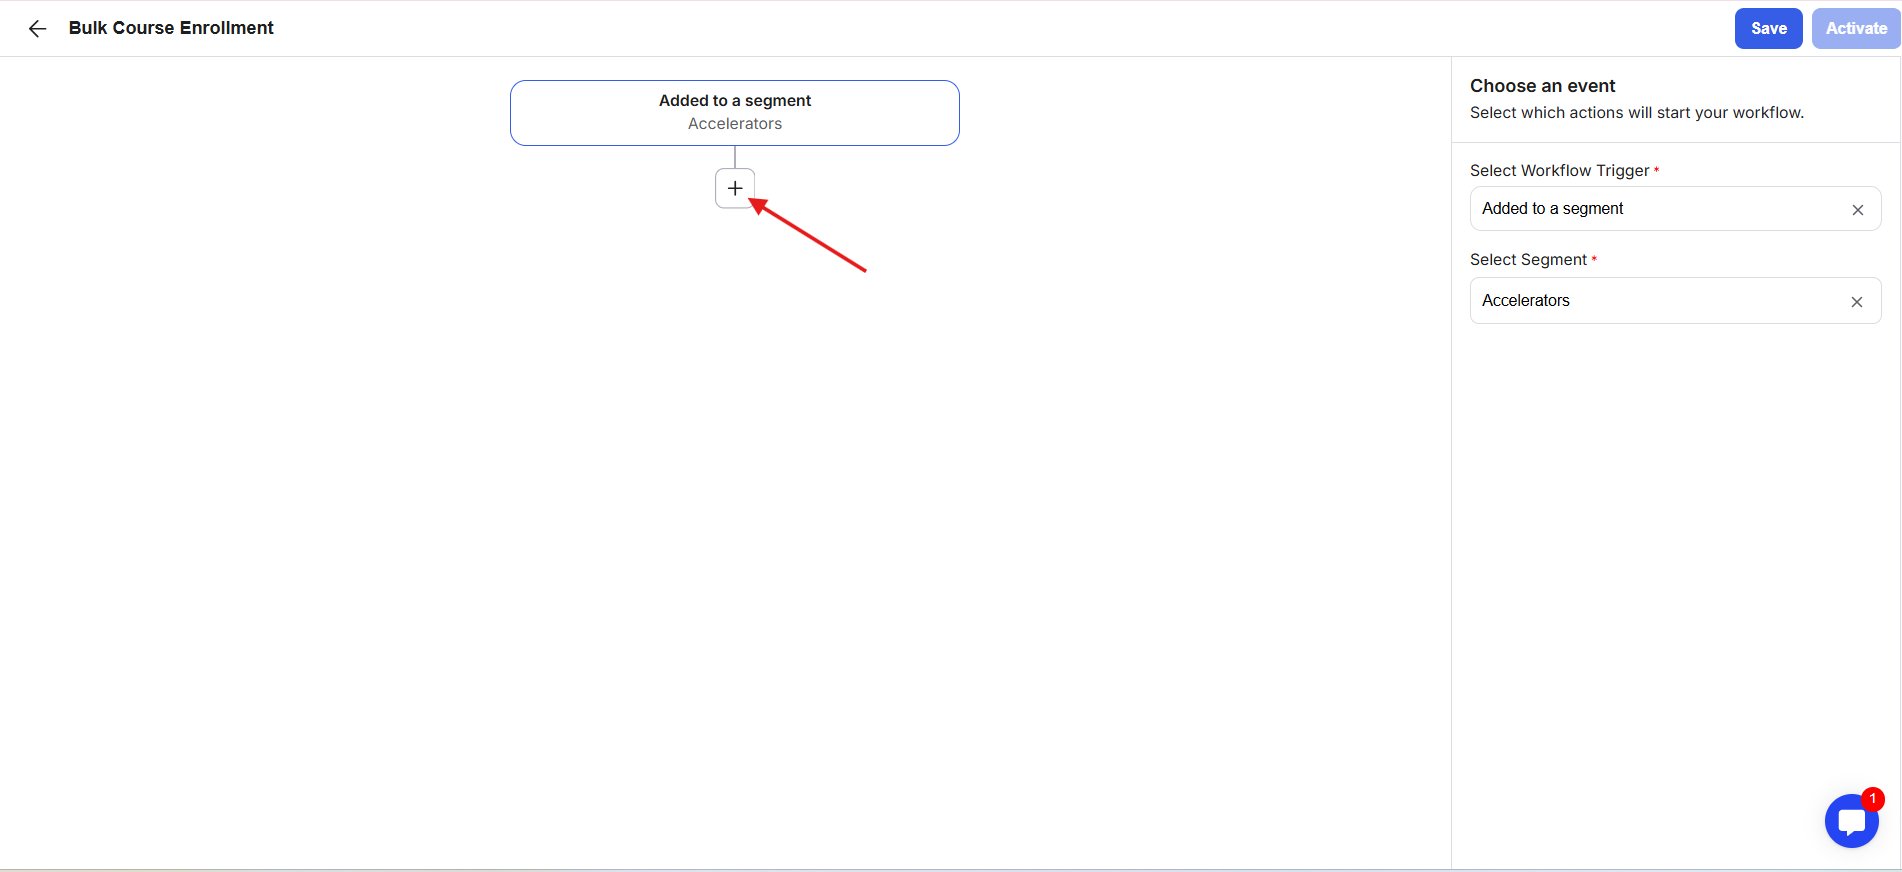
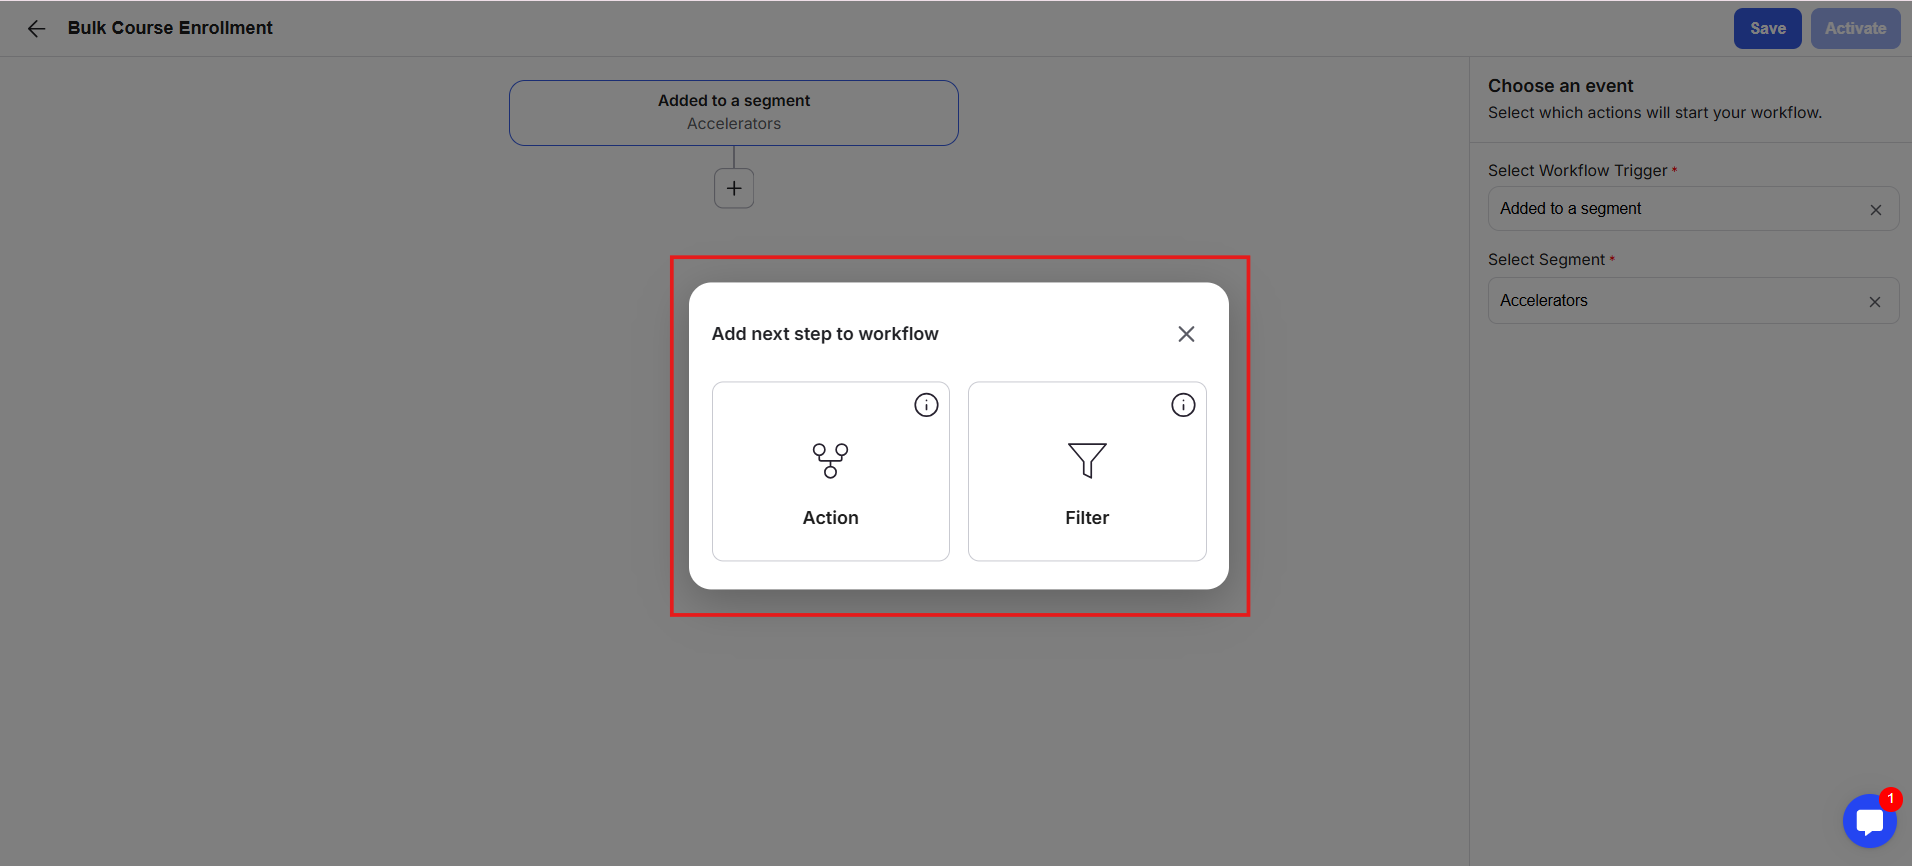
10) Click on the Plus Box to add the next step in your workflow.
11) A pop-up appears where you can choose either Action (the task the workflow will perform) or Filter (conditions that must be met for the workflow to continue).
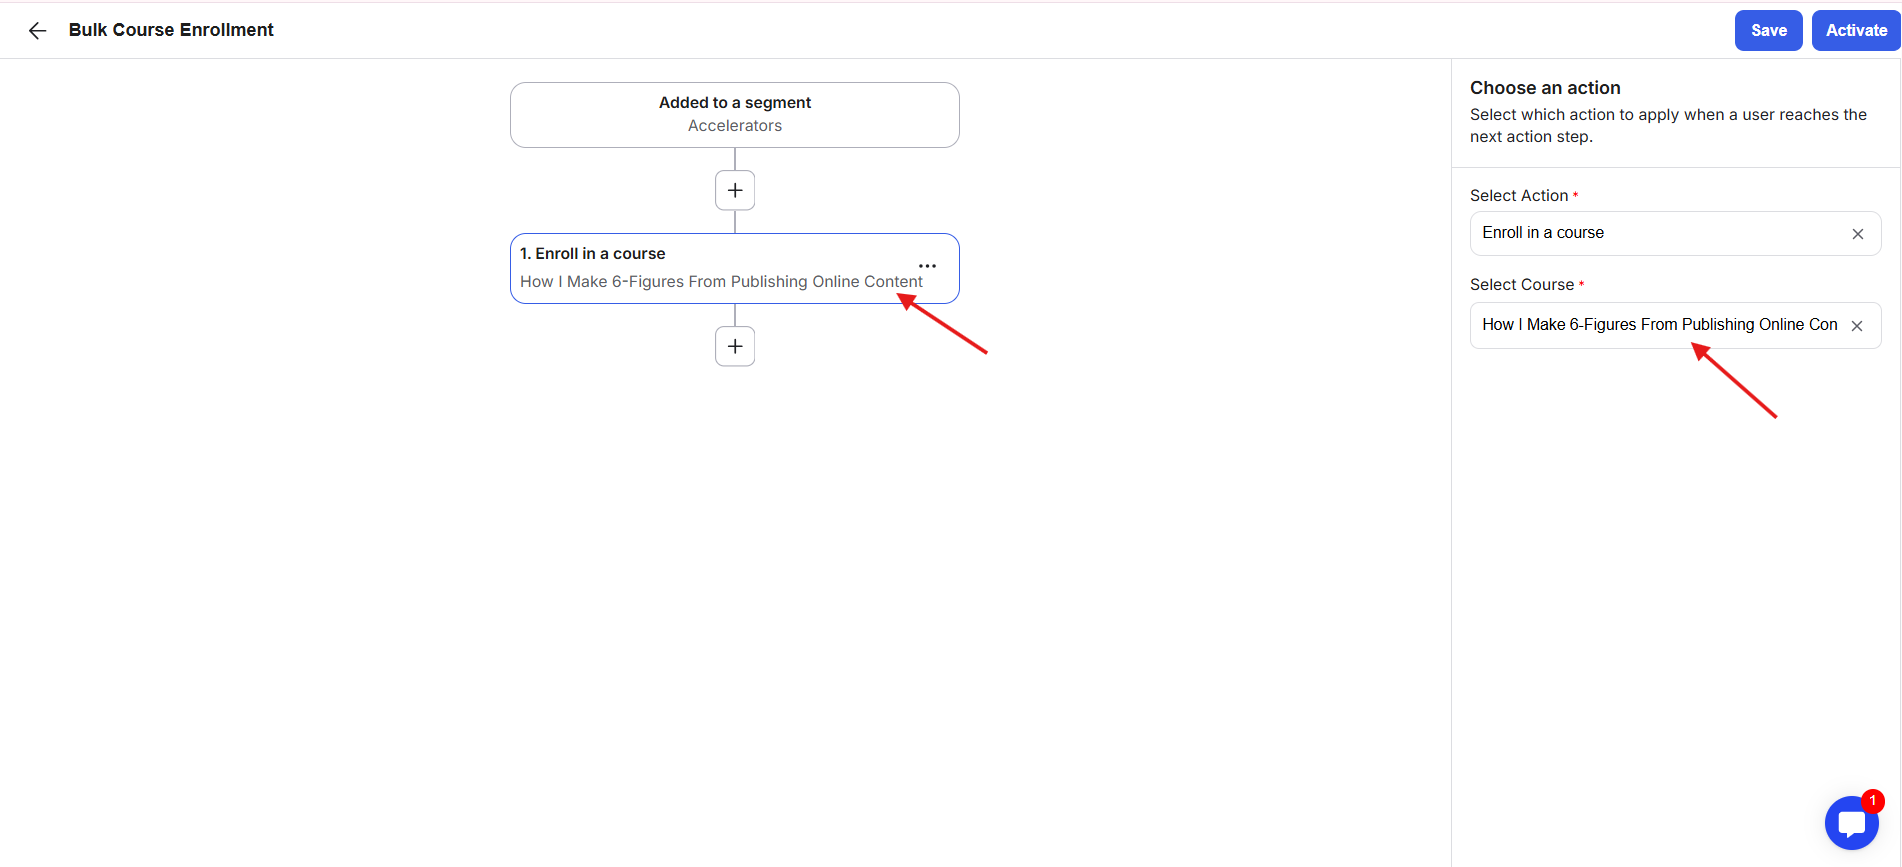
12) Click on Action. Then, in the right-side panel, click on the Select Action drop-down and choose the action you want to perform. For this example, select Enroll to a course, and then choose the course from the drop-down field. Once specified, the name in the second step box updates automatically.
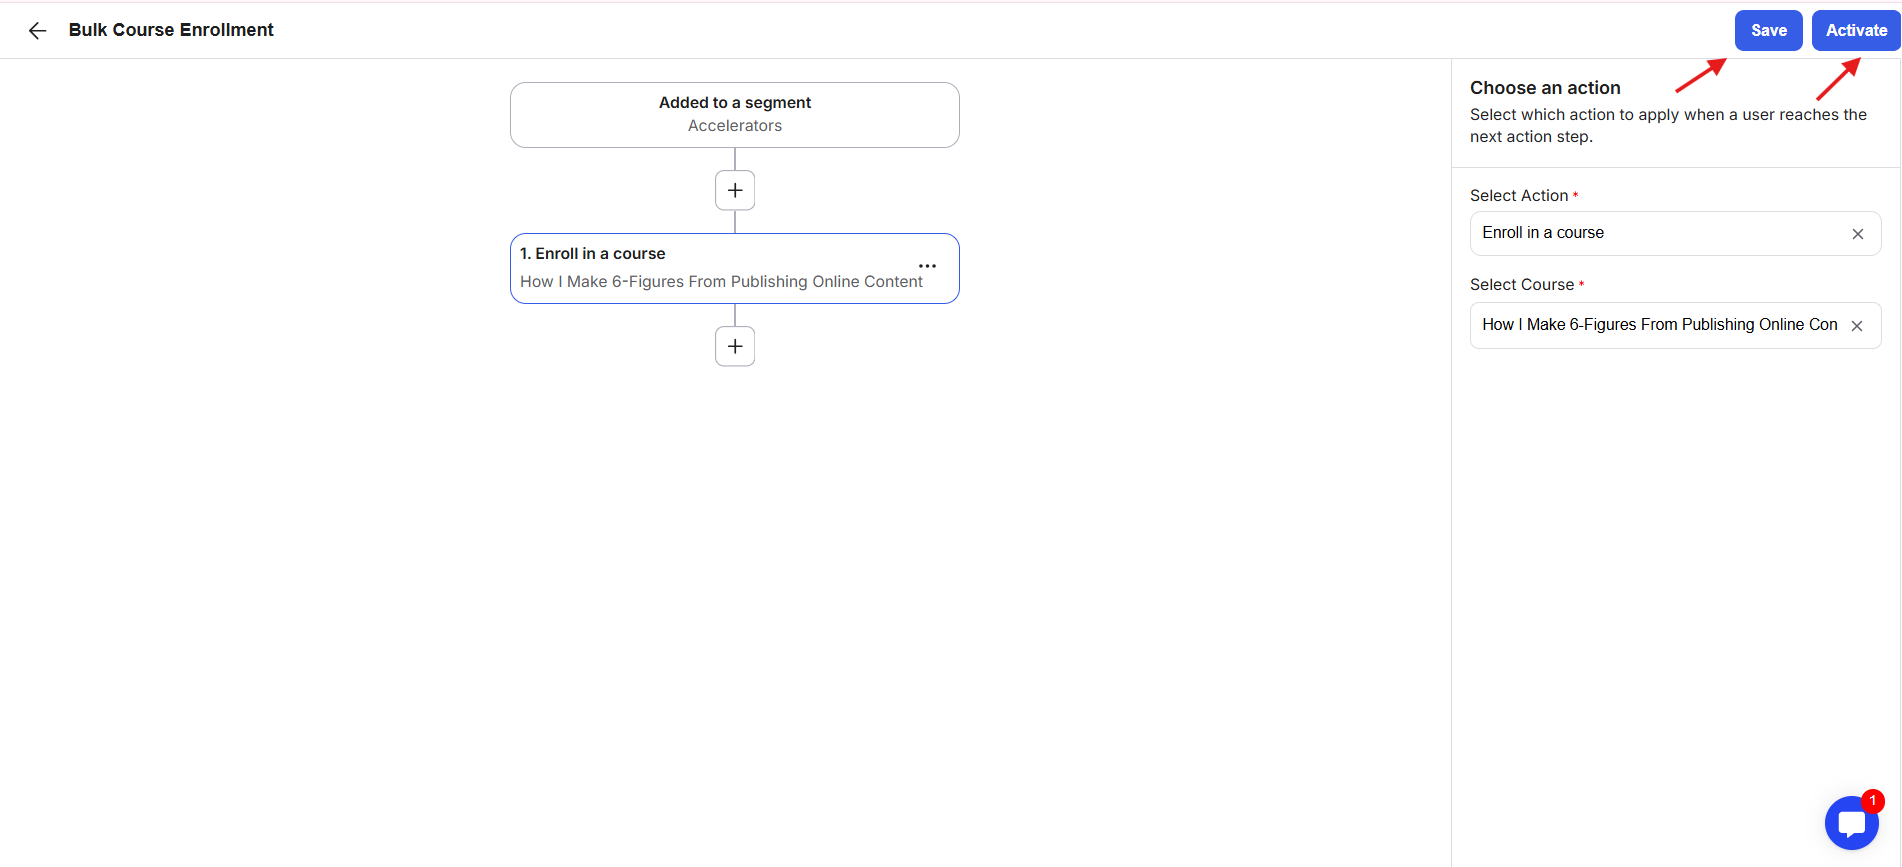
13) Once your intended workflow is fully built, review all steps and confirm everything is correct. Click Save, then click on the Activate button in the top-right corner.
14) Now this is where Bulk Workflow Automation comes into the process.
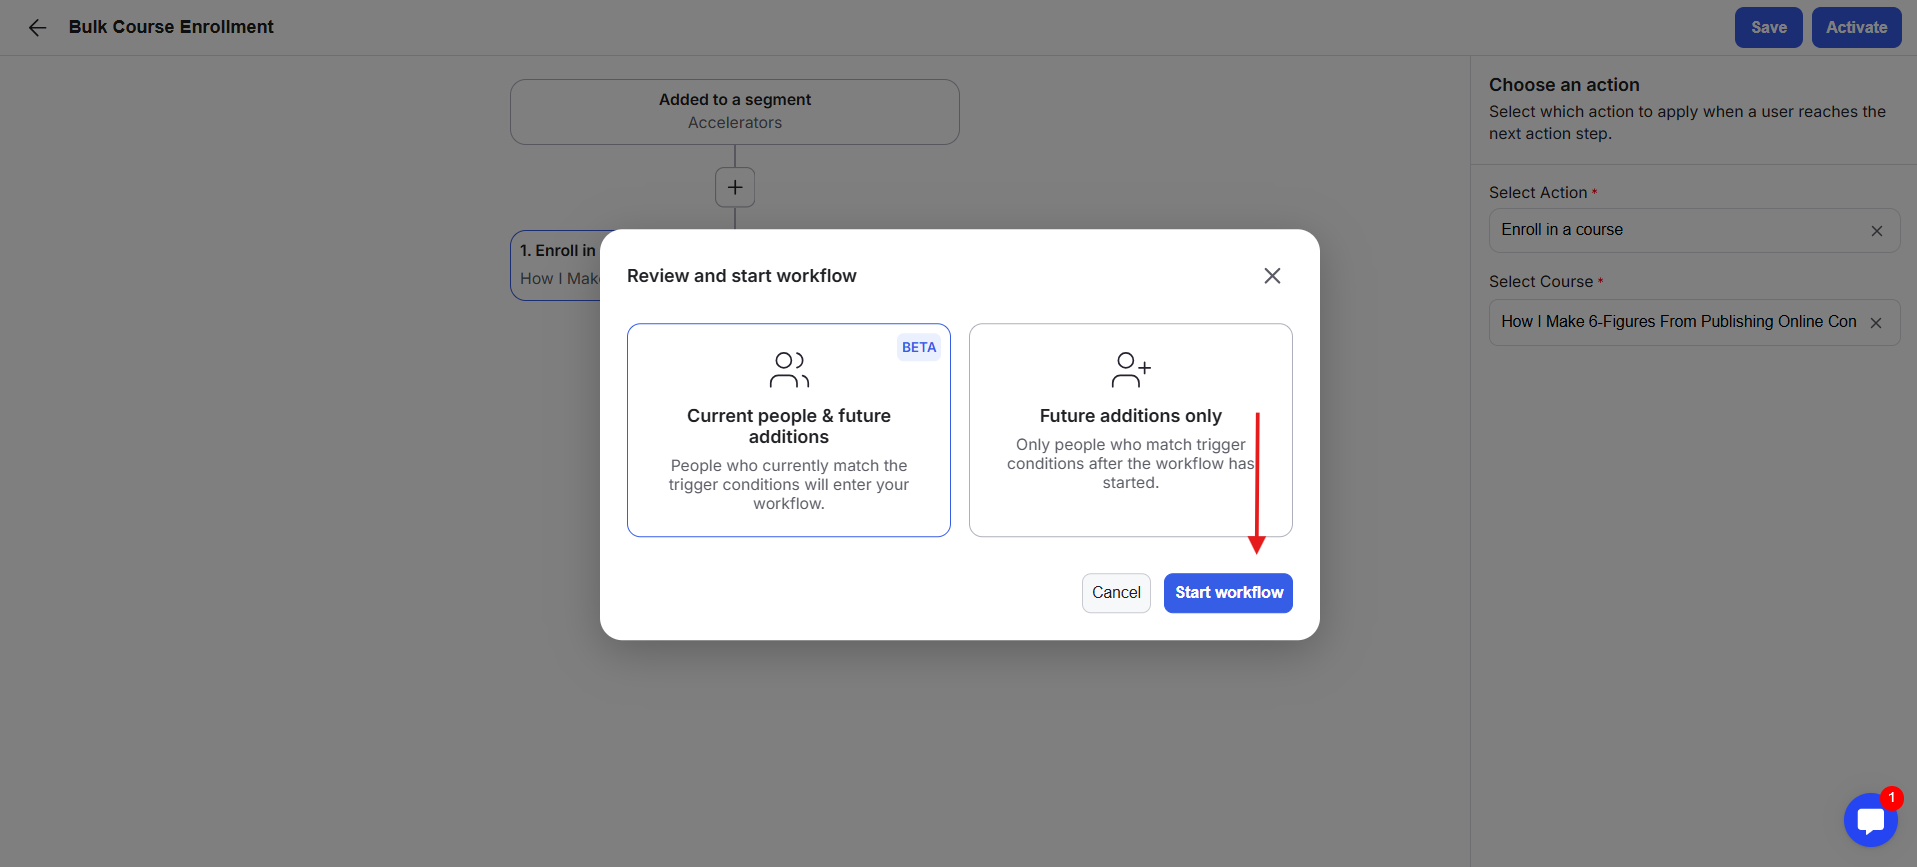
15) As soon as you click on the Activate button, a pop-up appears with two options for Bulk Workflow Automation.
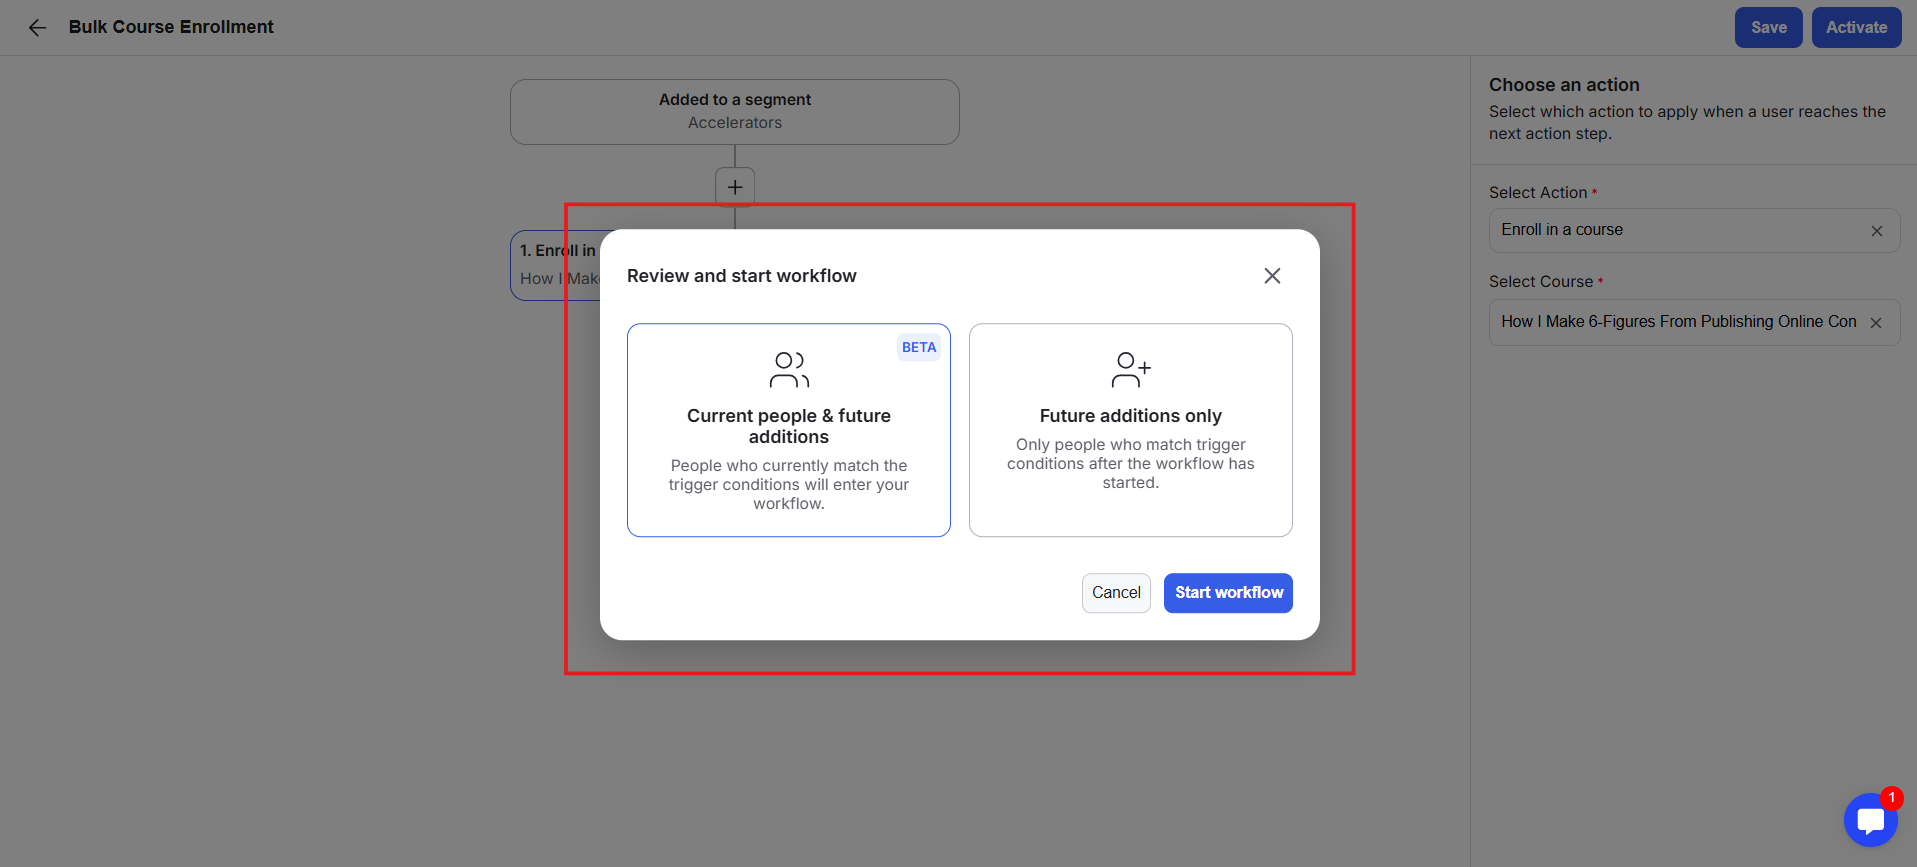
16) The two options are:
Current people & future additions: People who currently match the trigger conditions will enter your workflow immediately.
Future additions only: Only people who match the trigger conditions after the workflow has started will be enrolled.
17) This pop-up appears both when activating a new workflow and when modifying an existing workflow.
18) Select your desired option and click on the Start Workflow button.
19) If you choose Current people & future additions, all existing members who are part of the specified segment and any future members who will be added to the specified segment will be enrolled in the specified course.
20) If you choose Future additions only, only members who are added to the specified segment after the workflow is activated will be enrolled in the selected course.
21) As soon as you click on the Start Workflow button, the workflow becomes active and begins running according to the selected bulk option.
