Incoming webhooks let external apps send information directly into your GroupApp community, so actions occur automatically without manual work. For example, when someone submits a form or completes an action in another tool, that data can instantly trigger workflows in GroupApp.
Before you begin, make sure the following are in place:
You have access to the Admin Panel of your community.
You have an external application that can send data using a webhook URL (such as a form builder, CRM, or automation tool).
The data being sent includes at least an email address, as this is required to identify or create members.
You understand what type of data your external app sends, since you will map these fields later inside the workflow.
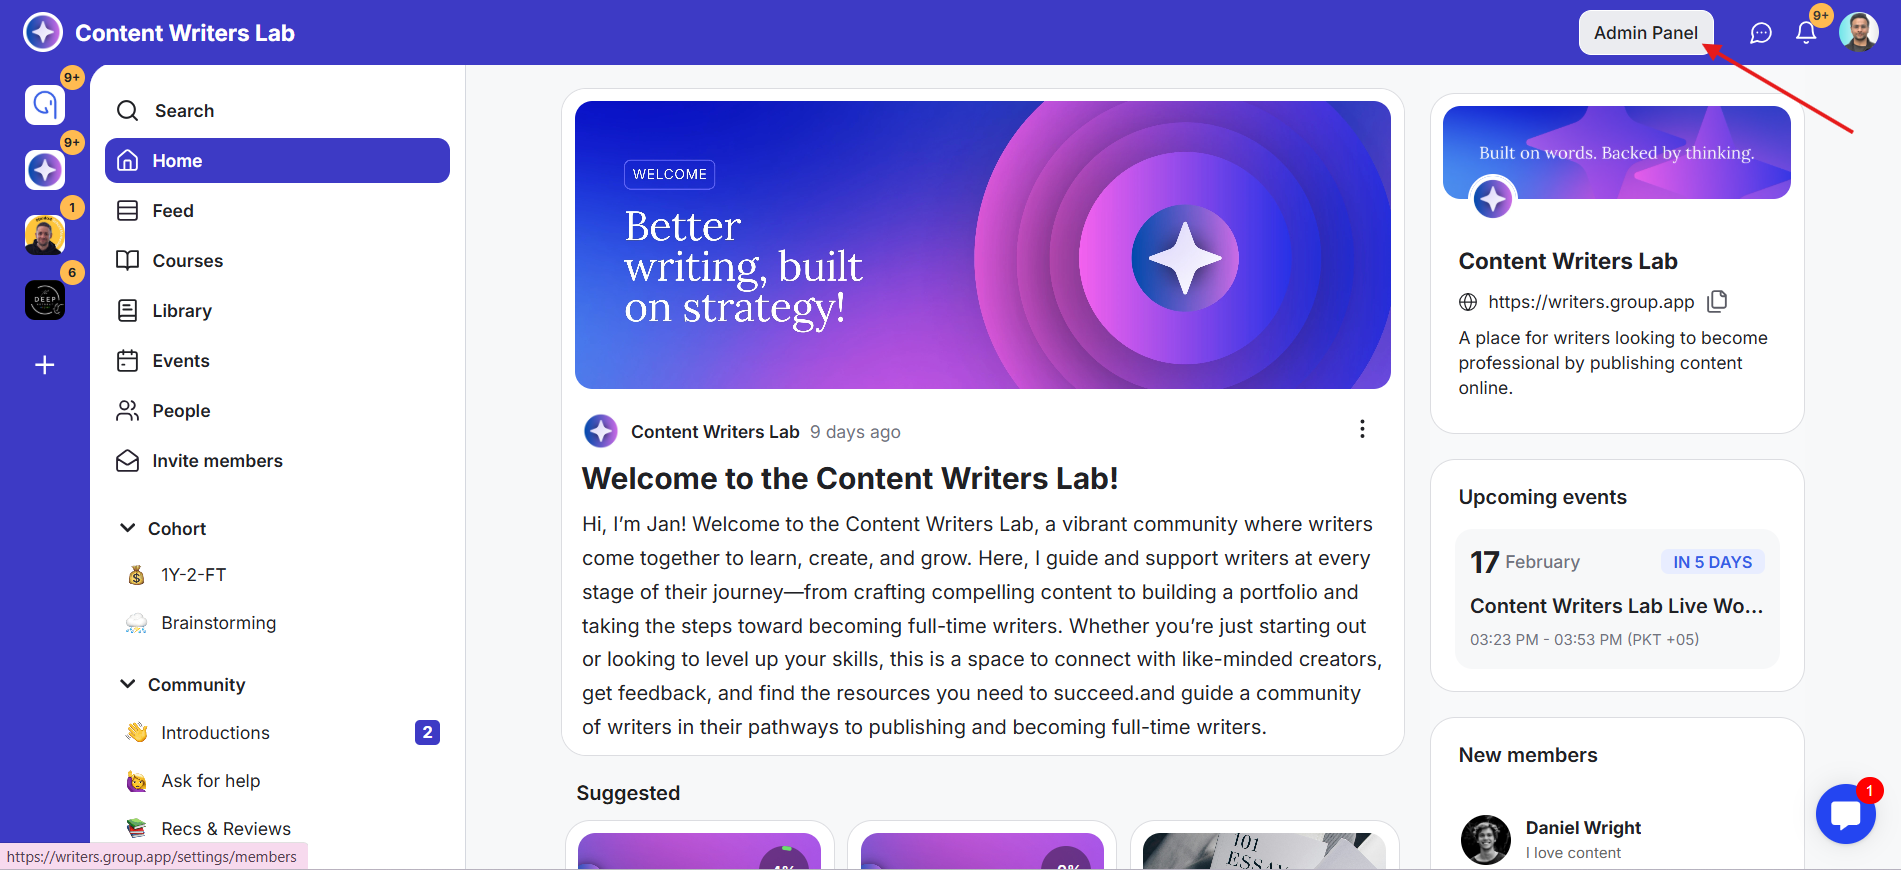
1) Go to the Admin Panel in your GroupApp community.
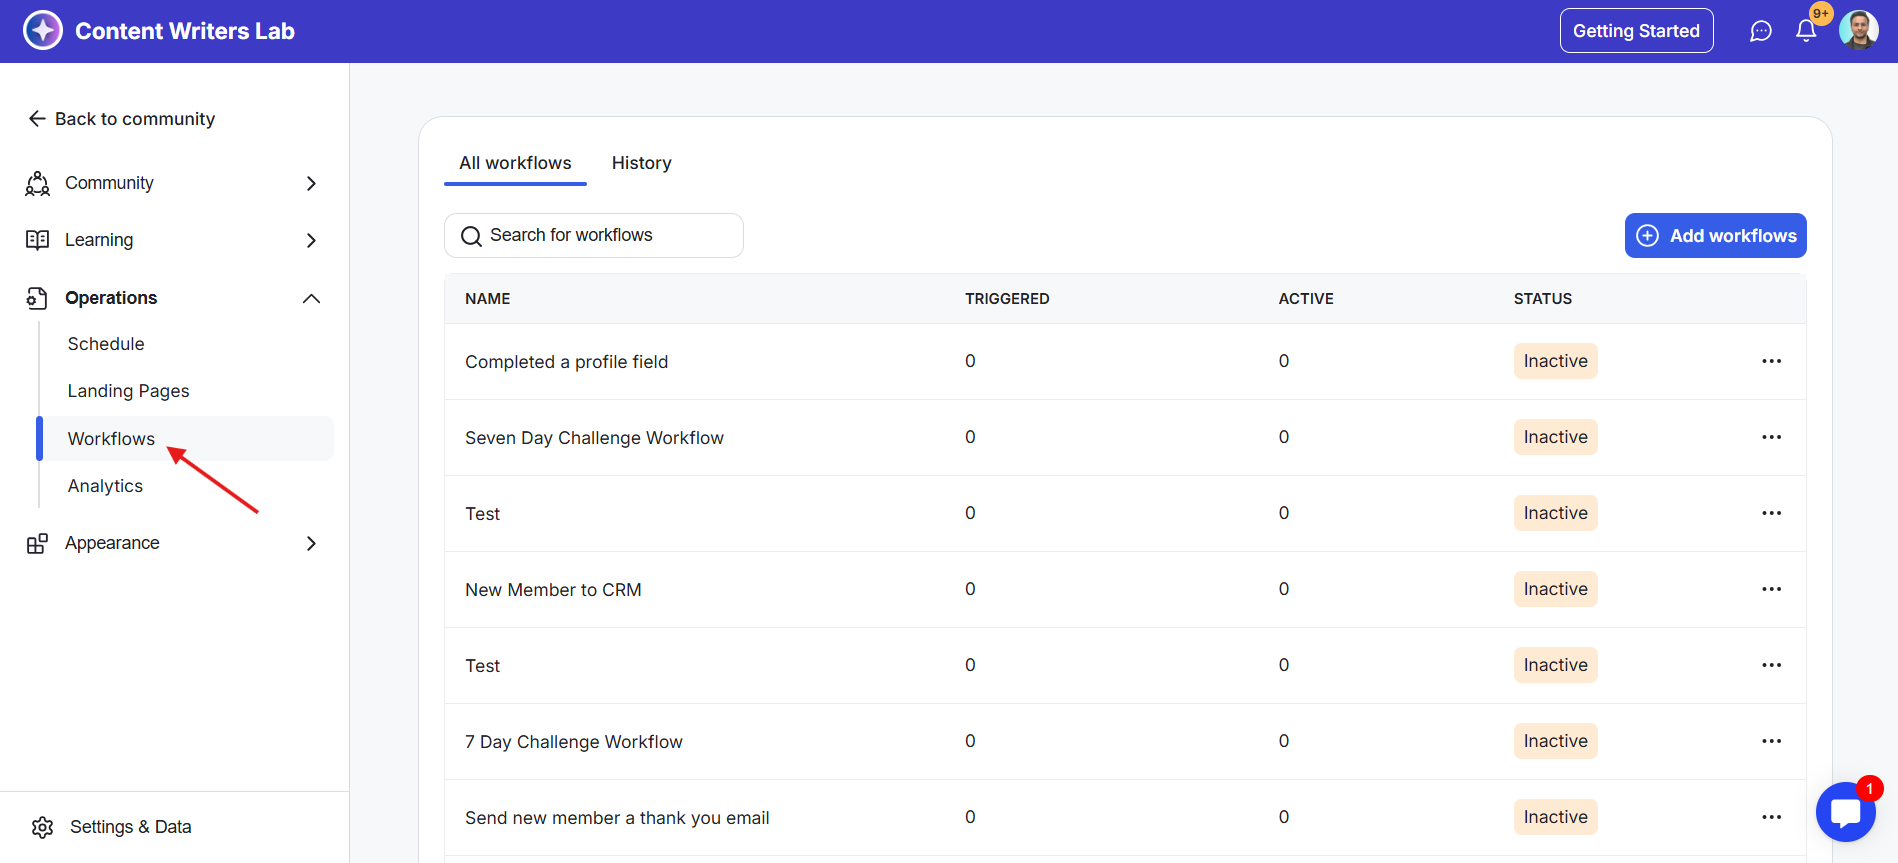
2) On the left-side menu, from the Operations drop-down, click on Workflows. This opens the Workflows Dashboard.
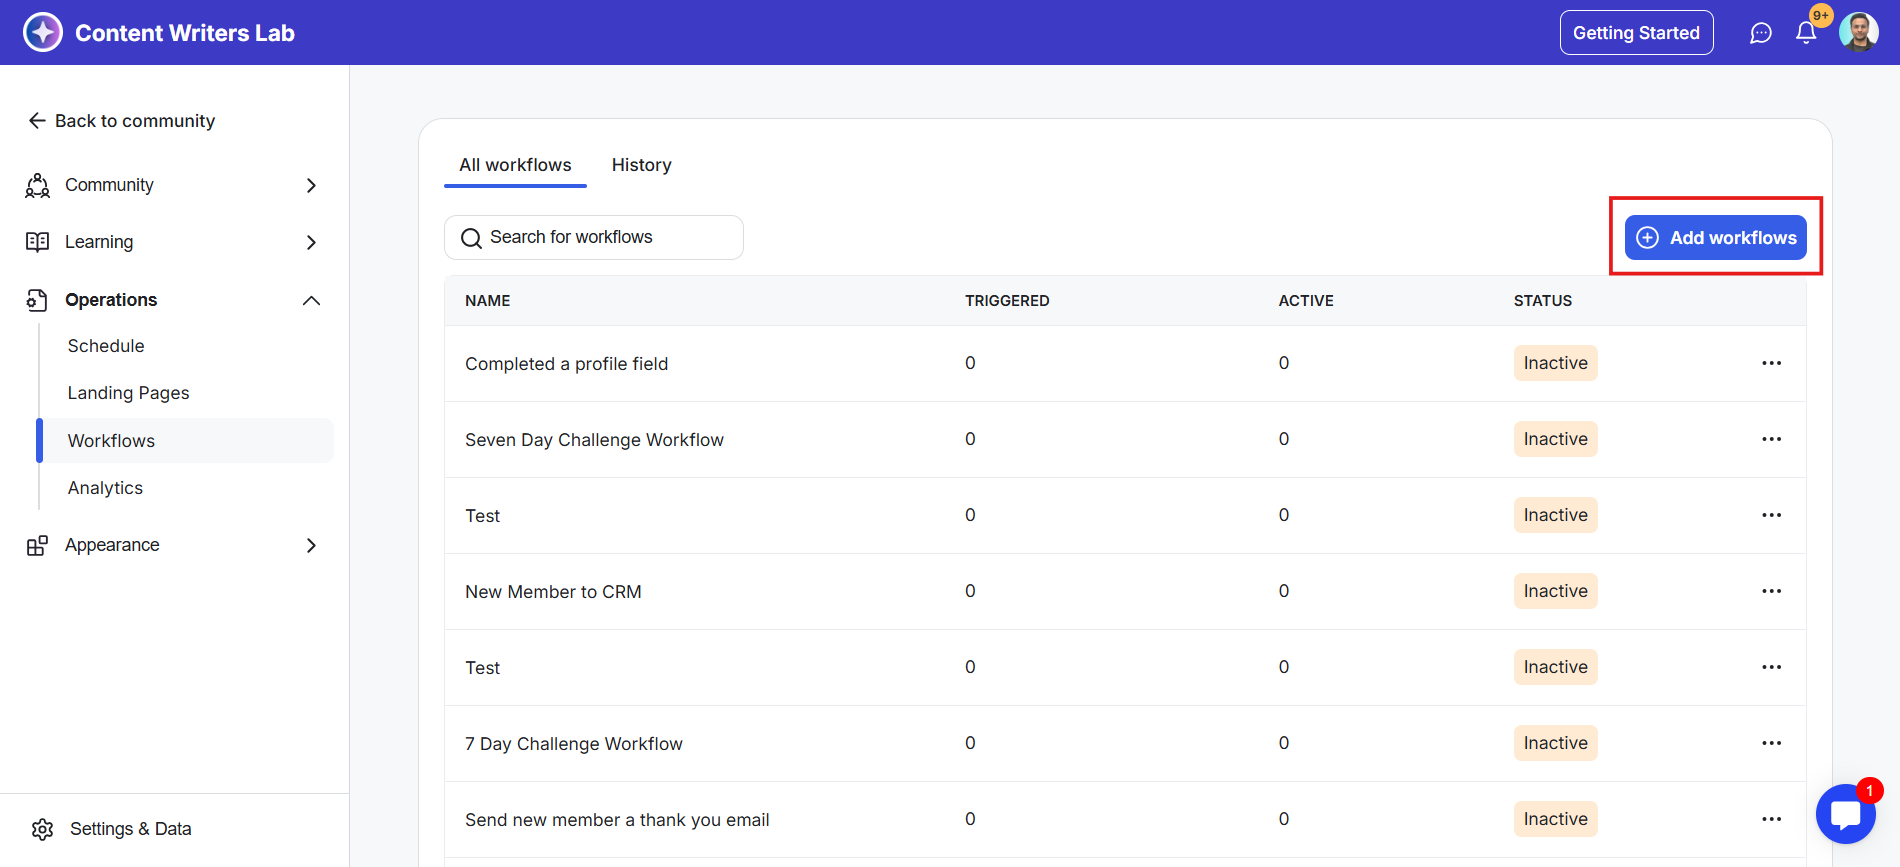
3) Click on the blue +Add Workflows button in the top-right corner of the dashboard. This shows the Templates pop-up.
4) Select the first option to create a Custom Workflow and click on Create. This opens the Workflow Builder.

5) Add a Workflow Name as per the case and click on Save. Now you are all set to start building your workflow.
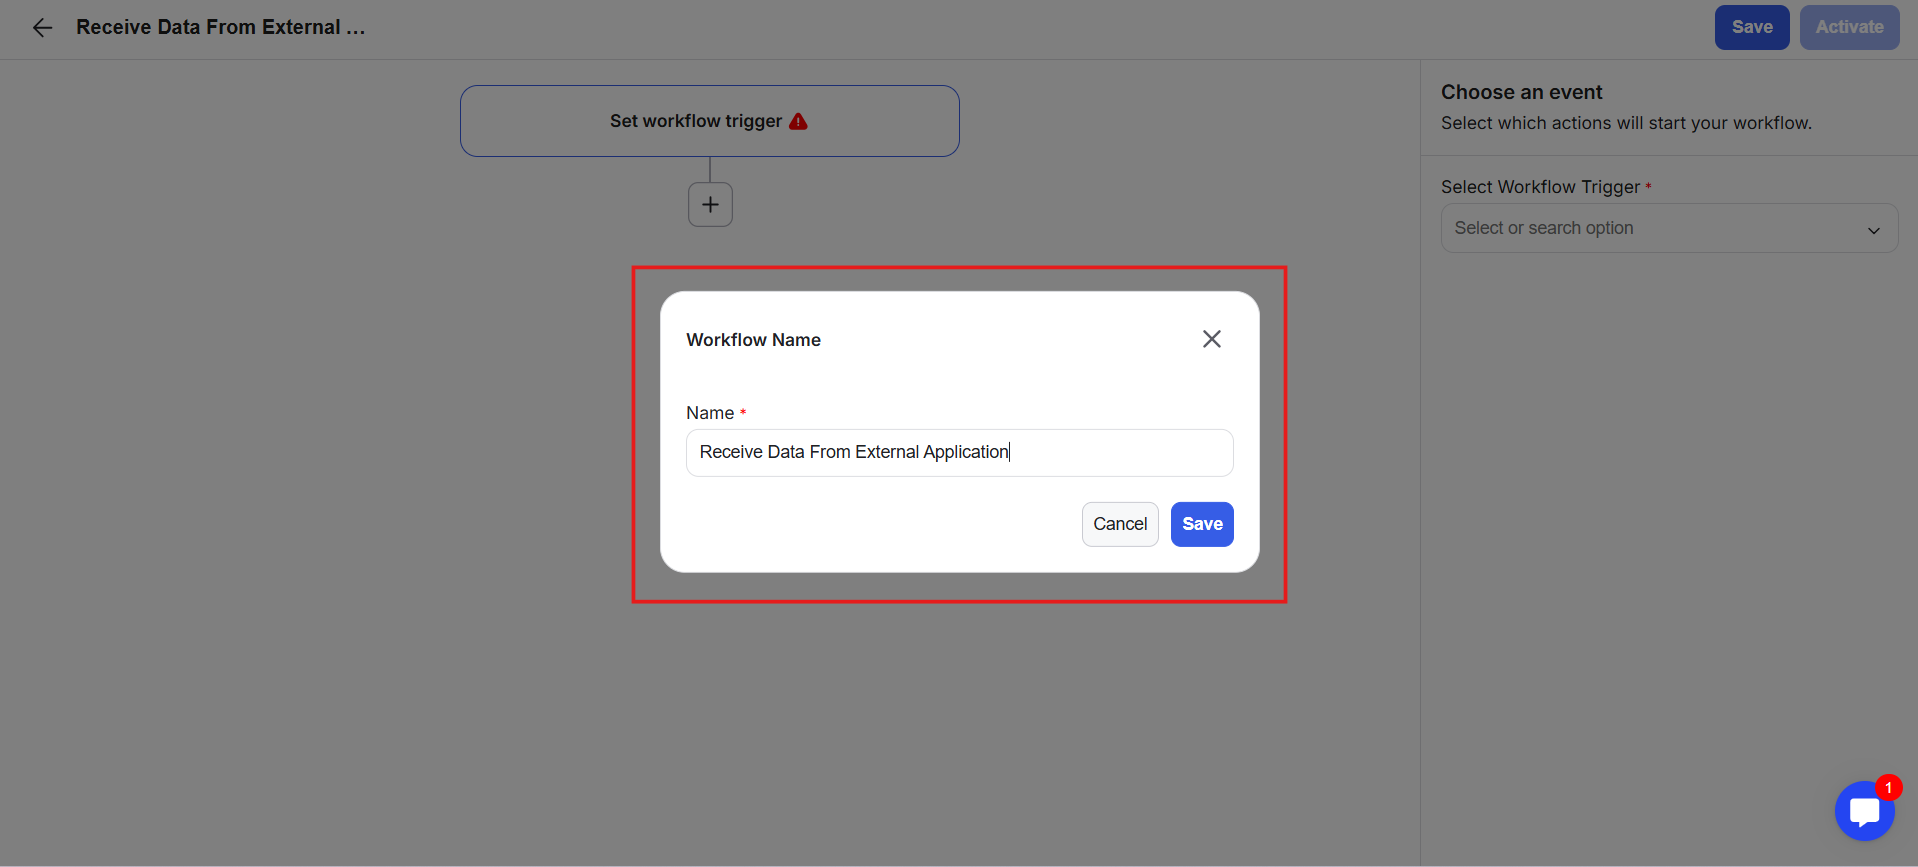
6) Click on the Set Workflow Trigger box.
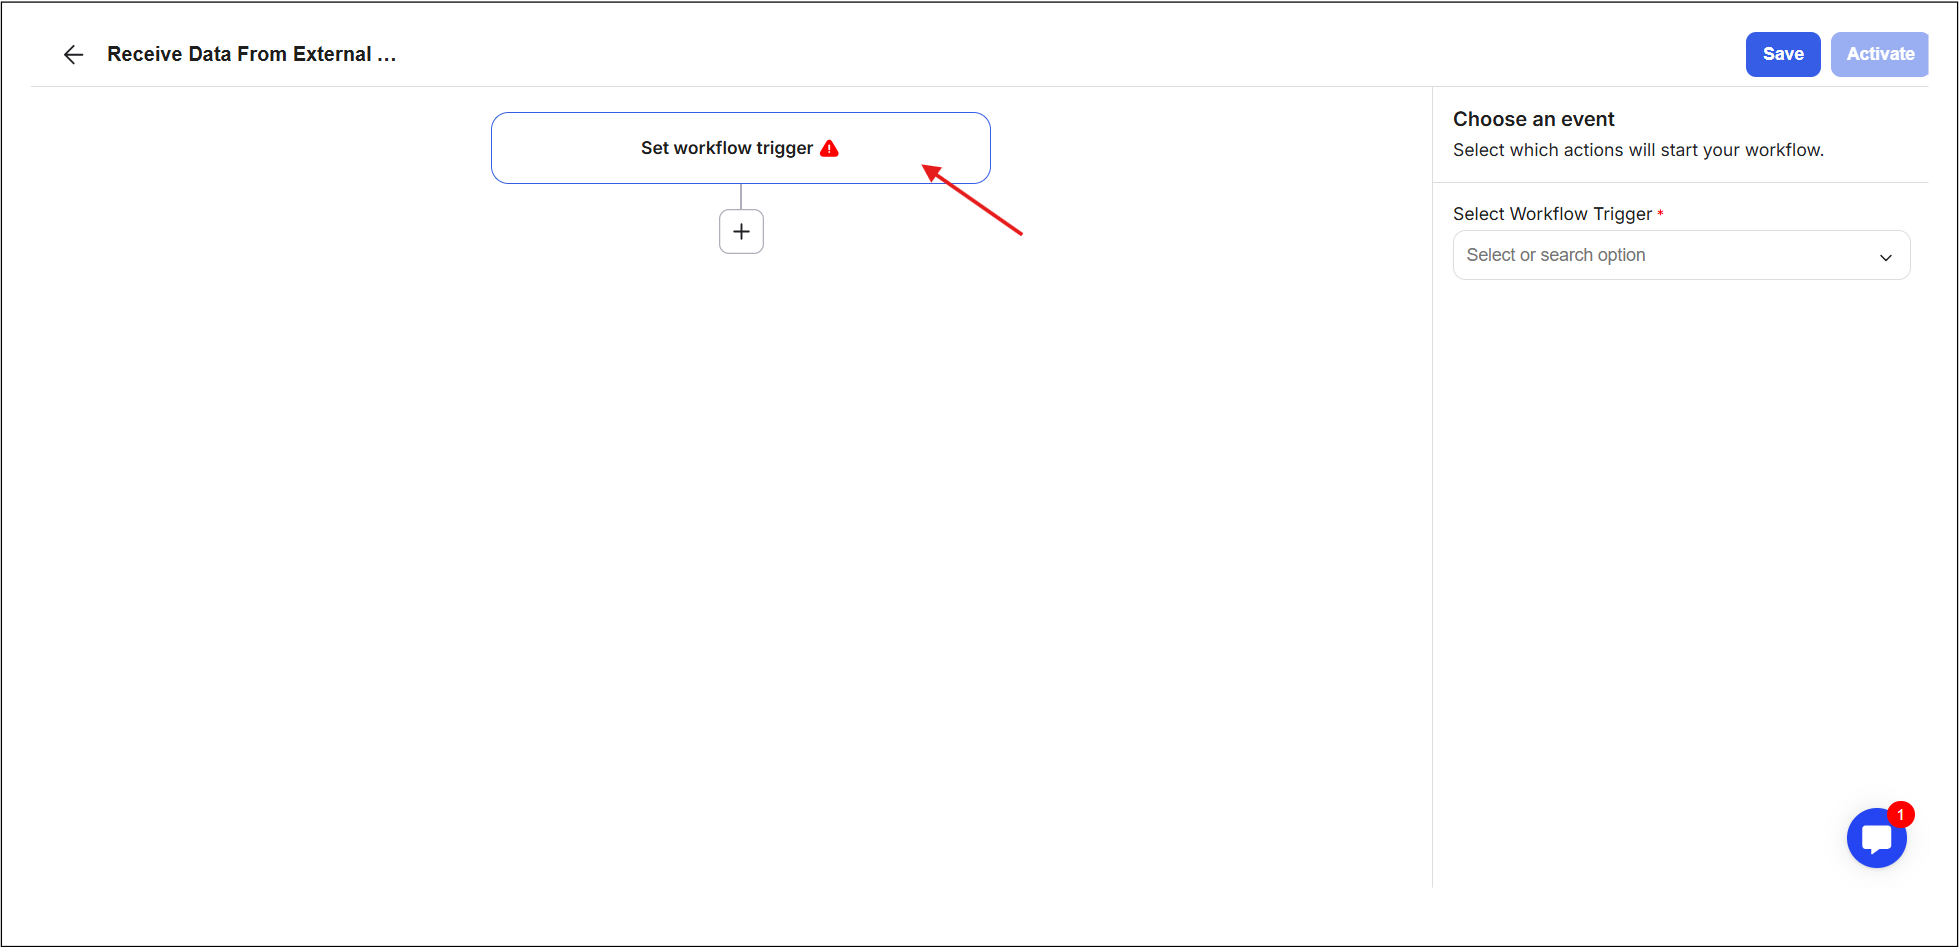
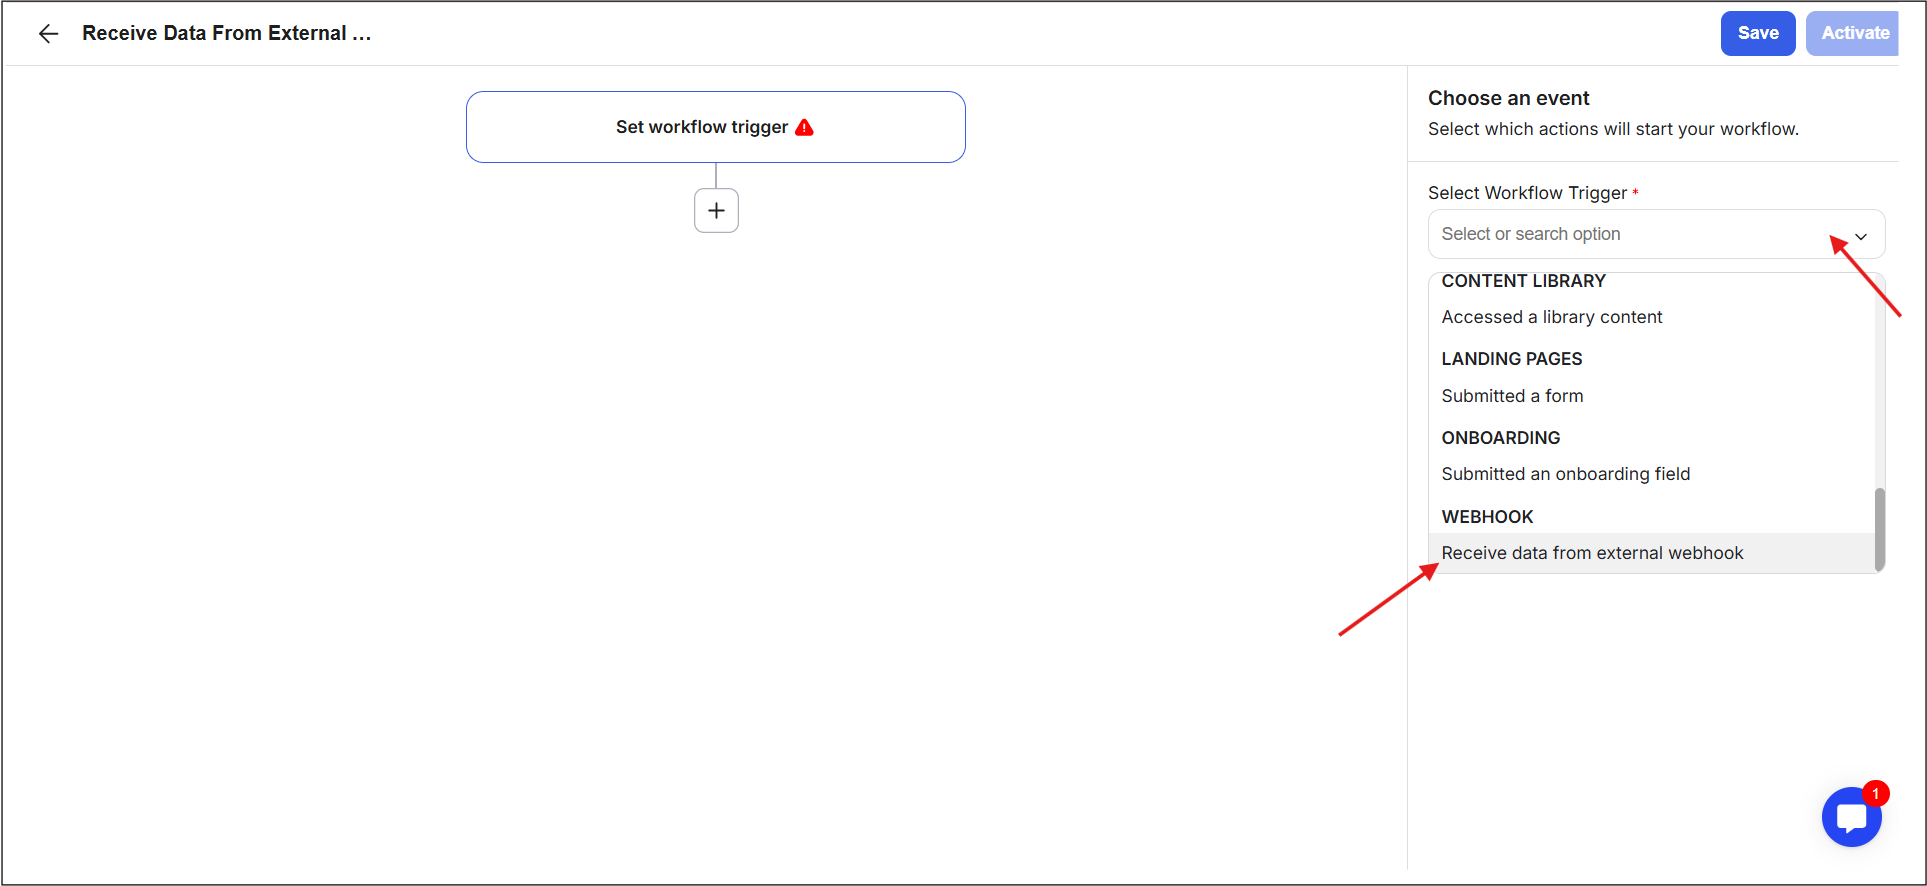
7) On the right-side panel, click the drop-down menu and scroll down to select the “Receive data from external workbook” trigger.
8) As soon as you select the trigger, the name in the trigger box updates automatically, and the right-side tab shows four stages to configure your webhook to receive data from the external application.
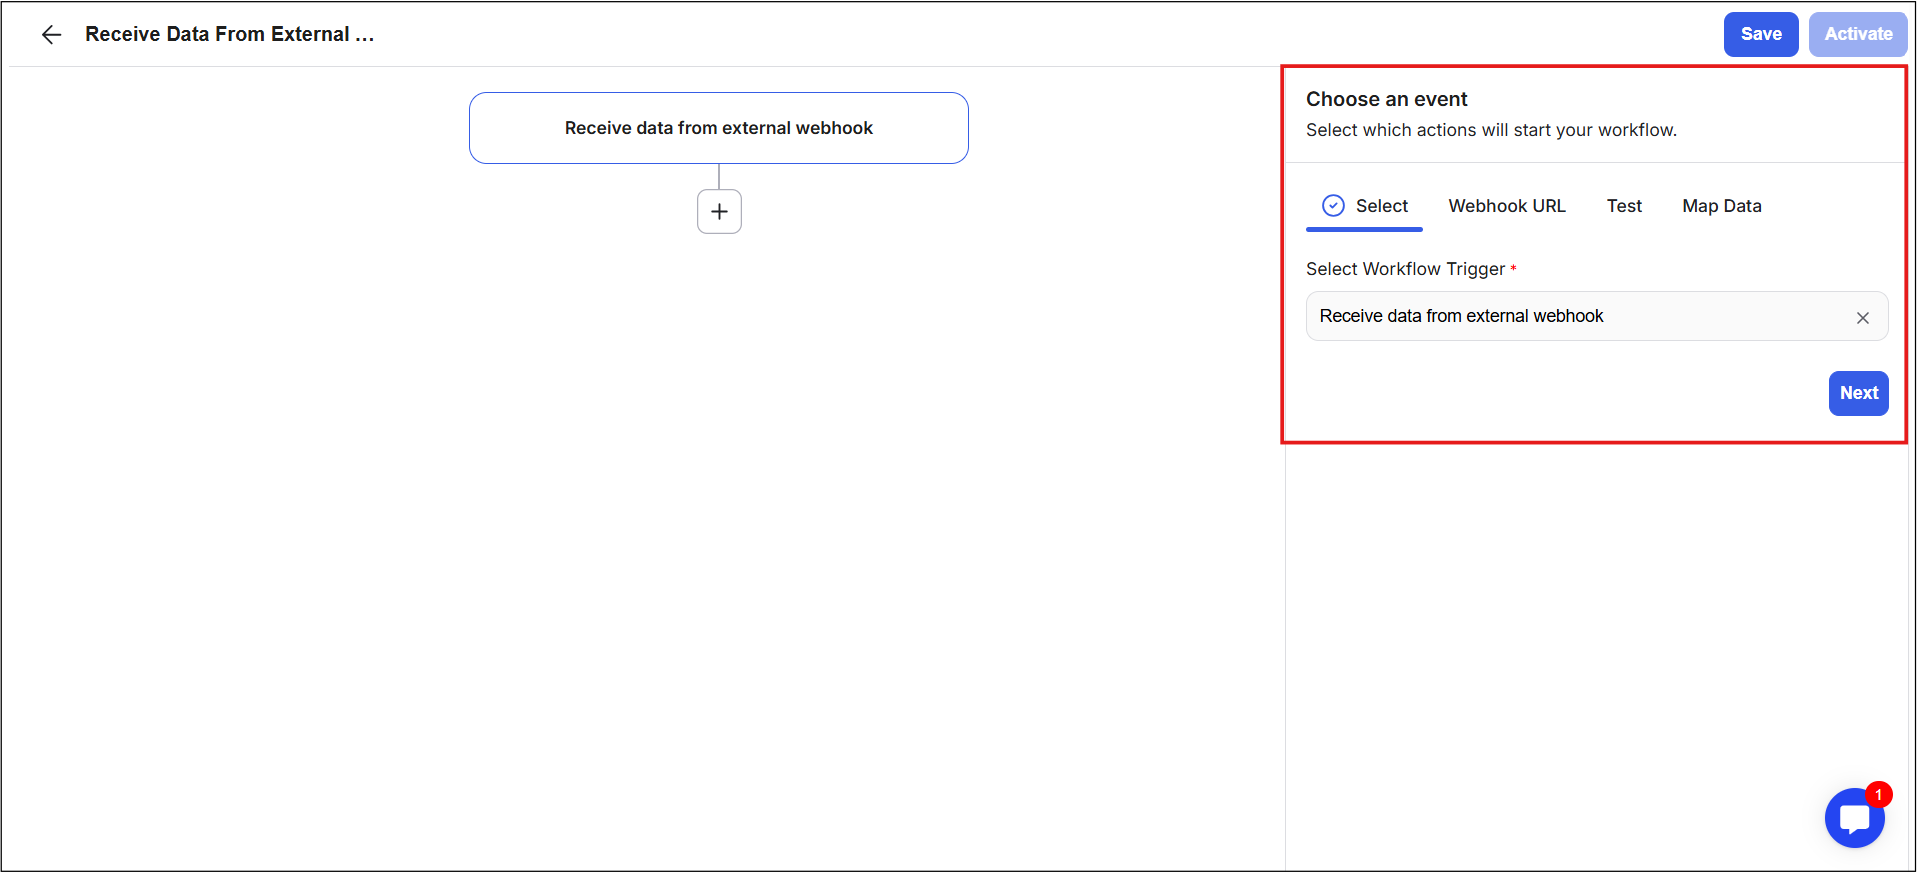
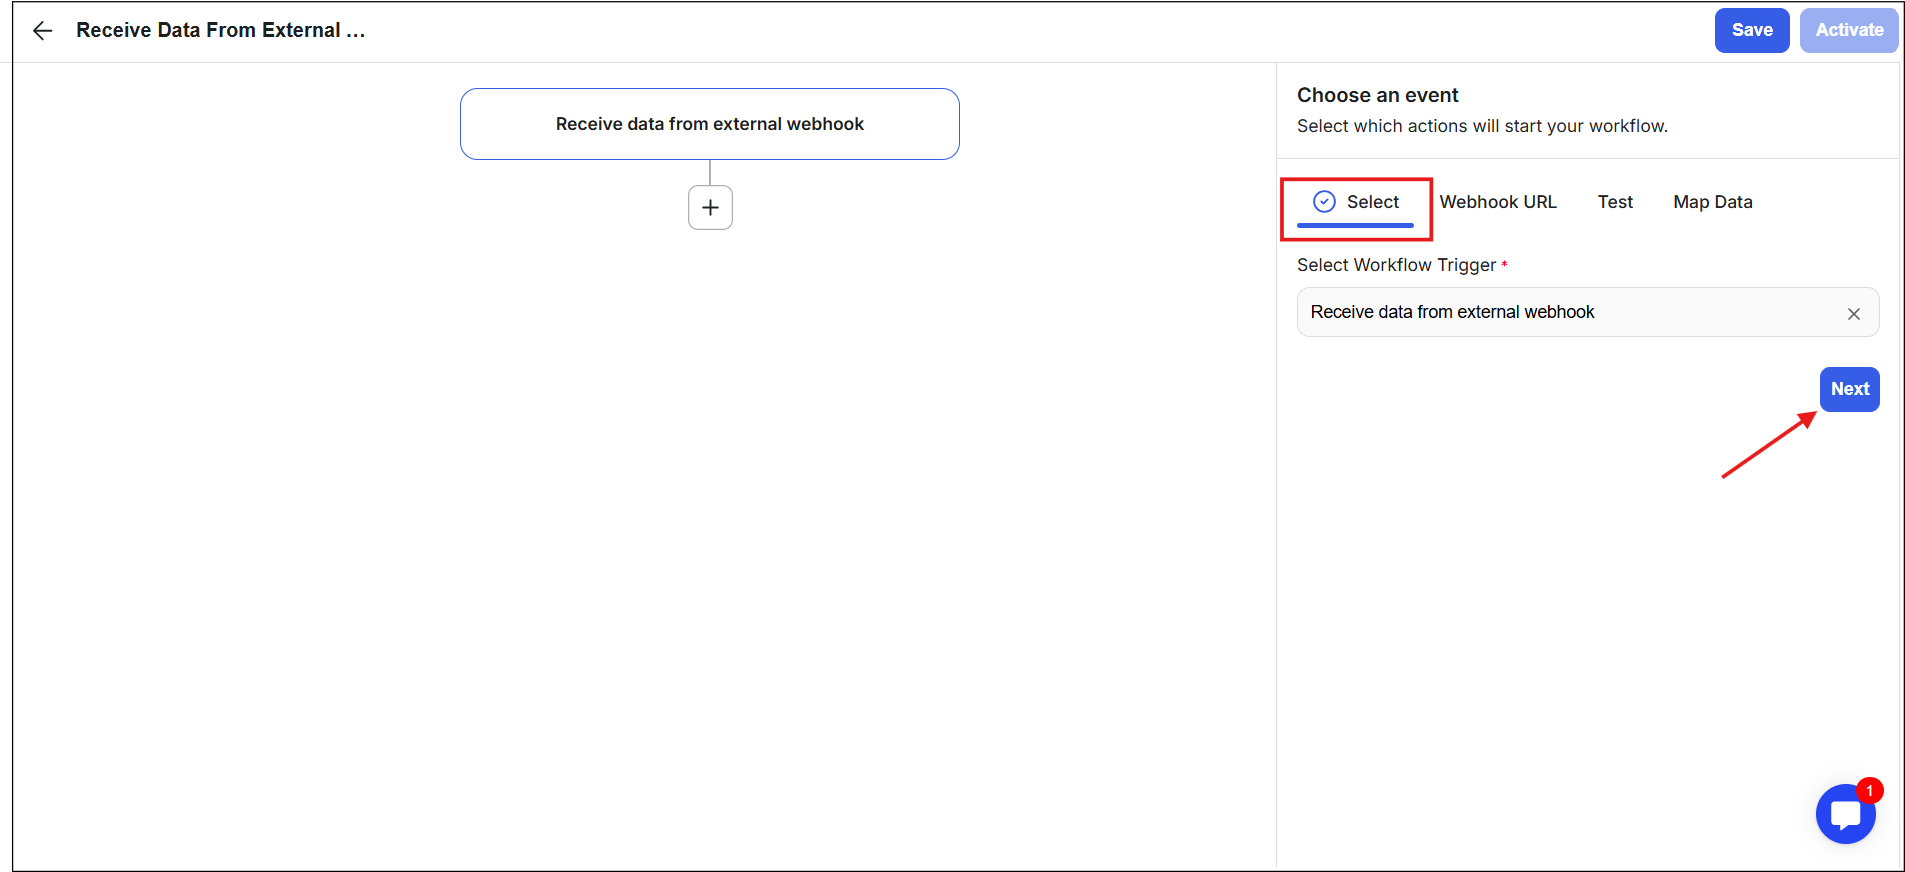
9) The first stage shows the selected trigger with a blue tick-mark, which indicates that it is complete. Click Next to go to the second stage.
10) The second stage is named Webhook URL. Here, GroupApp will automatically generate a custom webhook URL for your workflow. A blue tick-mark appears once the URL is generated.
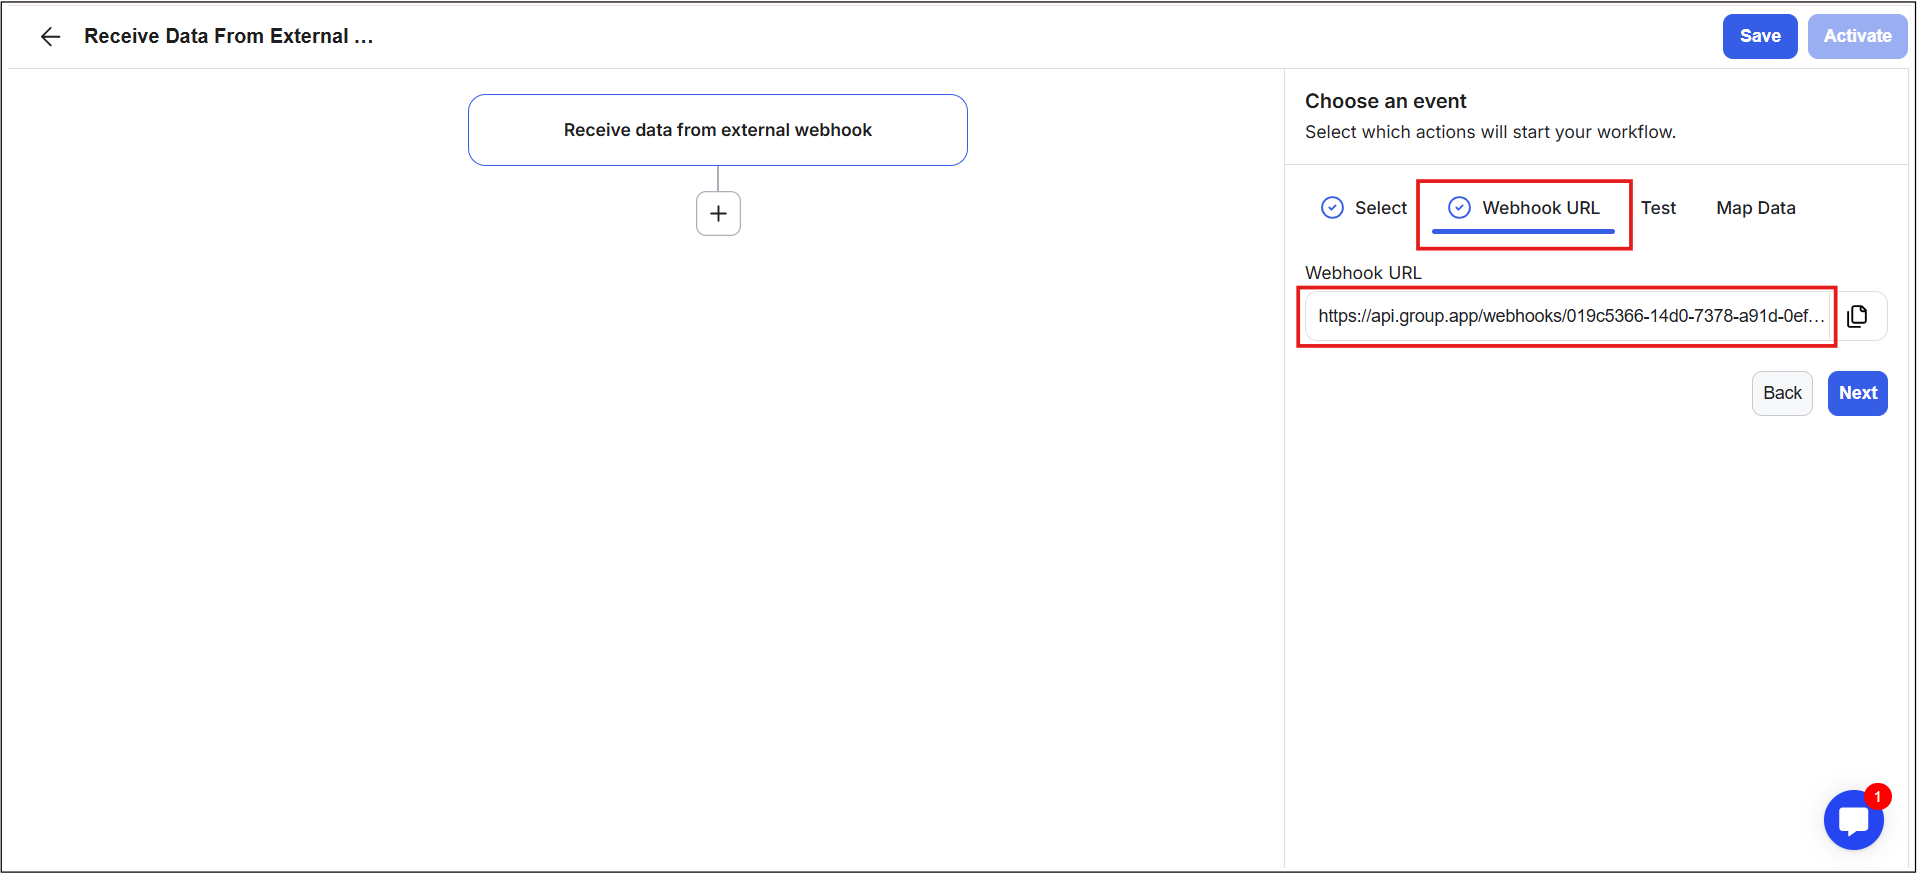
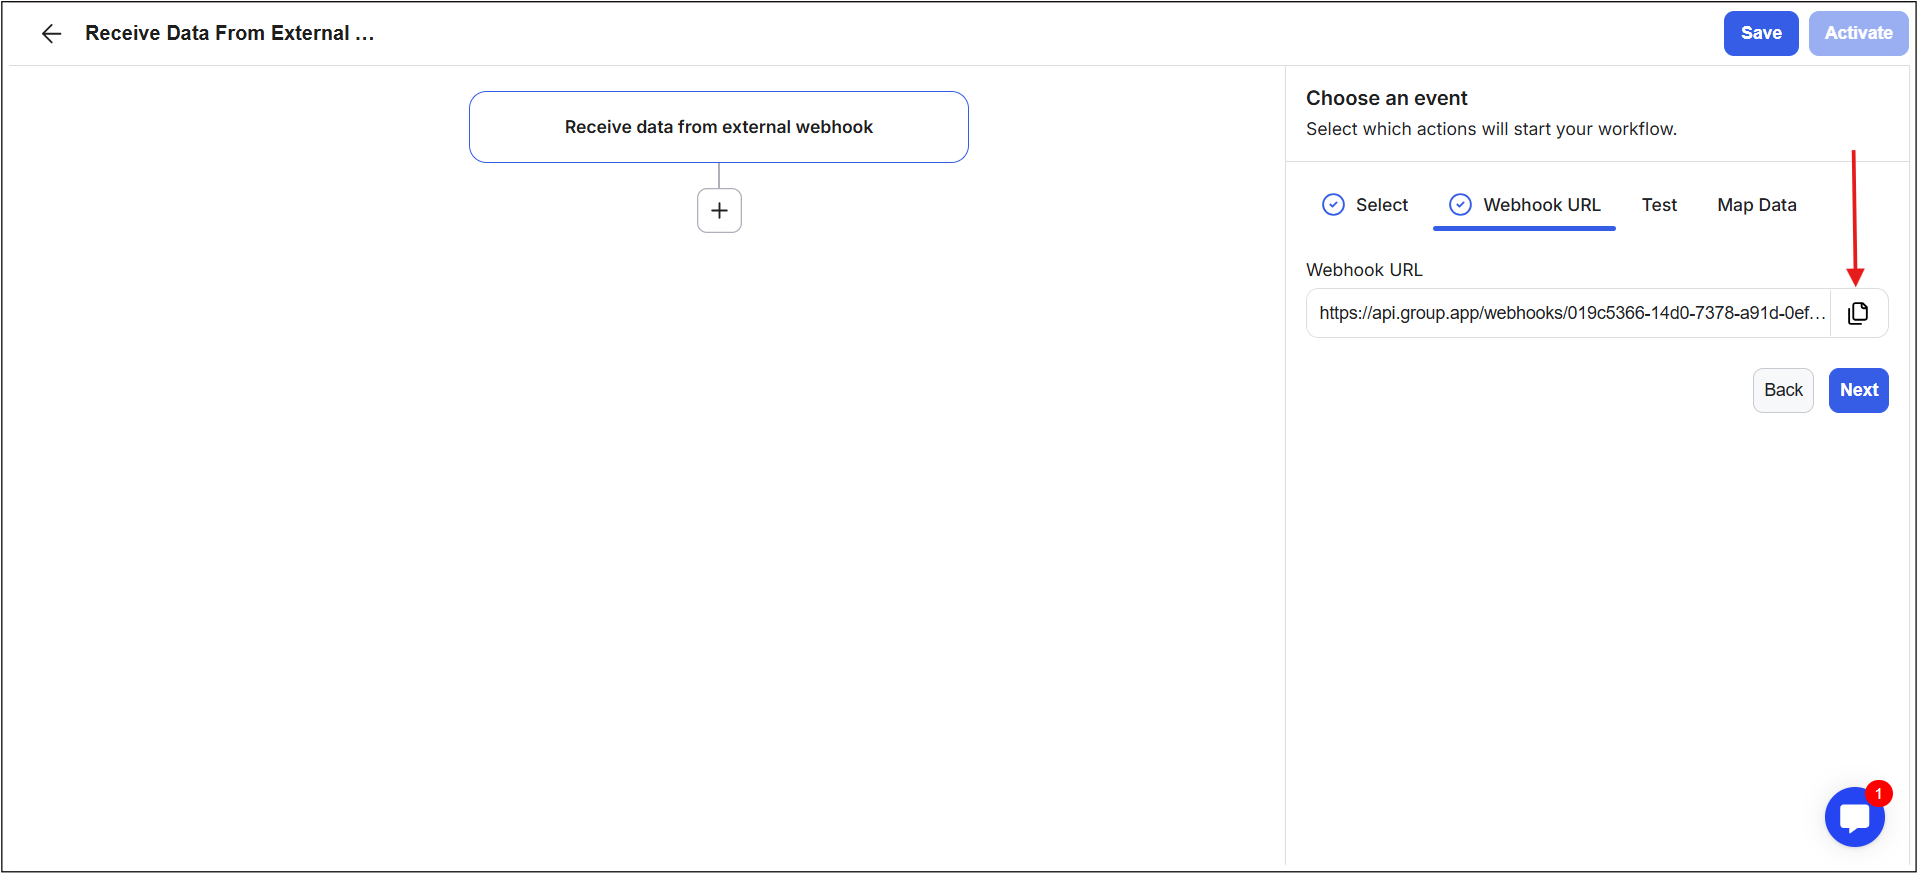
11) Click the Copy Icon next to the URL field to duplicate the webhook and paste this URL into your external application to create a path for sending data into GroupApp.
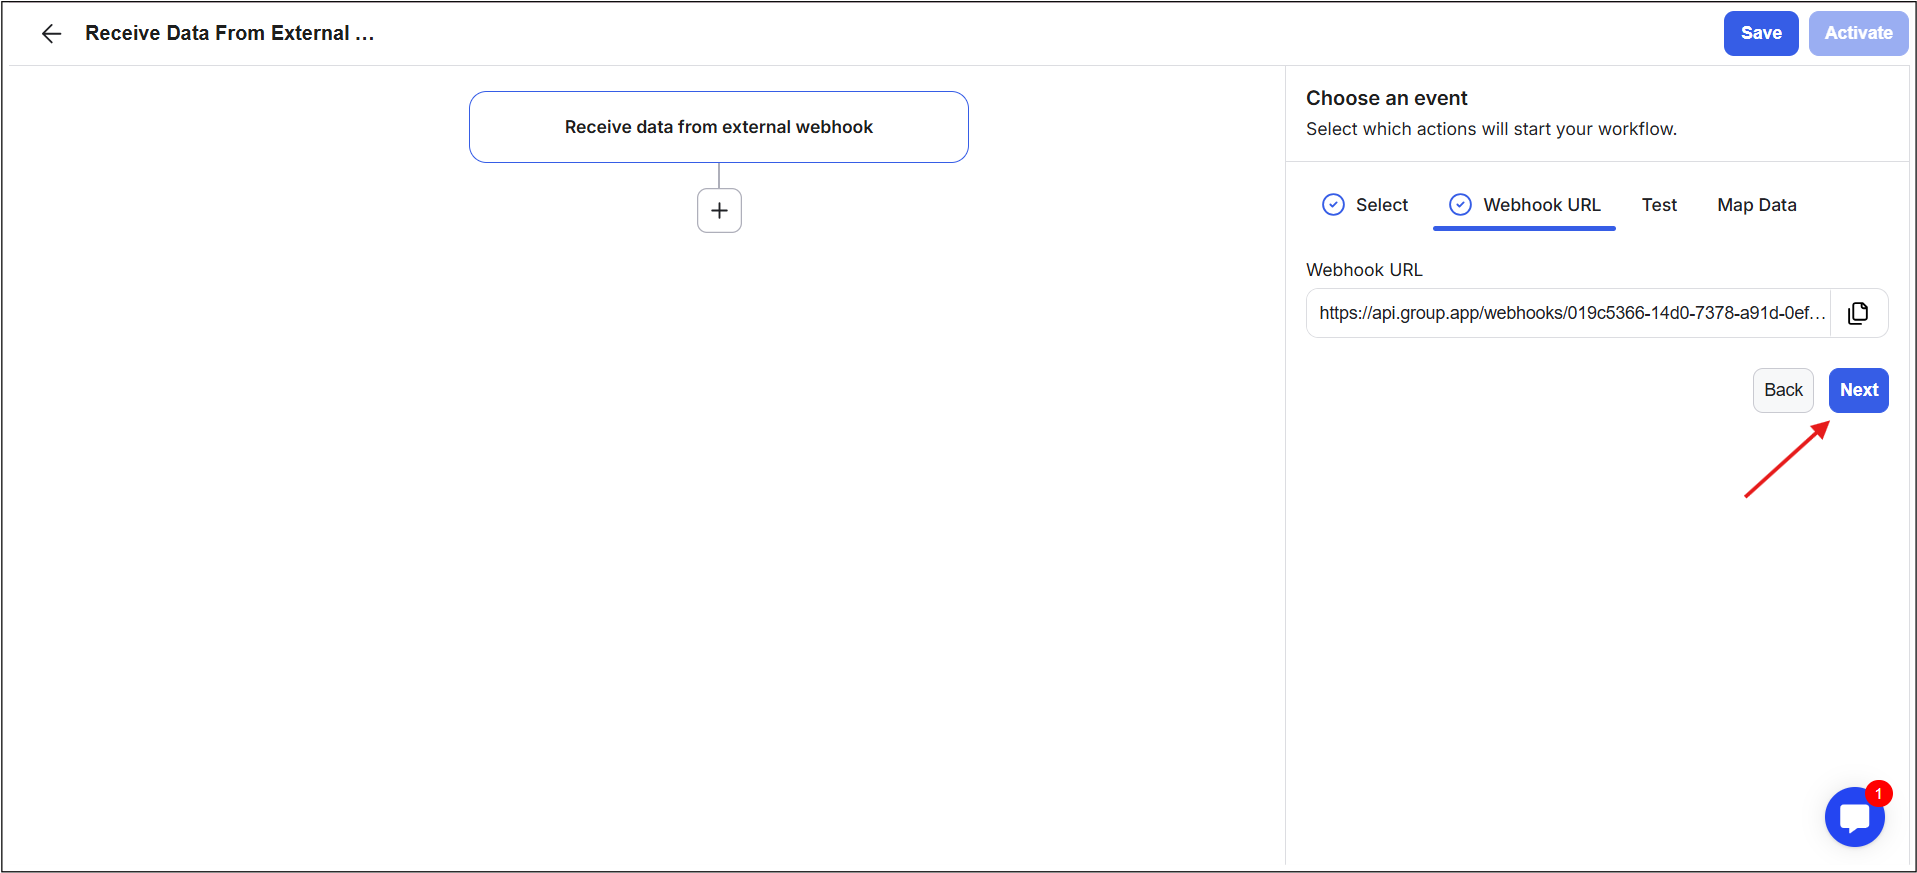
12) Once the webhook URL is added in your external system, click Next to move to the third stage.
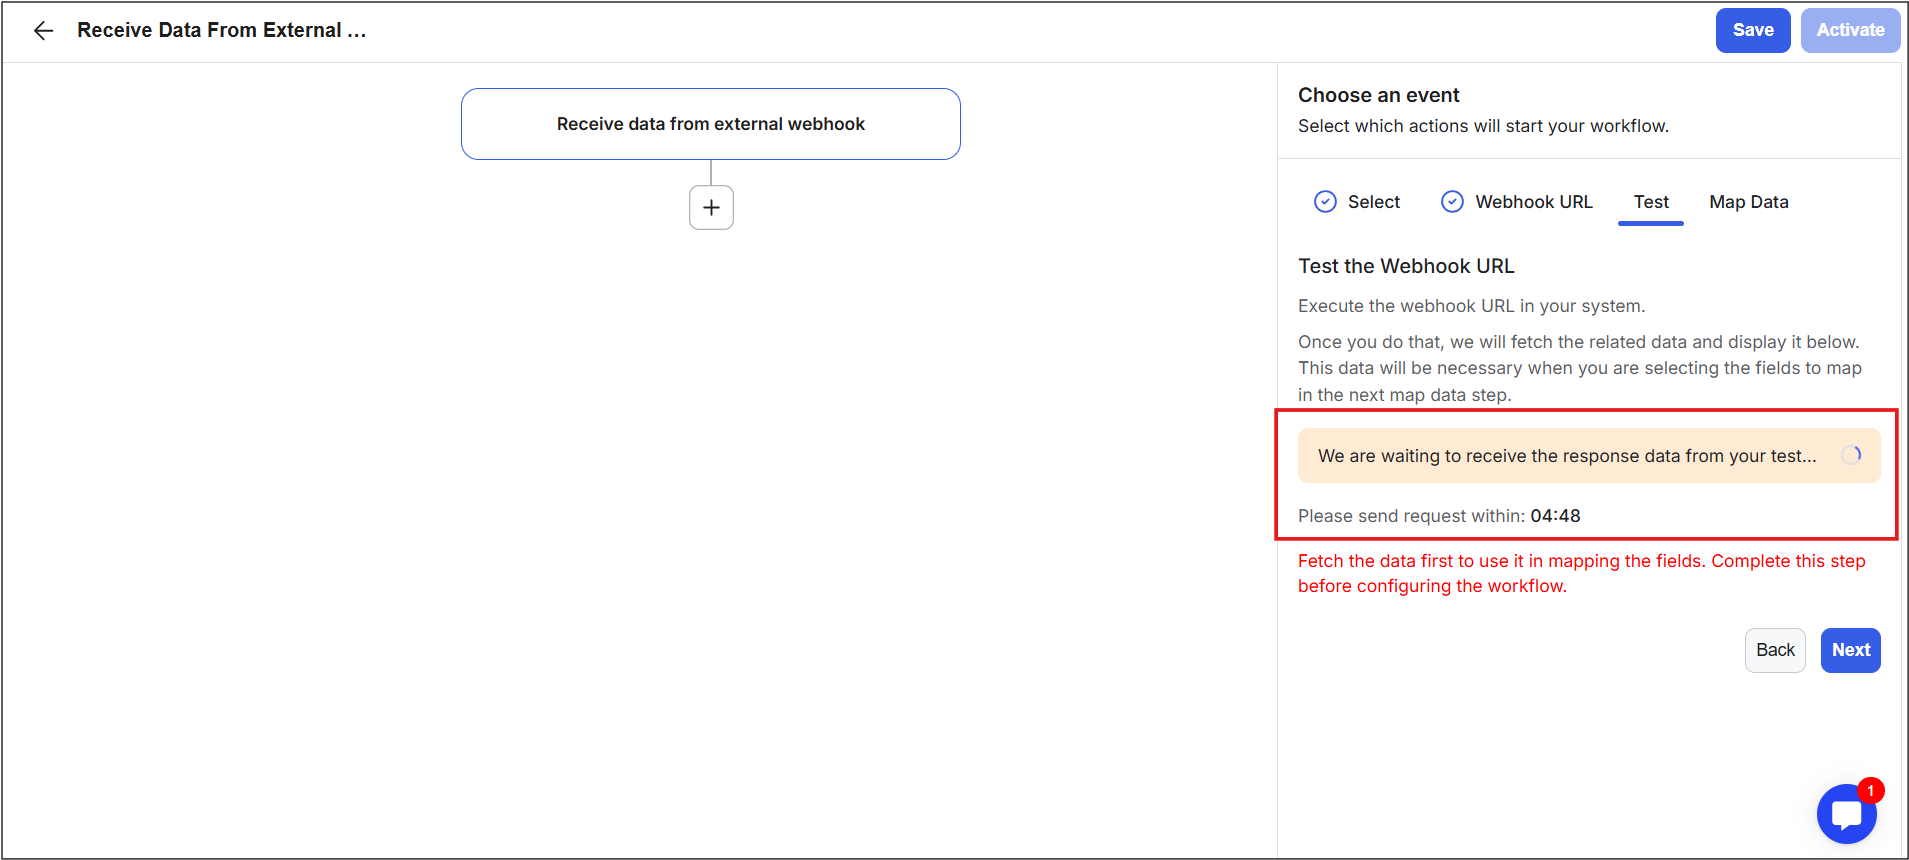
13) The third stage, Test Stage, is used to test your webhook before the workflow becomes active.
14) The right-side panel on the third stage will fetch the related data from your webhook and display it here. The fetched data will be used in the next step when you map the fields.
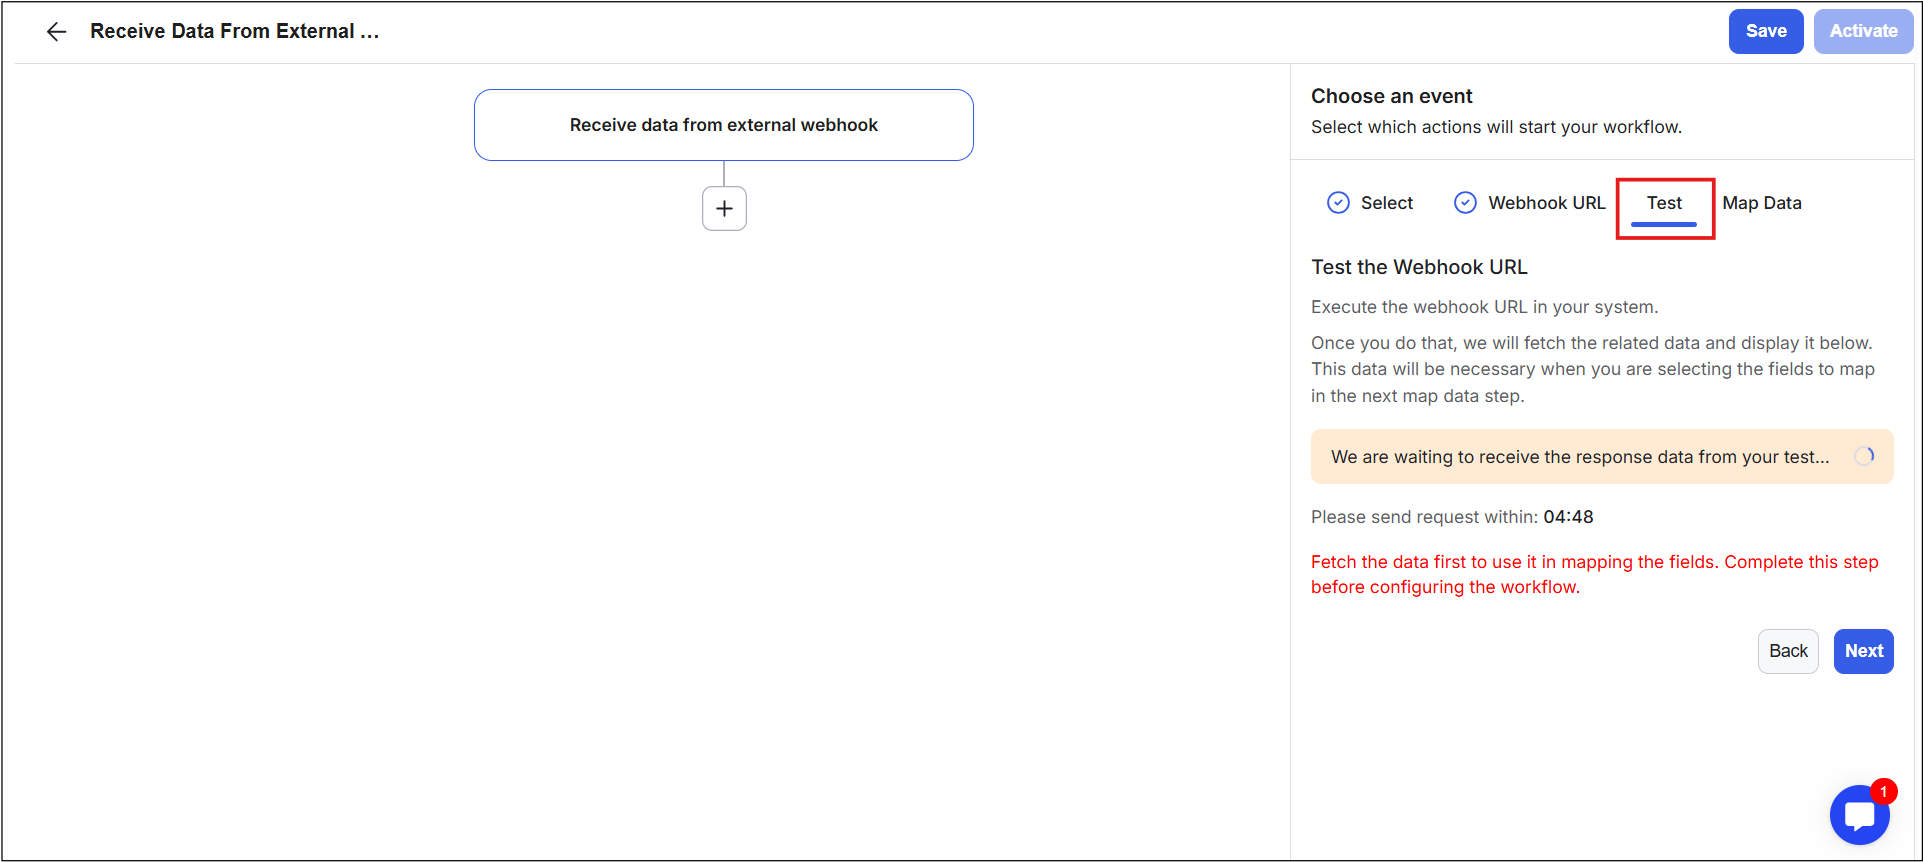
15) You will also see a 5-minute timer on this screen. The timer refreshes every 2 seconds to listen for and fetch incoming webhook data.
16) When the timer ends, a blue Re-listen Requests button appears, and clicking it allows GroupApp to fetch any incoming webhook data.
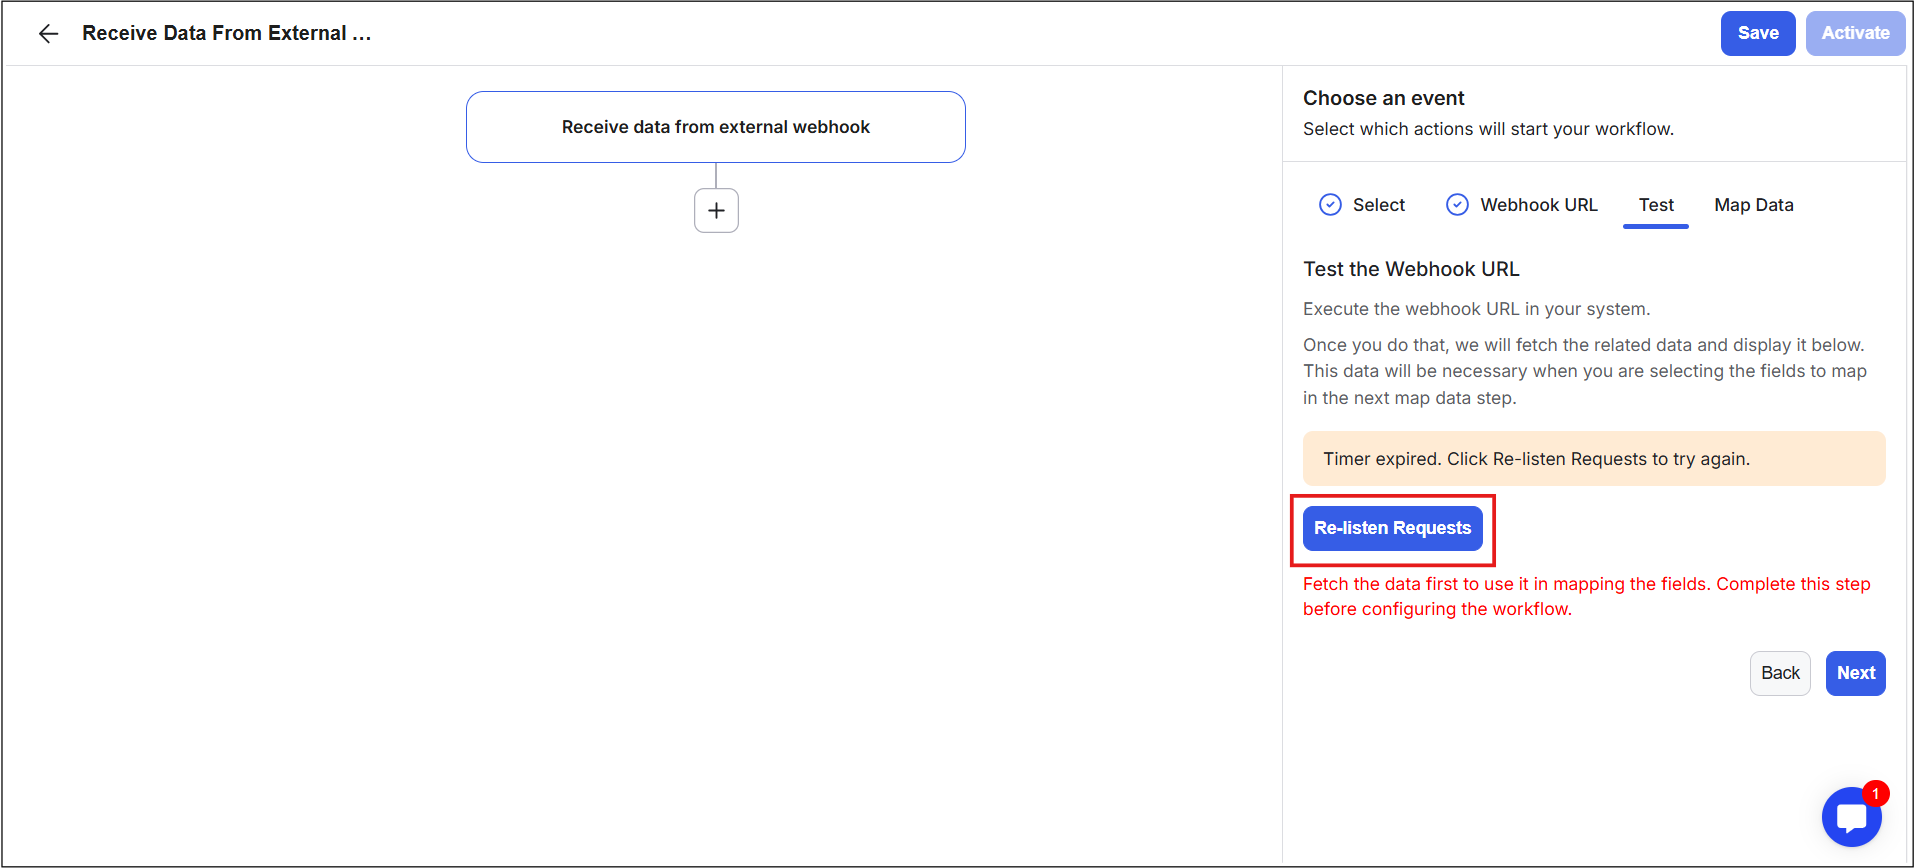
17) Go to the external application where you added the webhook and send information for testing, for example, by submitting a form.
18) Return to GroupApp and click Re-listen Requests if needed.
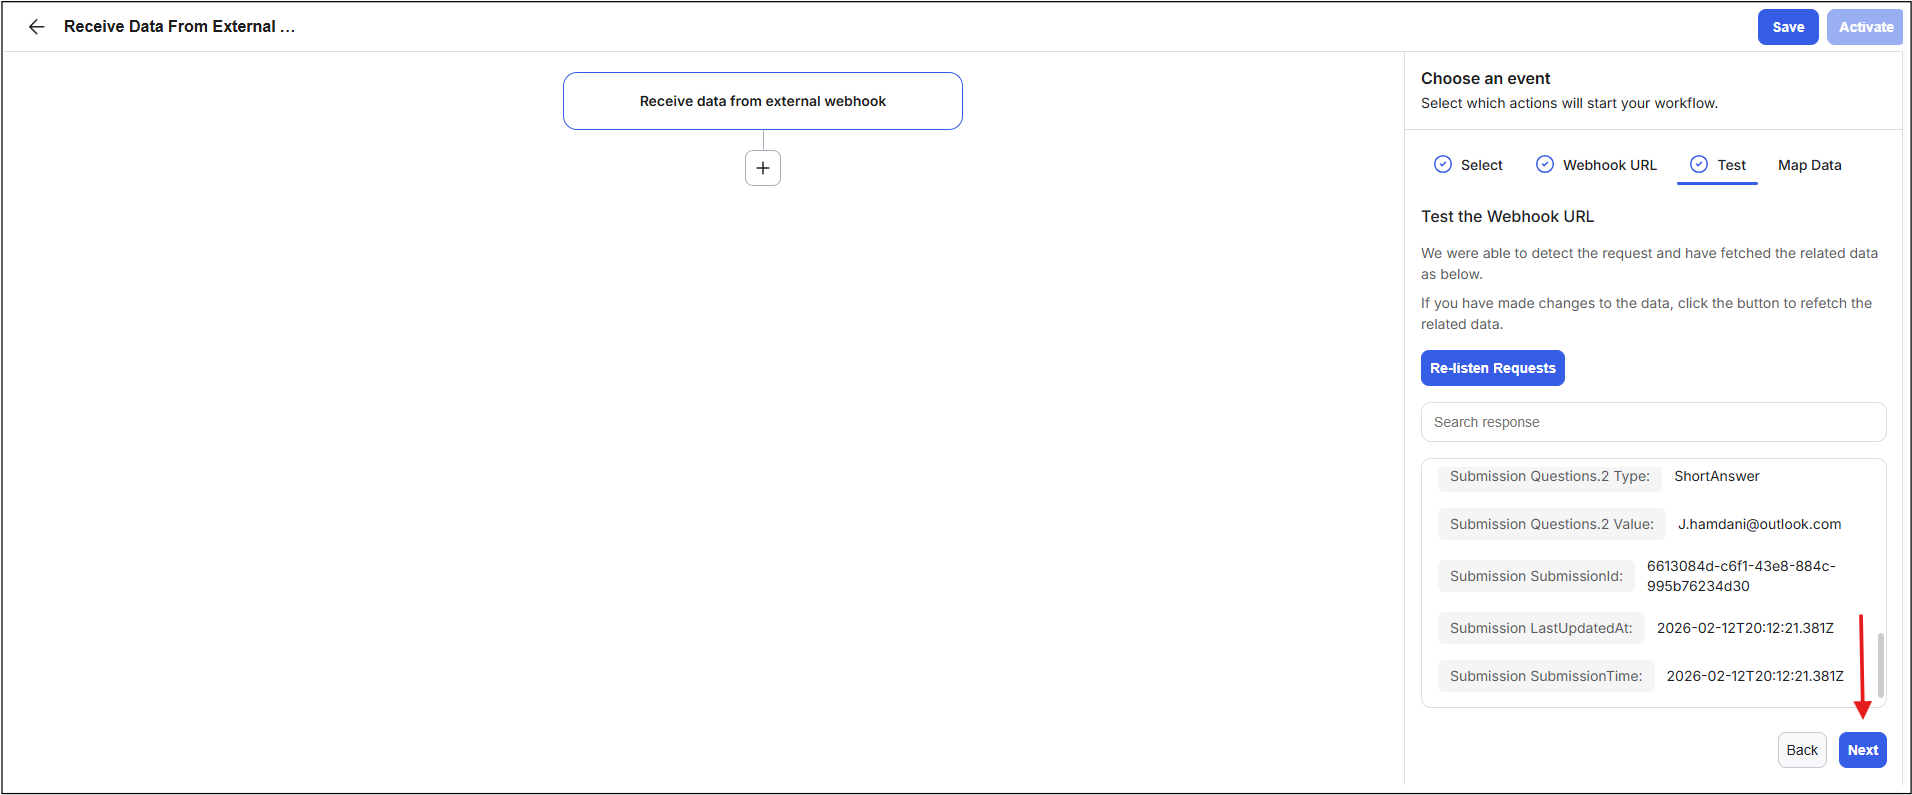
19) GroupApp will fetch the information and display all received data in the box below using the webhook.

20) Please note that the data structure varies by platform. Some platforms send complex tags such as form_id or submission_question_id, while simpler platforms send clean field names like email, full_name, or address. Developers can also customize the data using tools like Postman.
21) Click Next to go to the fourth Stage.
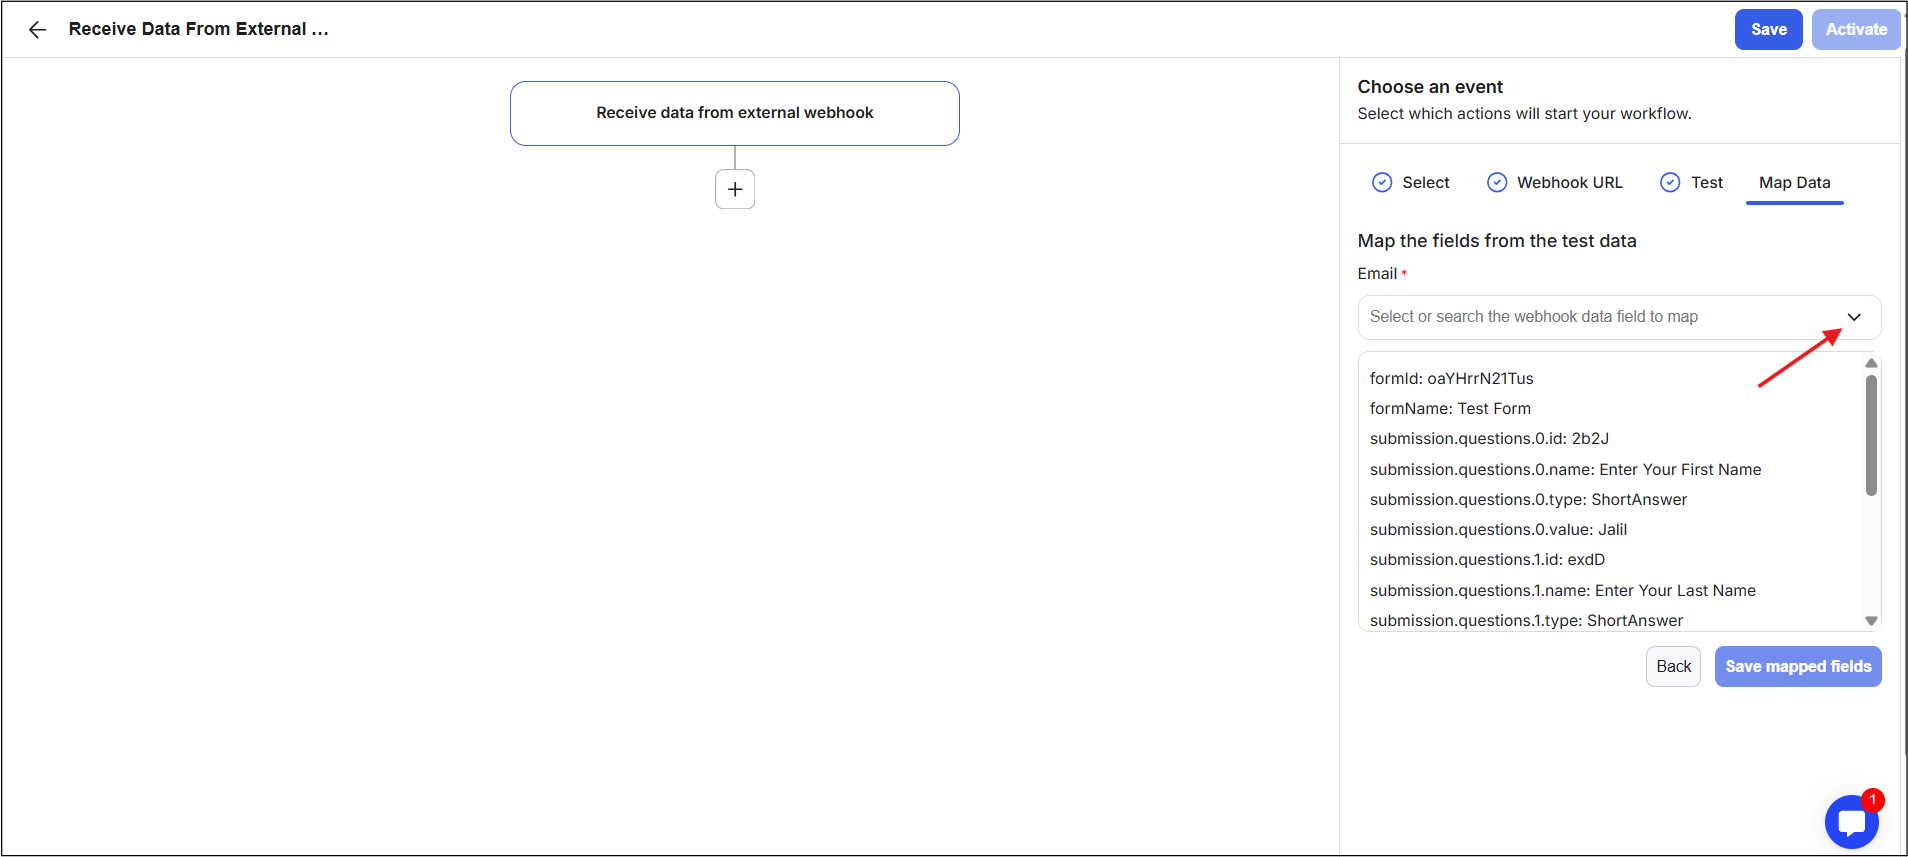
22) The final and fourth stage is the Map Data stage, where you will map the incoming data fields to GroupApp fields. Mapping means matching the data coming from your external app (like email or name fields) to the correct fields inside GroupApp, so the system knows where each piece of information should go. You will see fields: Email, Full Name, First Name, and Last Name.
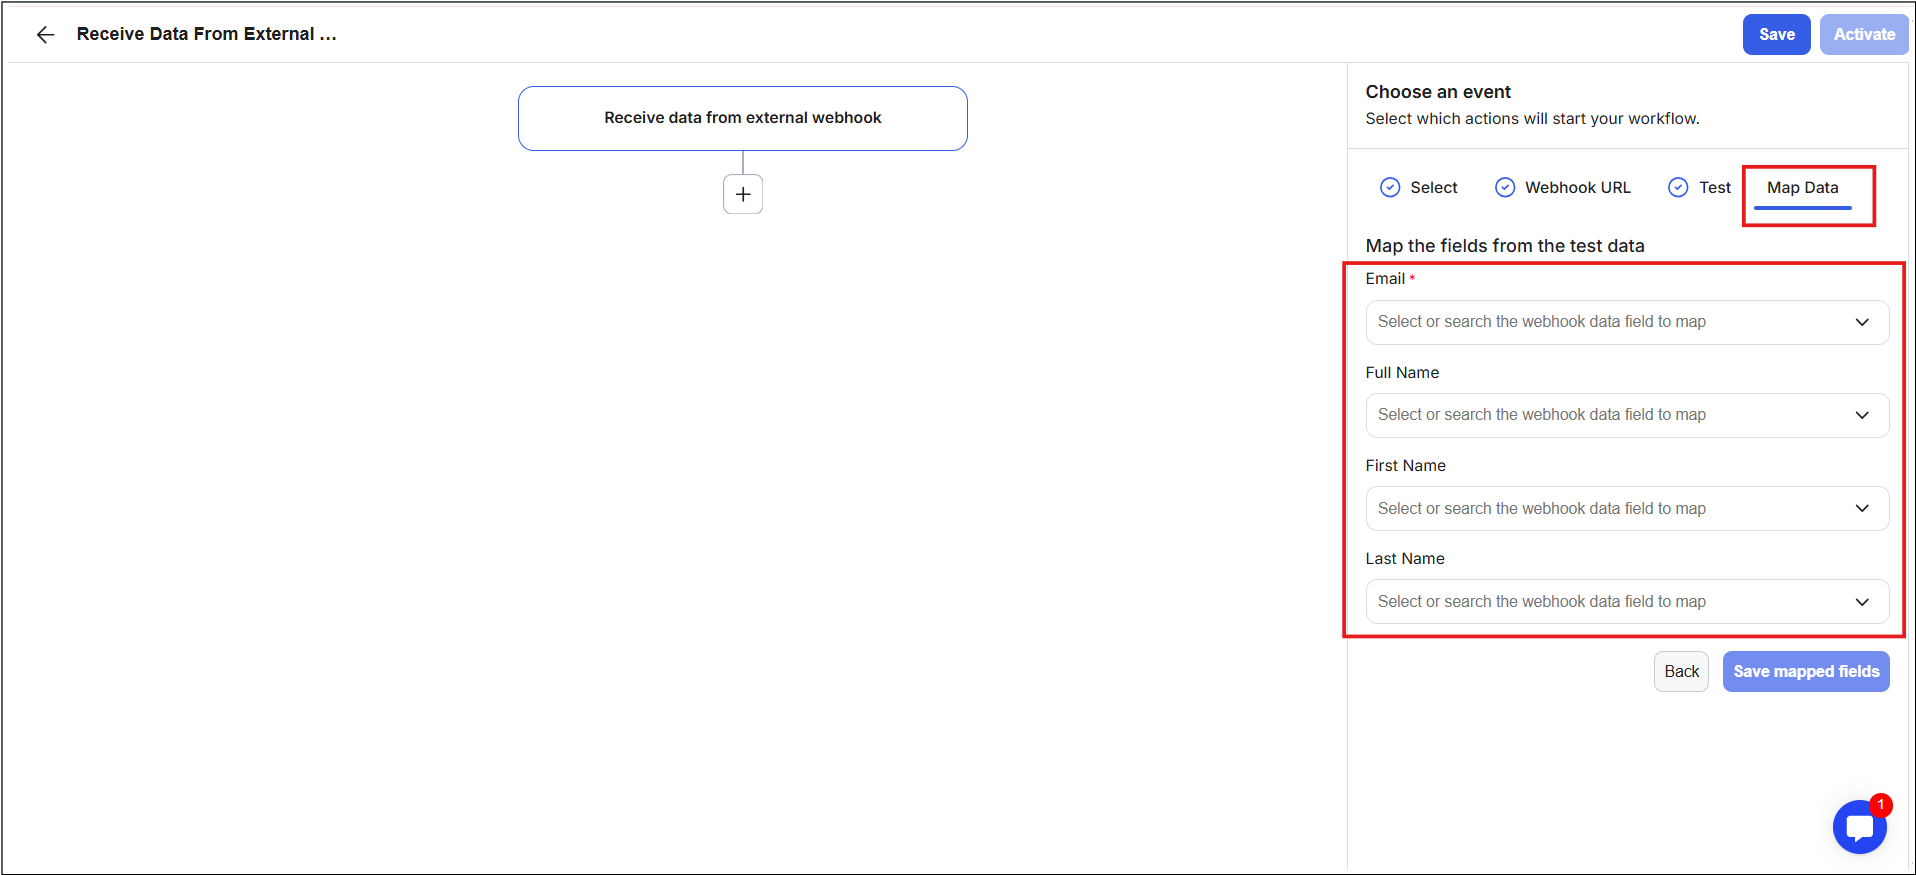
23) Please note that the Email field is mandatory because it is the unique identifier GroupApp uses to recognize, create, or update a member inside the community. Without an email, the system cannot reliably link the incoming data to a specific user.
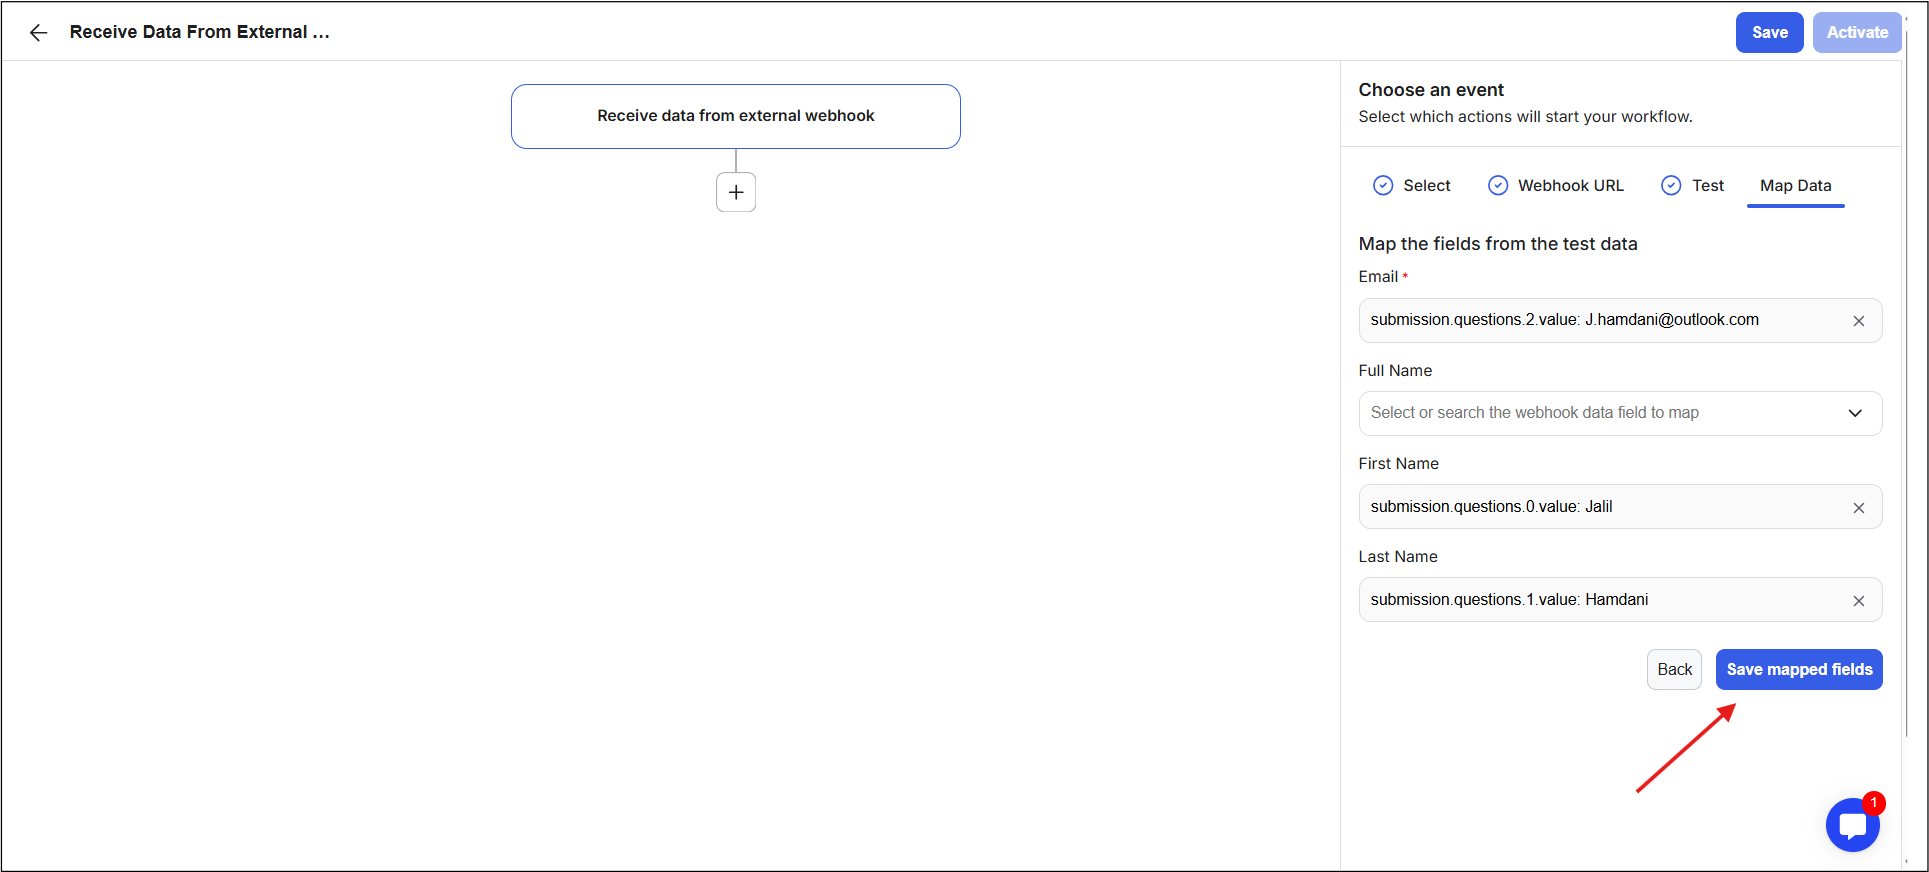
24) Click the drop-down for each field and select the matching value from the fetched webhook data.
25) After mapping all required fields, click Save Mapped Fields. Your webhook receiving setup is now complete, and you are ready to build the remaining workflow actions.
26) Once your workflow is fully built, click Save and Activate to make it live.
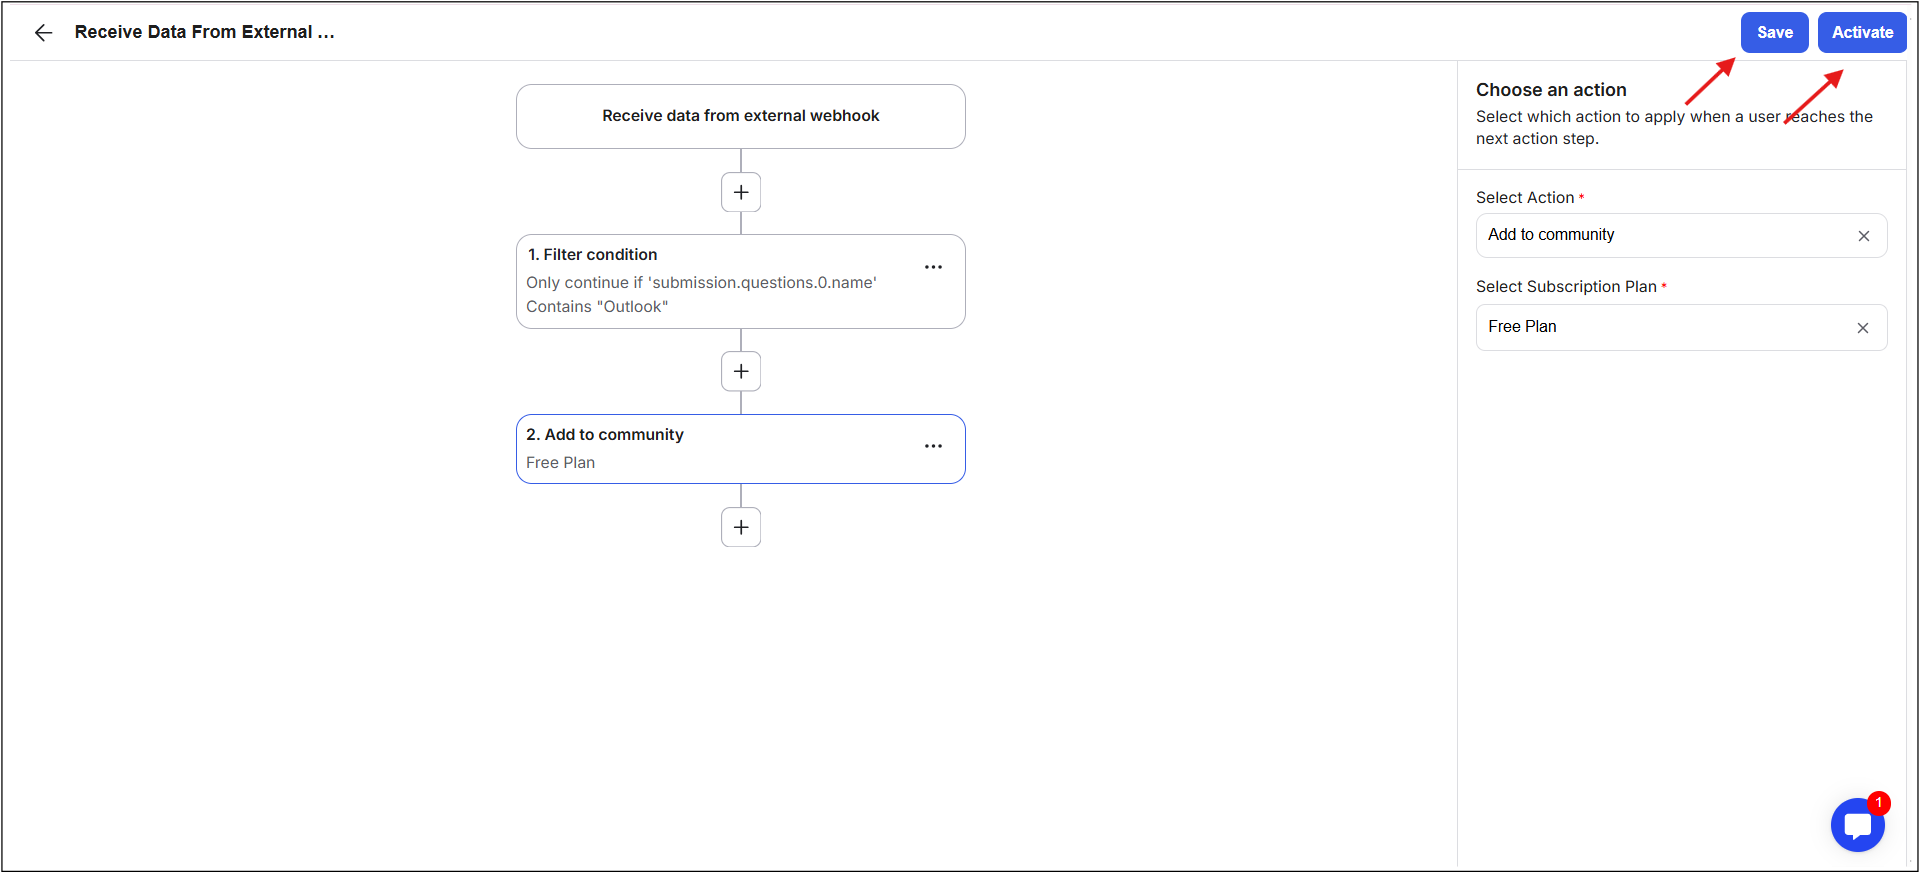
1 - Always add filter conditions as the first step after the webhook trigger to prevent the workflow from running on every data change. For example, only continue if the email contains “Outlook”. This protects against unwanted triggers.
2 - Ensure the member exists in the community if the actions following the trigger require the user to be in a community. Here’s the recommended order: first, add the member to the community, then perform any additional actions.
Example of Actions After Webhook
Add a member to the community
Add to channels or segments
Enroll in courses (this bypasses payment requirements because it is manual enrollment)
Direct emails or messages cannot be sent to non-members.
Incoming webhooks are useful any time you want an external system to automatically trigger actions inside your GroupApp community. Here are some practical examples:
1) Send data from your marketing automation tools into GroupApp
Automatically add or update members when someone fills out a form, joins a list, or completes a campaign in tools like email marketing platforms or CRMs.
2) Collect payments outside GroupApp and add members using workflows
If you process payments on another platform, you can still grant access to your community or courses by sending the purchase data into GroupApp through a webhook.
3) Bypass third-party automation tools
Instead of relying on tools like Zapier, you can create direct webhook integrations between your external systems and GroupApp for faster and more reliable automation.
4) Trigger actions after external product purchases
Use external checkout tools such as ThriveCart or other payment systems to trigger actions in GroupApp, like adding a member, enrolling them in a course, or assigning them to a segment immediately after purchase.
5) Remove members or cancel subscription access automatically
When a cancellation or refund happens in another system, you can send that data into GroupApp to remove members, update their access level, or stop subscription-based workflows automatically.
These use cases help automate onboarding, access control, and member management without manual work, while keeping GroupApp in sync with the rest of your tool stack.
