Headers and footers are essential elements, serving both functional and aesthetic purposes.
You can use headers and footers to create a membership website for your community.
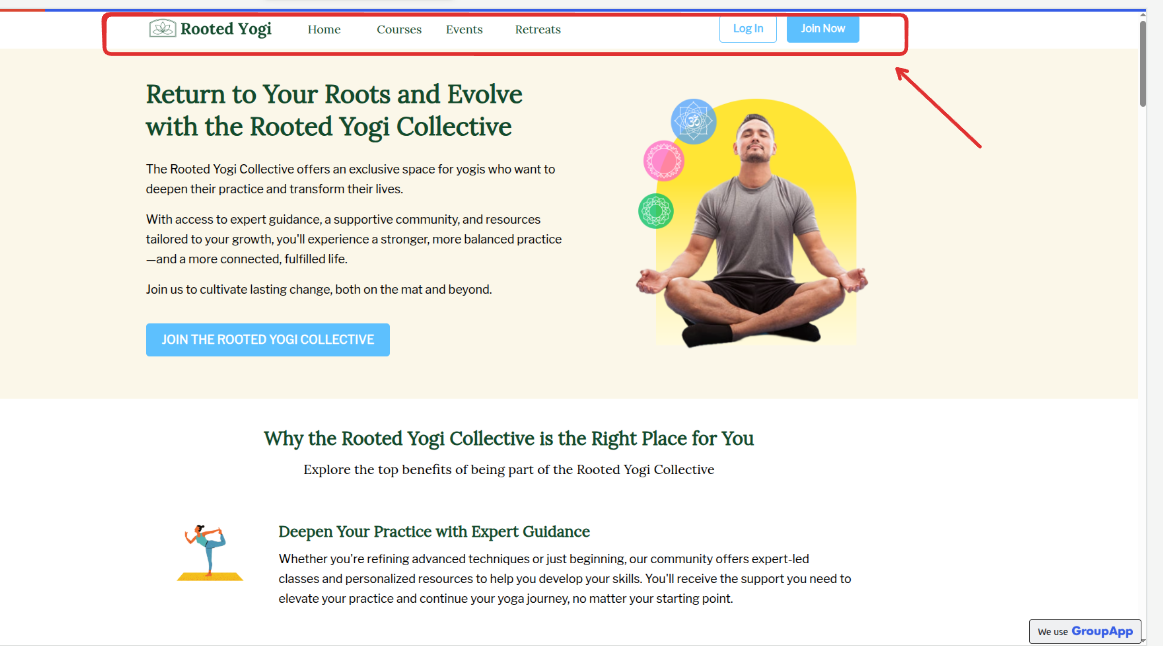
Navigation Menu: Helps users easily access key sections (Home, About, Courses, Events).
Logo & Branding: Displays the company/community logo and reinforces brand identity.
Call-to-Action (CTA) Buttons: "Sign Up," "Login," or "Join Now" (useful for membership sites).
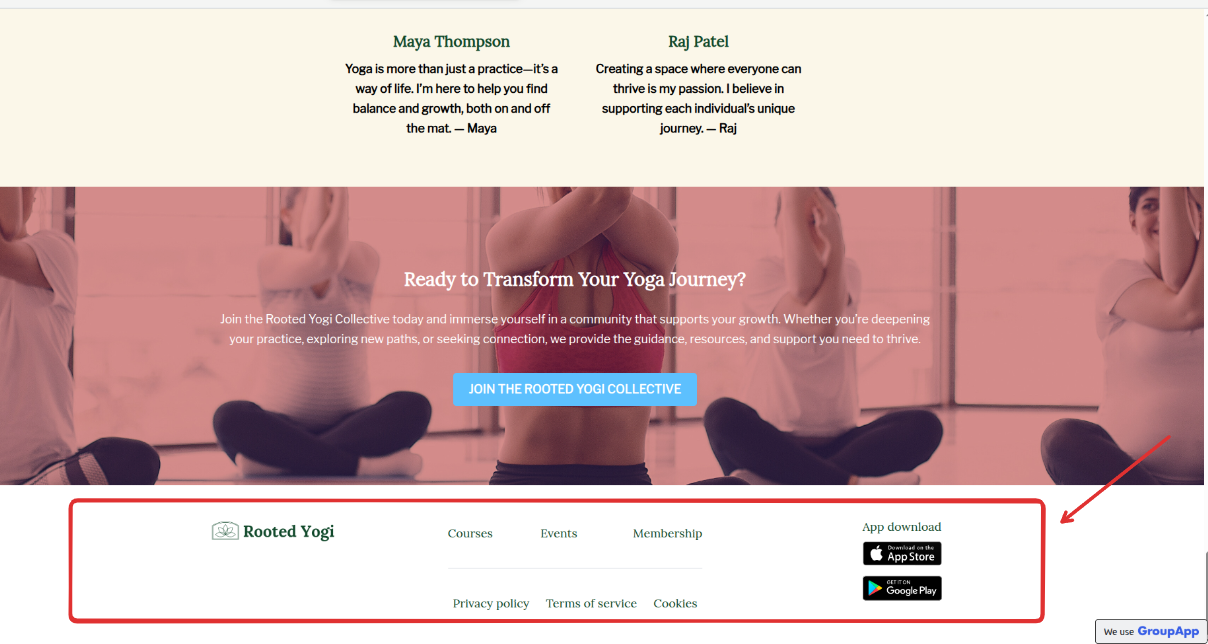
Copyright & Legal Info: Links to Privacy Policy, Terms of Service
Social Media Links: Icons linking to social profiles.
Mobile App Download Links: Encourages visitors to download the app.
This guide demonstrates how to:
Customize the navigation elements of your landing pages by setting up a header and footer menu.
Set up a consistent header and footer, then reuse the same for multiple different landing pages.
Duplicate, delete, or rename a header and footer created, and access the created header and footer from the landing page dashboard when you click the Menus tab.
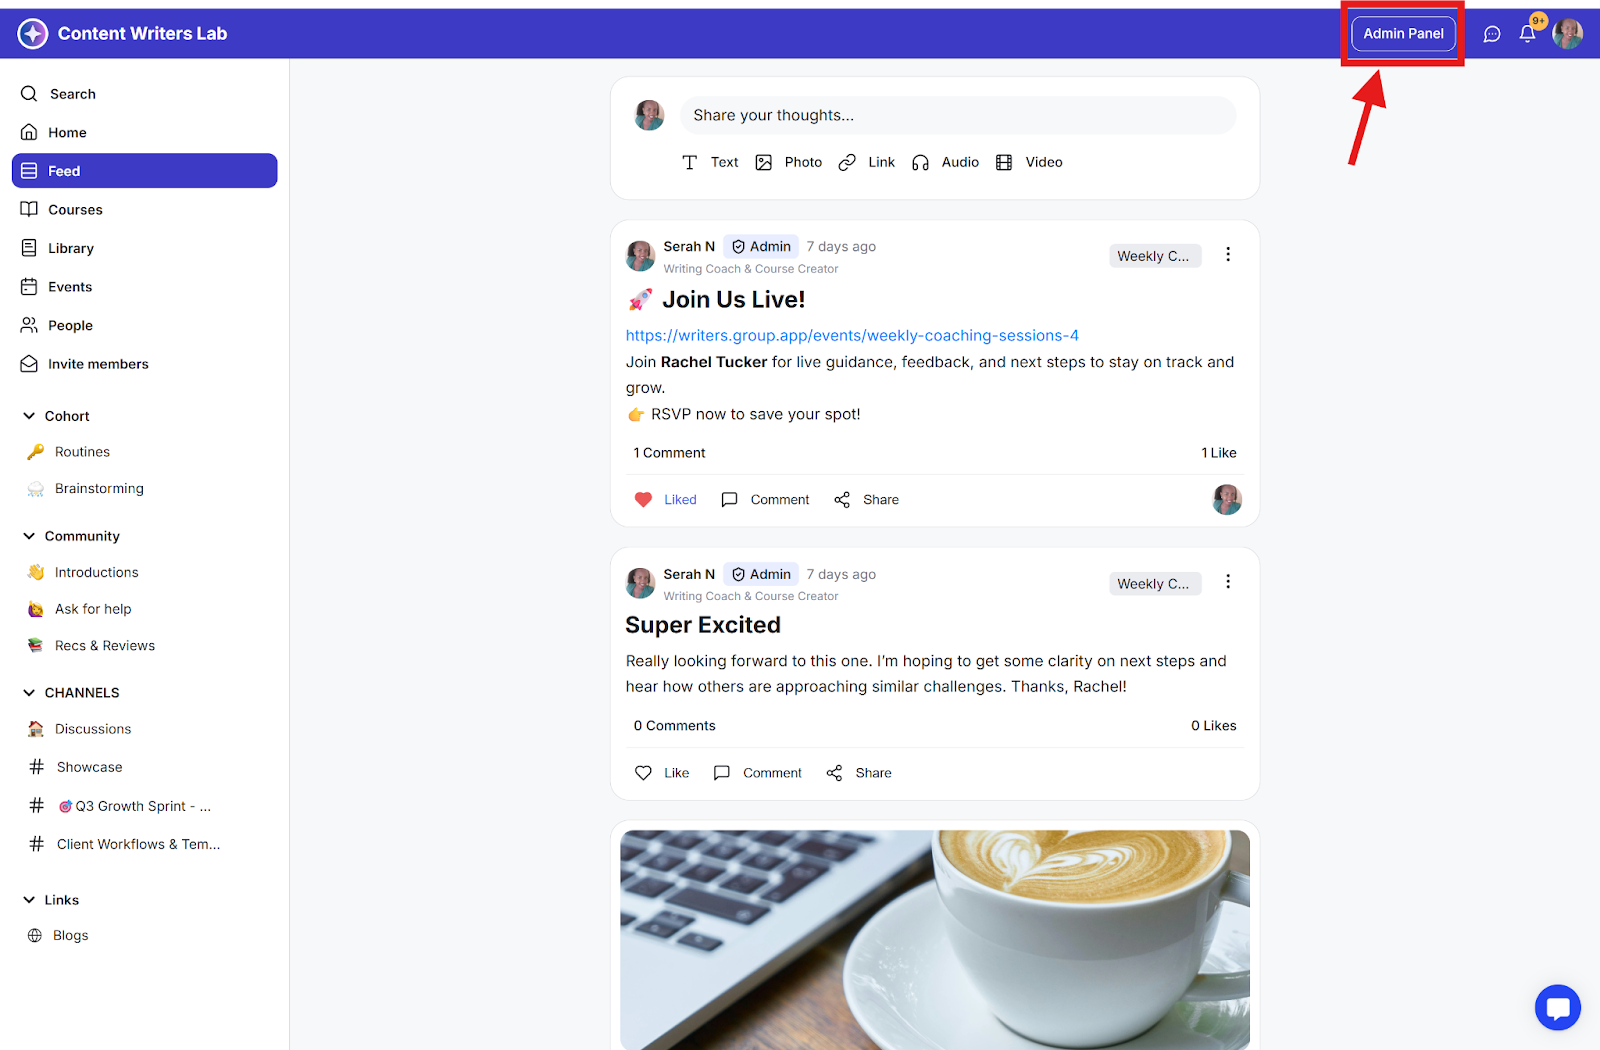
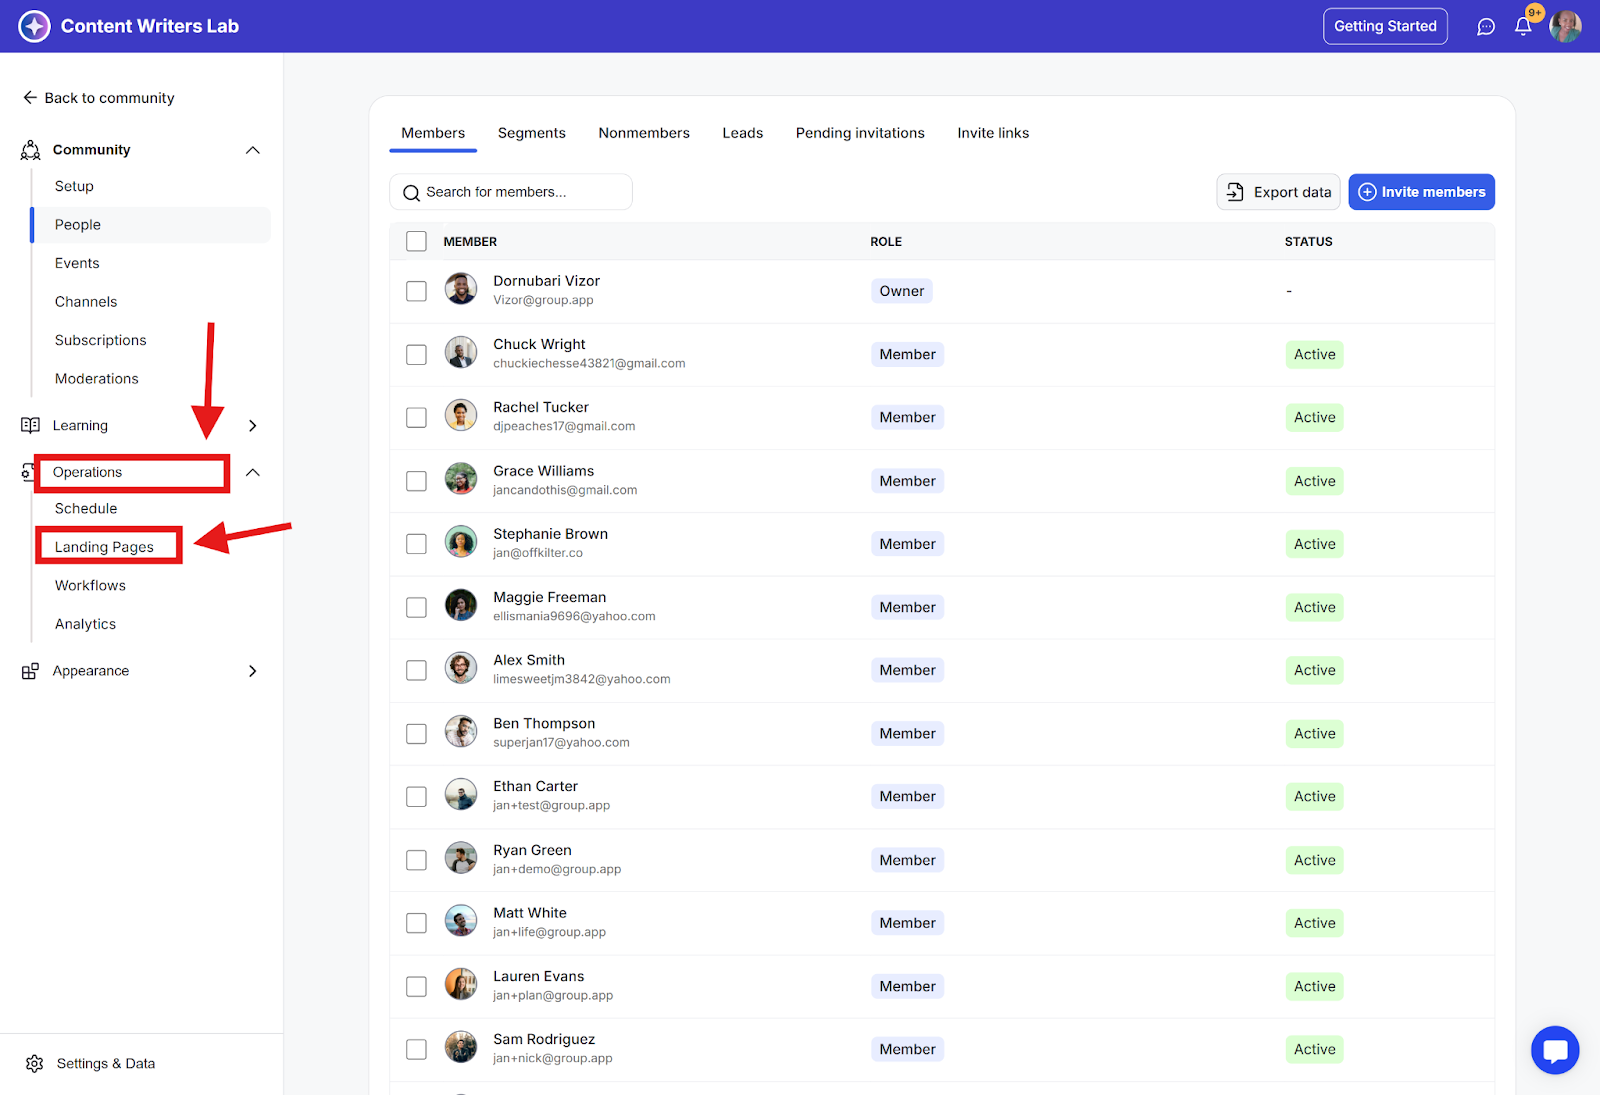
Step 1: Click on the Admin Panel button to navigate to the admin section.
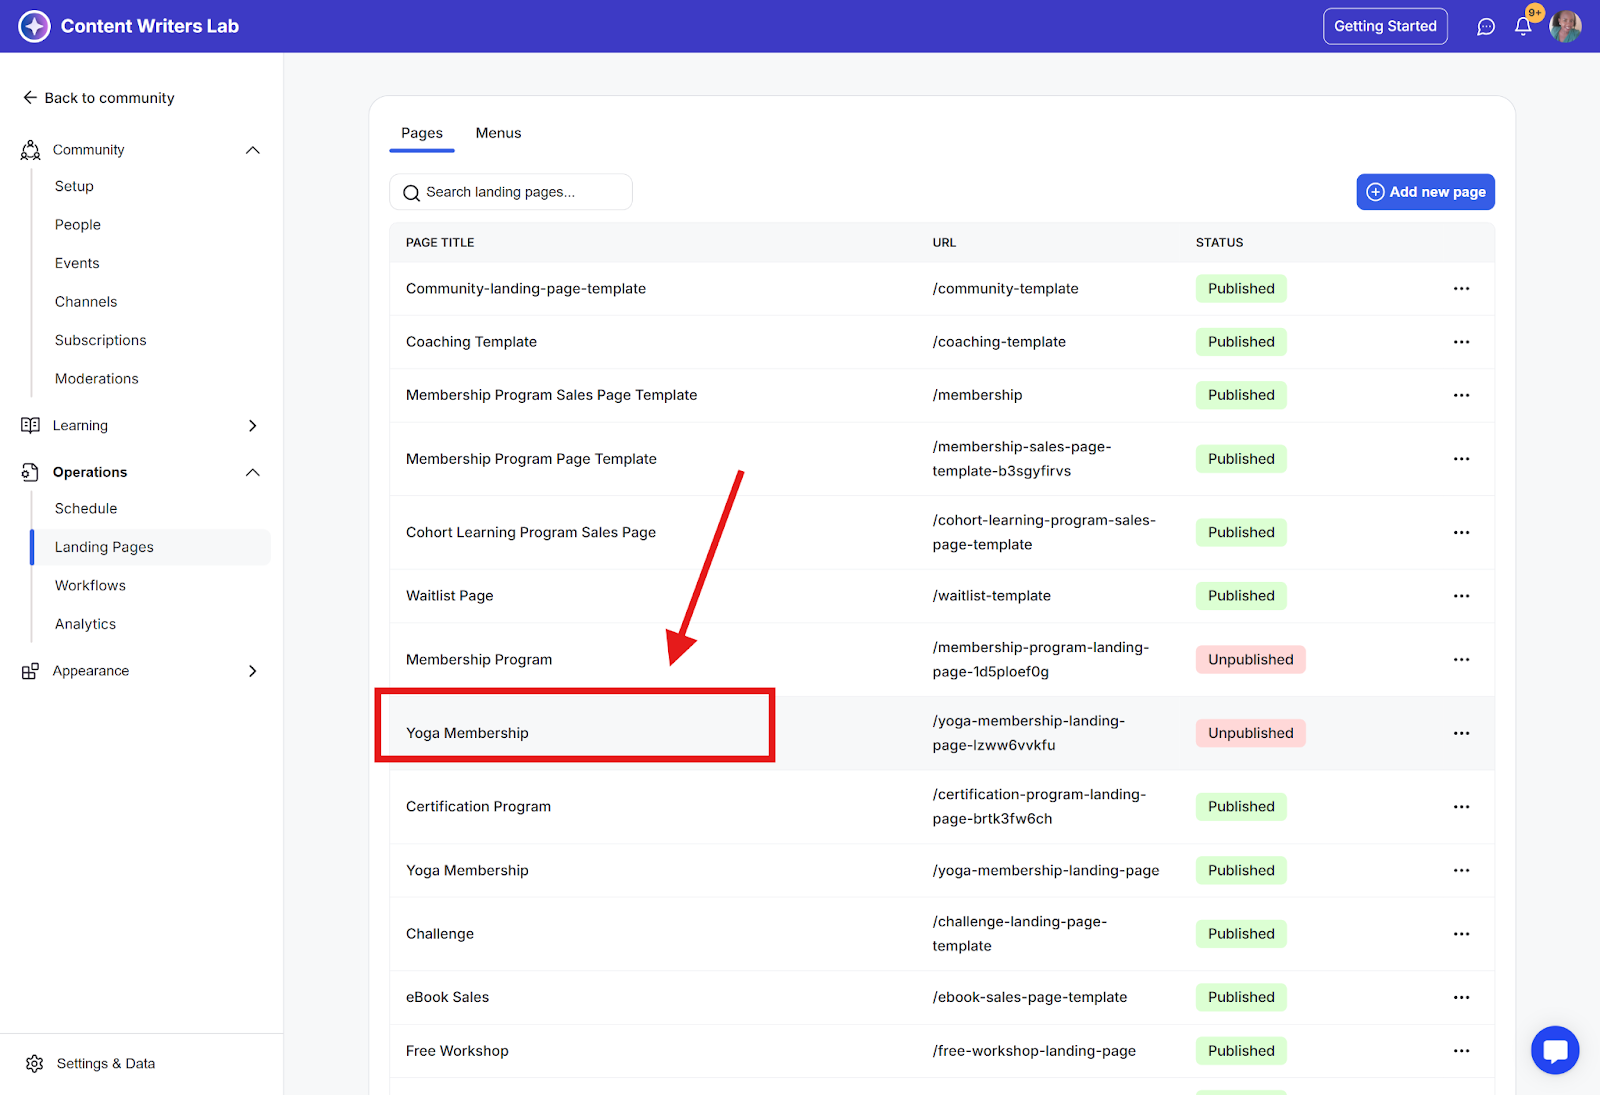
Step 2: Click on Operations in the side menu and select Landing Pages.

Step 3: On the dashboard, click on the page name to open the page you want to edit or create a new page.
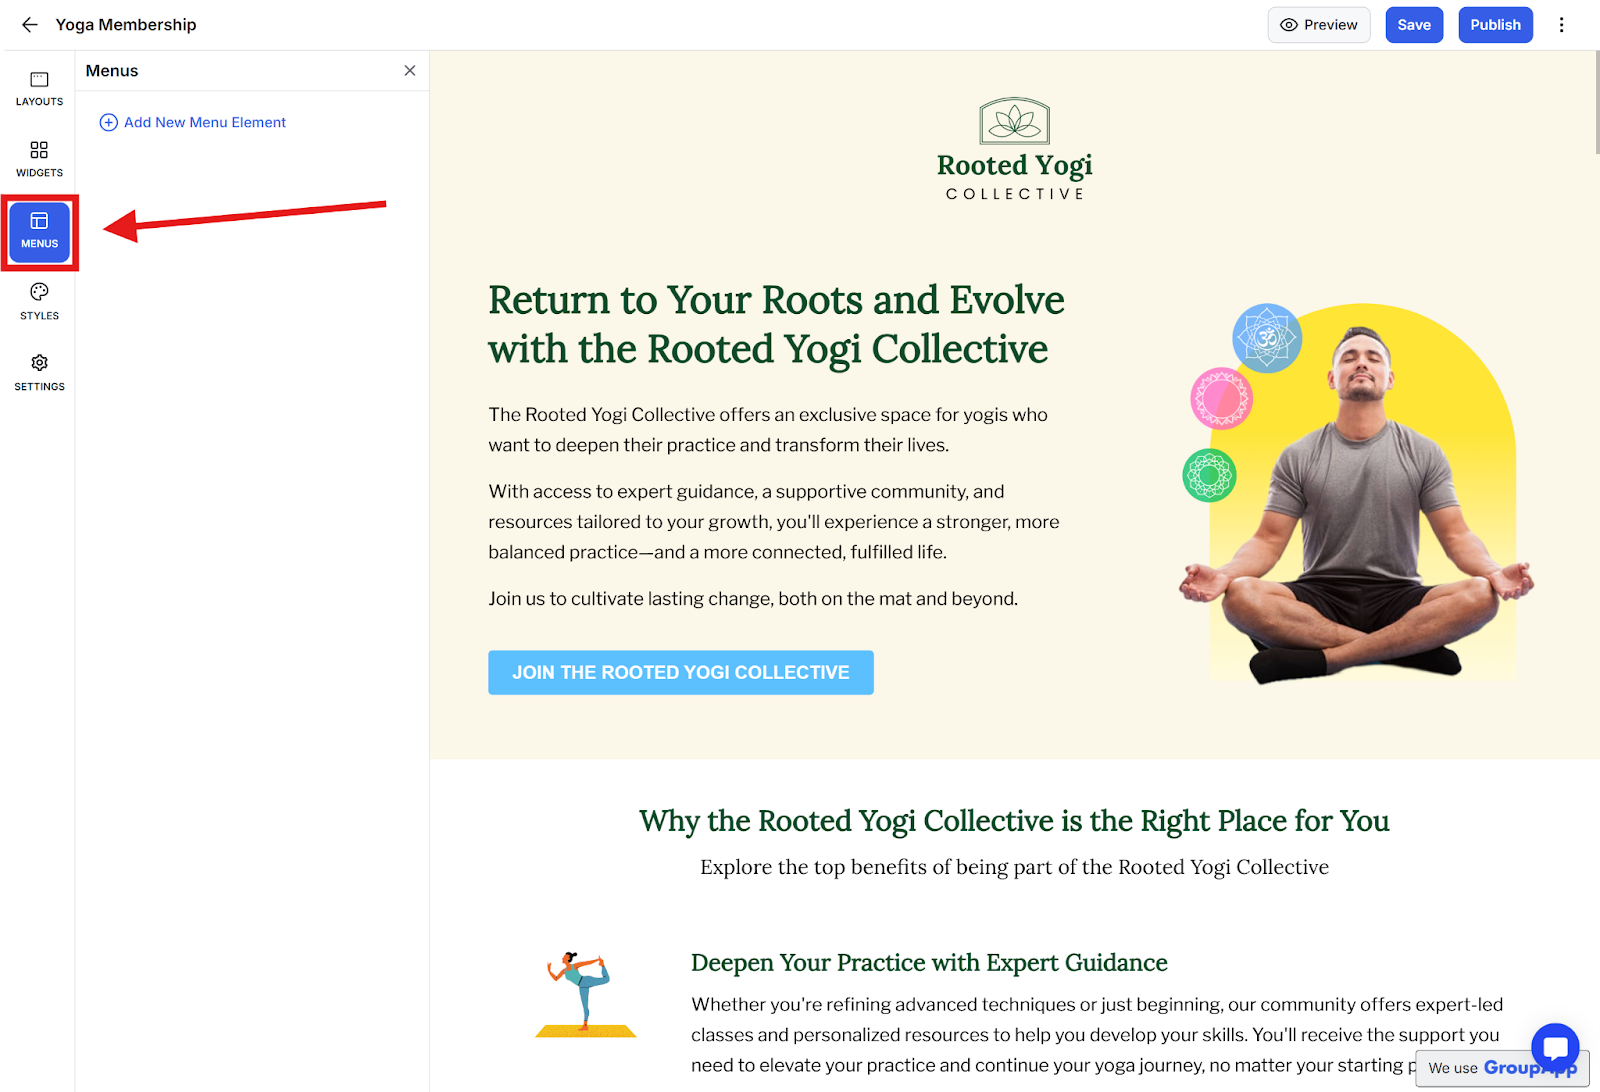
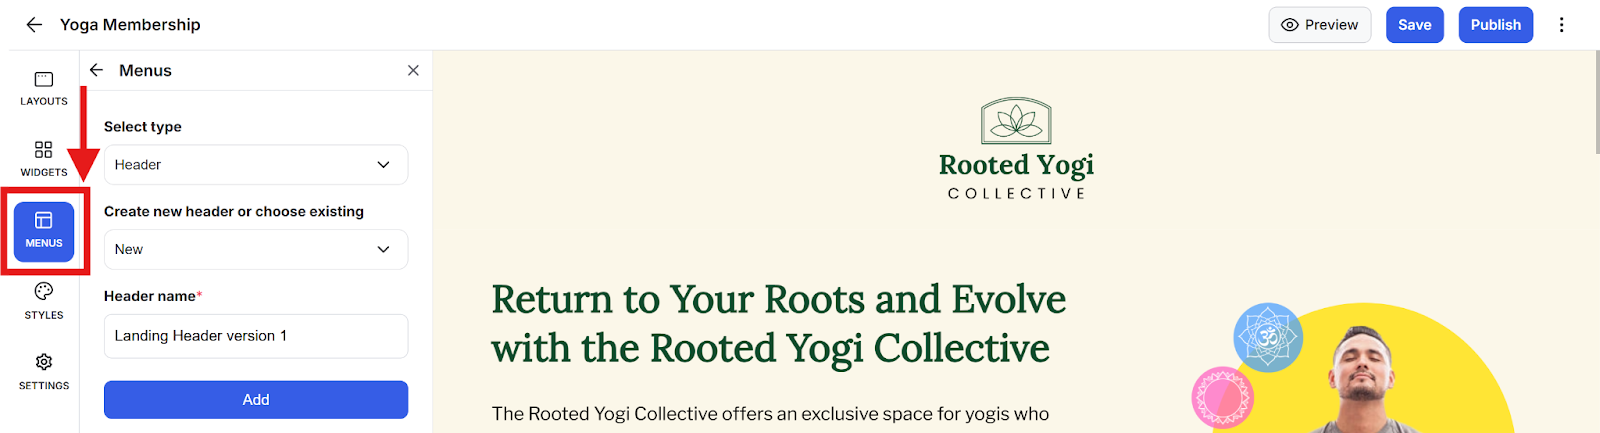
Step 4: Click on the Menus tab.
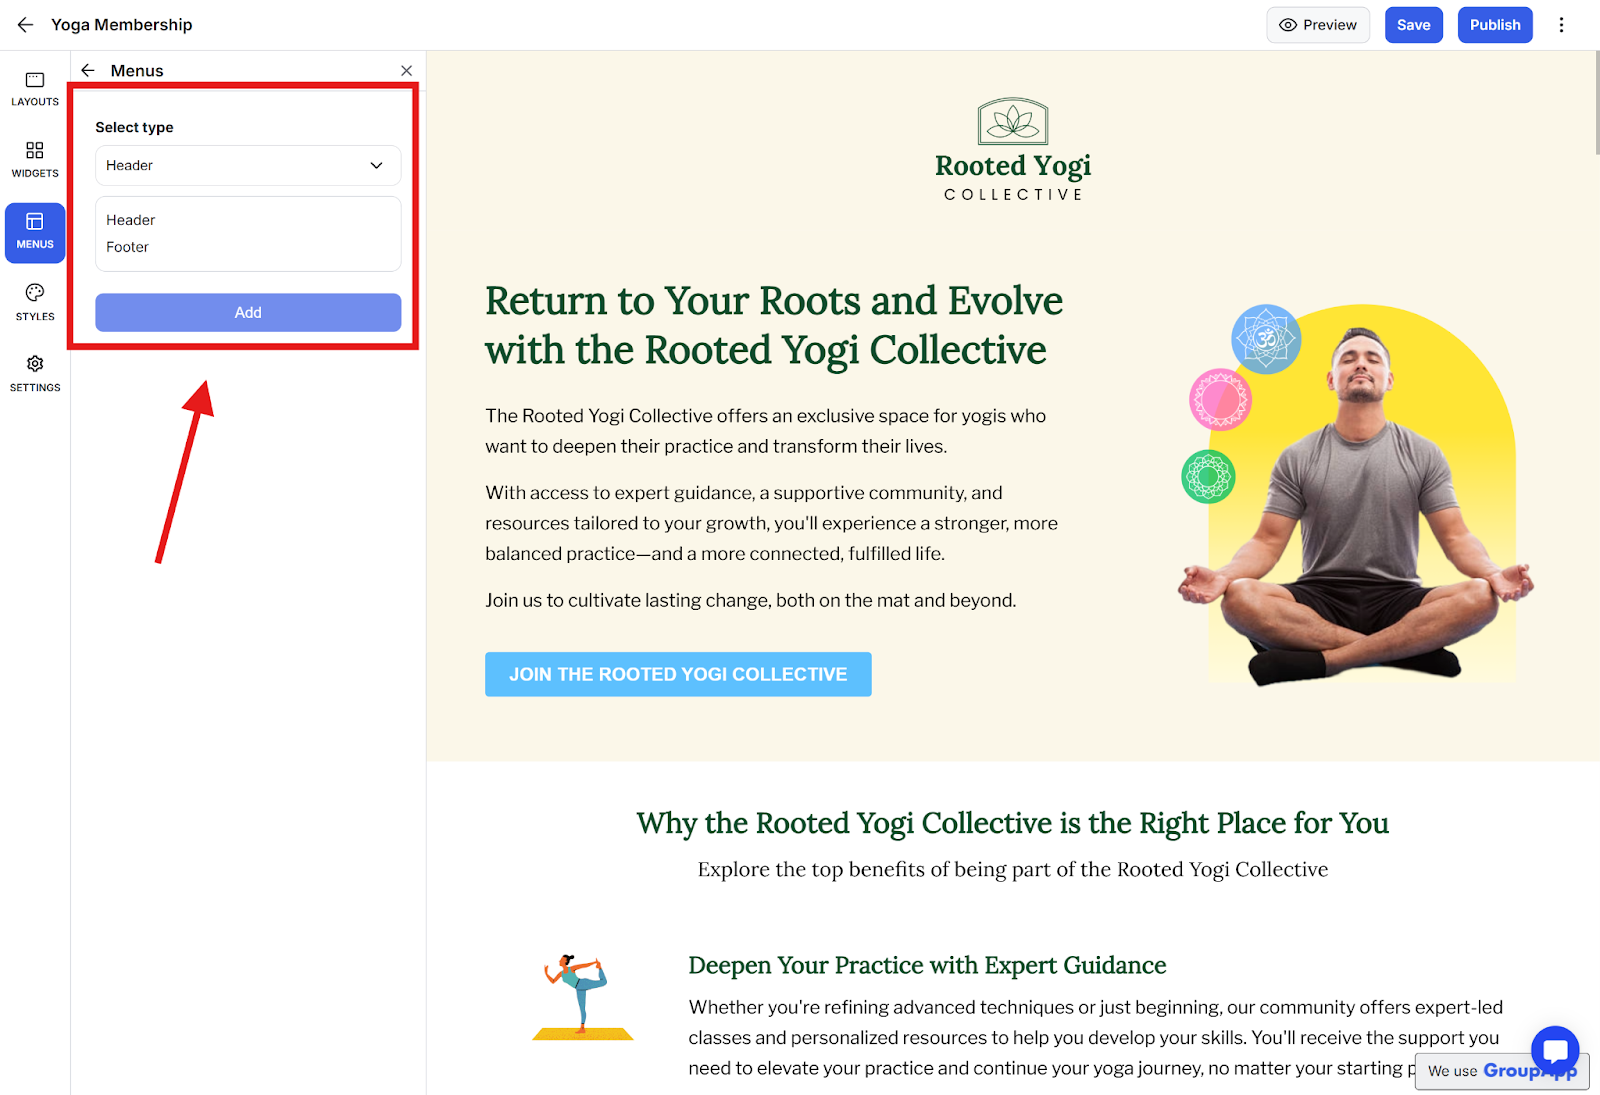
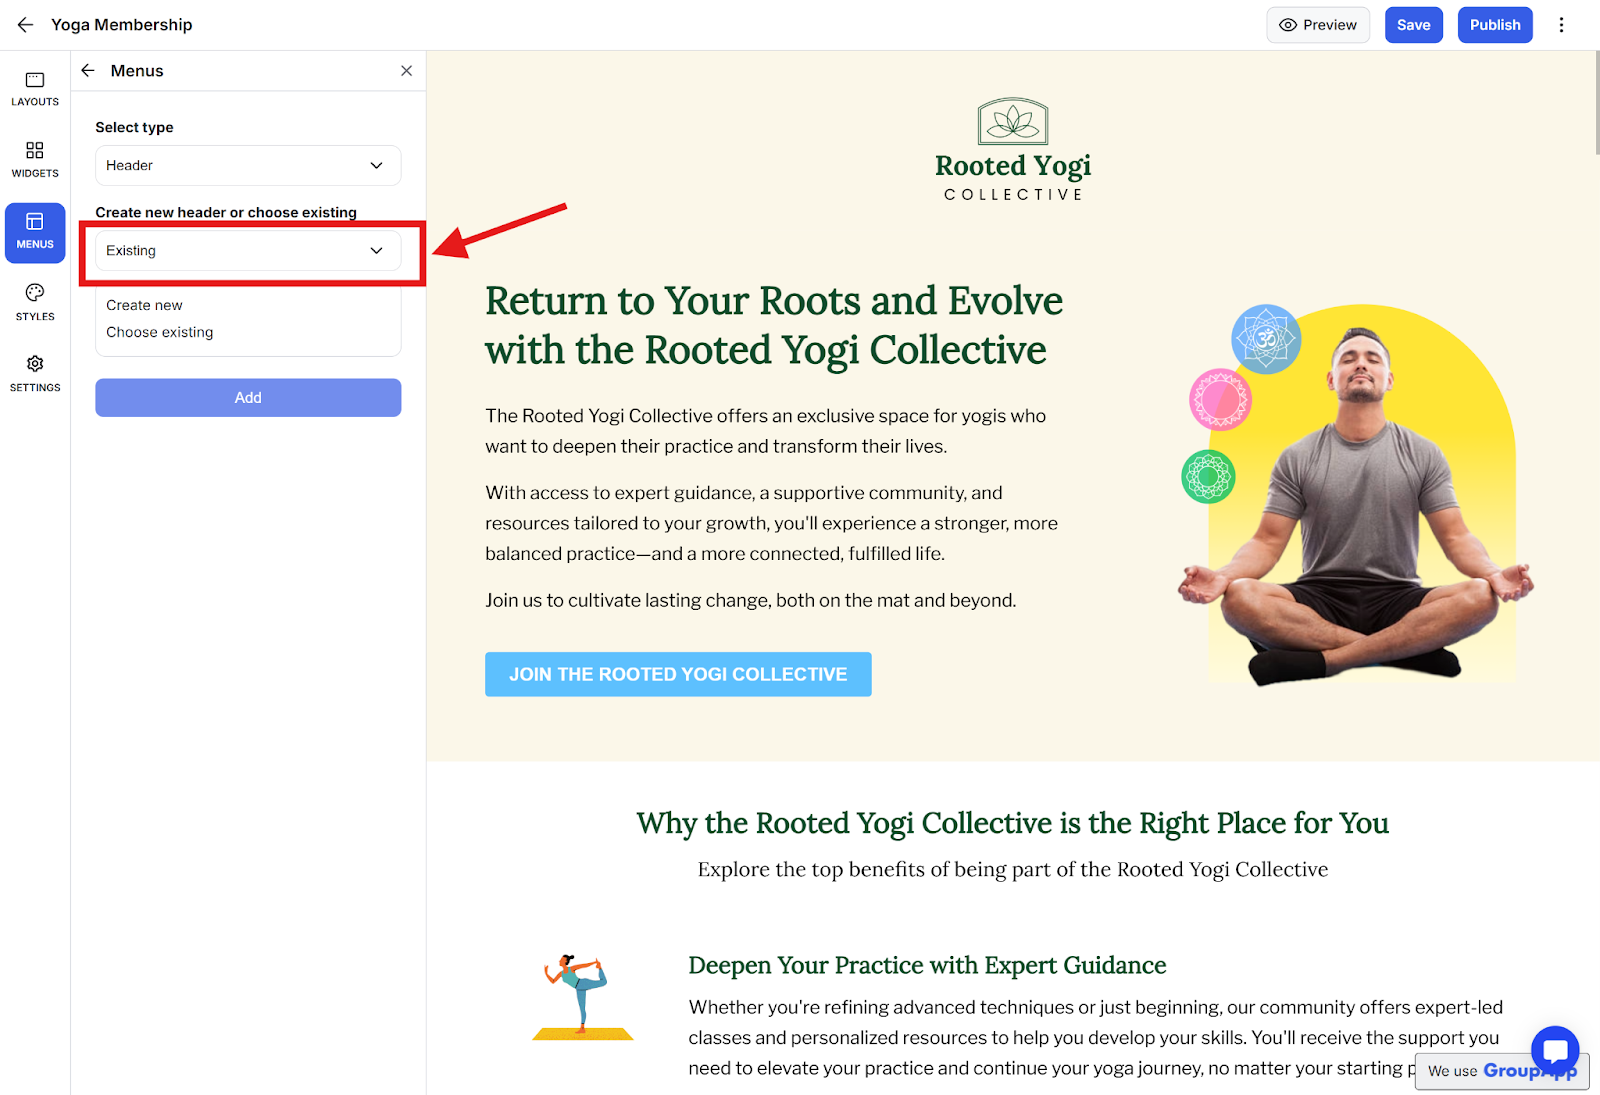
Step 5: Click on Add New Menu Element and select Footer or Header menu.
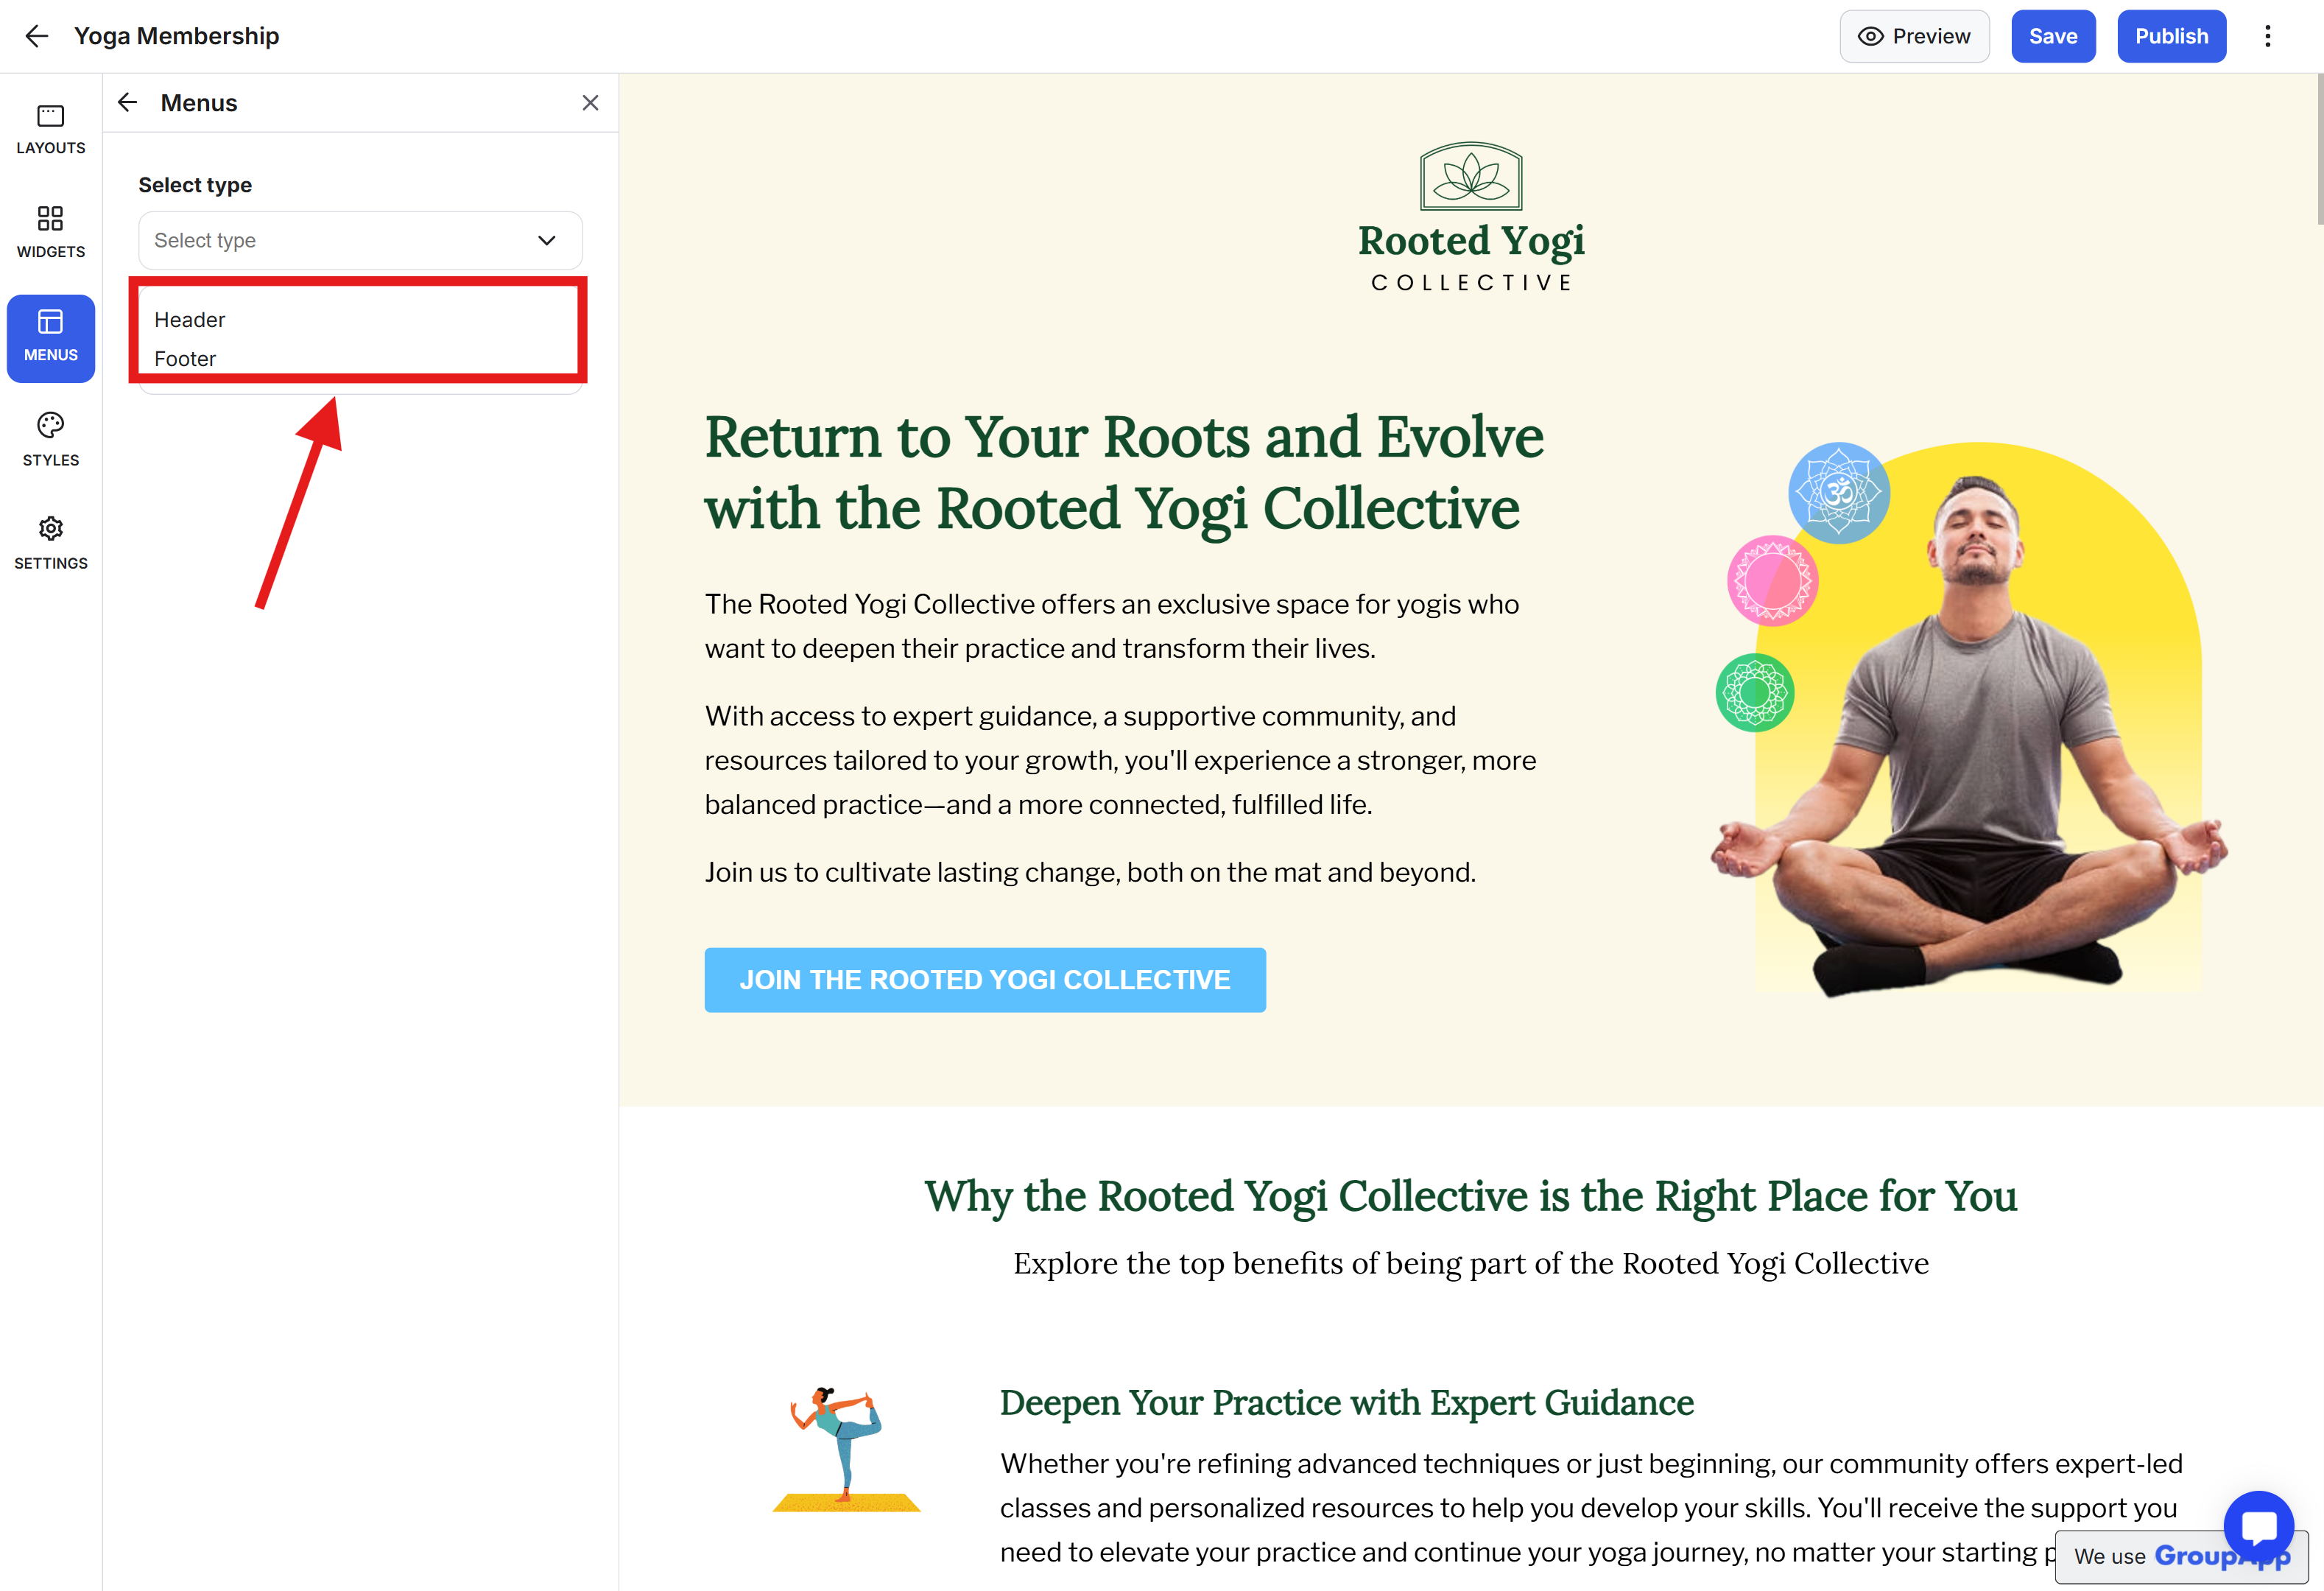
Step 6: You can then create a new header or footer.

1. Logo image
2. Logo Action
3. Logo URL
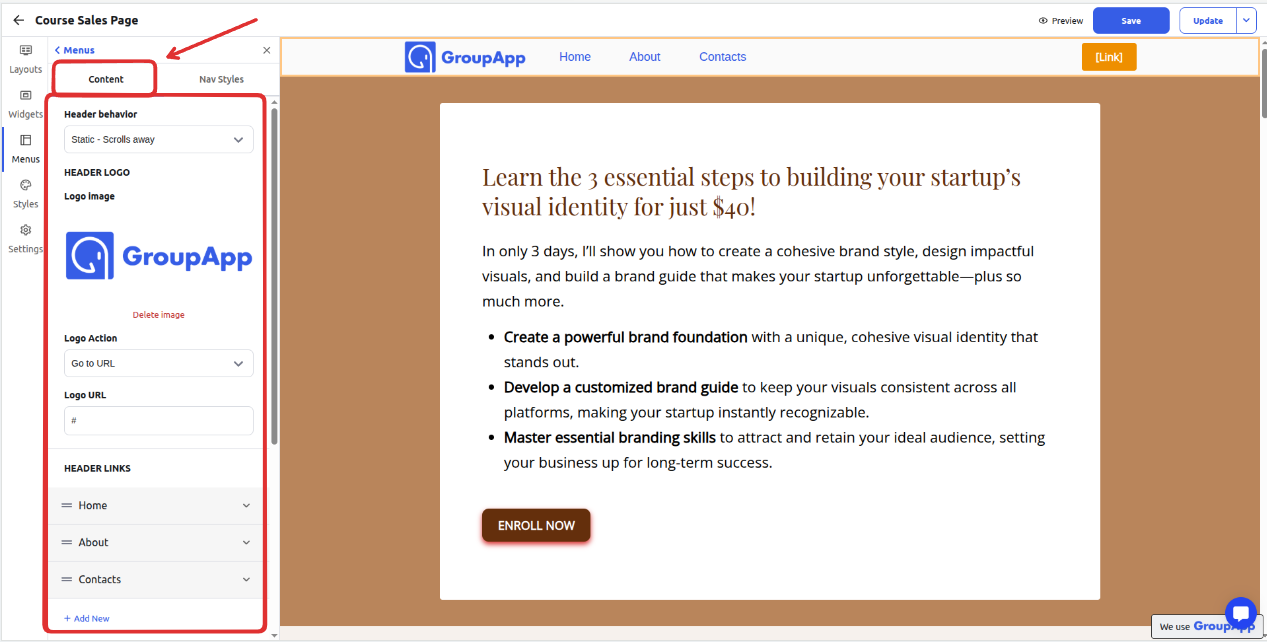
4. Header Links: Customize the content of the links.
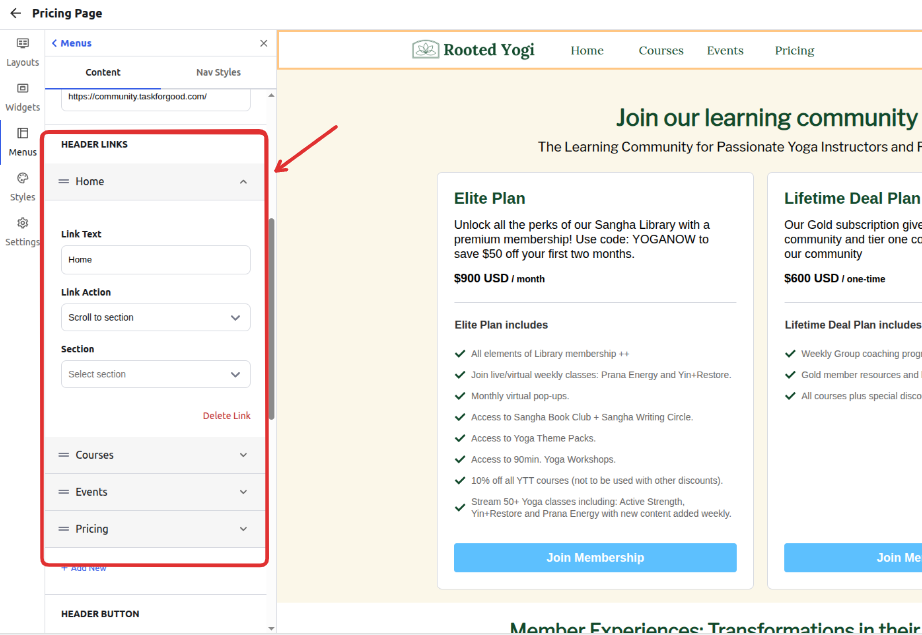
5. Reorder the position of the links on the header using the hamburger icon
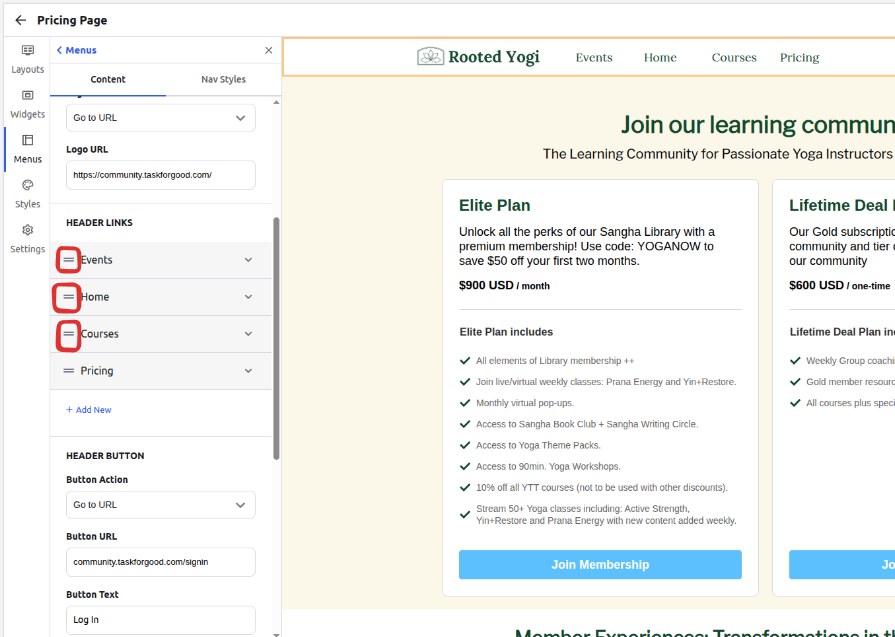
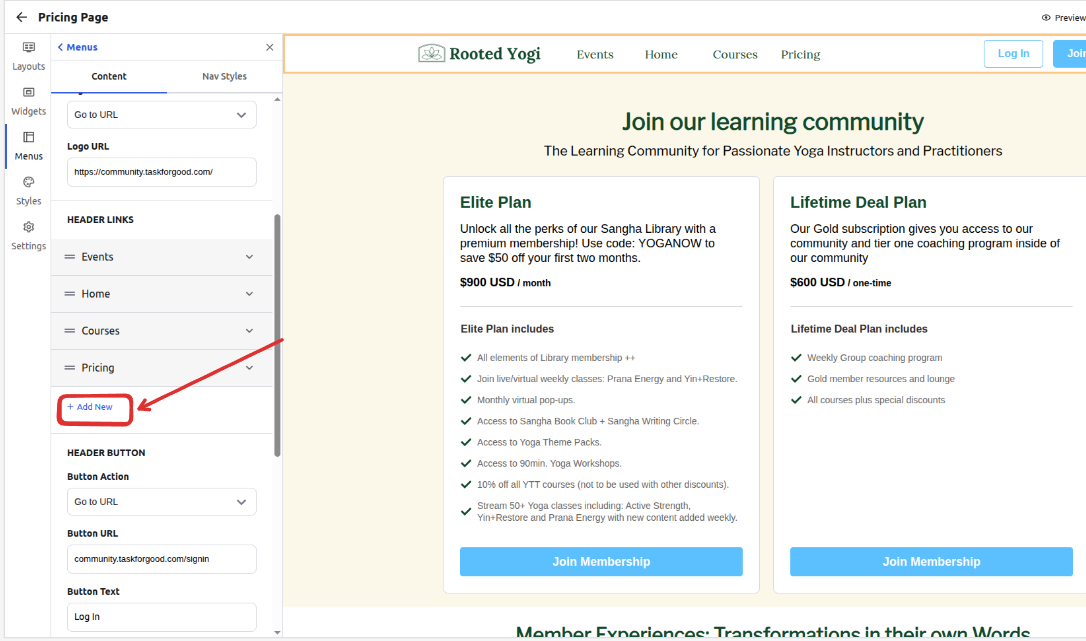
6. Add new header links using the Add New option
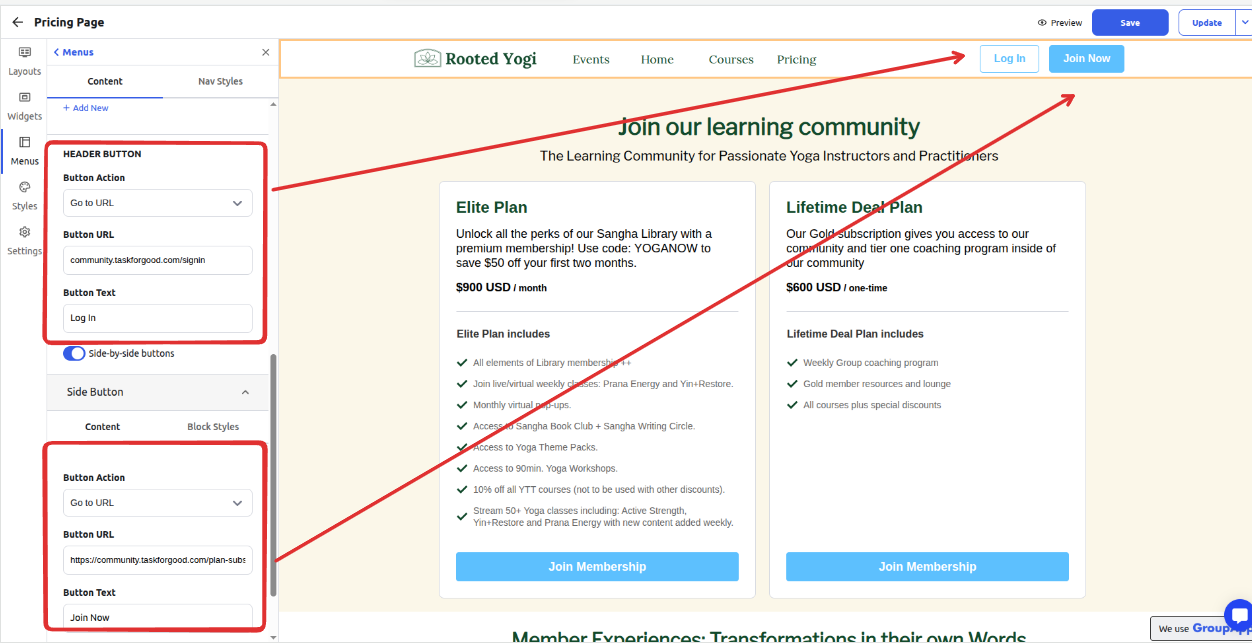
7. Customize the header buttons
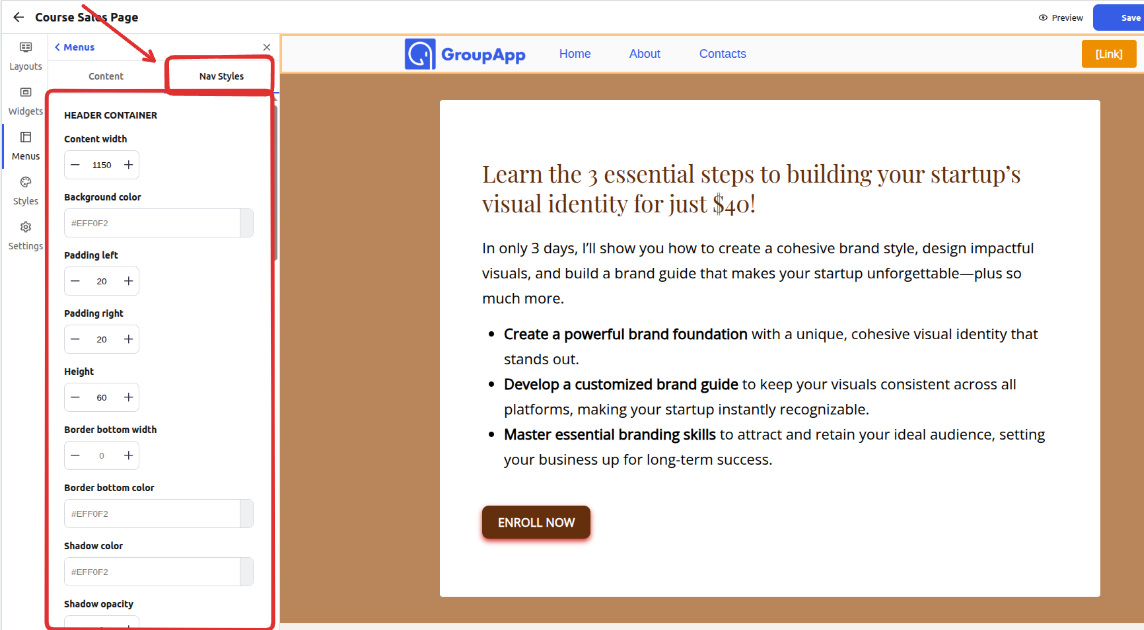
Step 1: After you are done adding content, move to the Nav Styles tab.
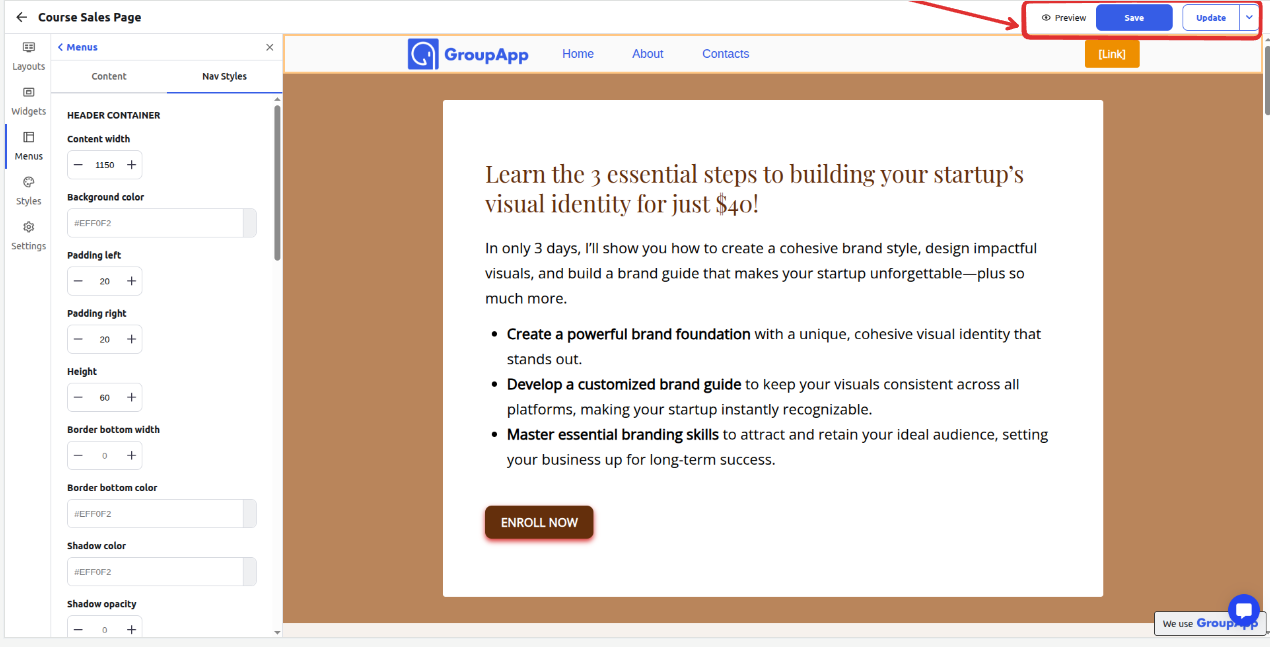
Step 2: You can save and preview the changes, and once you are ready, you can go ahead and publish your updates for the live page.
Note:
You can only add 1 of each navigation type per landing page
You can also use the already-created header and footer blocks from other landing pages
Step 1: Click on the Menus tab.
Step 2: Click on Add New Menu Element and select Footer or Header menu.
Step 3: Select an already existing footer or header that you had created earlier.
Note: If you customize the existing footer/header, the changes will be applied to all the other pages where you have used the footer/header.
Step 1: On the Admin Panel menu, click Operations and select Landing Pages.
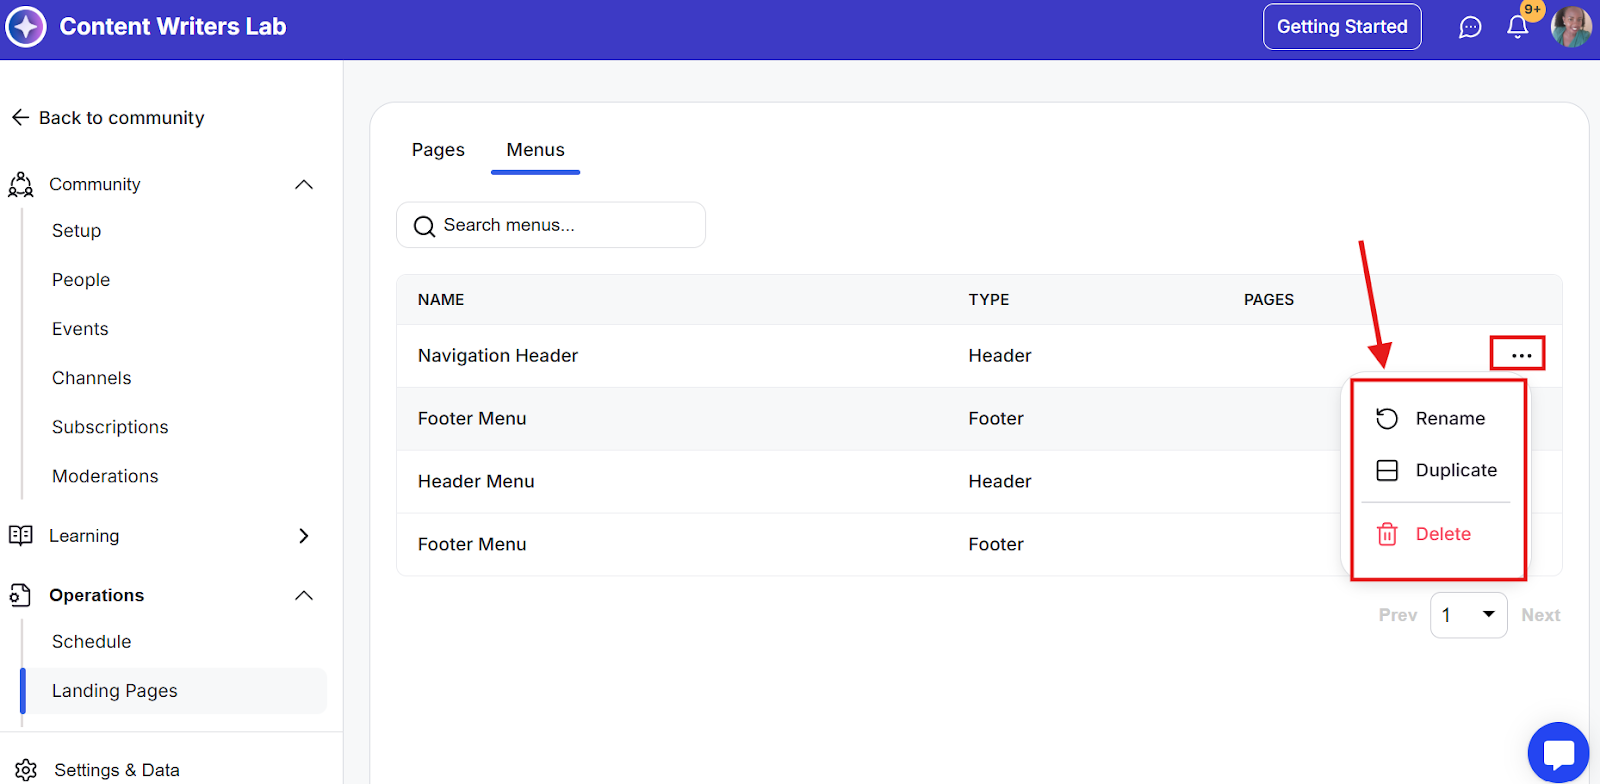
Step 2: On the landing pages dashboard, select the Menus tab.
The table shows the type of navigation menu and the pages it has been used on.
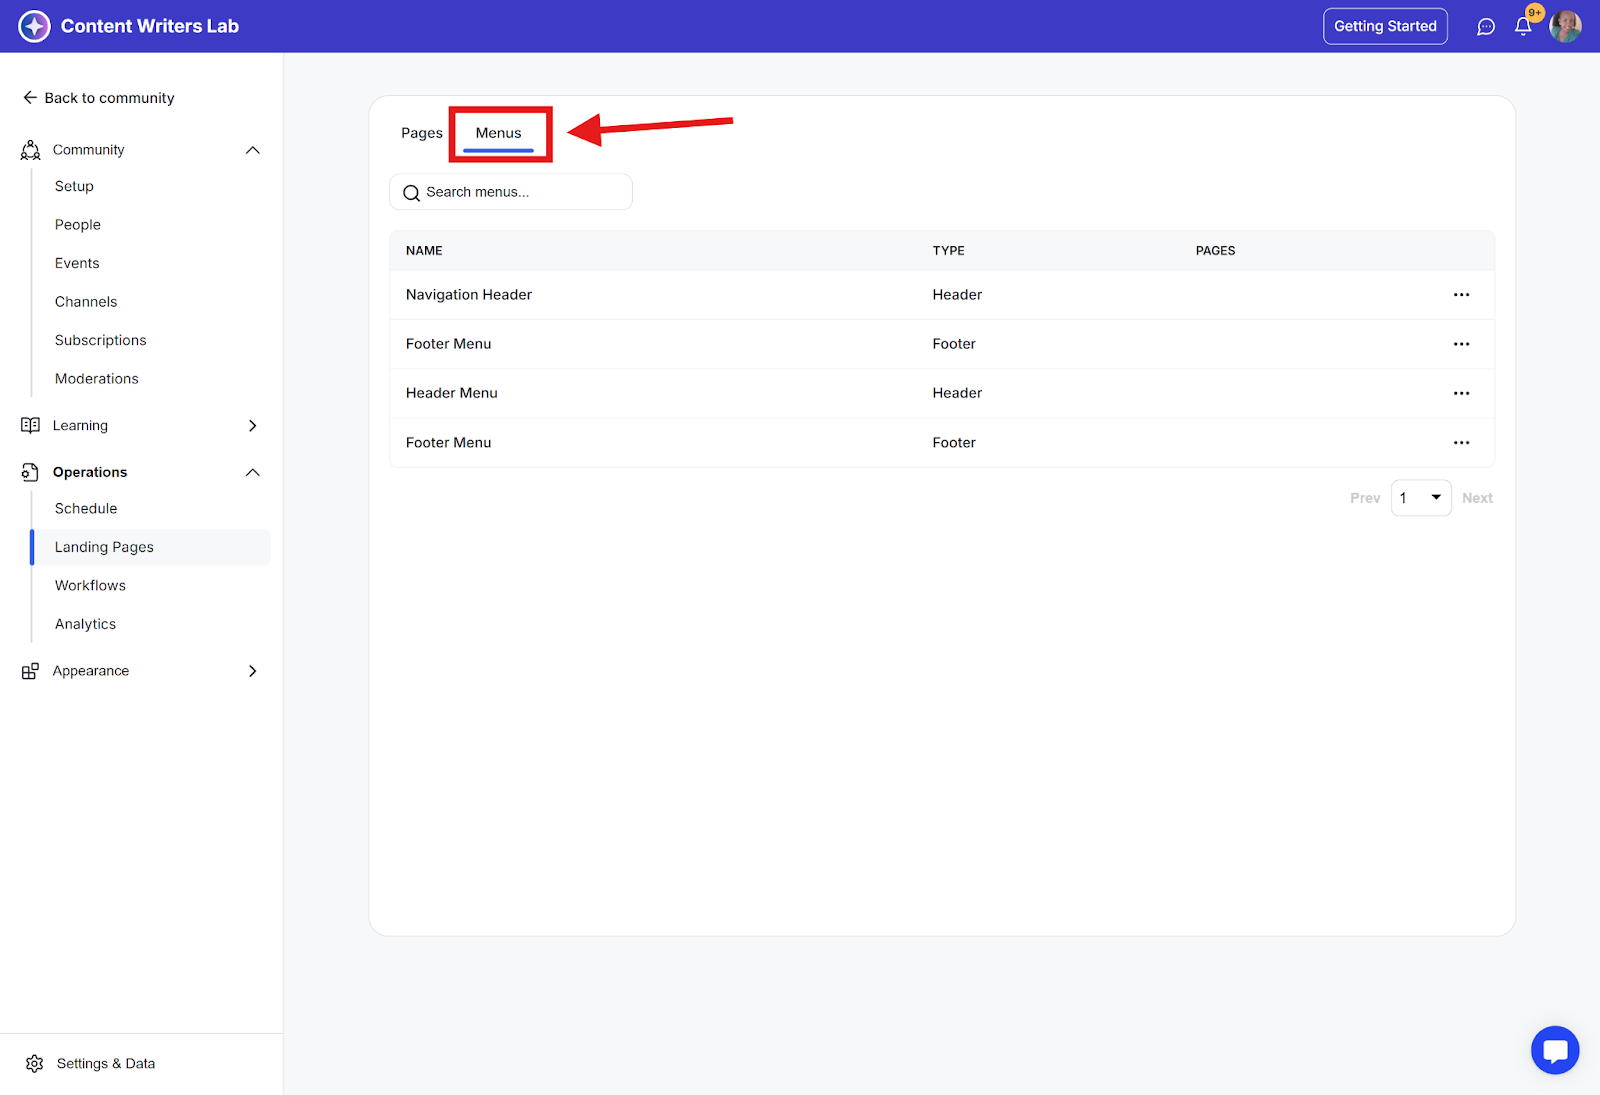
Step 3: You get the options to rename, duplicate, or delete the navigation menus created when you click the 3-dot option.