Create compelling landing pages with a complete checkout flow to encourage a customer to purchase your event, course, membership subscription, or library content.
The payment block can be used as a checkout on your landing page or as an upsell to increase order value. For example, it can appear after a member completes a purchase for a course, membership, or piece of content.
Use cases
Use the payment block to create a checkout flow to sell courses, events, membership programs, and library content hosted inside your community directly on your landing page.
After someone purchases a course or piece of content, you can present an upsell using the payment block. This could be an additional course or a membership offer shown immediately after the initial purchase.
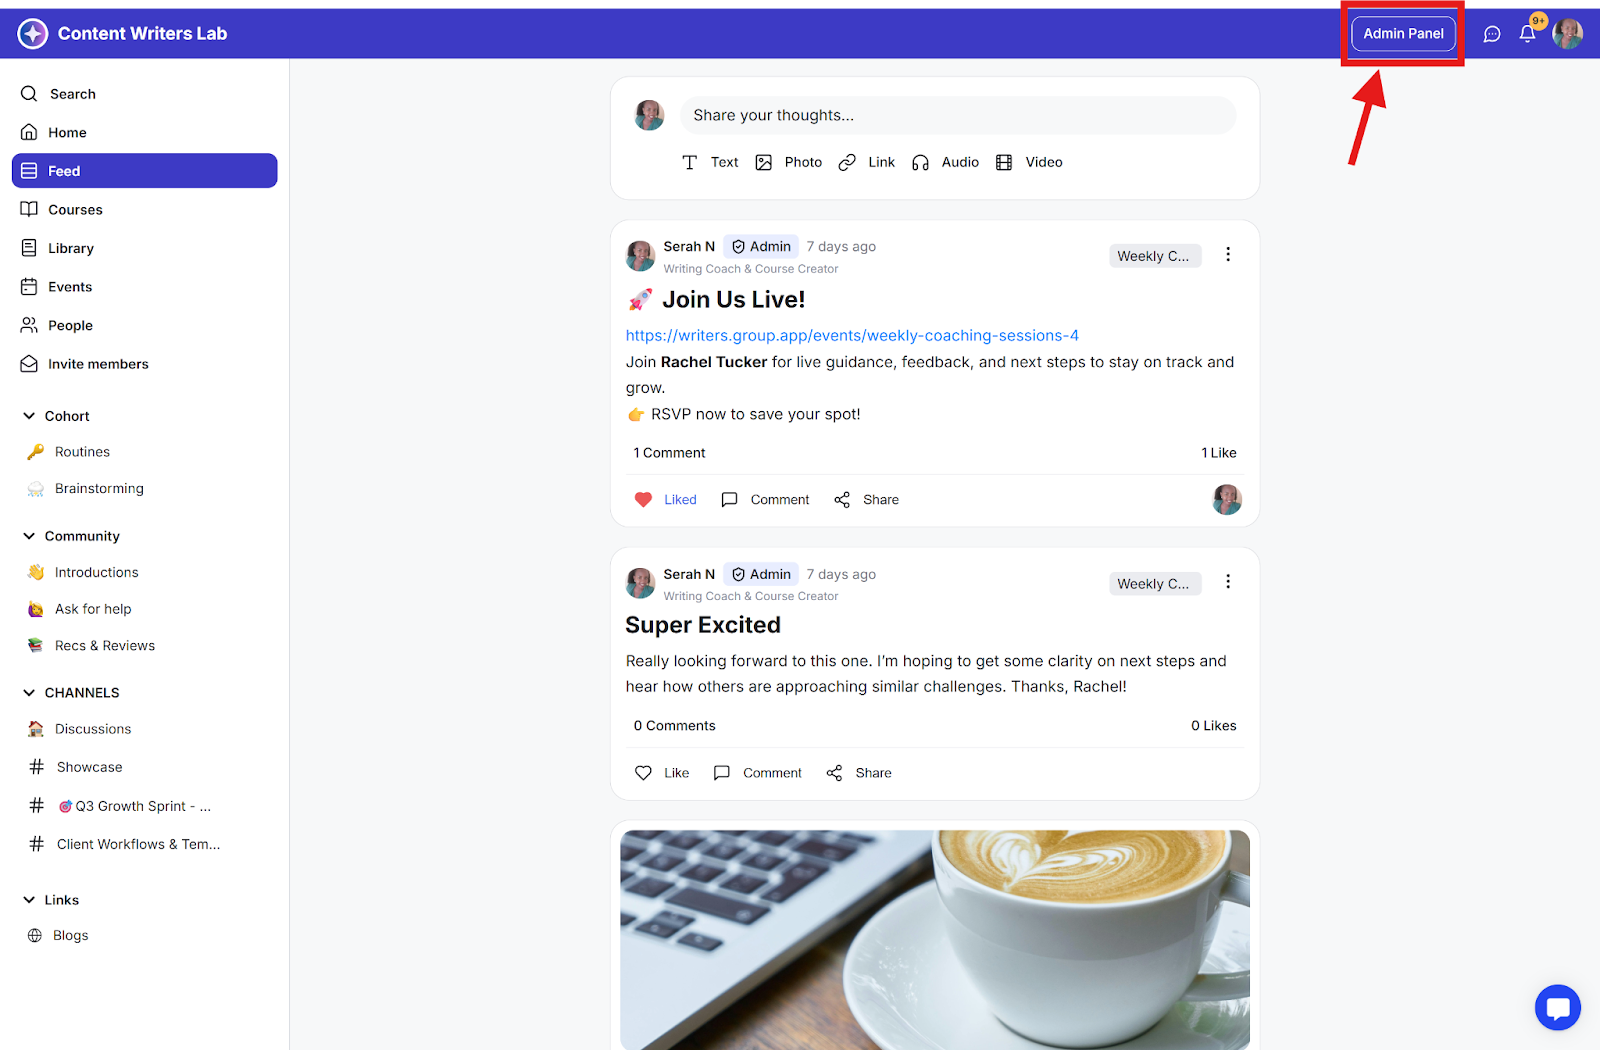
Step 1: Click on the Admin Panel button to navigate to the admin menu.
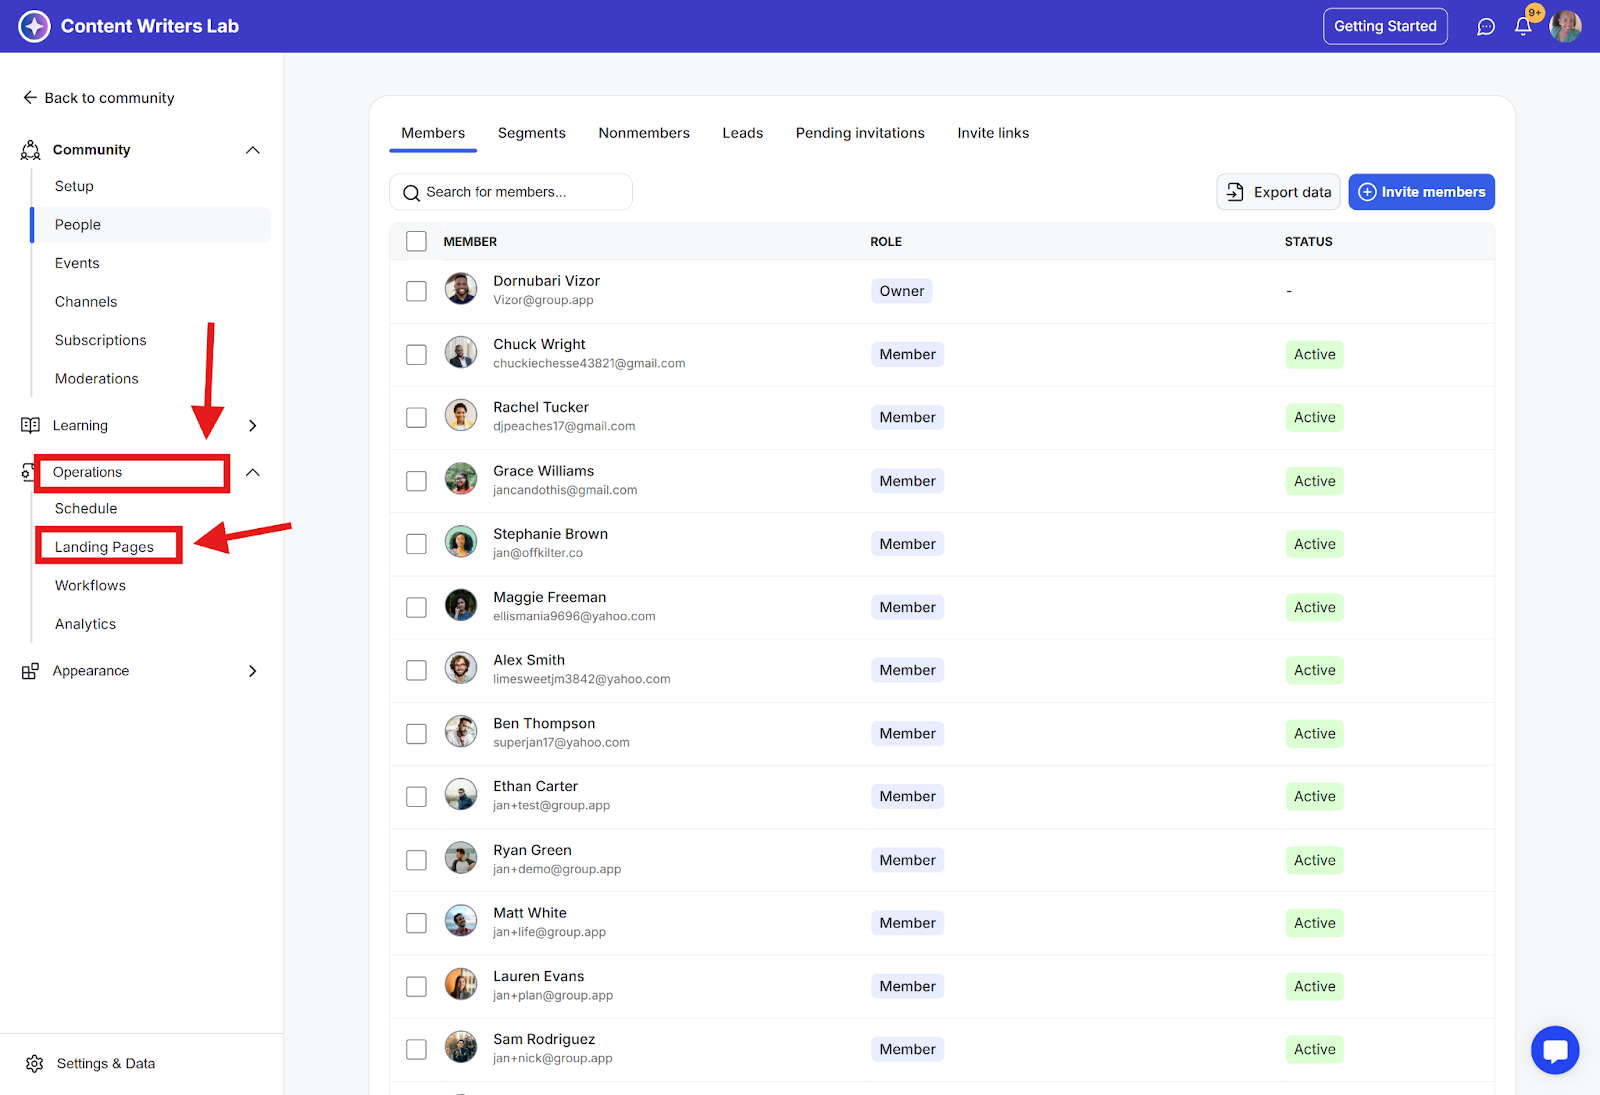
Step 2: Go to Operations in the side menu and select Landing Pages.
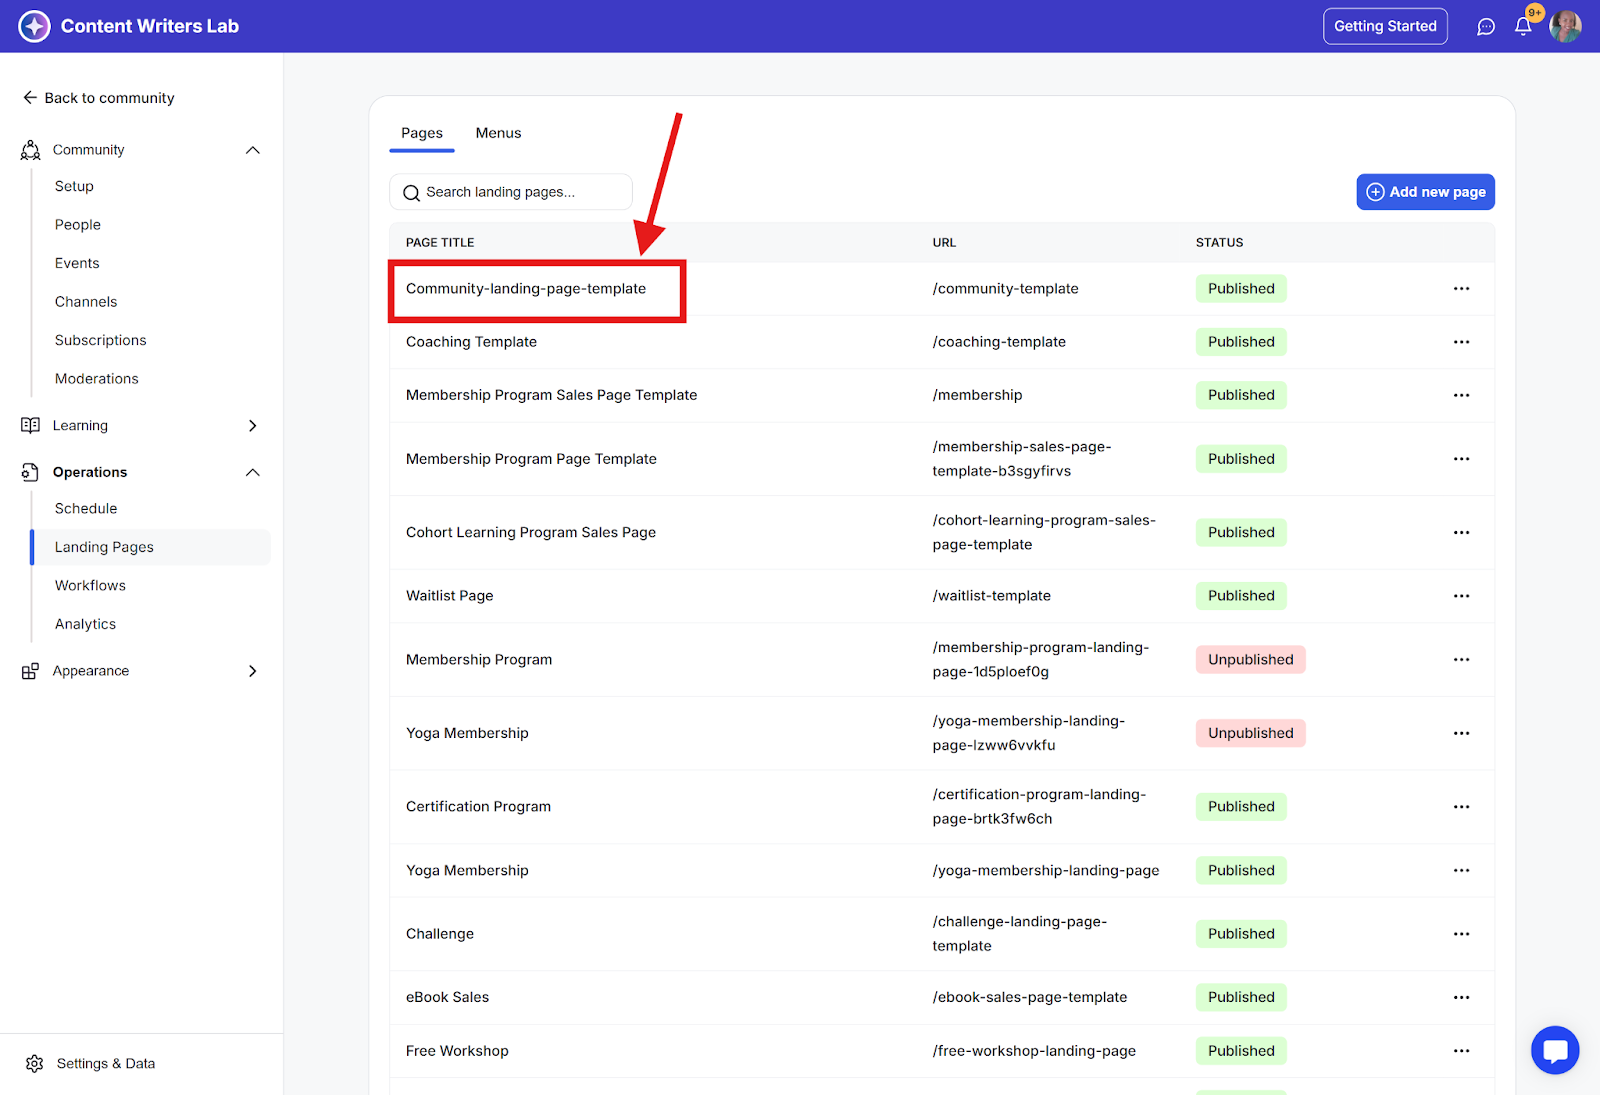
Step 3: On the dashboard, click on the page name to open the page you want to edit or create a new page.
Step 4: Click on the Layouts tab.
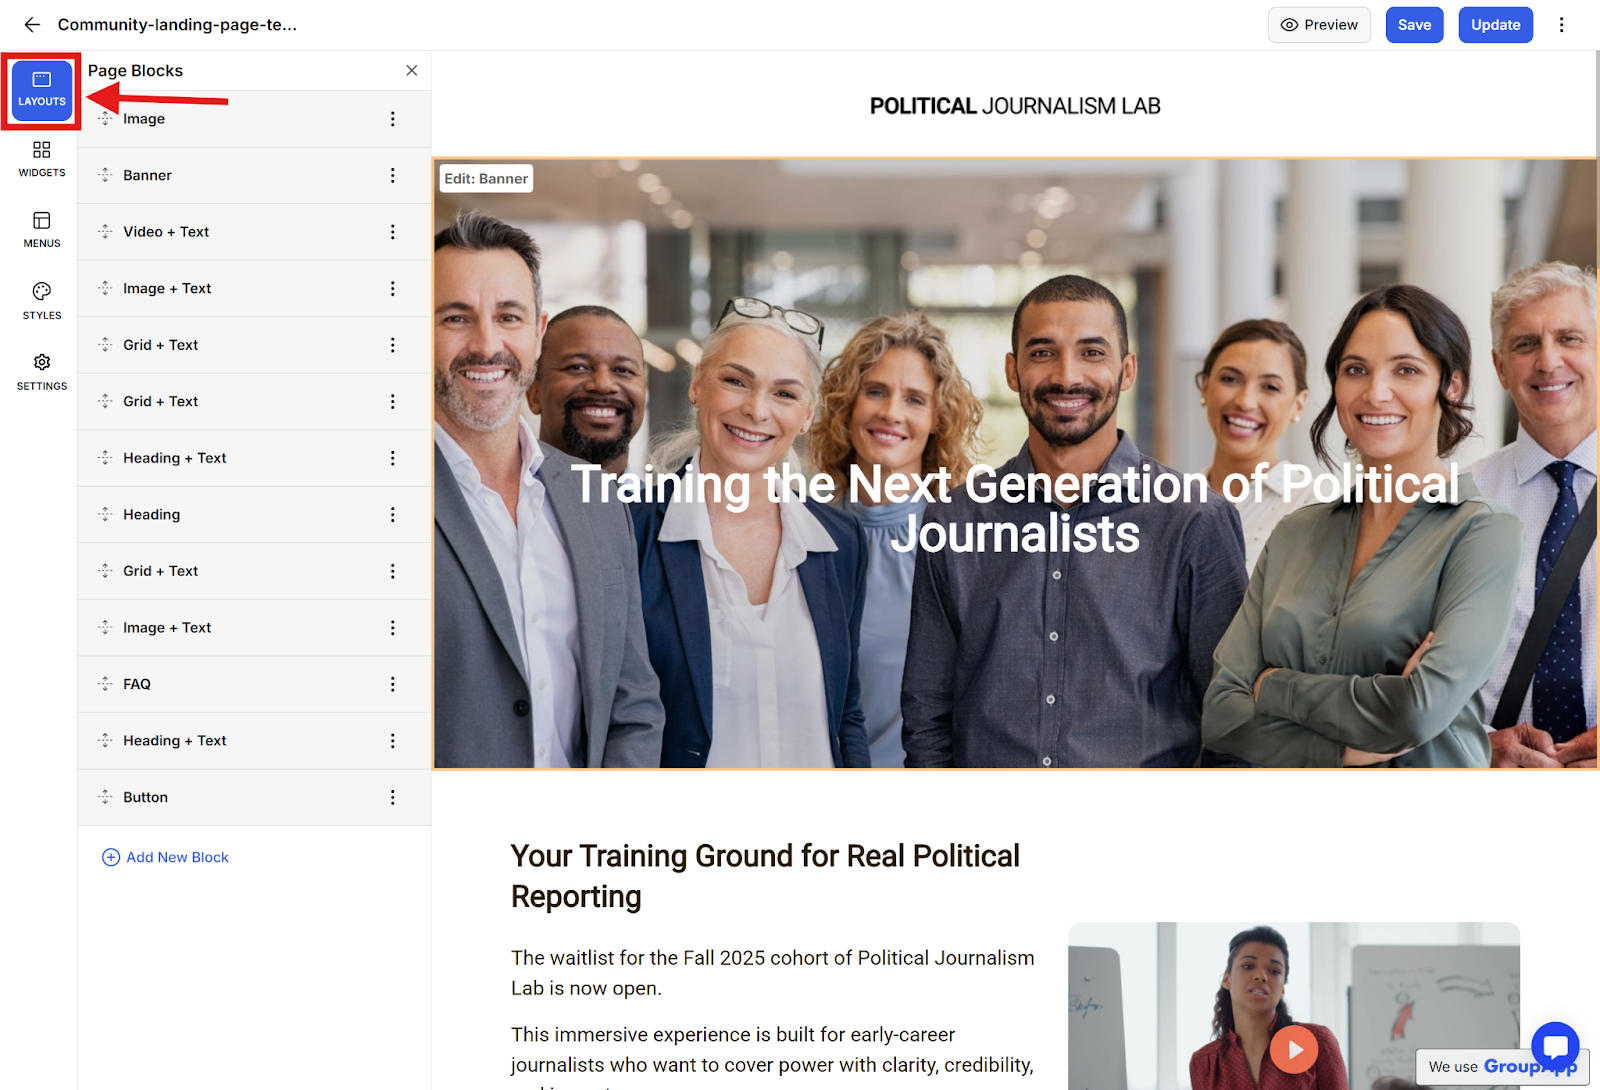
Step 5: Select Add New Block.
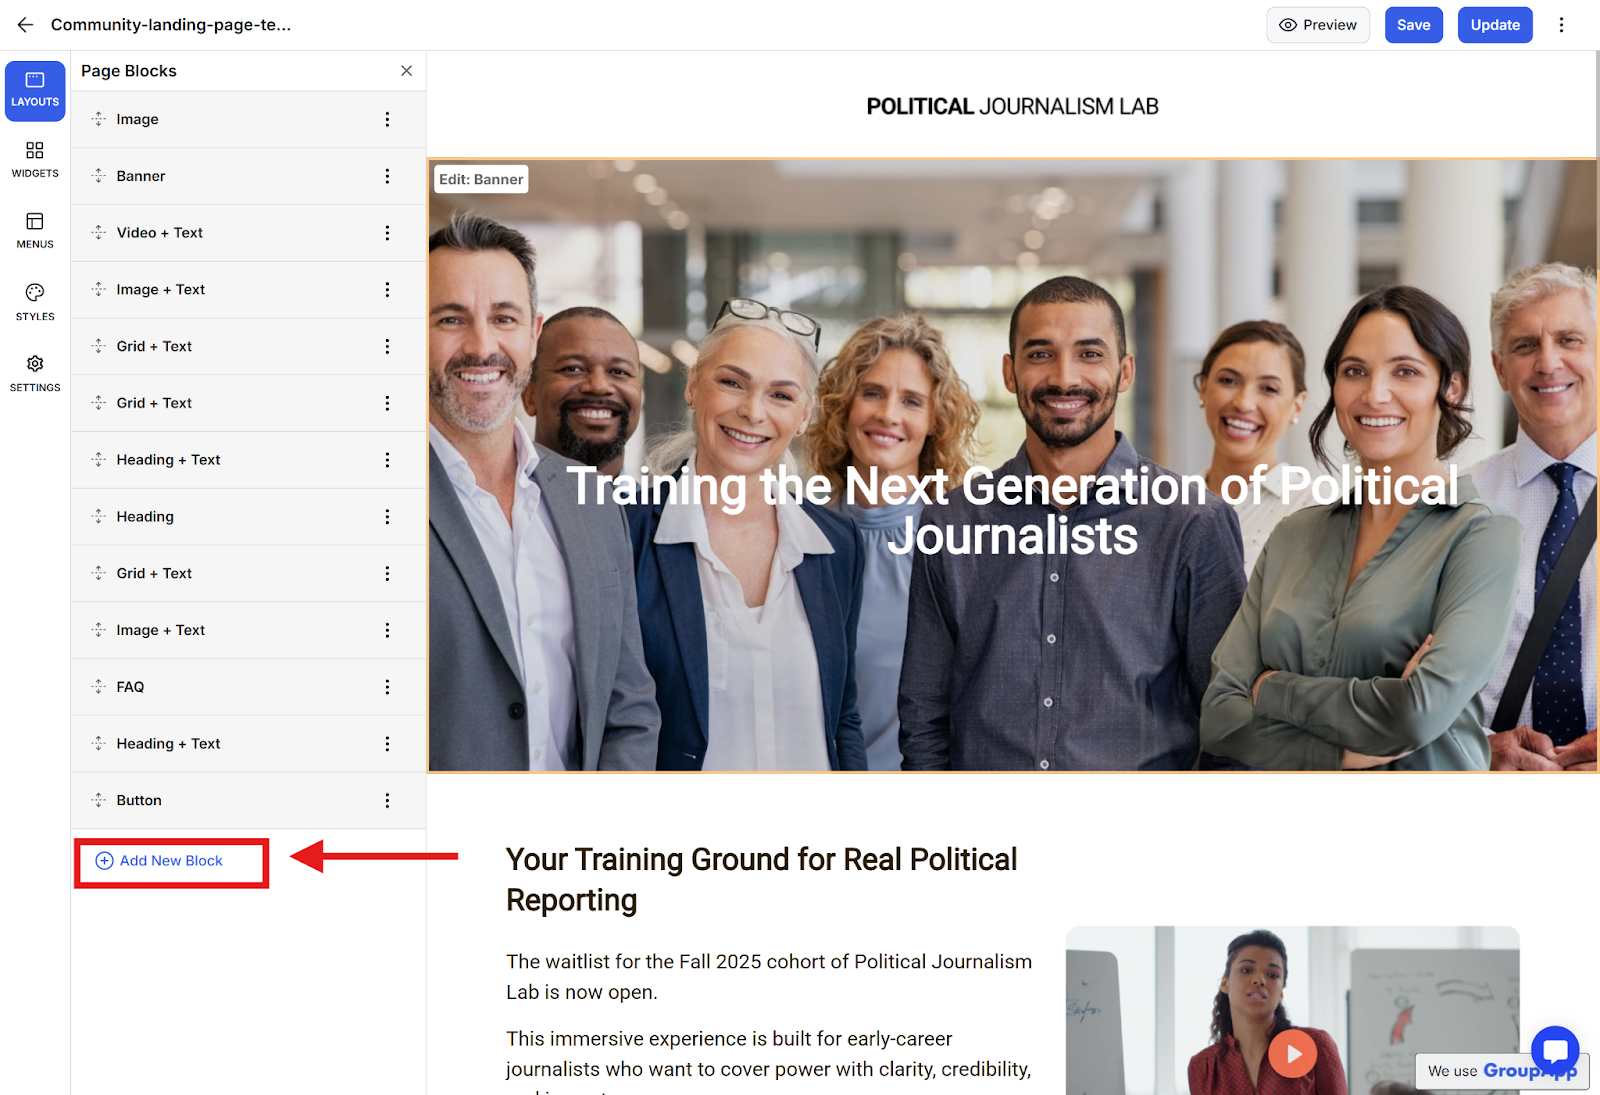
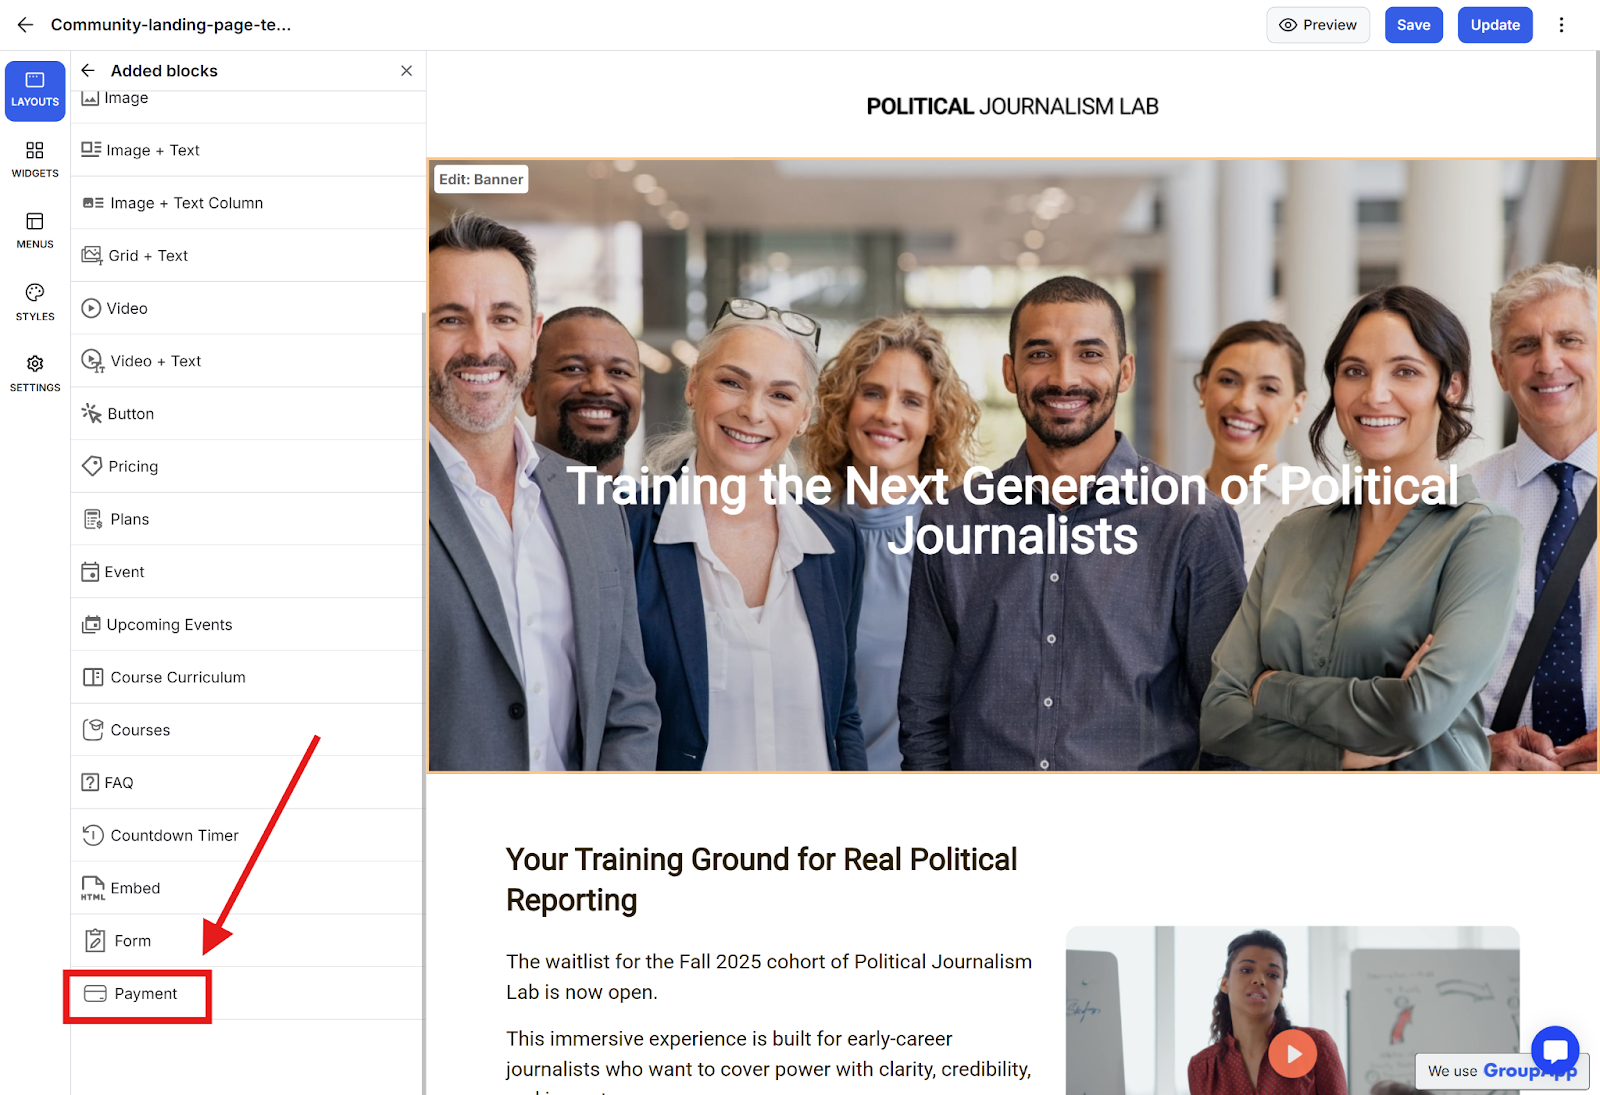
Step 6: Add a payment block.
Step 1: Add a title and description that will be displayed on top of the payment card.
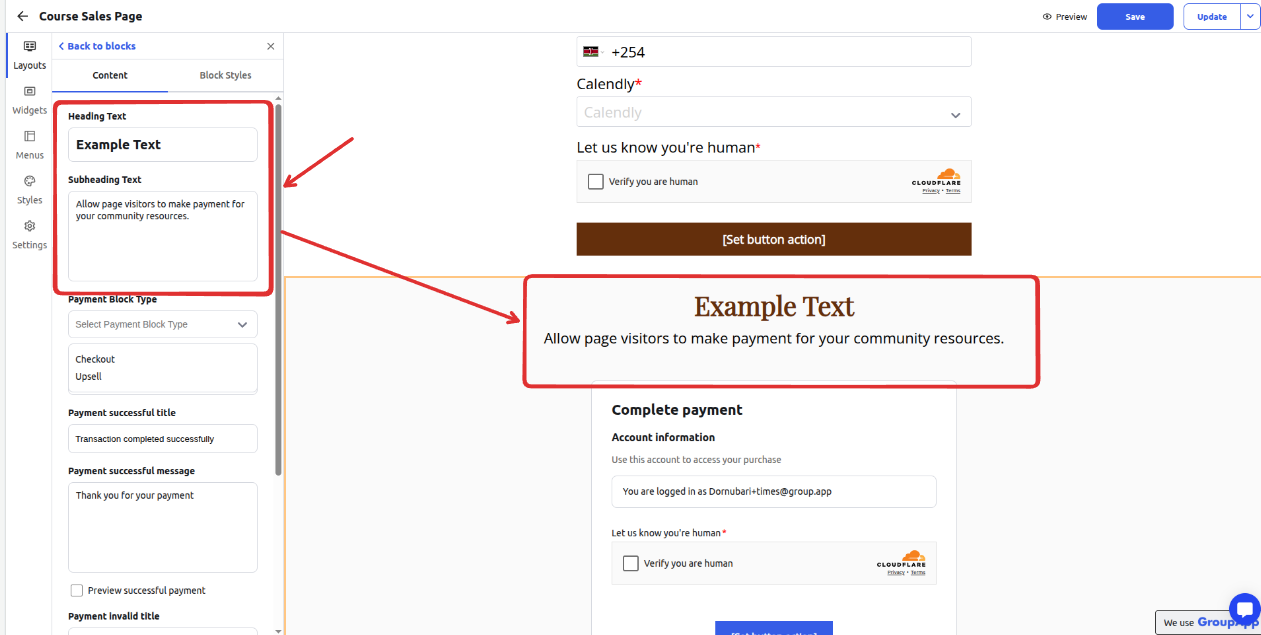
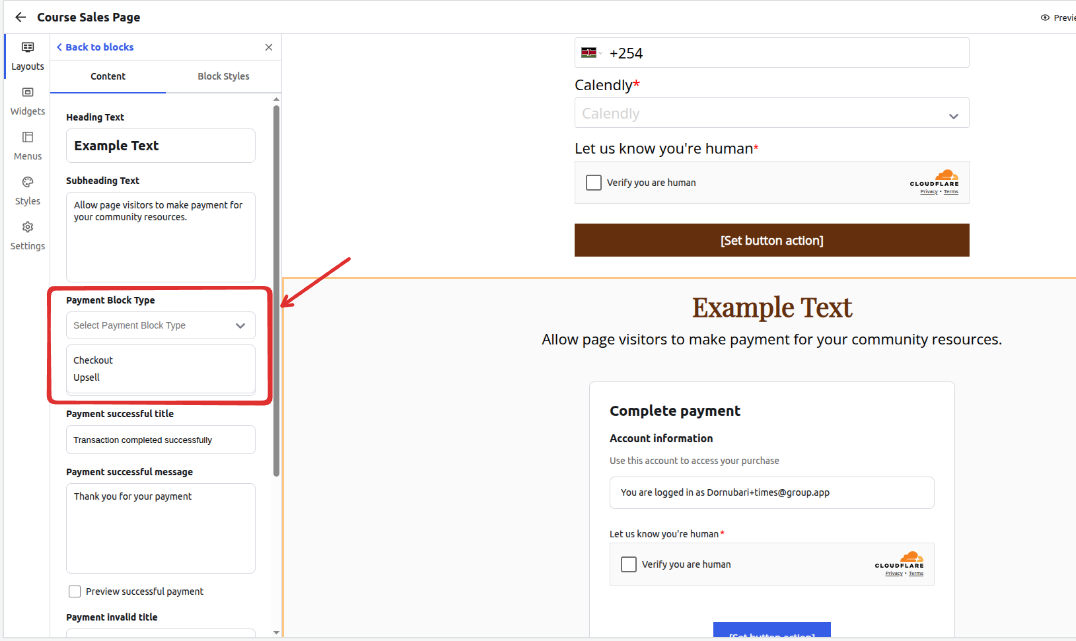
Step 2: Select the payment block type.
Step 3: If you selected the upsell payment block, proceed to configure an urgency type and Required Products.
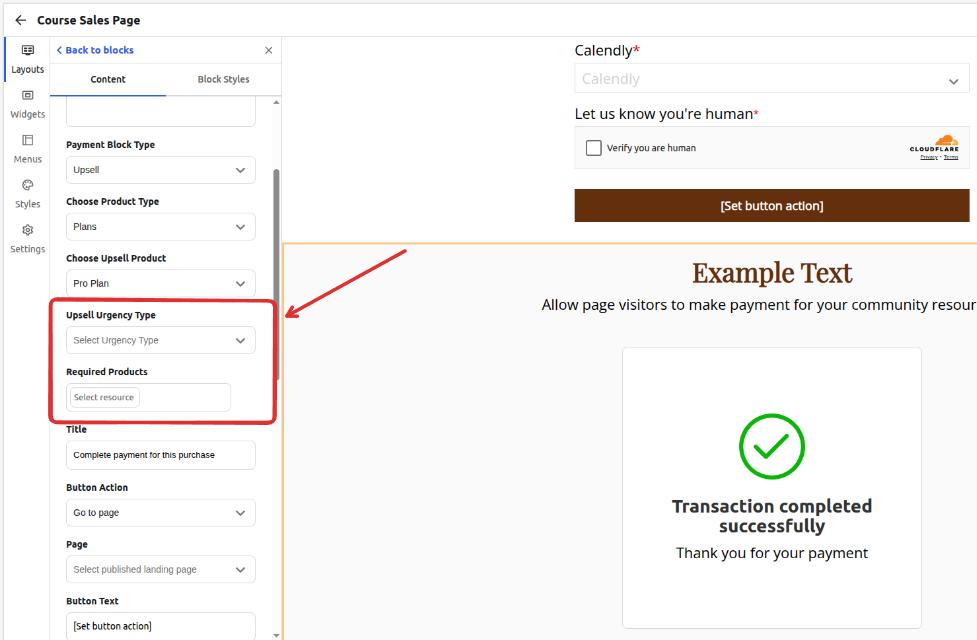
Upsell Urgency Type:
None: Upsell is always available, as long as the page visitor has purchased one of the required resources.
Timer: Upsell is only available within a set time after purchasing one of the required resources
Page exit: Upsell is available as long as the page visitor who can see the upsell stays on the landing page. Once the visitor exits the page, the upsell becomes unavailable.
Note: For timer and page exit urgency types, the user must be viewing the landing page right after purchasing one of the required products. Visiting the link to the landing page directly will not work.
Required Products: You must specify the required products that a customer must purchase before the upsell offer becomes available. This ensures the upsell is only presented in the appropriate context.
Step 4: Select the product type to be sold
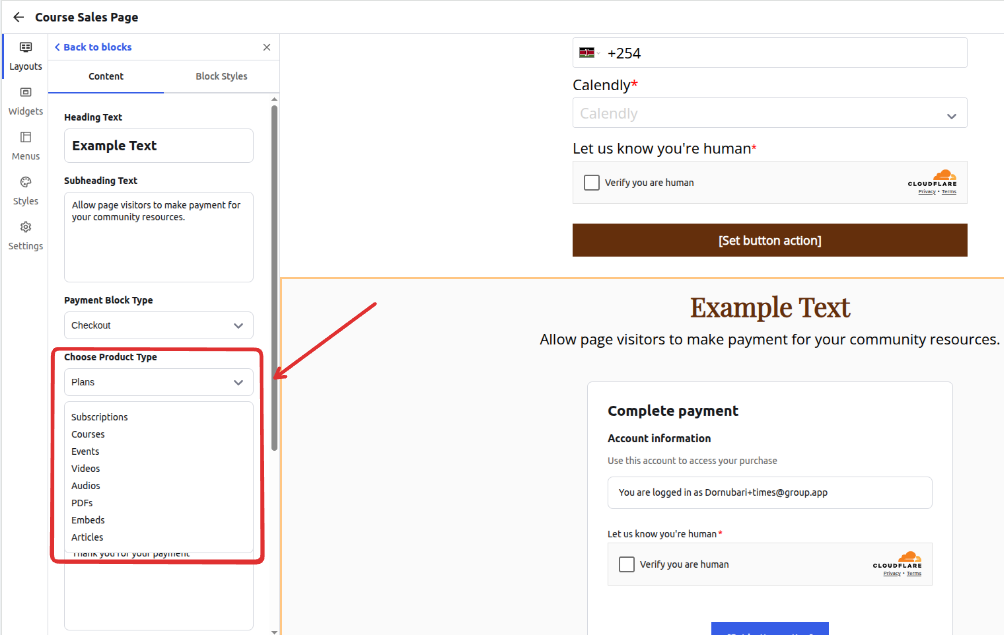
The conditions for the products to be auto-populated on the dropdown list are:
The subscription plan/course/event/library content pricing option must have a status of active and not hidden.
The event, course, or library content must be set to an access level of one-time and visibility of public
The event, course, or library content must be published
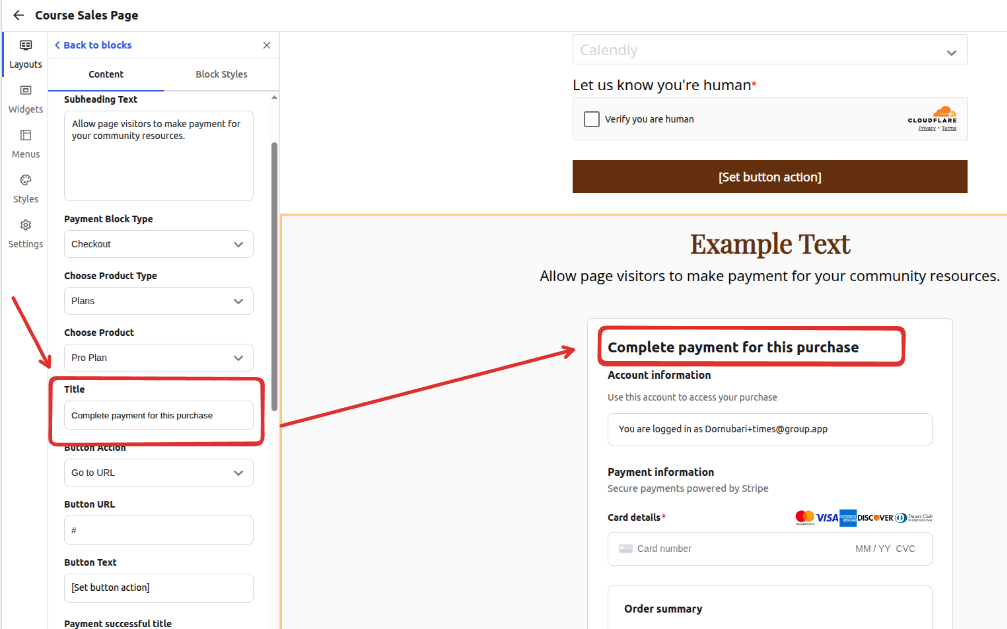
Step 5: Customize the Title for the payment checkout block.
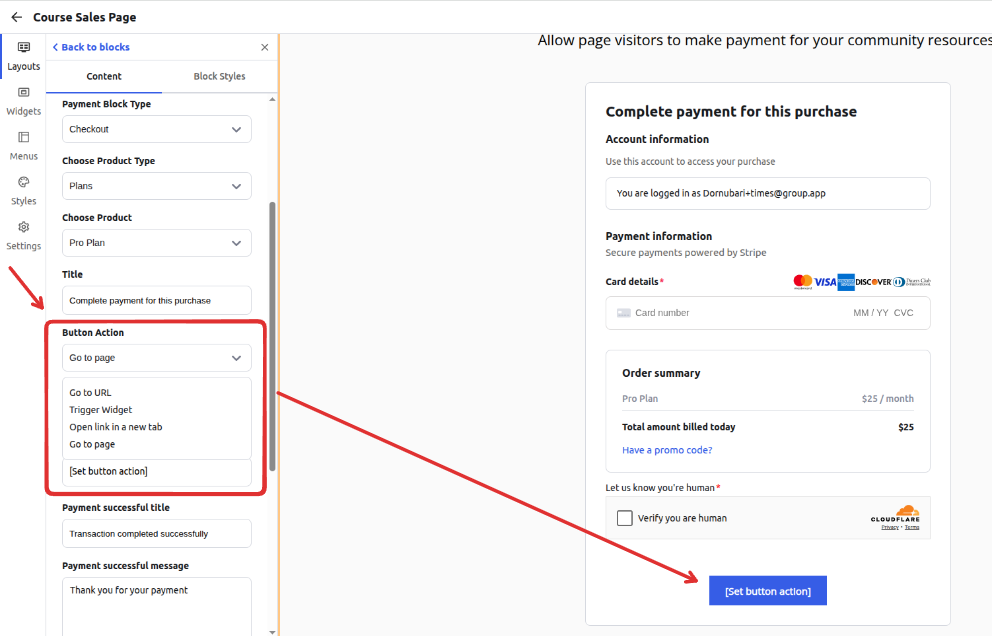
Step 6: Set the button action that will determine what will happen after the purchase has been completed when the button is clicked.
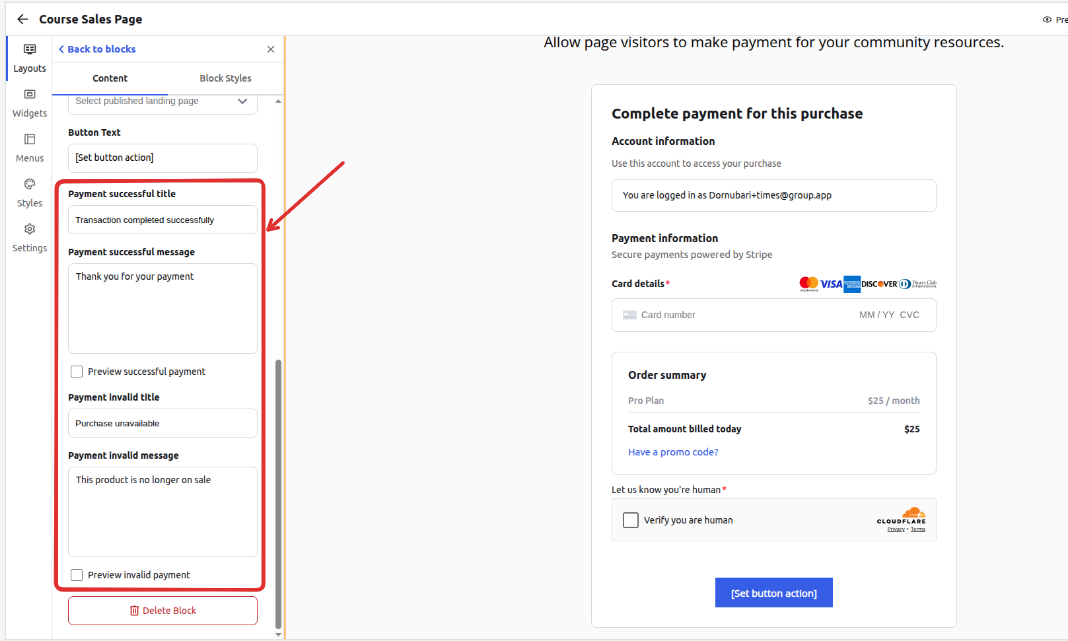
Step 7: Set the after-purchase payment title and message depending on whether the payment was successful or not, and preview what the message would look like to the purchaser
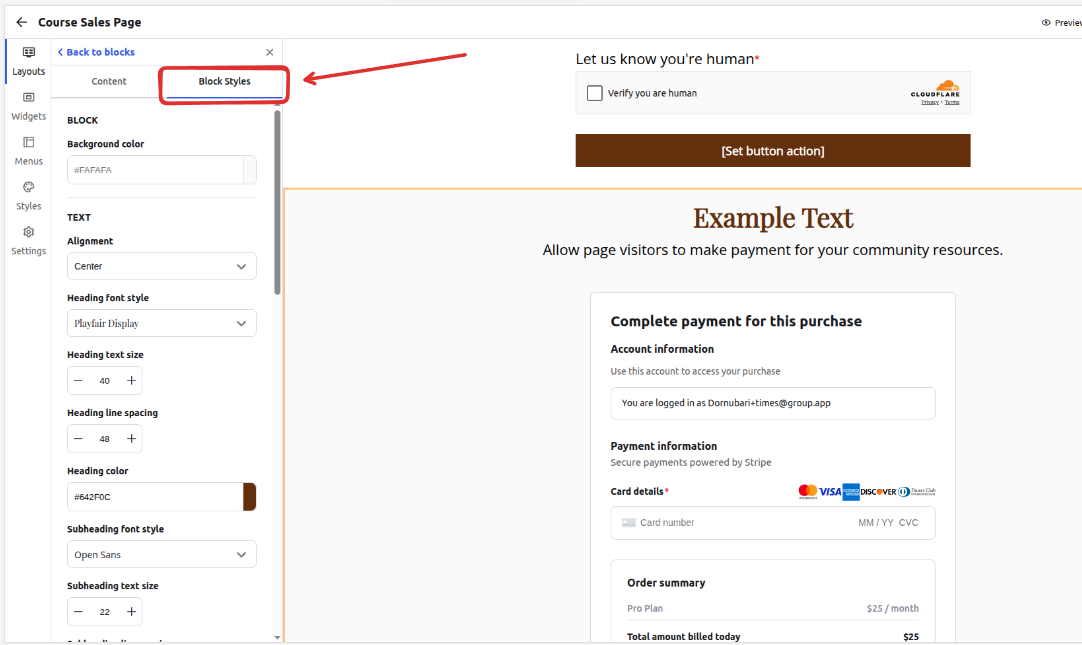
Step 8: Configure the styling, like Background color, font style, button color, and much more of the payment block using the Block Styles tab.
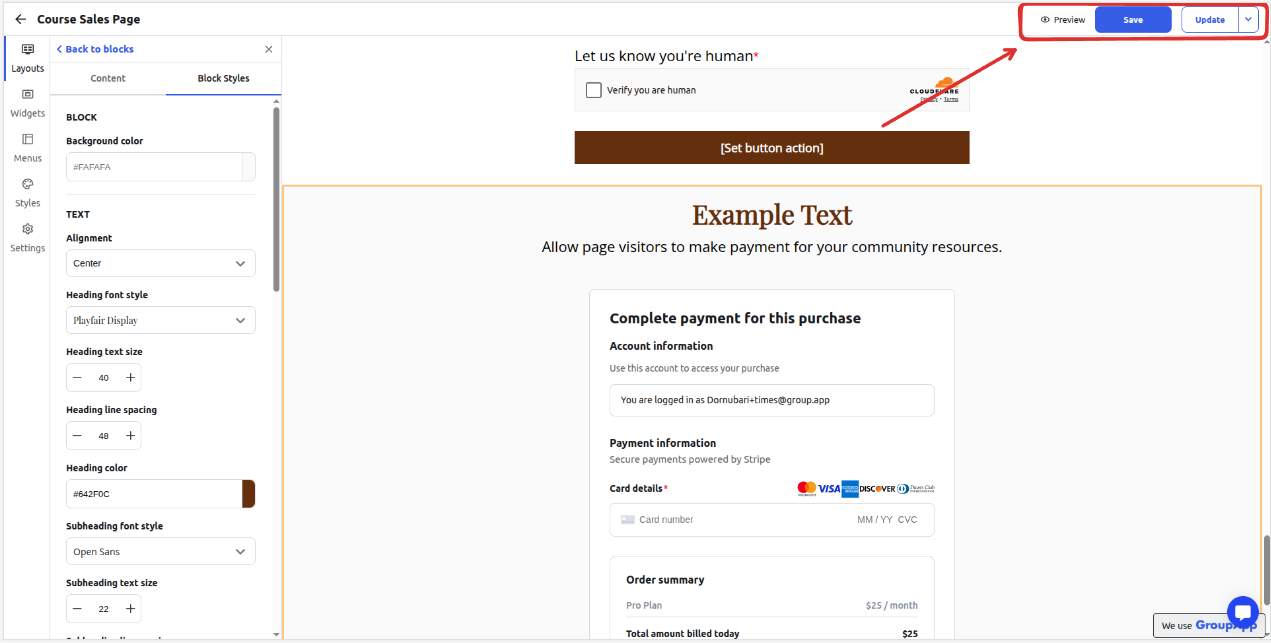
Step 9: You can save and preview the changes, and once you are ready, you can go ahead and publish your updates for the live page.
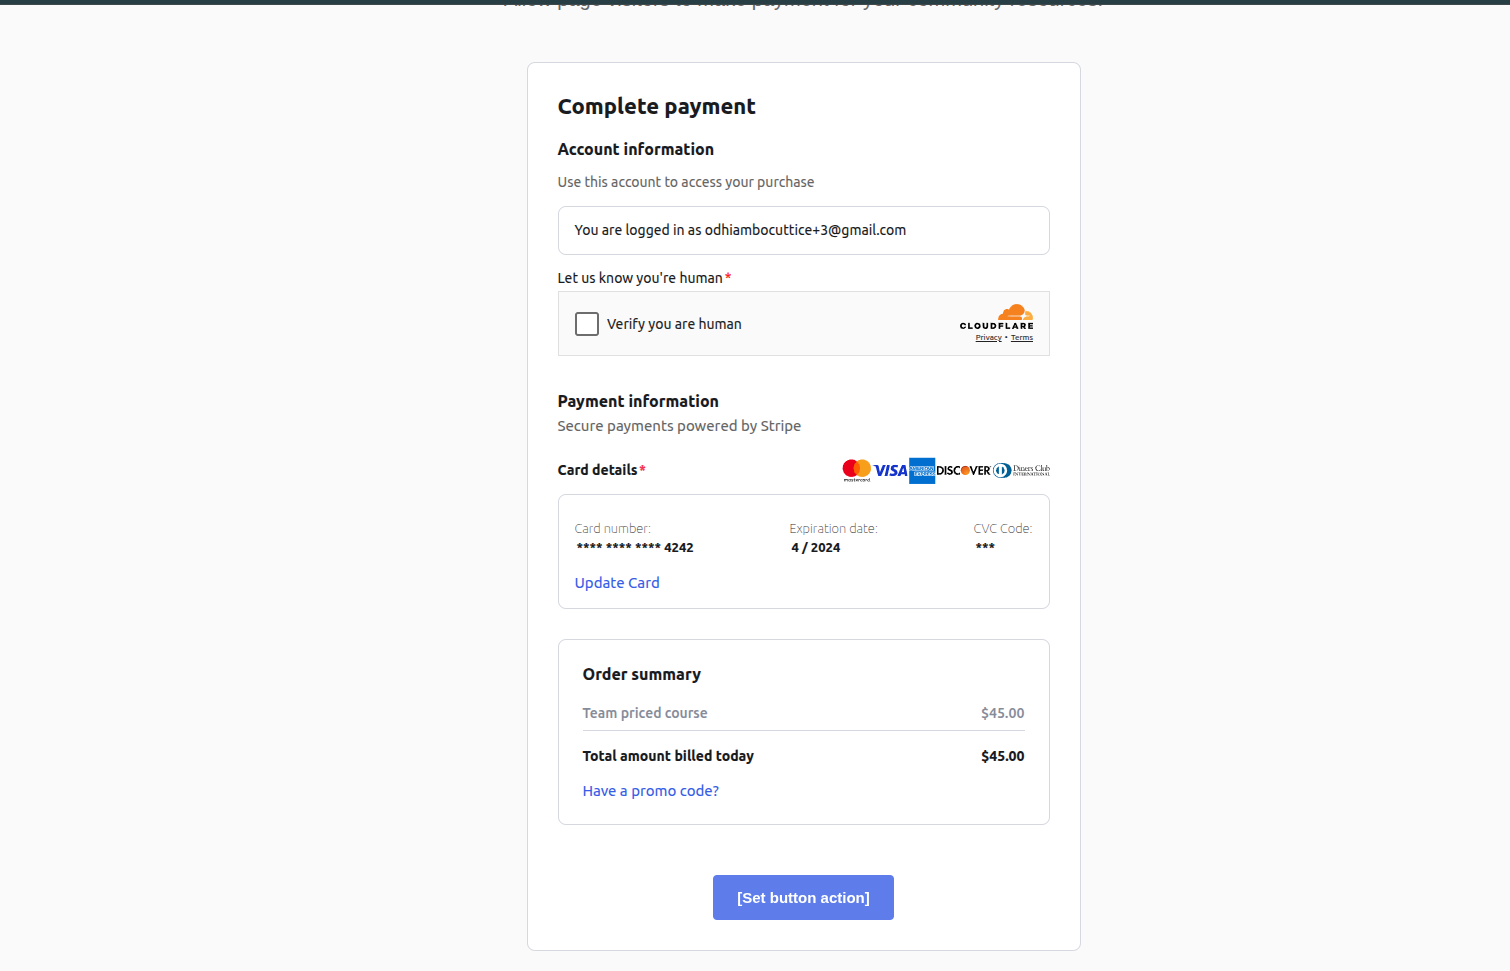
Step 10: The landing page will show the payment block updates as follows
1. If the User is logged in;
Account Email
Card on File
Billing Summary
Call to action button
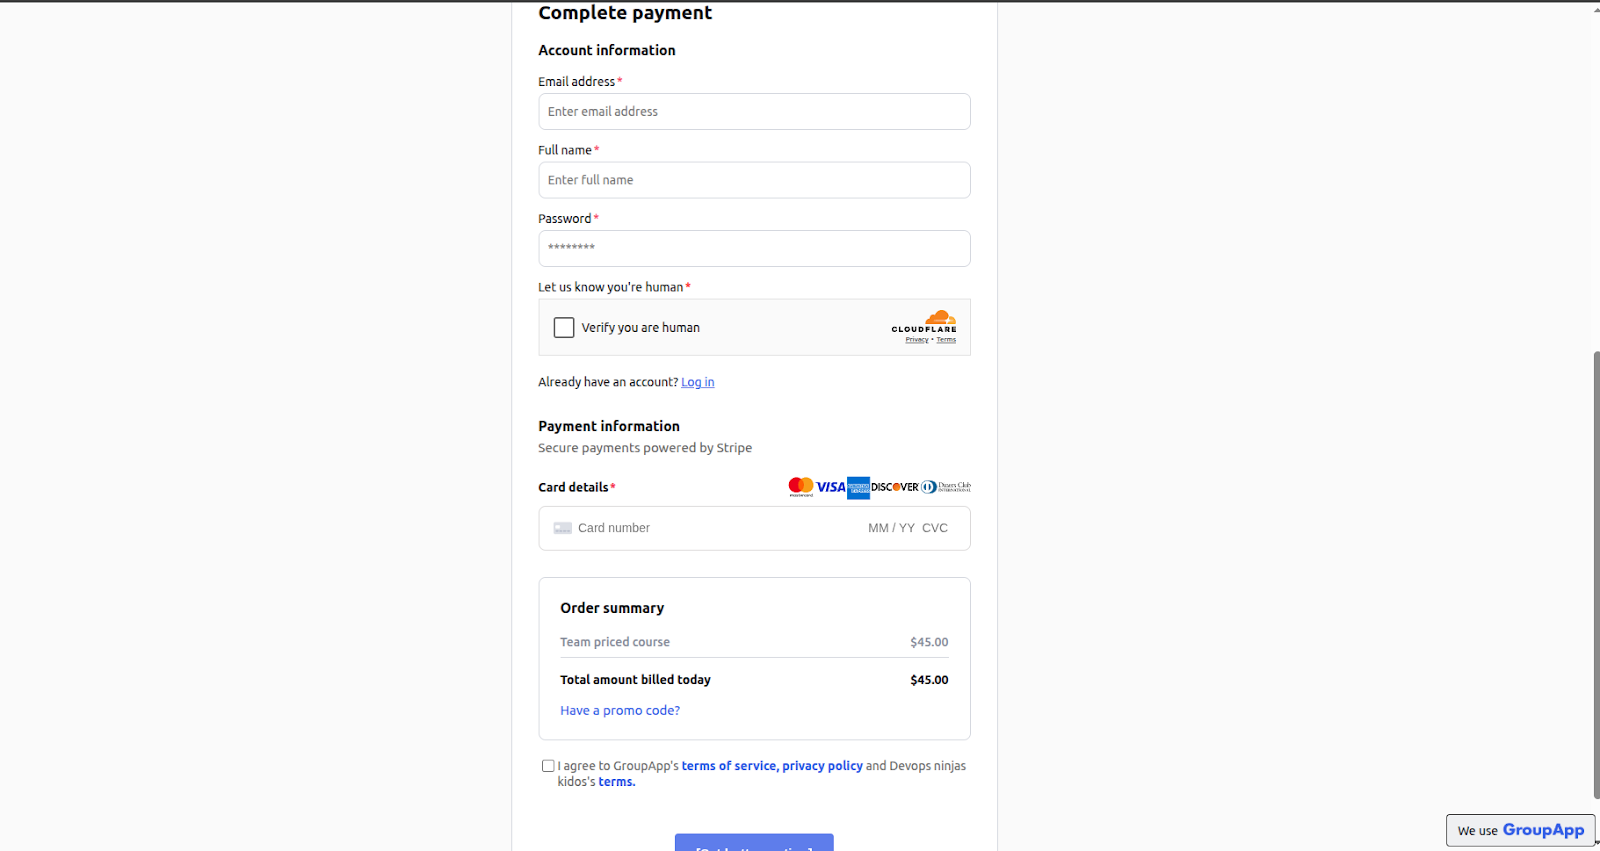
2. If a user is logged out
Sign-up form
Full Name
Password
Payment Credit Card Option field
Note: You can only add one of each payment block type per landing page.
