The Invite Page allows you to bring new members into your community using different invitation methods and access settings.
In this guide, you’ll learn how to access the Invite Page and how to invite members using the available invite methods.
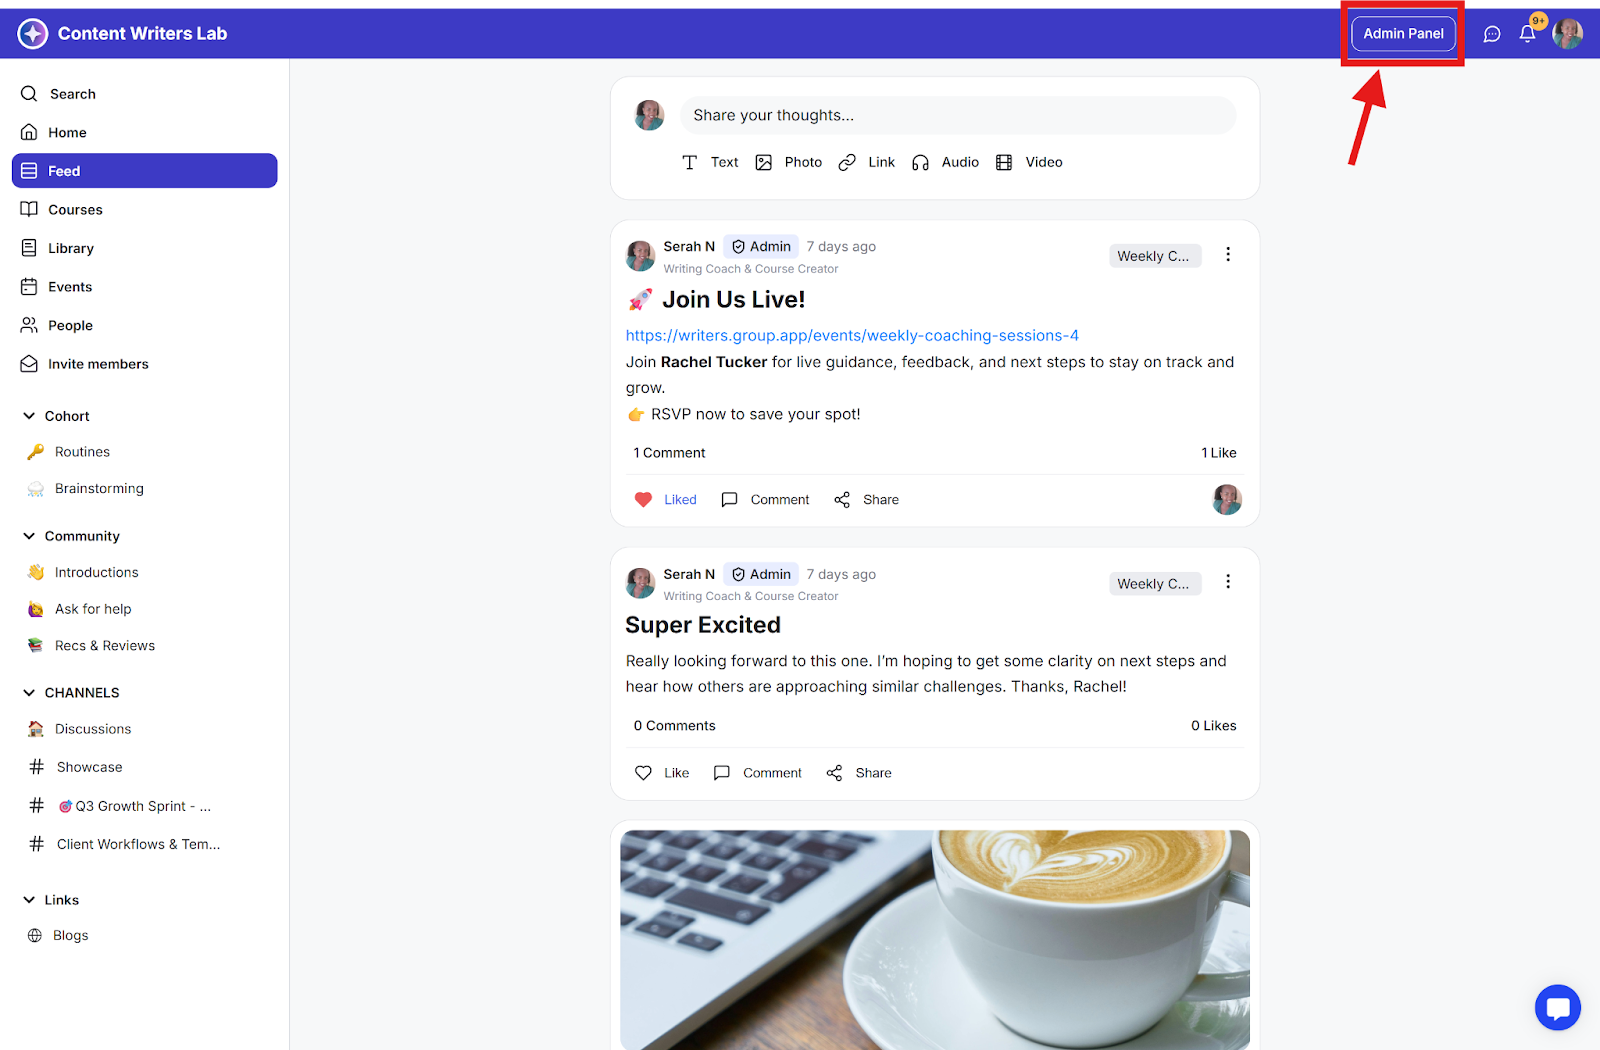
Step 1: Click on the Admin Panel button.
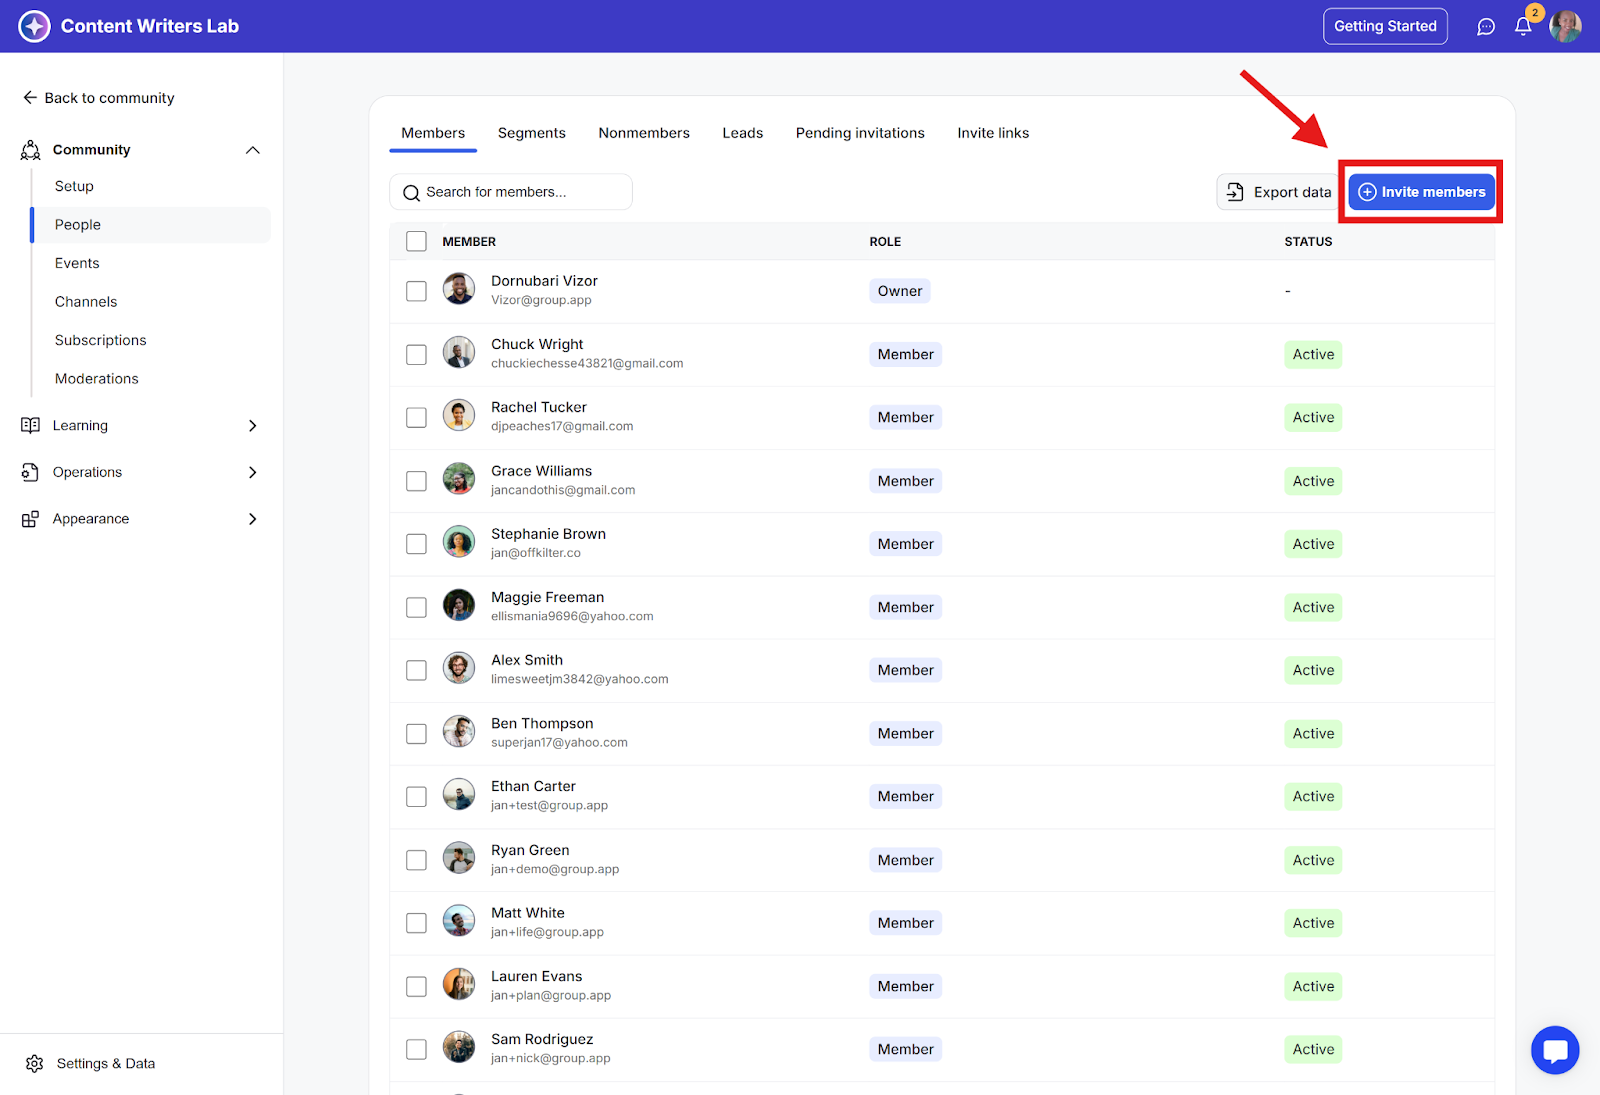
Step 2: Click on People on the left side menu, and on the People page, click on the blue Invite Members button.
Step 3: On the invite screen, you will have two options to select from to invite members into your community. Choose the invite method that best suits your use case.
Invite by link
Individual Invite by email
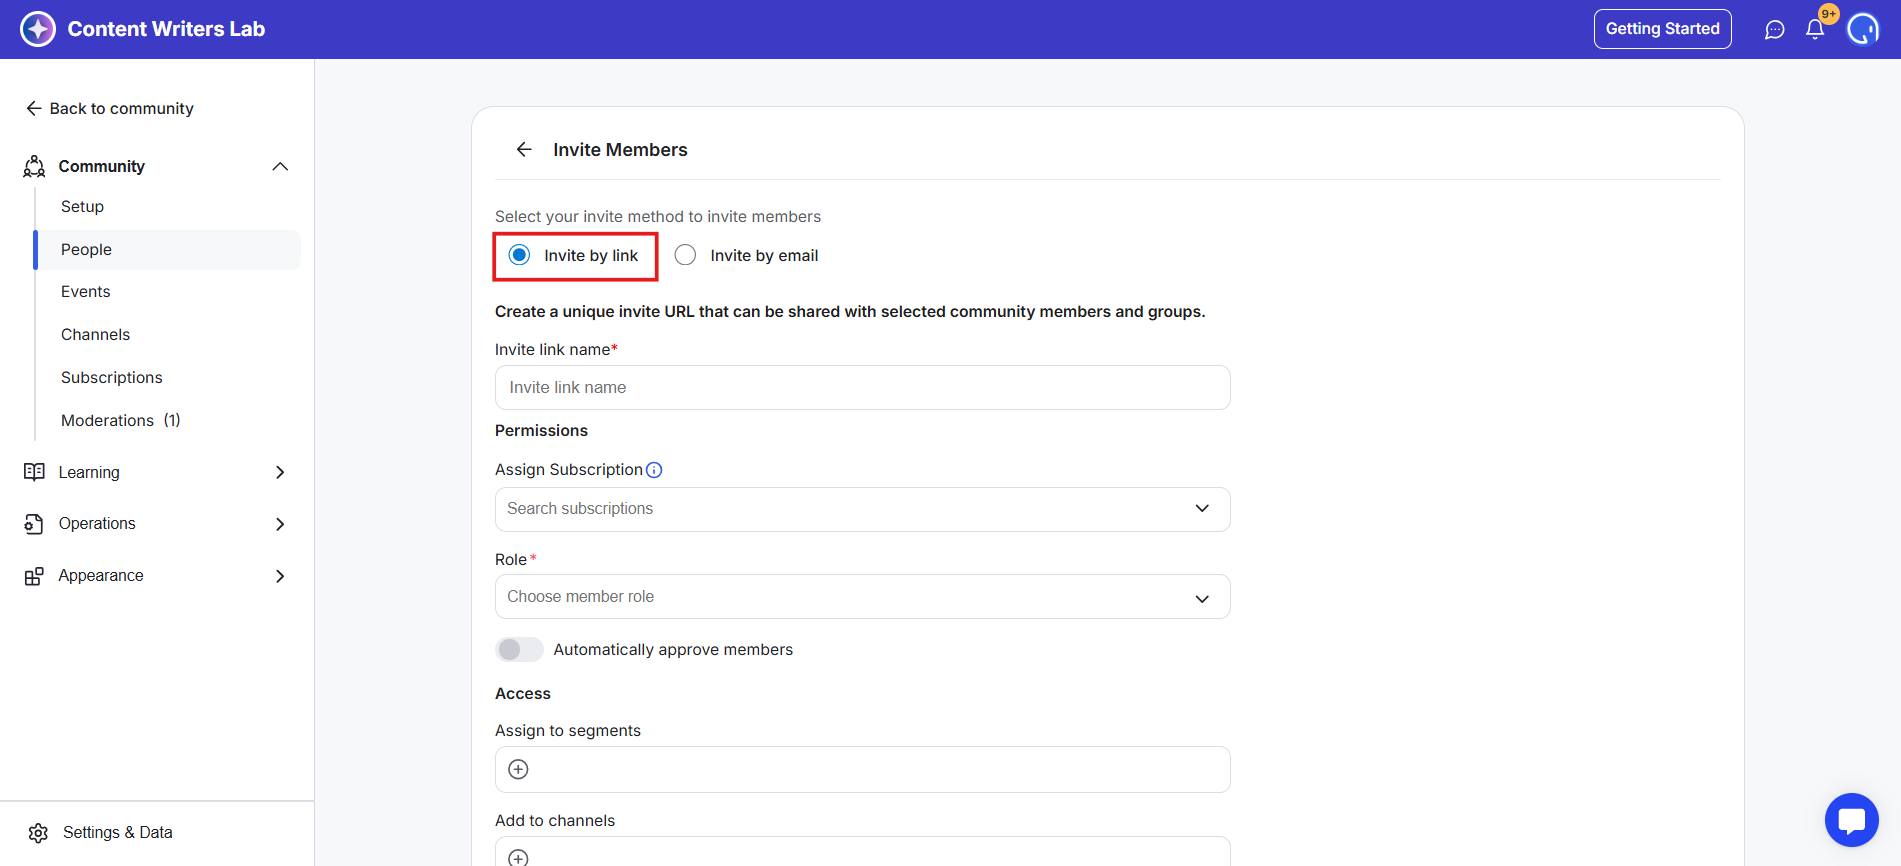
The Invite by Link option enables you to preconfigure permissions and access for members who join your community using a specific invite link.
You can use this feature to invite specific groups into your community, such as members of a coaching program or mastermind, students in a course cohort, or users accessing a paid course through a bundled subscription page.
When configuring your membership invitation, you have three options available to you:
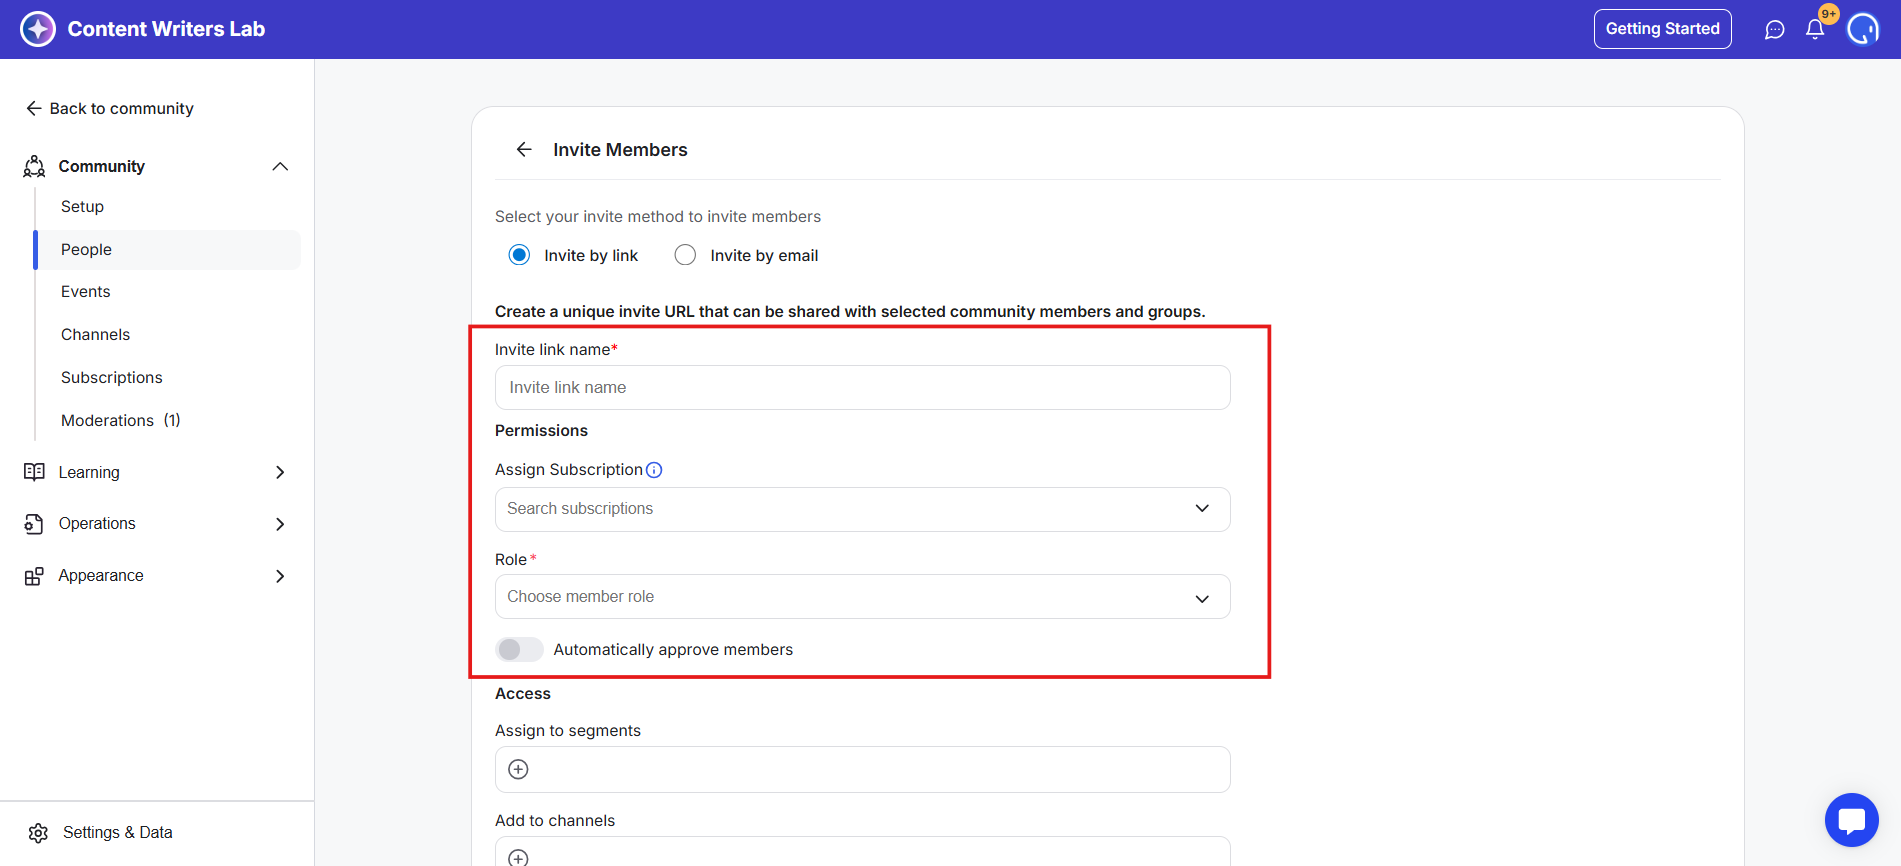
Role: You can assign the role you want an invited member to have inside your community.
Assign subscription: You can assign a specific membership subscription plan to an invitation. Invited members will then see this subscription plan during the sign-up process.
Automatically approve members: When this option is turned on, membership requests are automatically approved as soon as users sign up for your community.
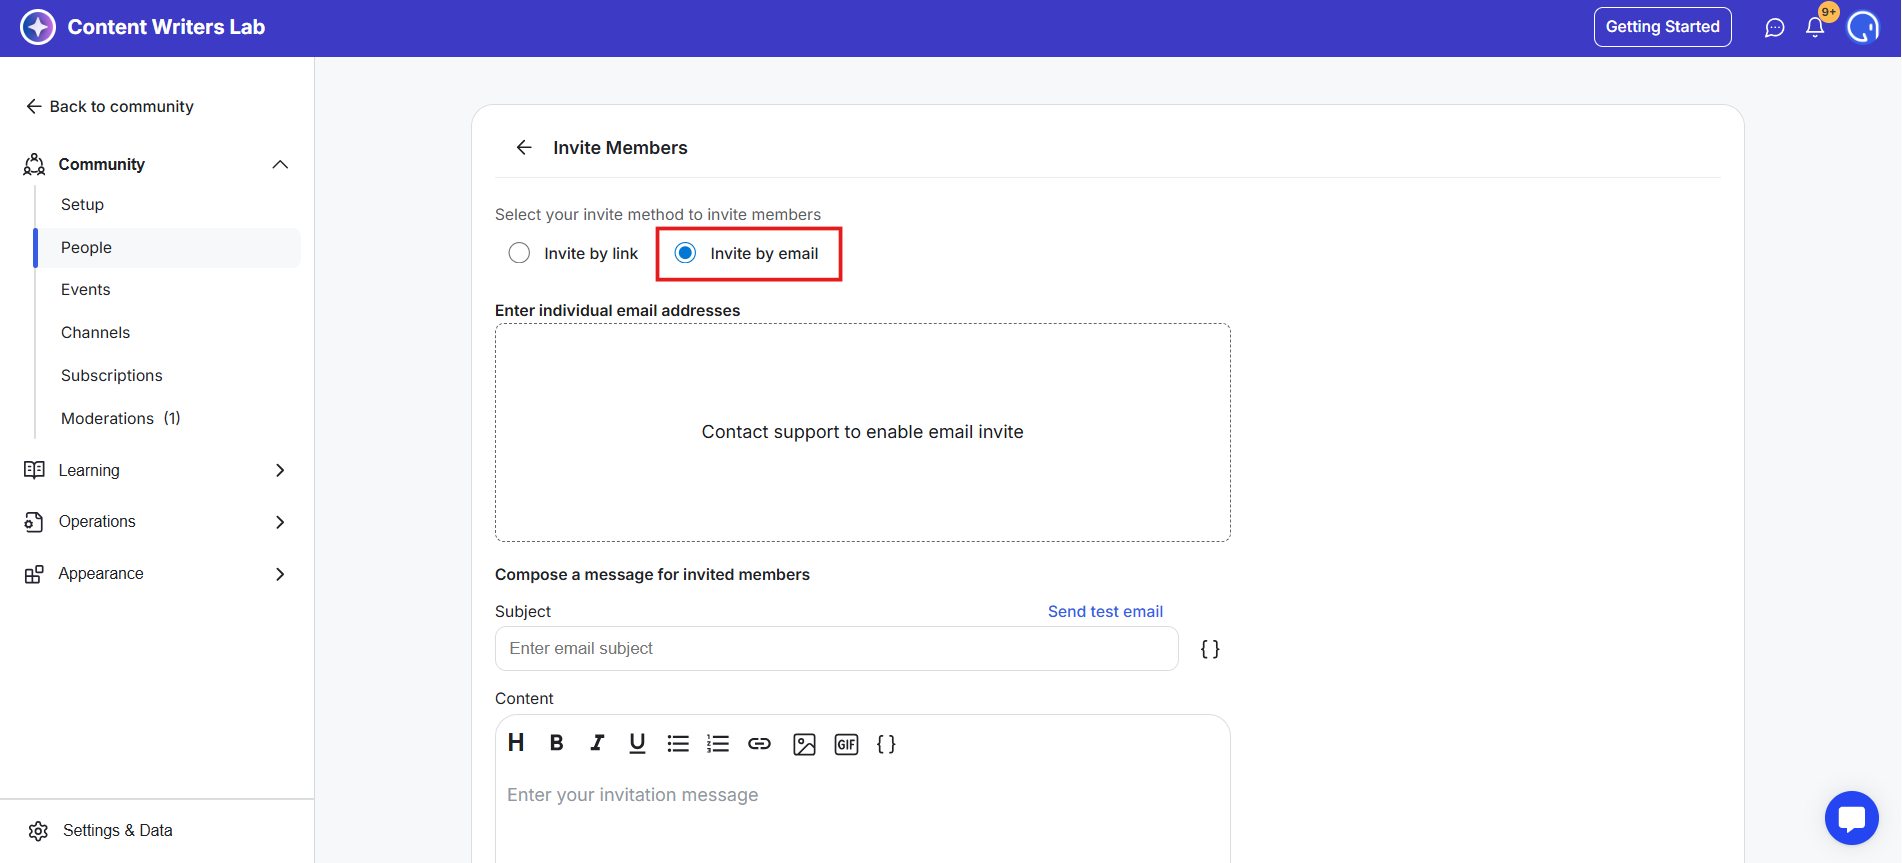
The Invite by Email option lets you invite specific individuals to join your community by entering their email address and full name. You can send up to 5 email invitations per day.
Note: To enable this option for your community, you’ll need to contact Support. The team will request some information to verify your community, and once approved, the option will be enabled for your community. This verification step is necessary to prevent spam and misuse.
Across invitation methods, you can define access options to control what invited members can access after they sign up.
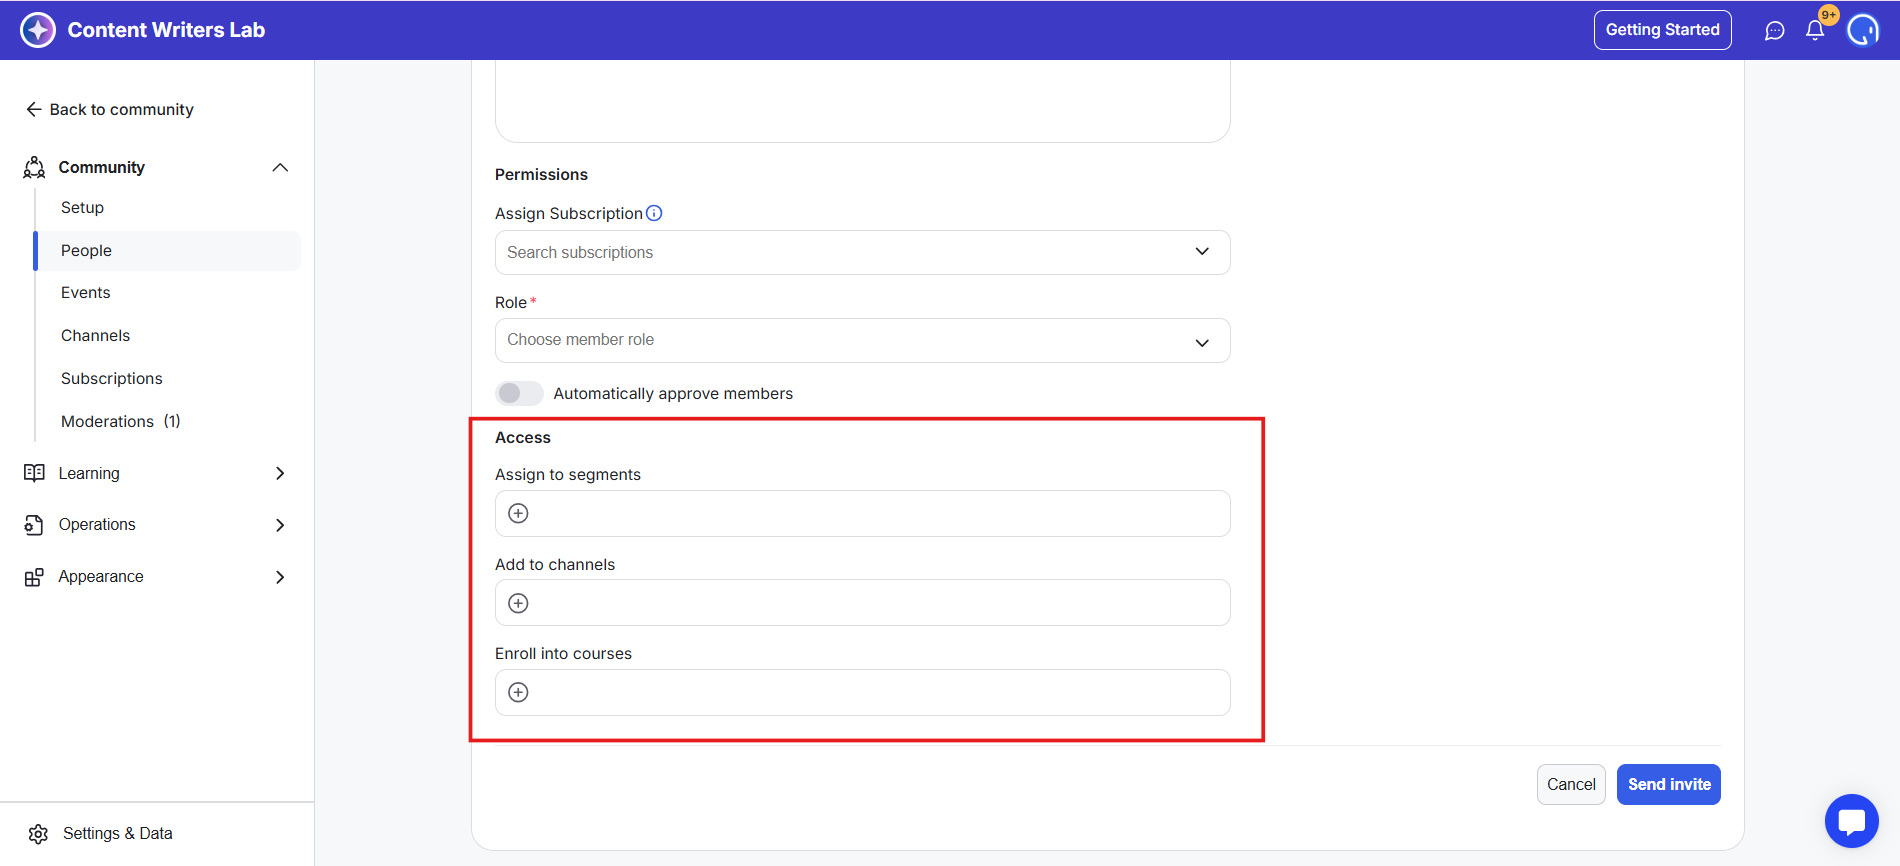
Assign to segments: After completing the sign-up process, the invited member will be added to the community segments that you select.
Add to channels: After completing the sign-up process, the invited member will be added and given access to the channel that you select.
Enroll in courses: After completing the sign-up process, invited members will be automatically enrolled in the courses you select.
To view pending membership invitations sent via email invitations, click the Pending Invitations tab on the People page.
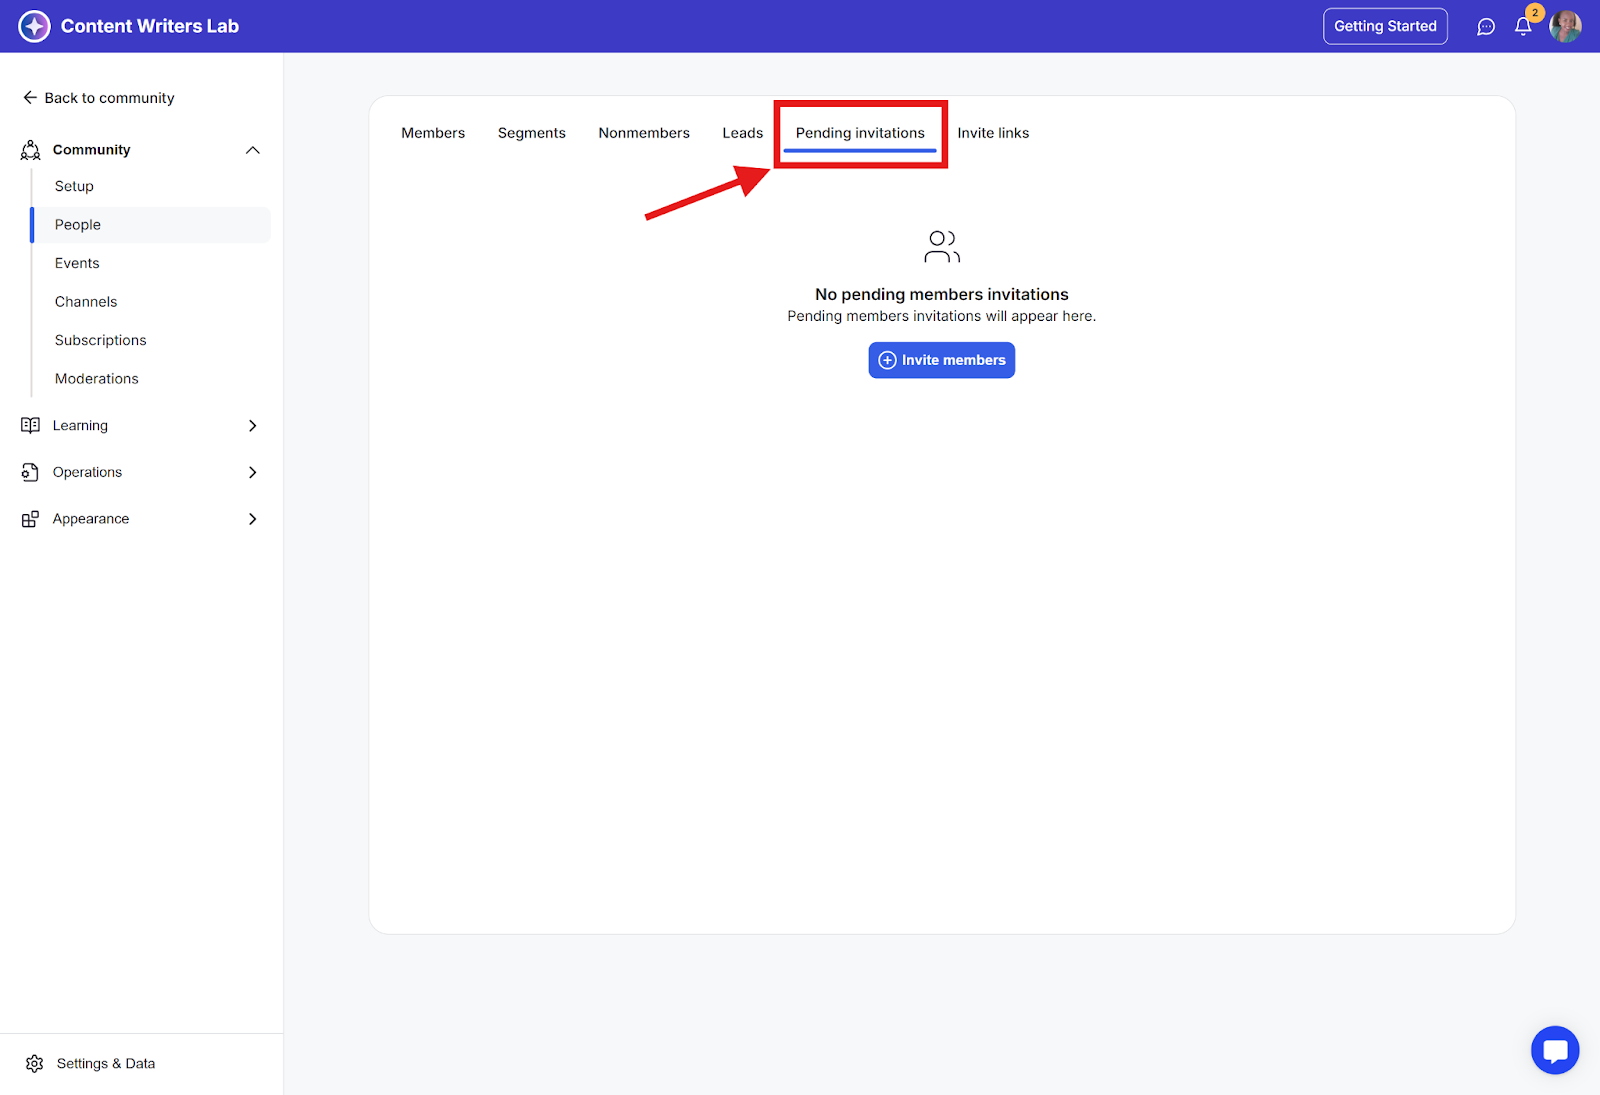
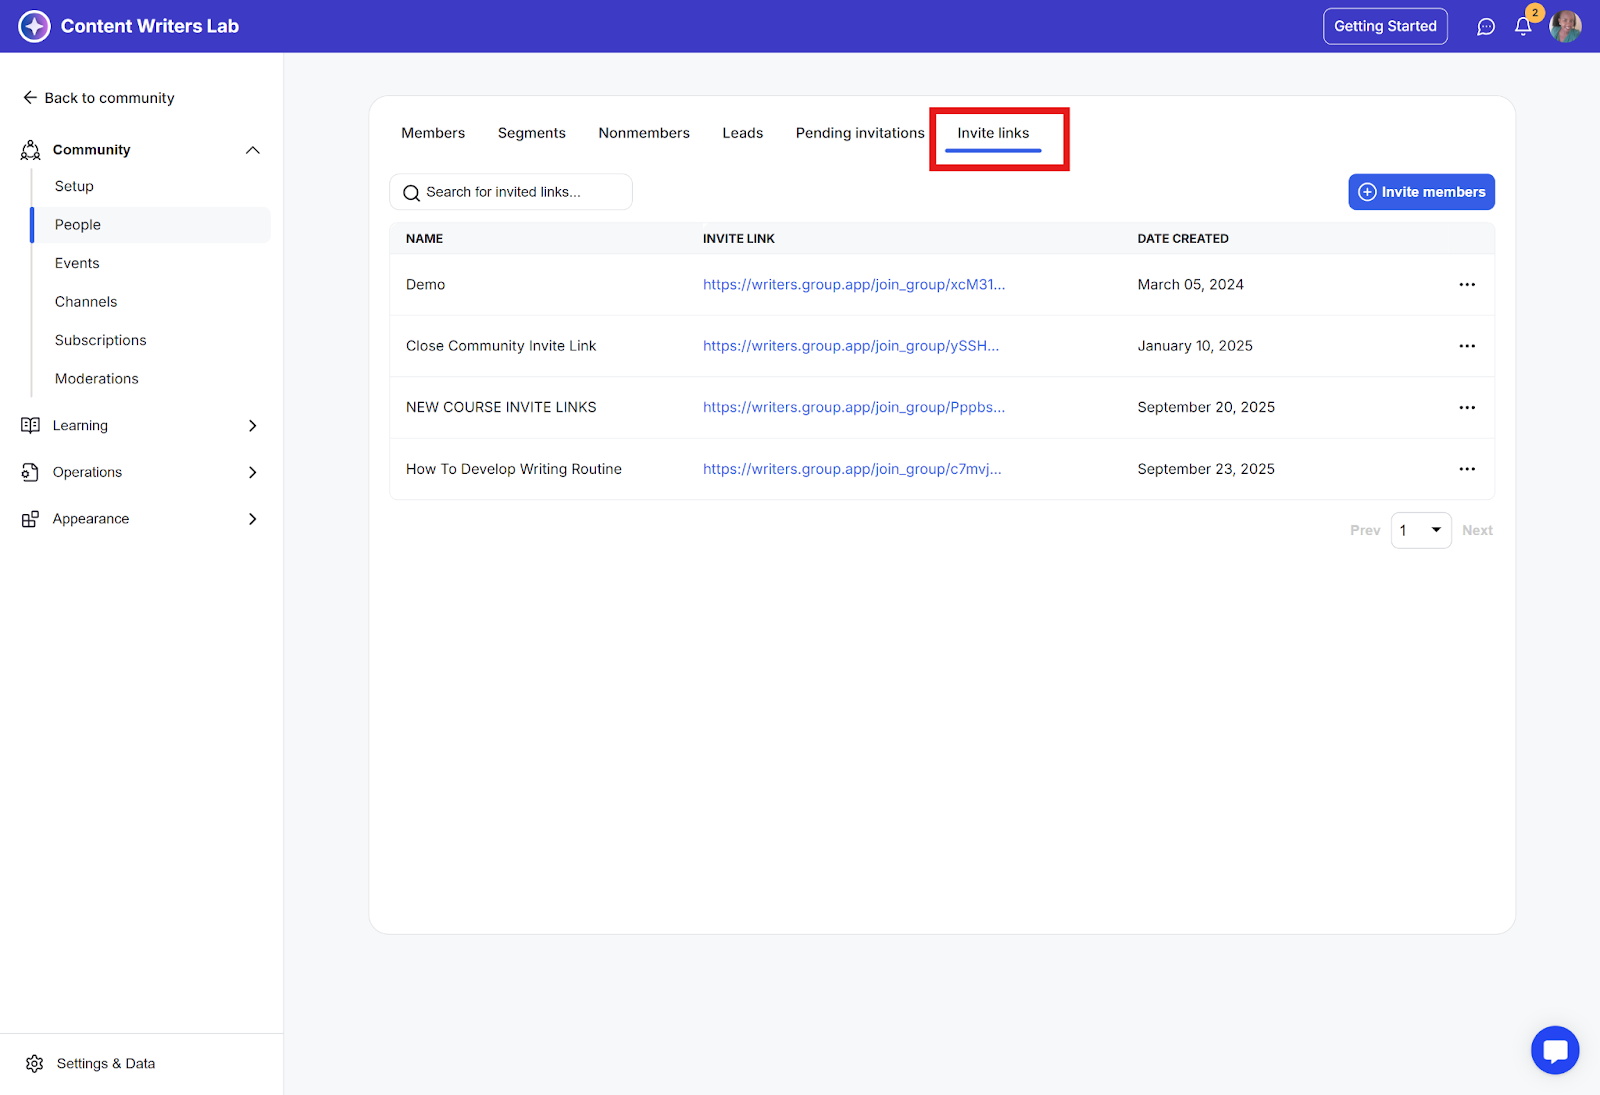
To find the invite links you’ve created, go to the People page and click Invite links next to the Pending invitations menu.