Setting up course certificates boosts credibility and motivates learners. In this guide, you'll learn how to upload a certificate template and personalize it with details like the course name, student name, and certificate issue date.
Create a certificate template using your preferred tool, such as Canva or Photoshop.
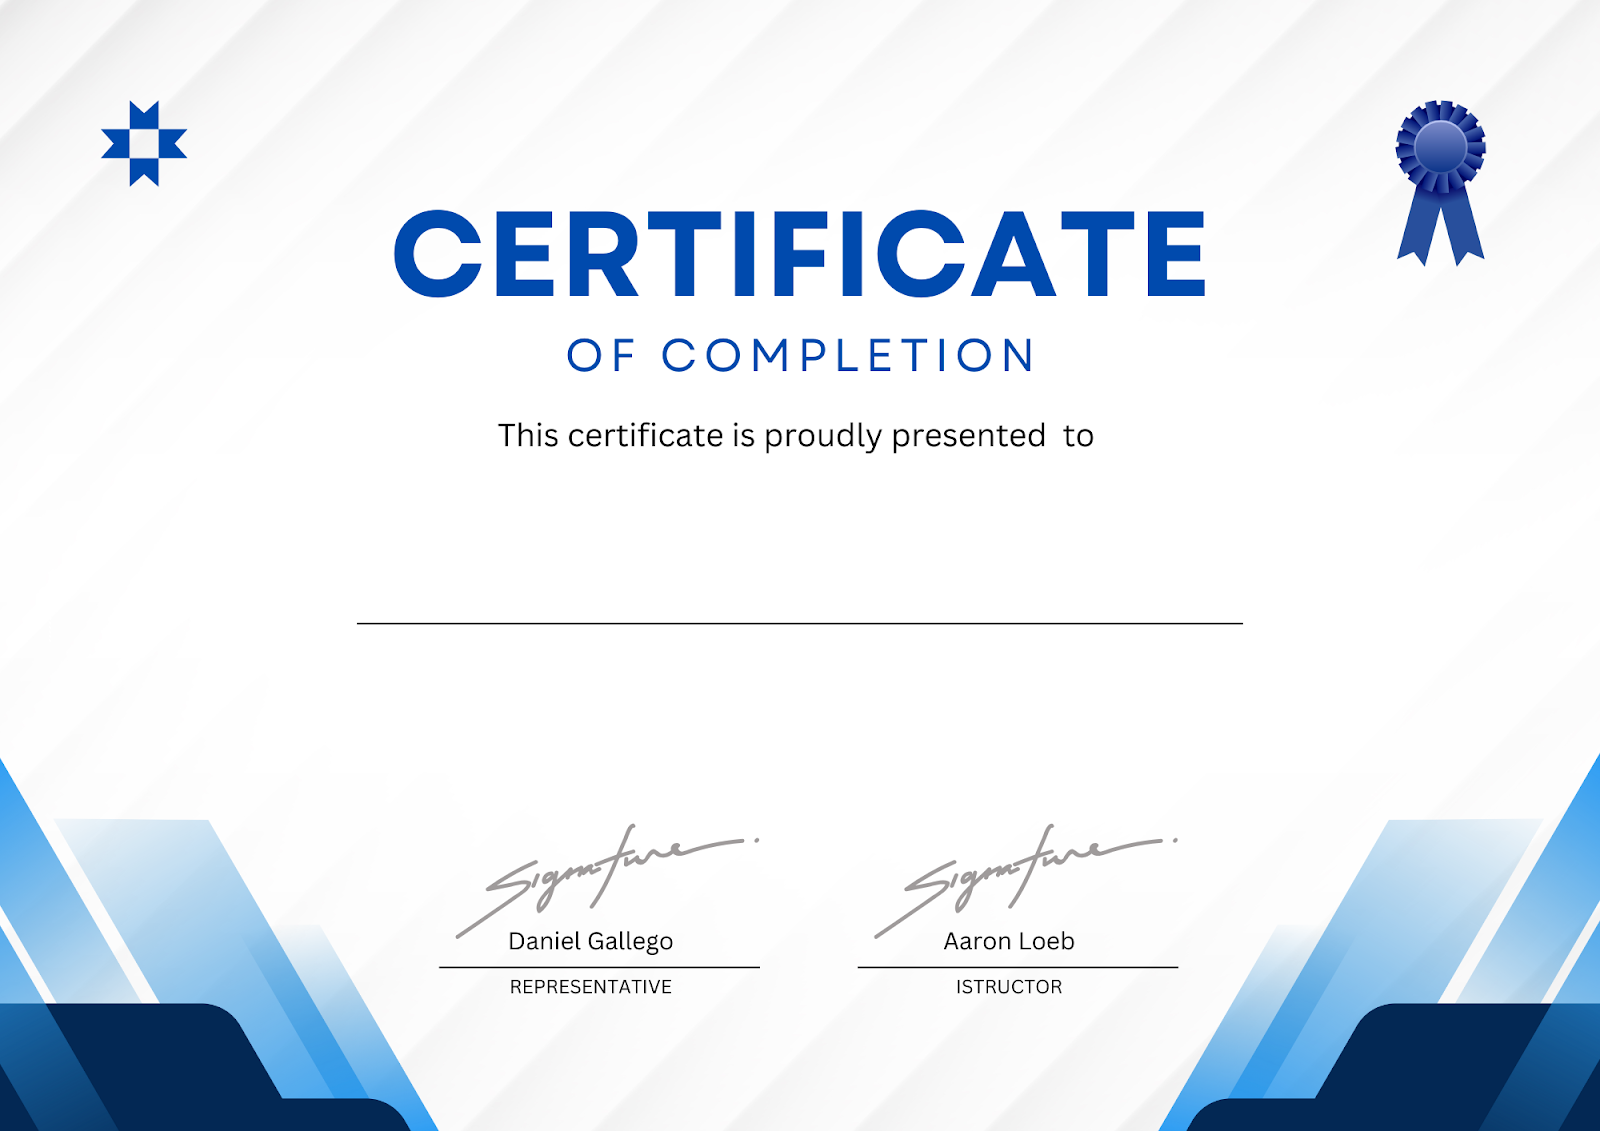
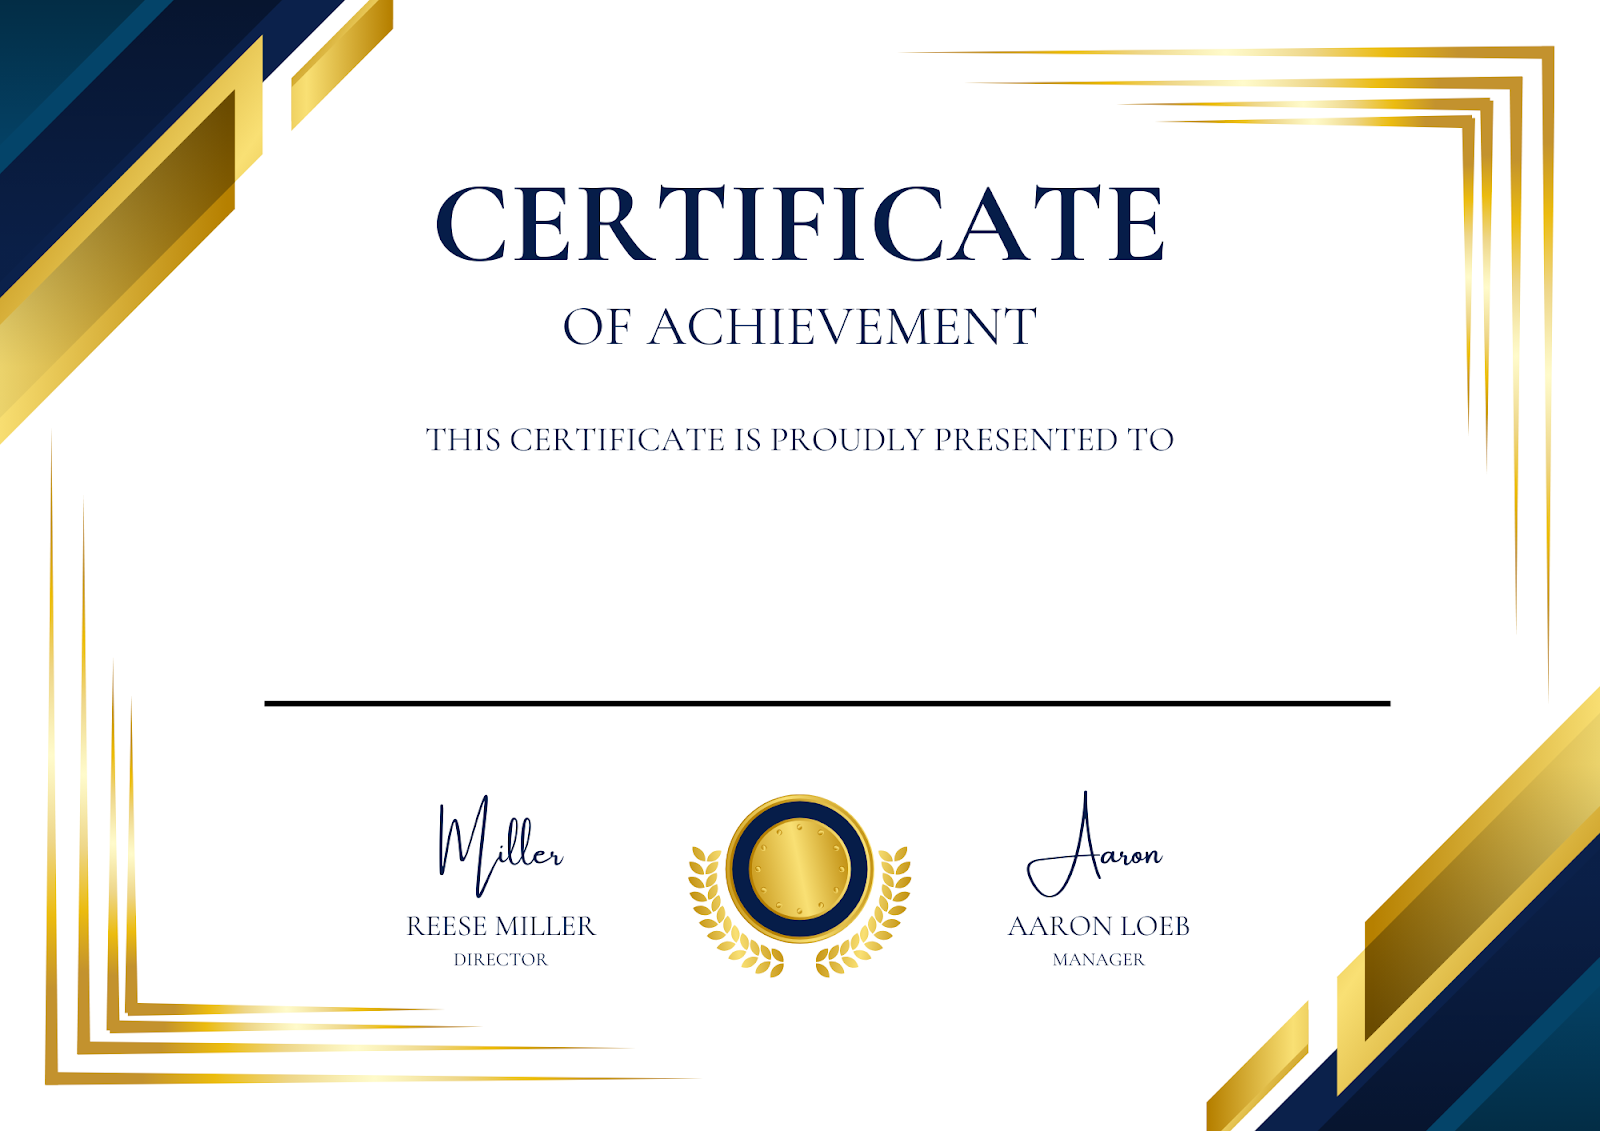
Below are examples of sample template images.
Step 1: Click on the Admin Panel button.

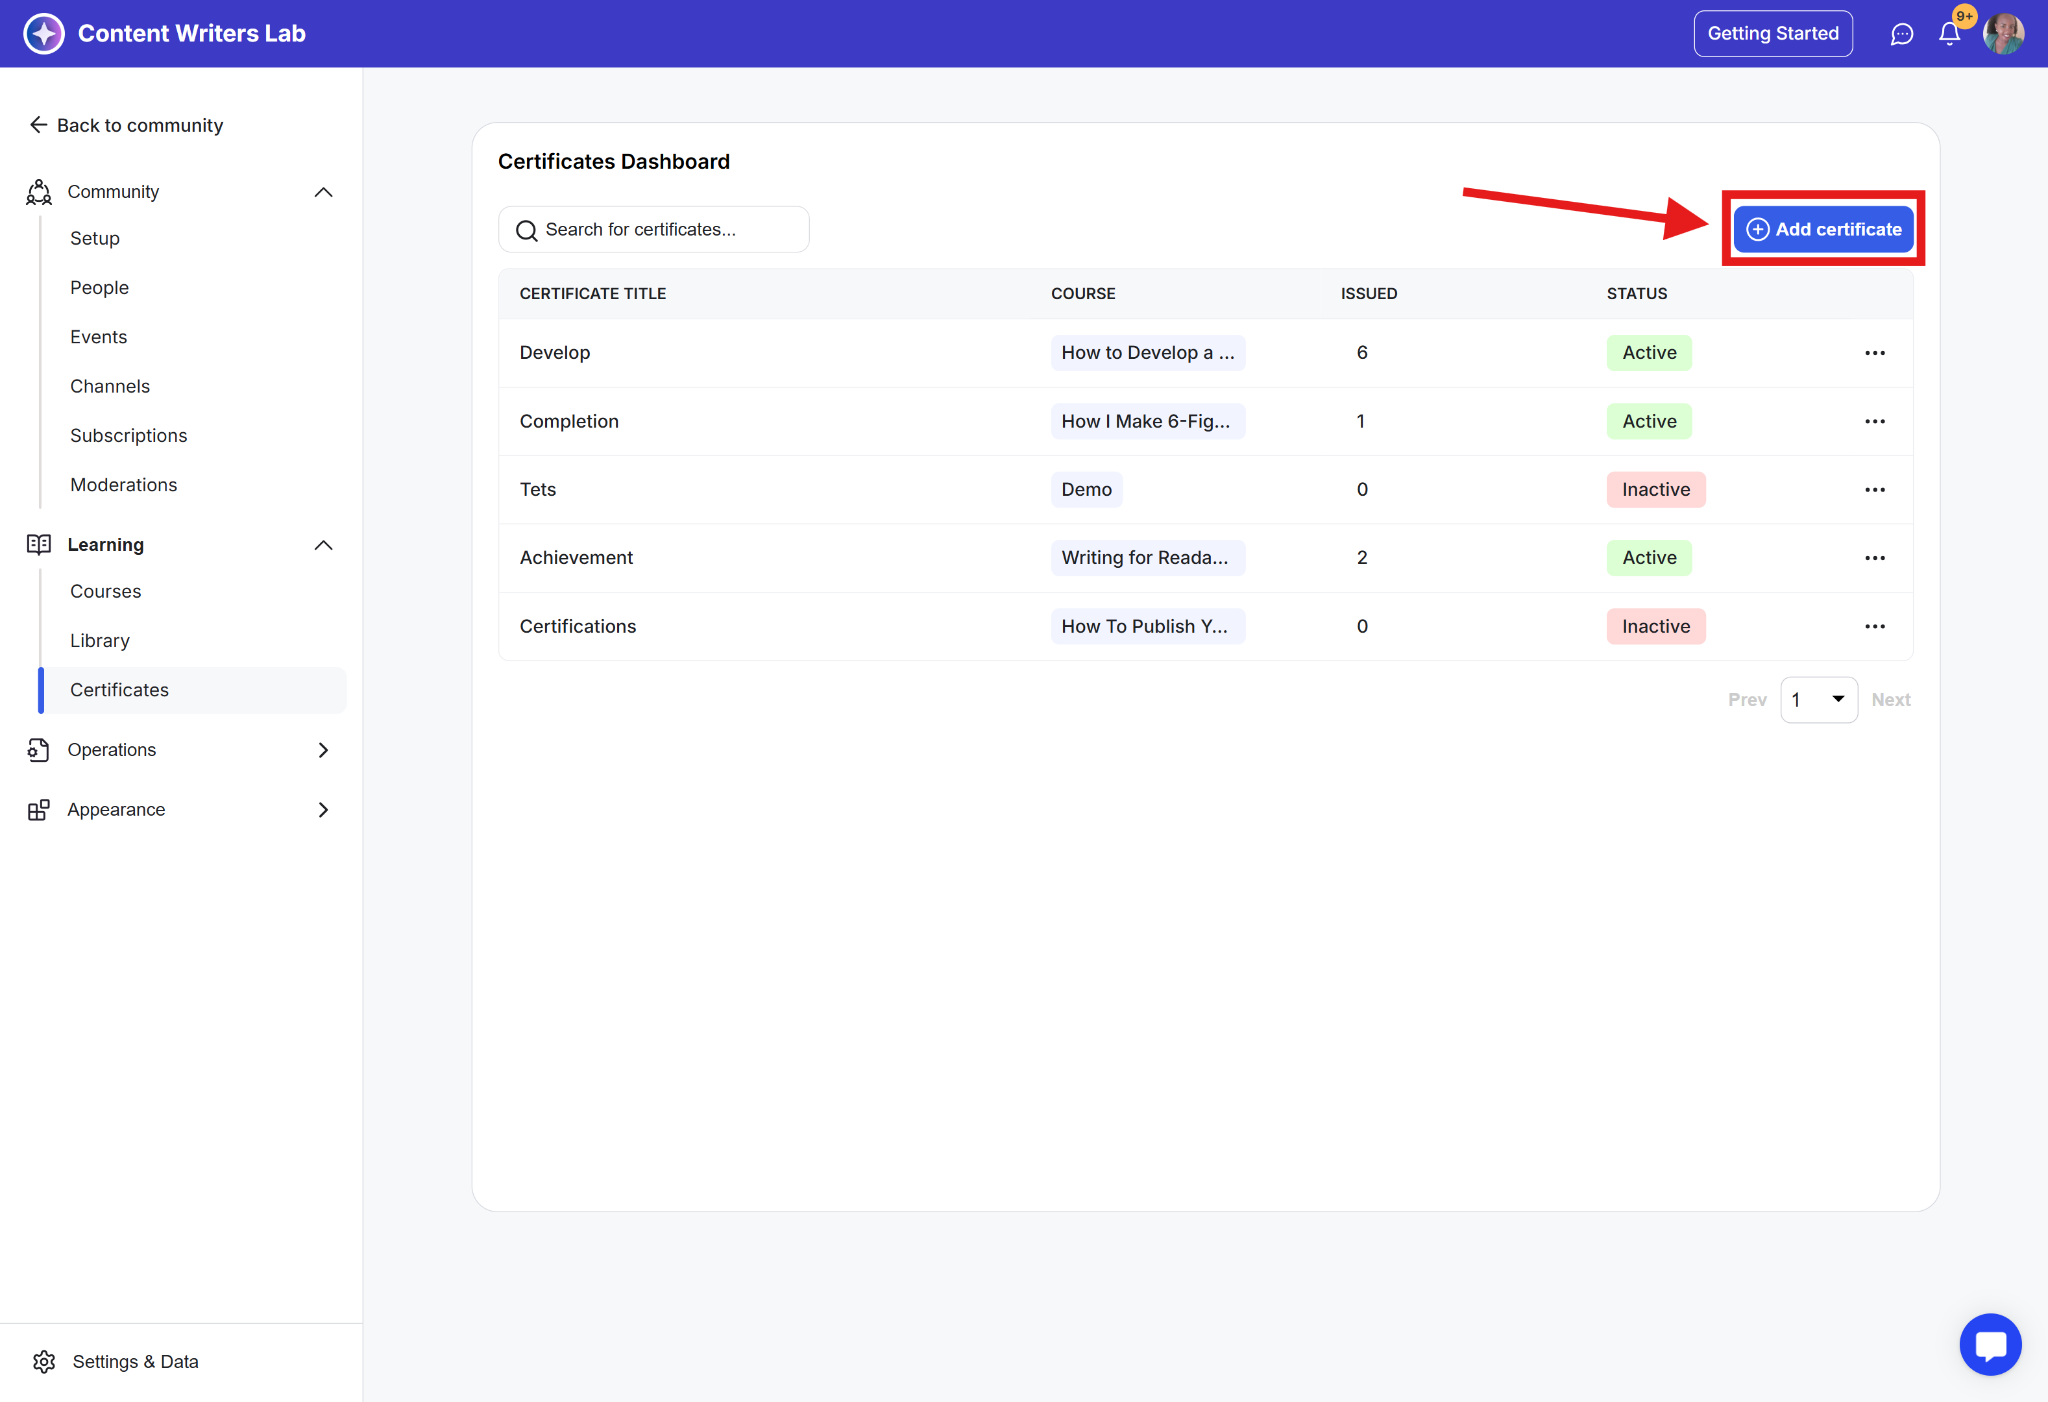
Step 2: Go to Learning on the side menu and select Certificates.

Step 3: Click on the Add Certificate button.
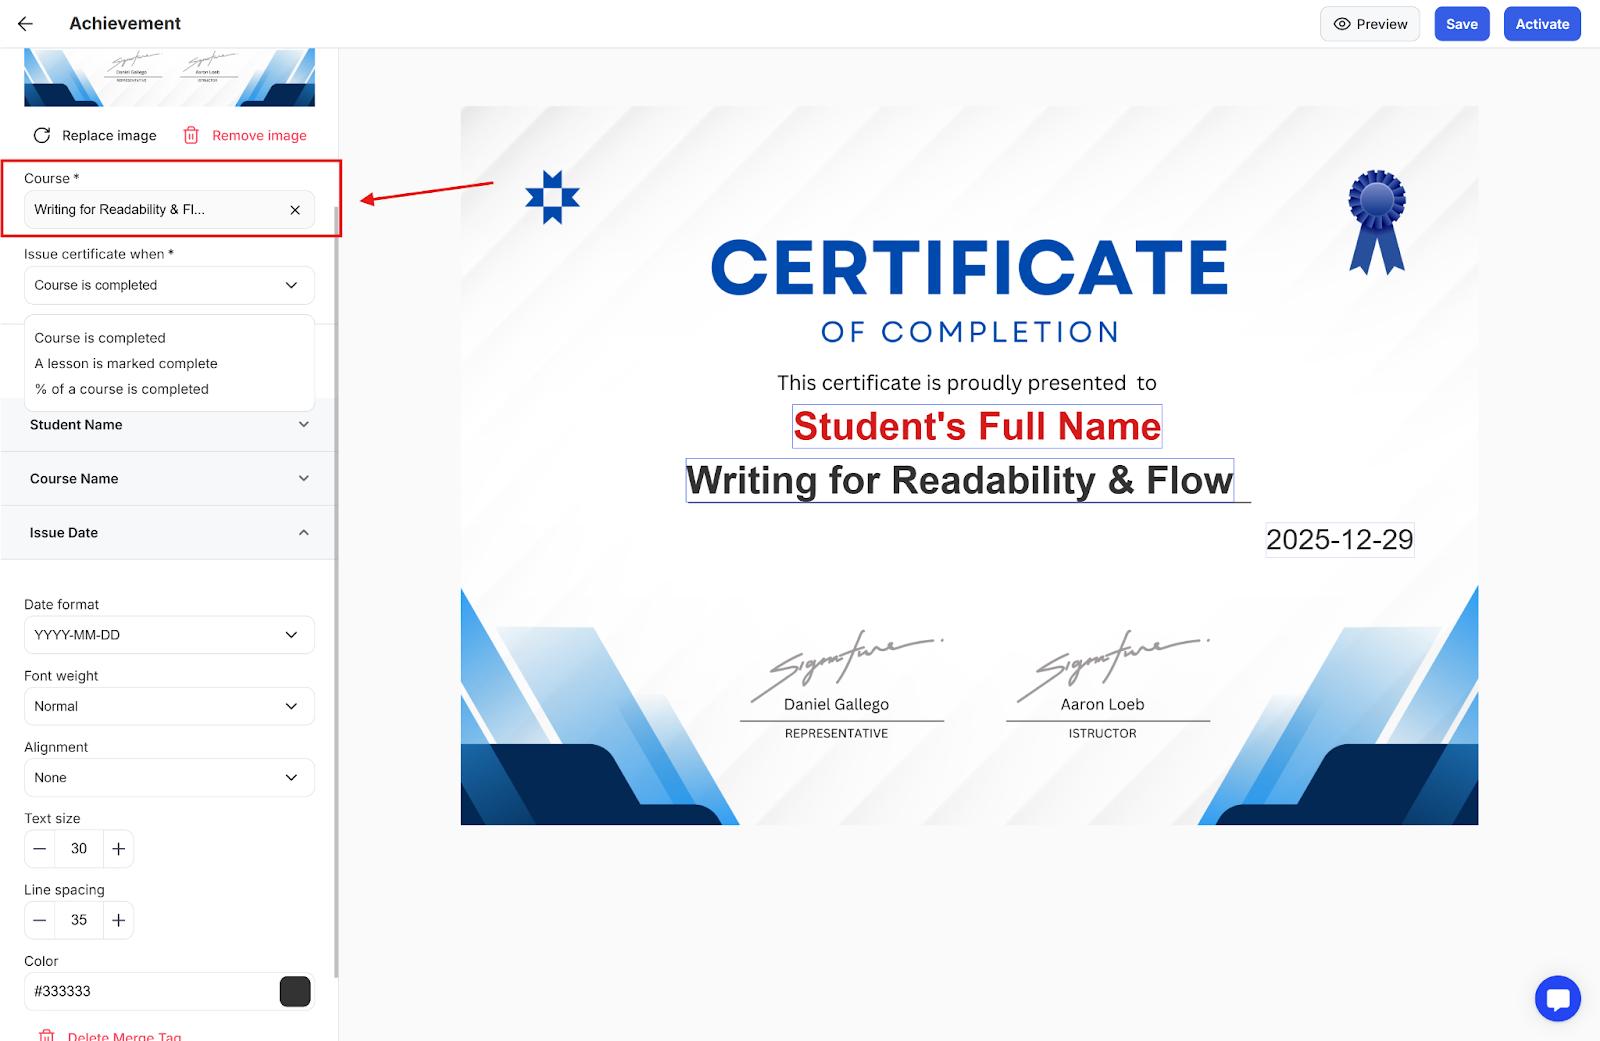
Step 4: Enter the certificate Title and assign it to a course, then click the Next button to proceed.
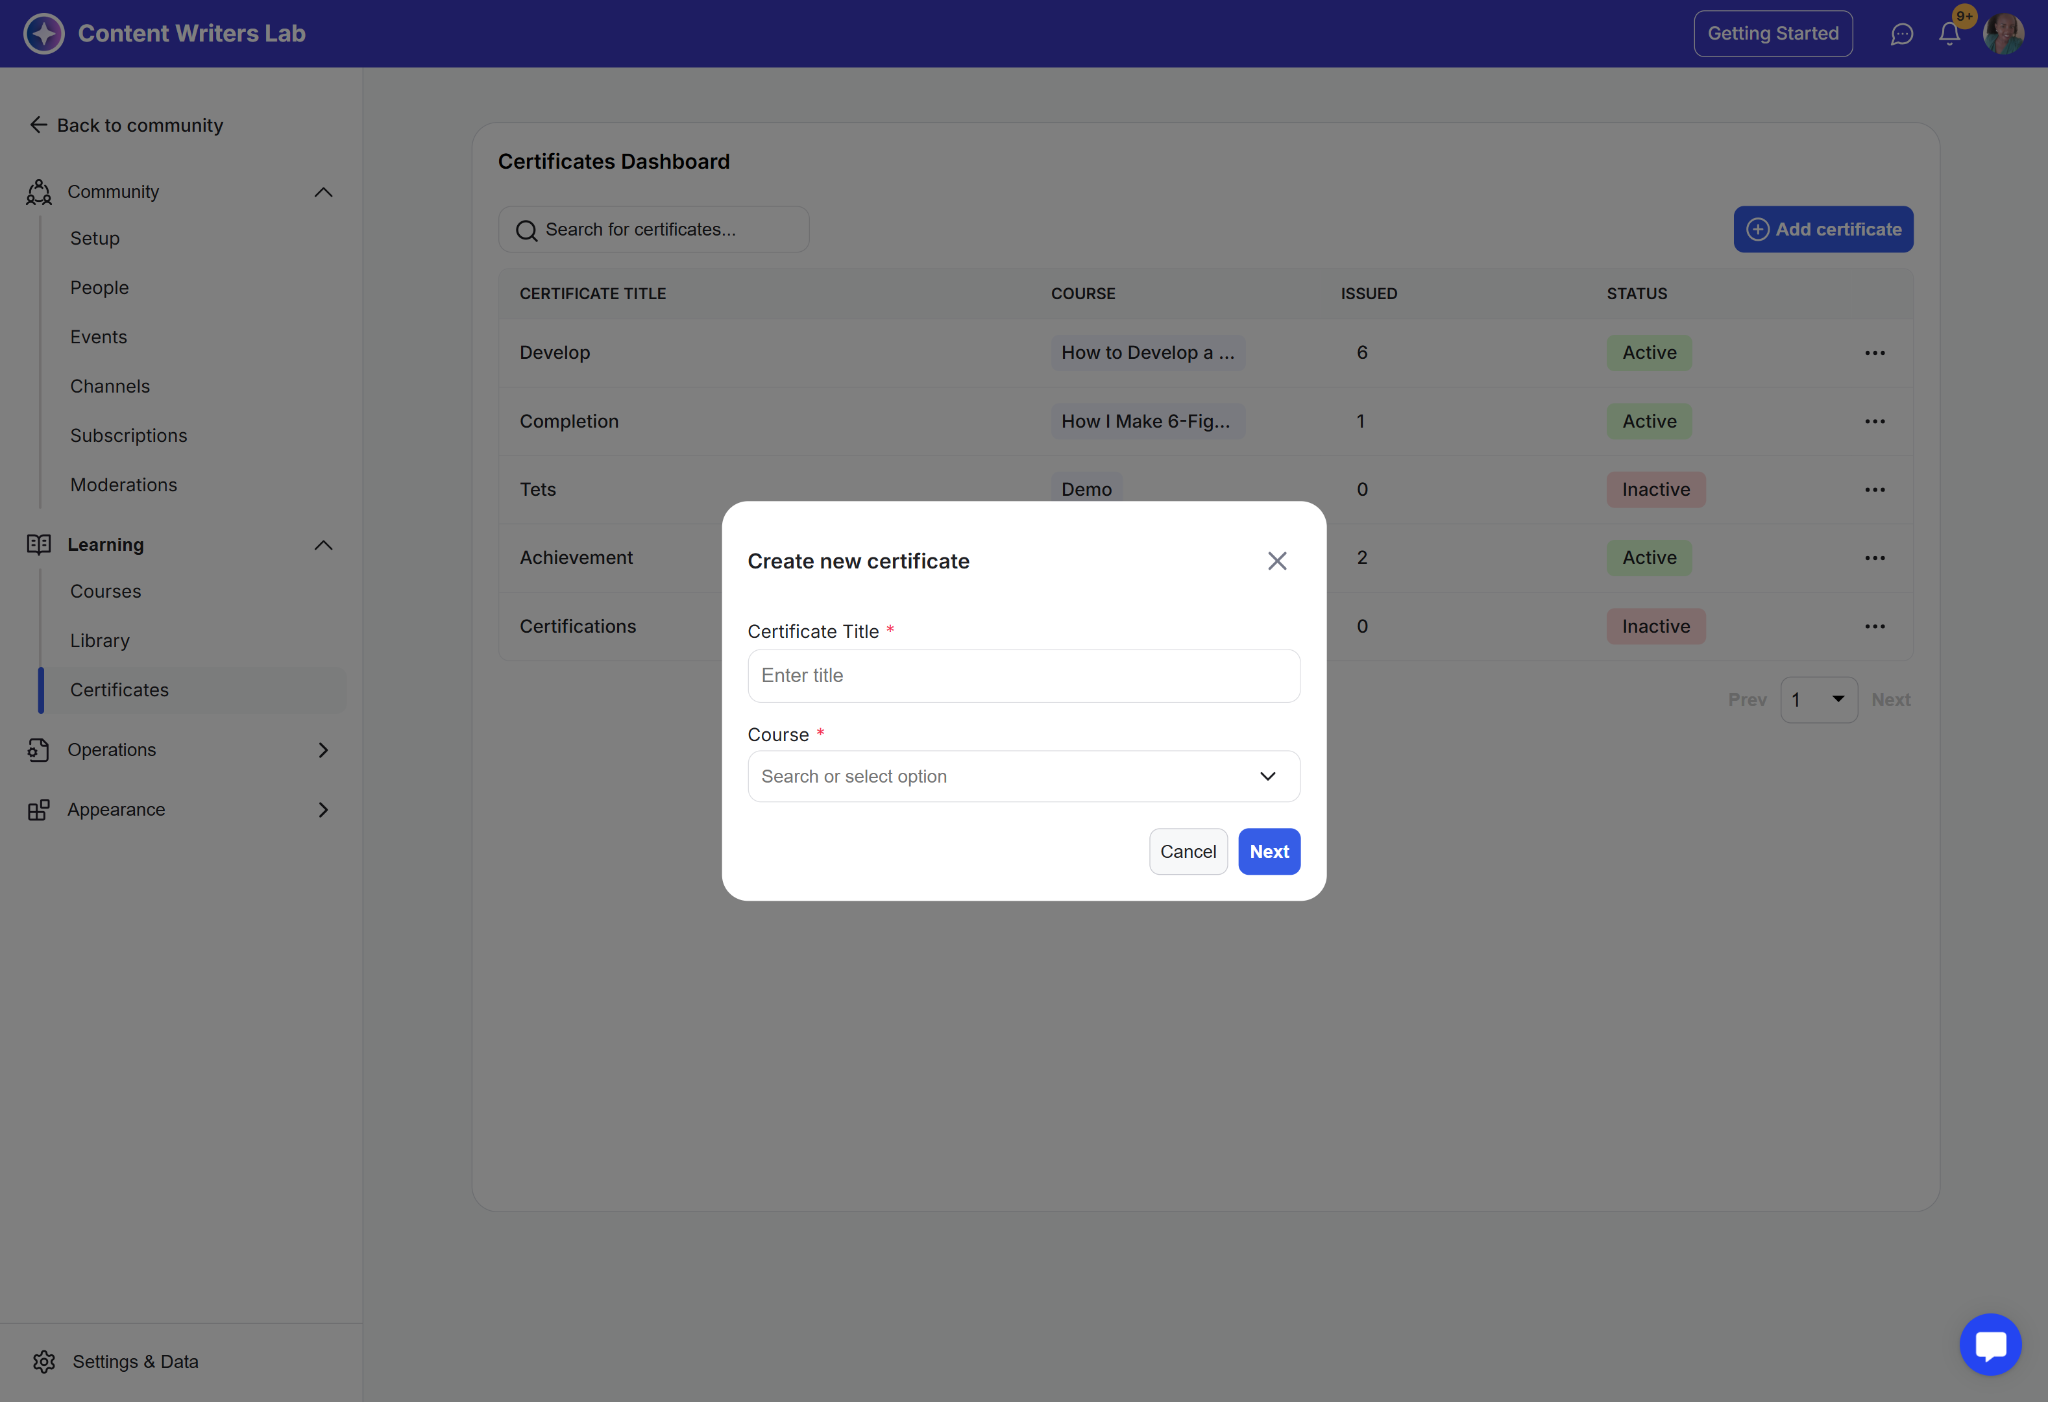
NOTE: You can only assign a certificate to one course.
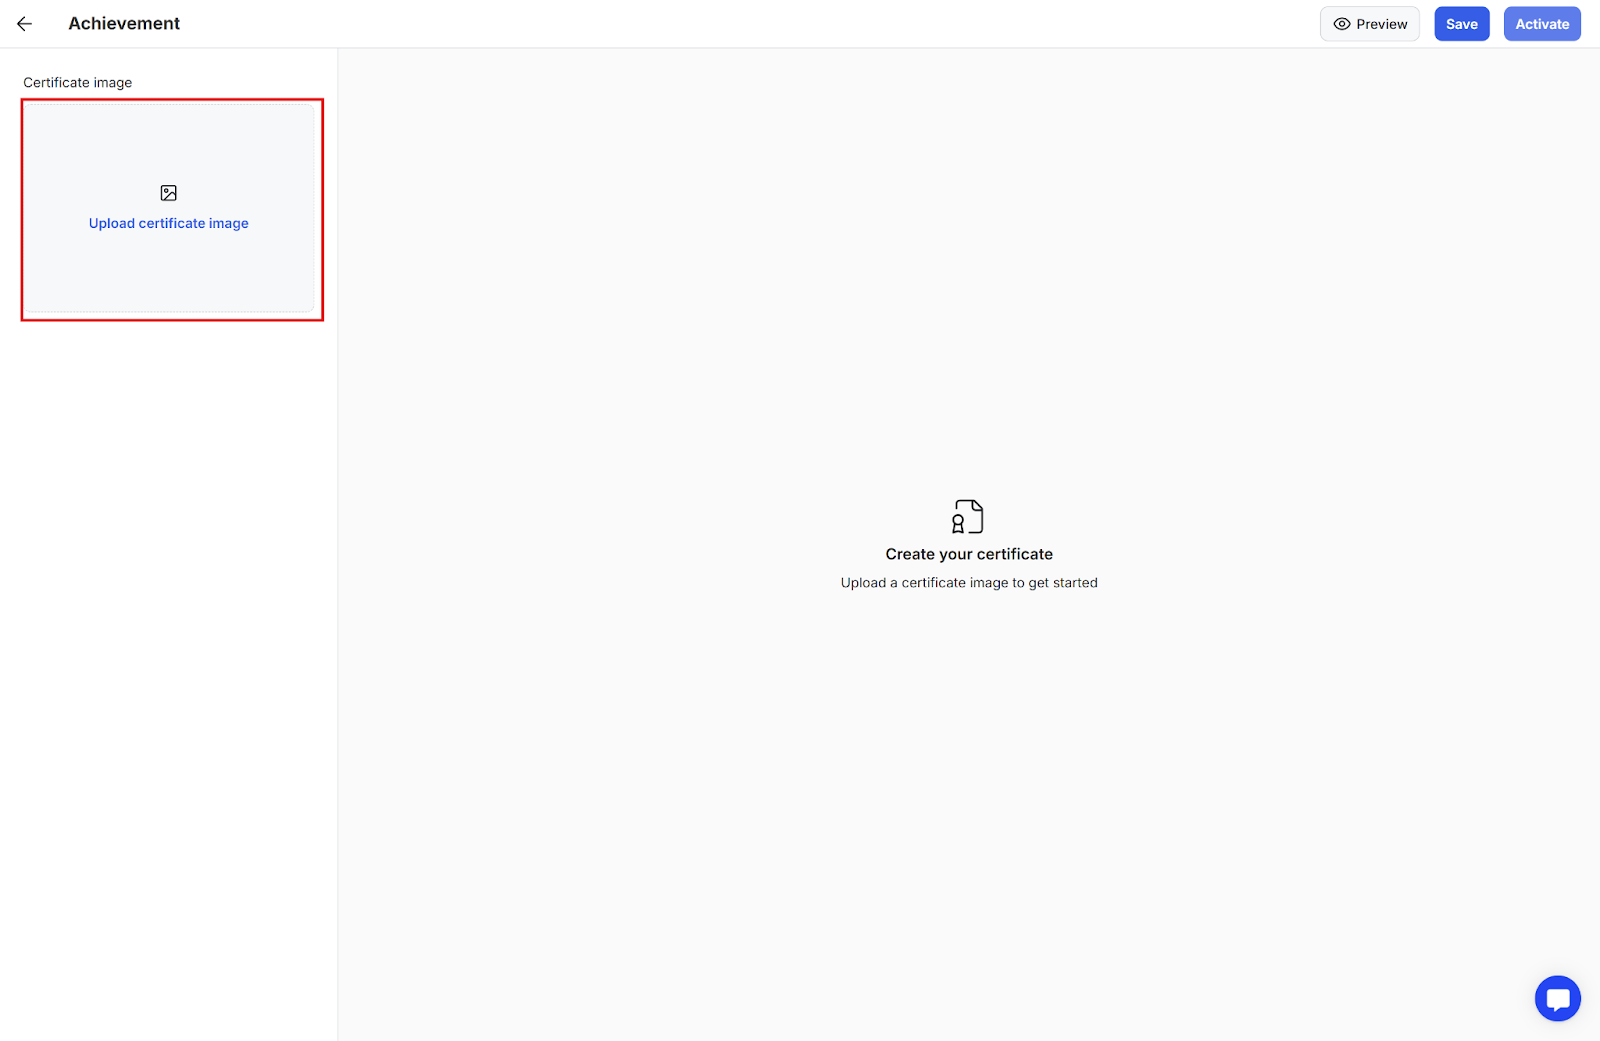
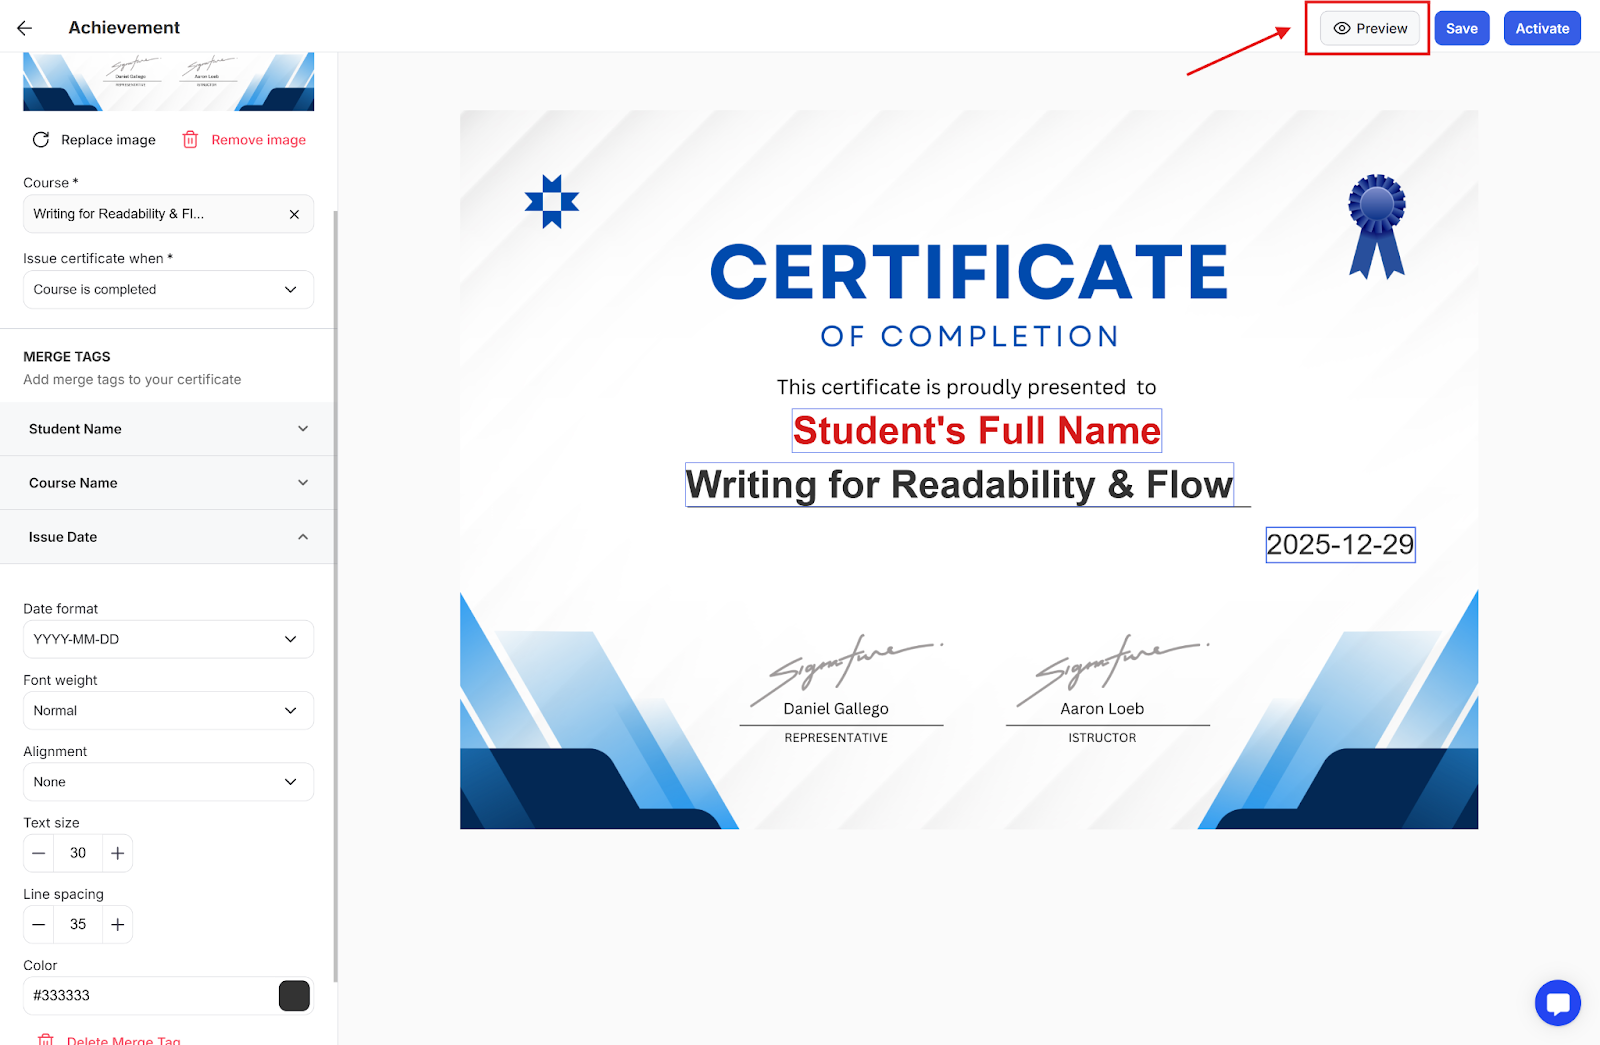
Step 1: Once inside the certificate builder, click Upload Certificate image to upload the image and start editing.
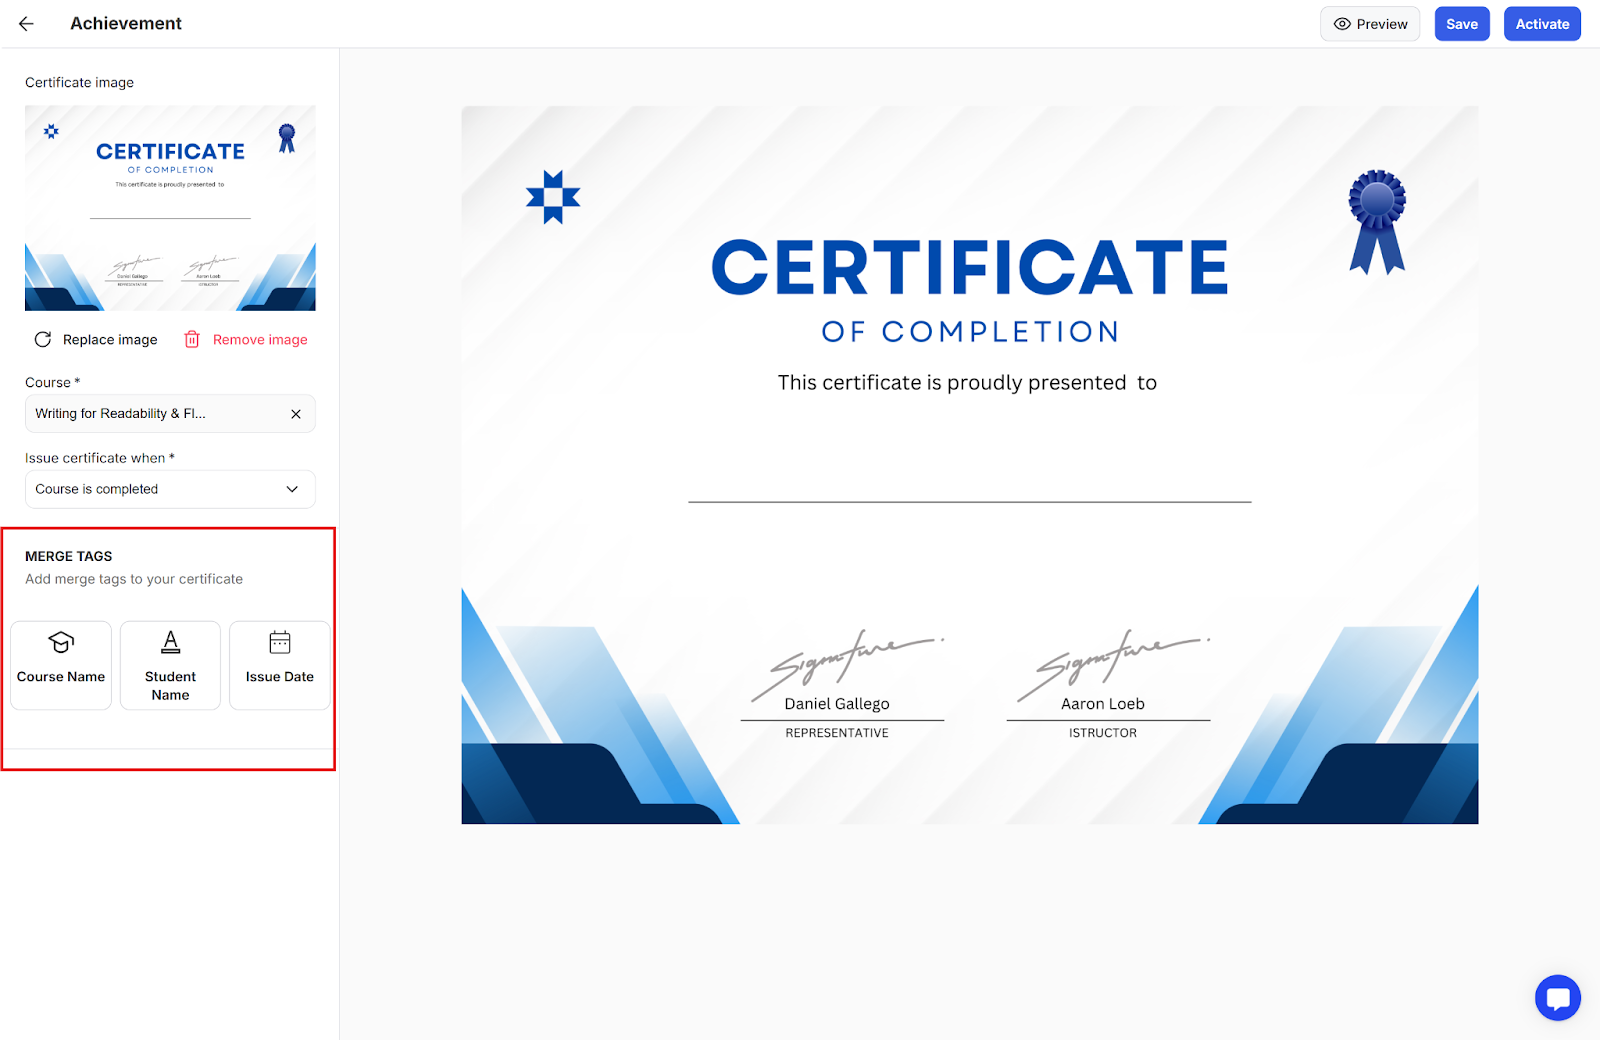
Step 2: After uploading the certificate image, click the merge tags to add them to the image surface. The merge tags include:
Course name
Student name
Issue date
Step 3: Merge tags can be dragged and positioned anywhere on the certificate as per your preference. The placement of the merge tags will appear exactly as positioned in the final issued certificate.
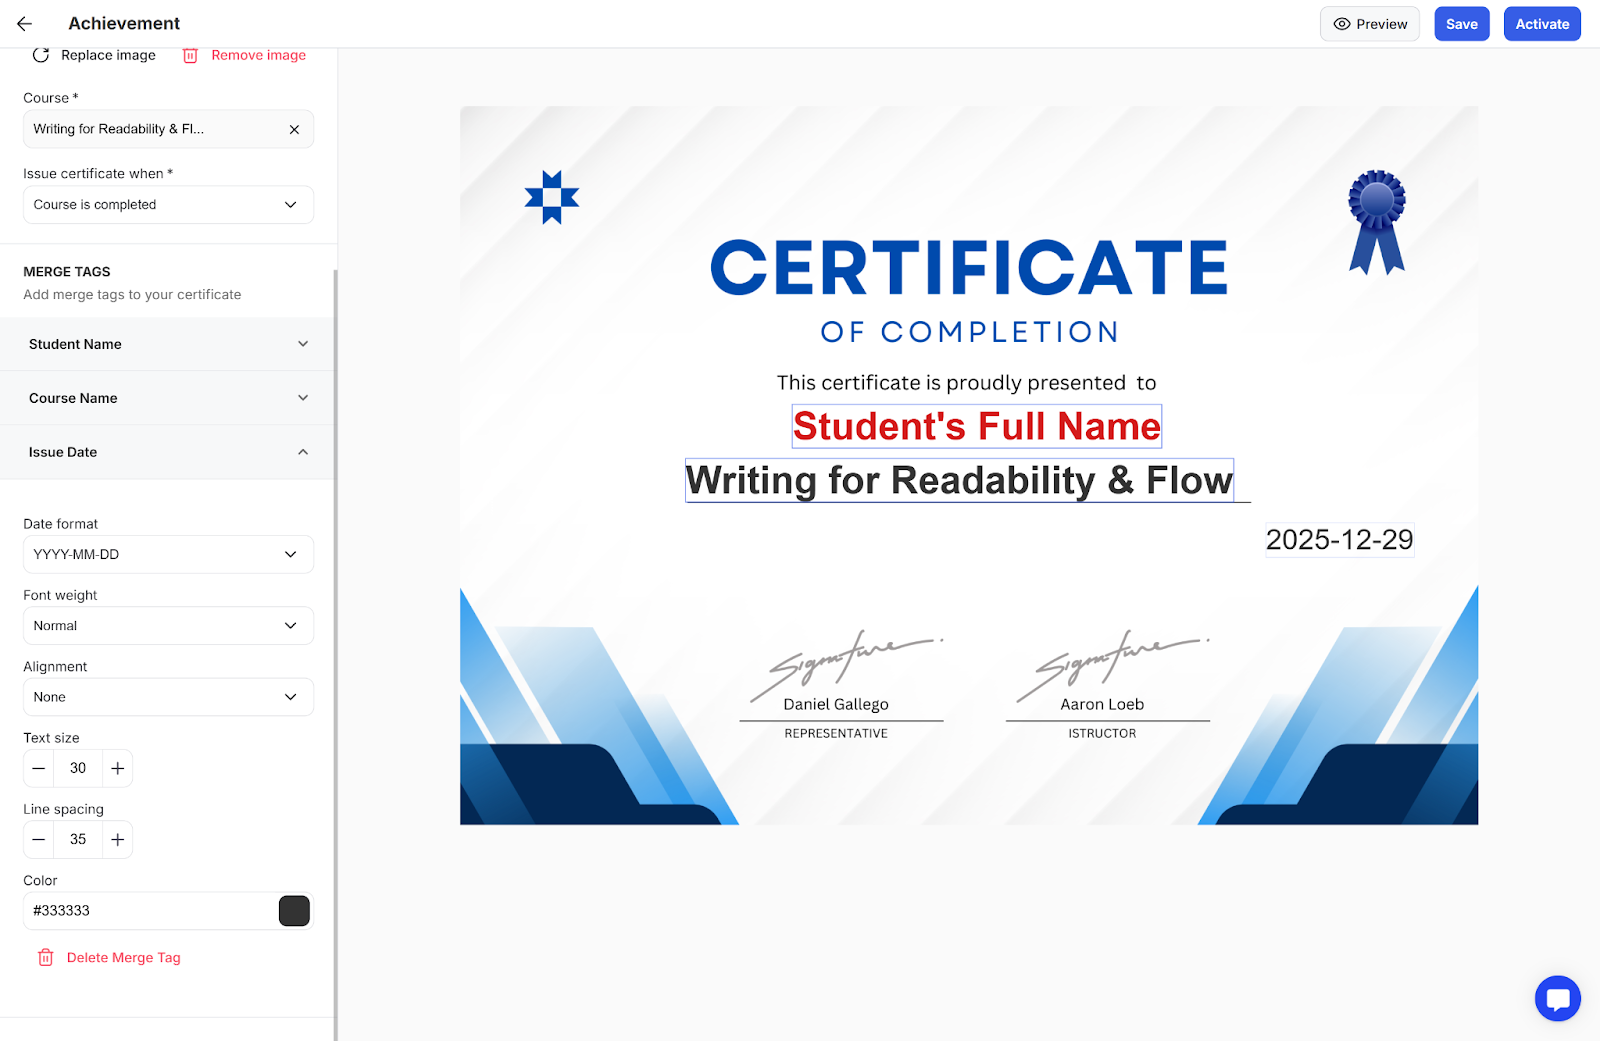
Step 1: Merge tags font edit options: You can edit and style the merge tags to your preference.
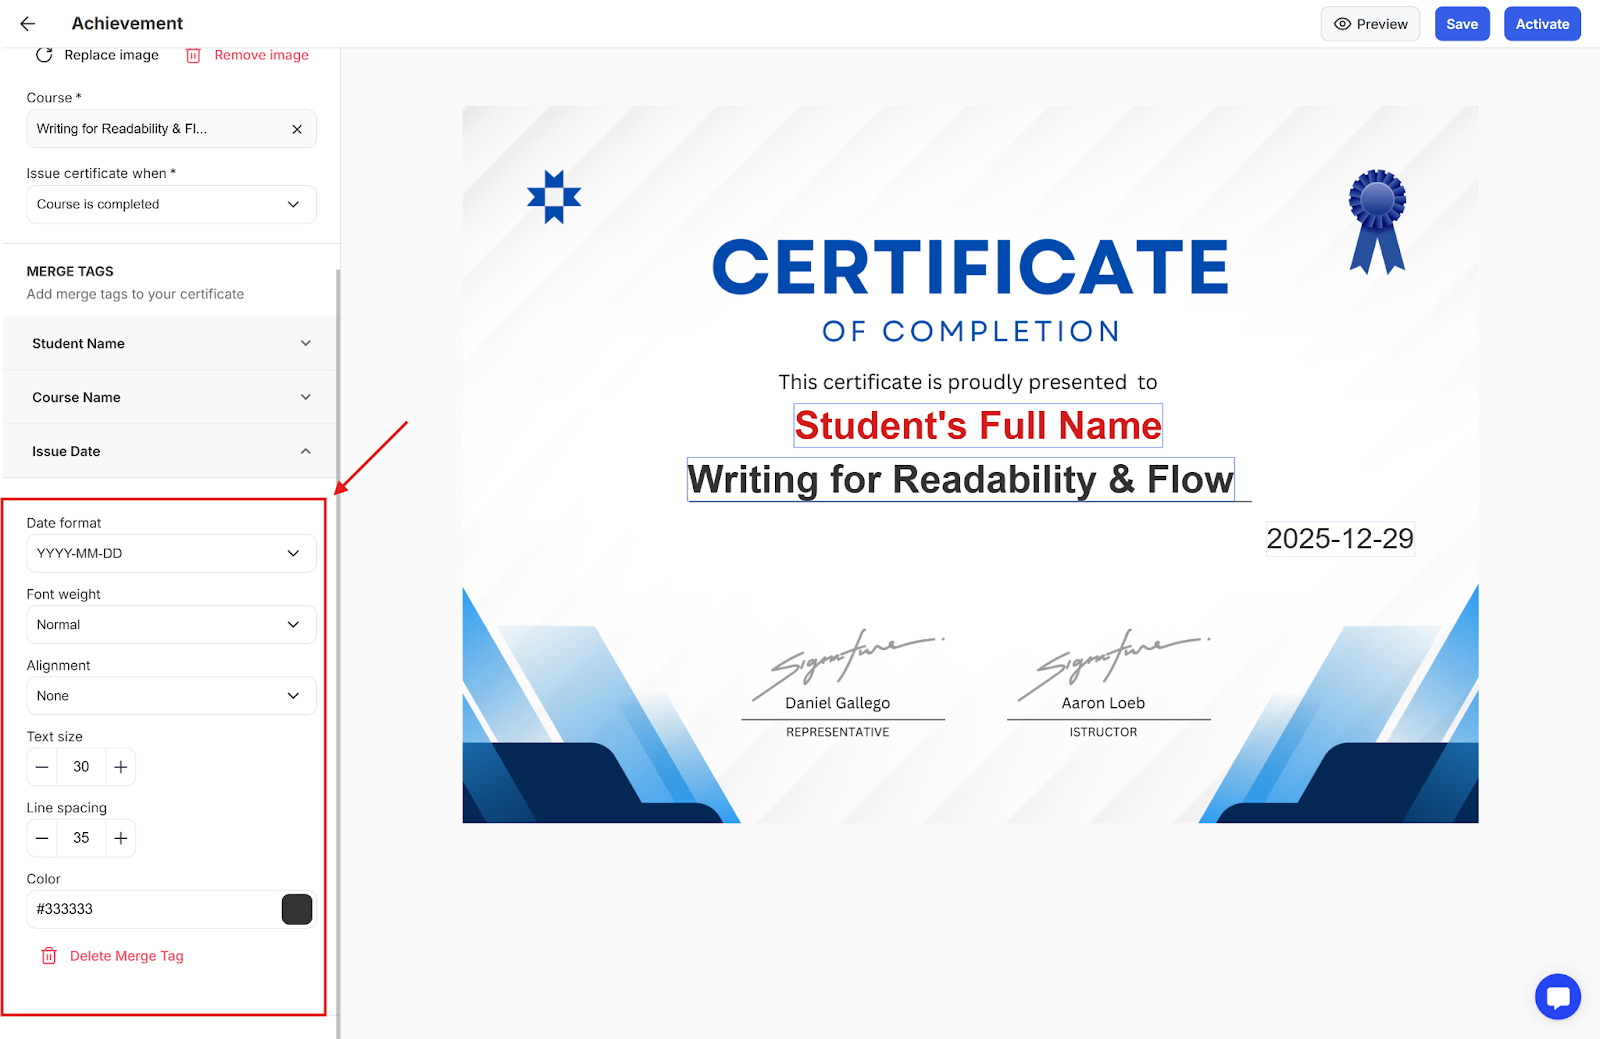
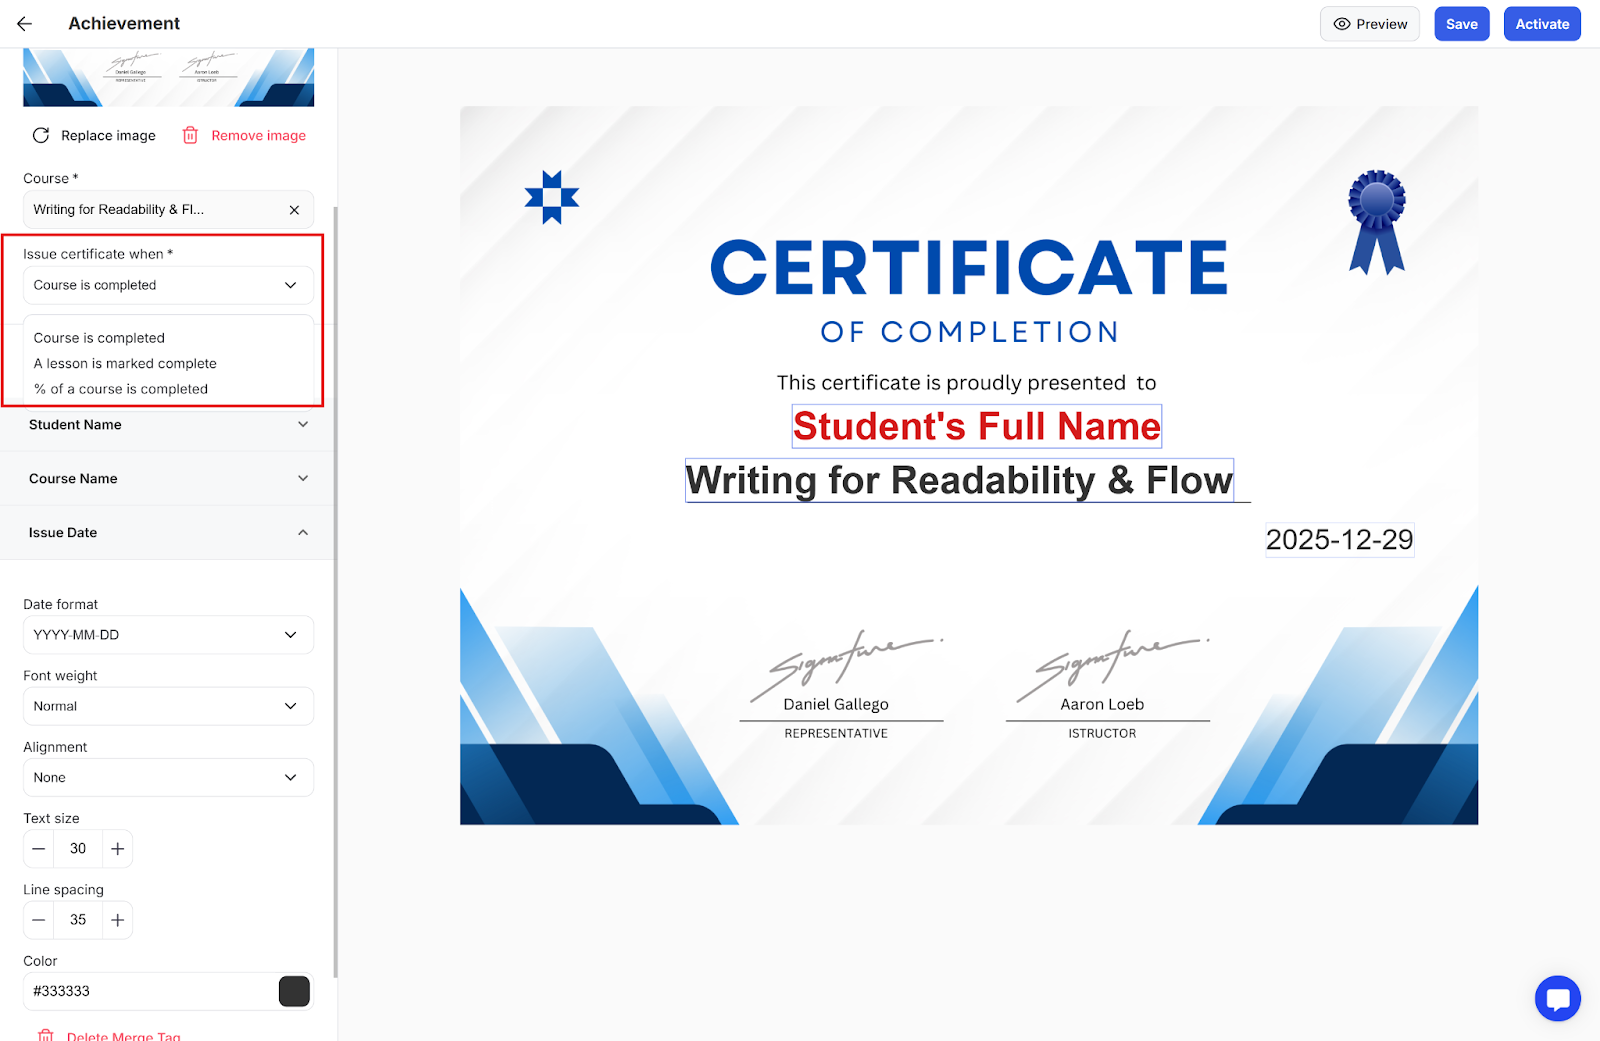
Step 2: Issue certificate when: The certificate builder also provides an option to automatically issue the certificate to the student based on 3 conditions:
The course is completed
A certain lesson is marked complete
% of the course is completed
Step 3: Course Reassignment: You can reassign the certificate to another course.
Step 4: Renaming the certificate: Click on the certificate name on the top left to rename the certificate.

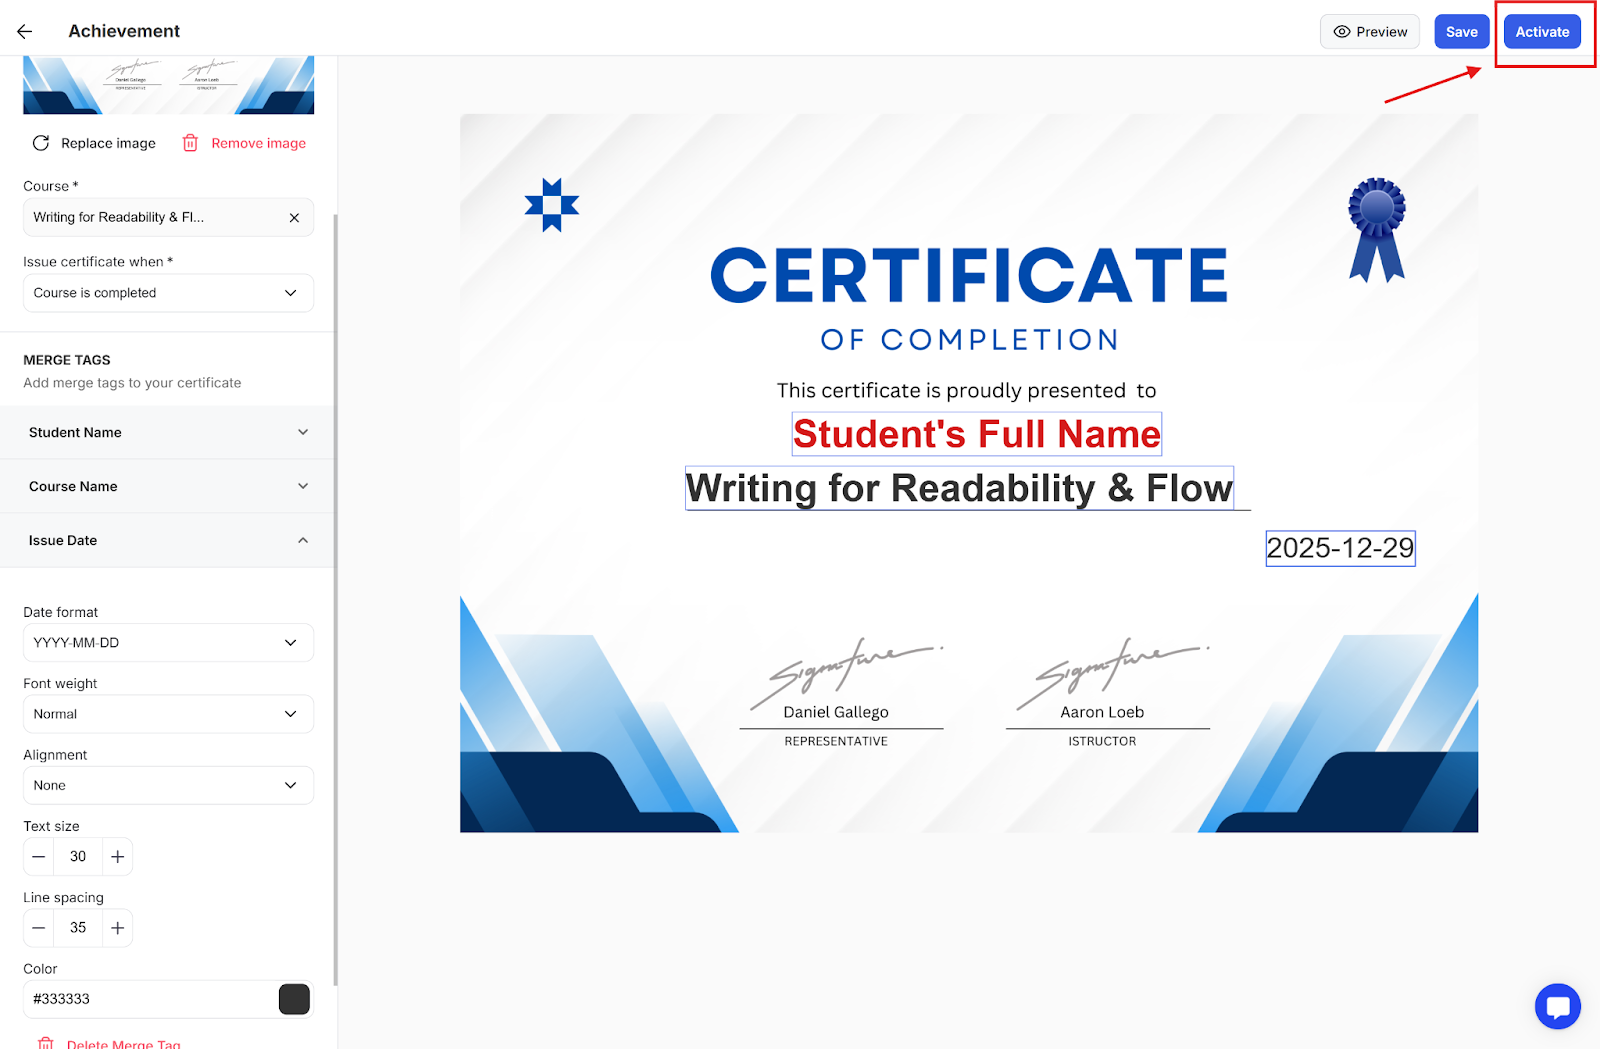
Step 1: Once you are done editing the certificate image, you must click the Save button to apply the changes made.
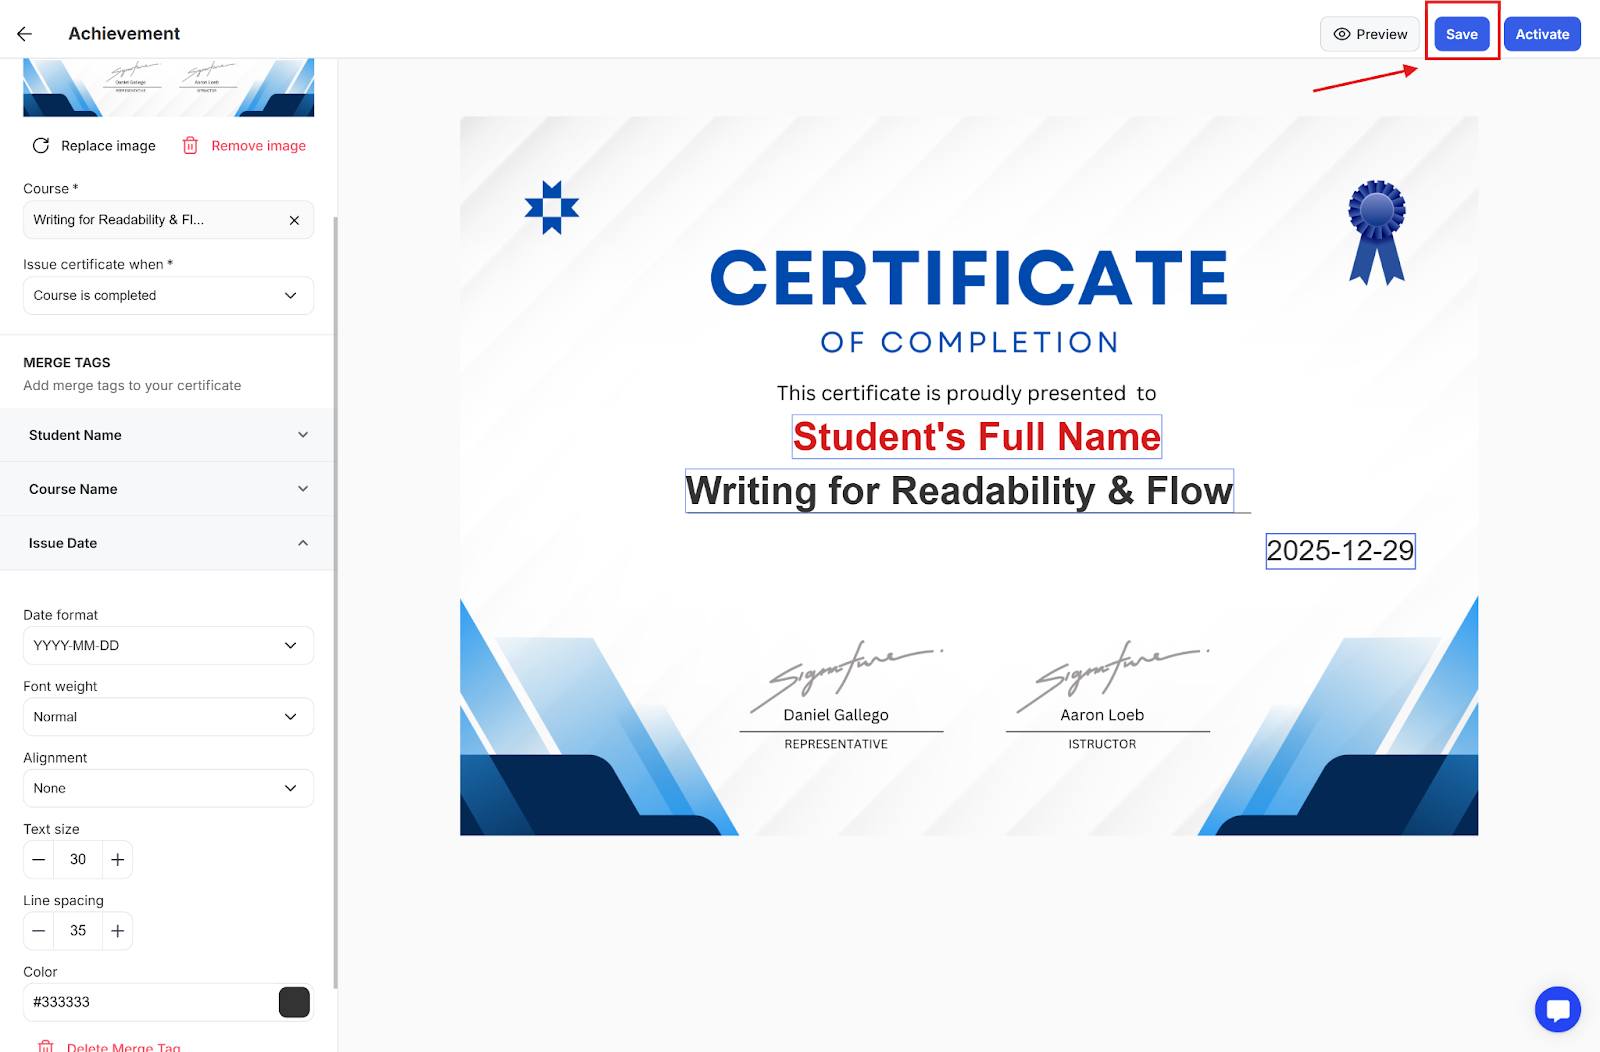
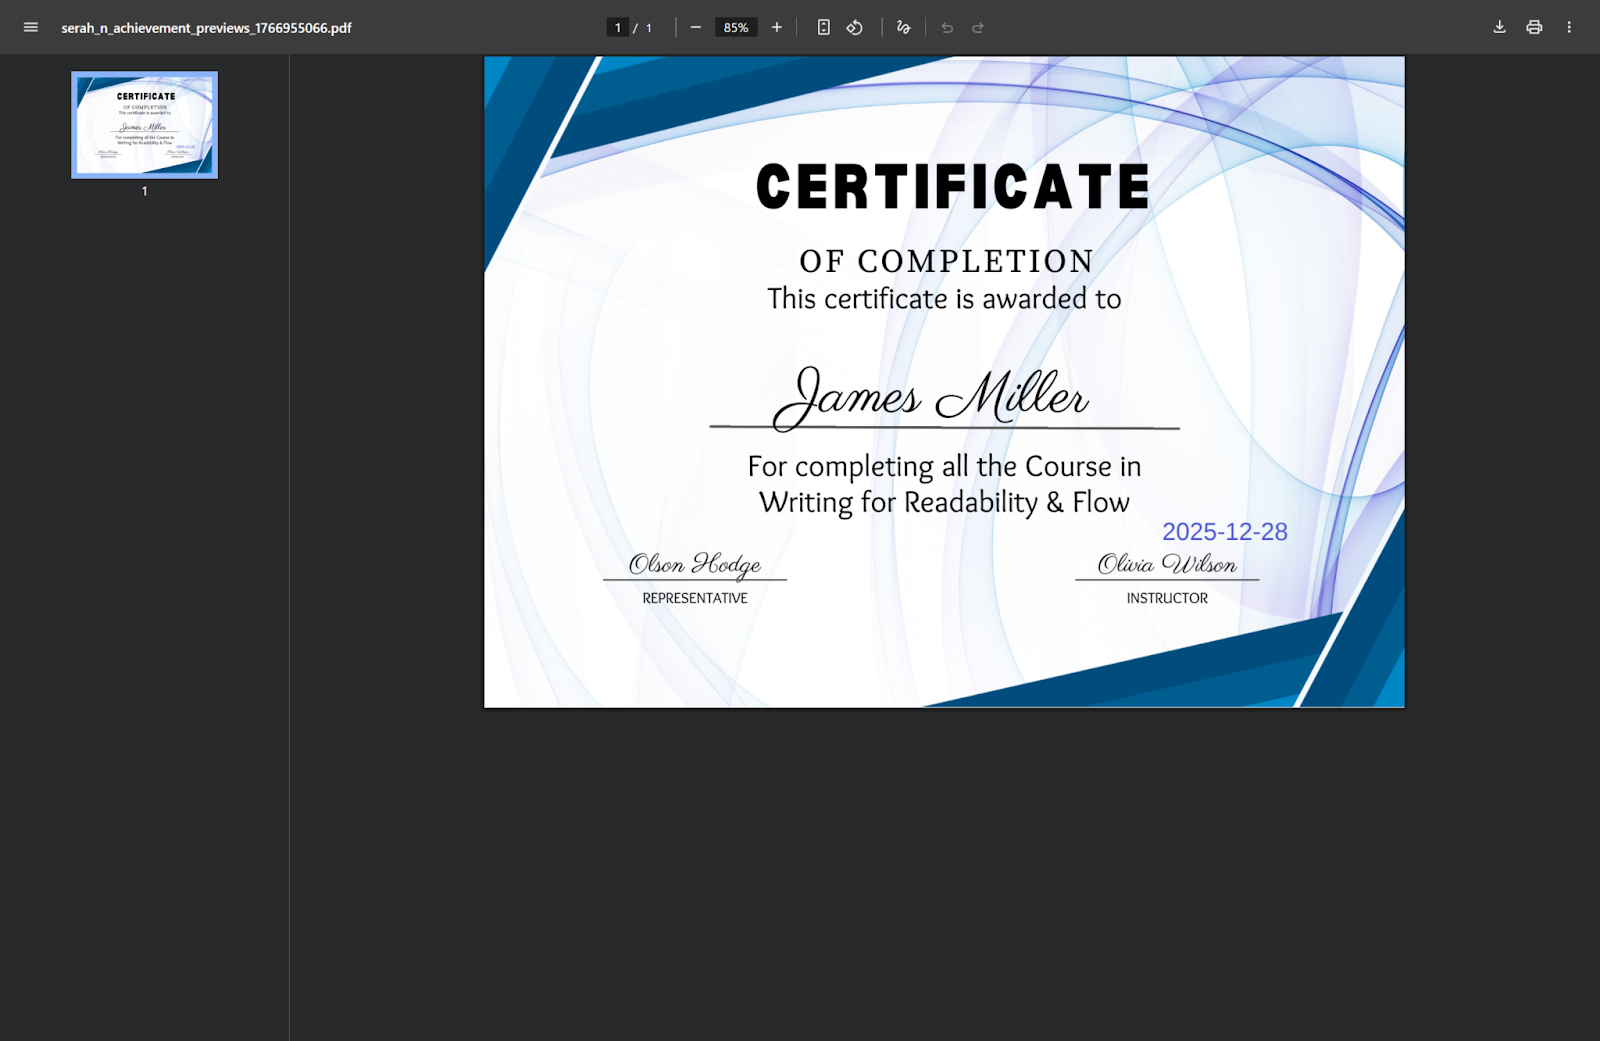
Step 2: To preview how the changes will look on the final certificate once issued, hit the preview button.
Step 3: The preview will open on a new browser tab in the form of a downloadable PDF.
Step 4: Activate the certificate so that it is automatically issued once the student reaches the milestone you had set for when the certificate should be issued.
A student becomes eligible to download their certificate upon reaching the milestone you set for certificate issuance. This milestone can be based on any of the following criteria:
The course is fully completed.
A specific lesson is marked complete.
A certain percentage of the course is completed.
Once the milestone is met, the student will be prompted to claim their certificate. If they finish the entire course, they will see a Get Certificate notification.

If they reach a required percentage or complete a specific lesson, a 'Get Certificate' button will appear for them.

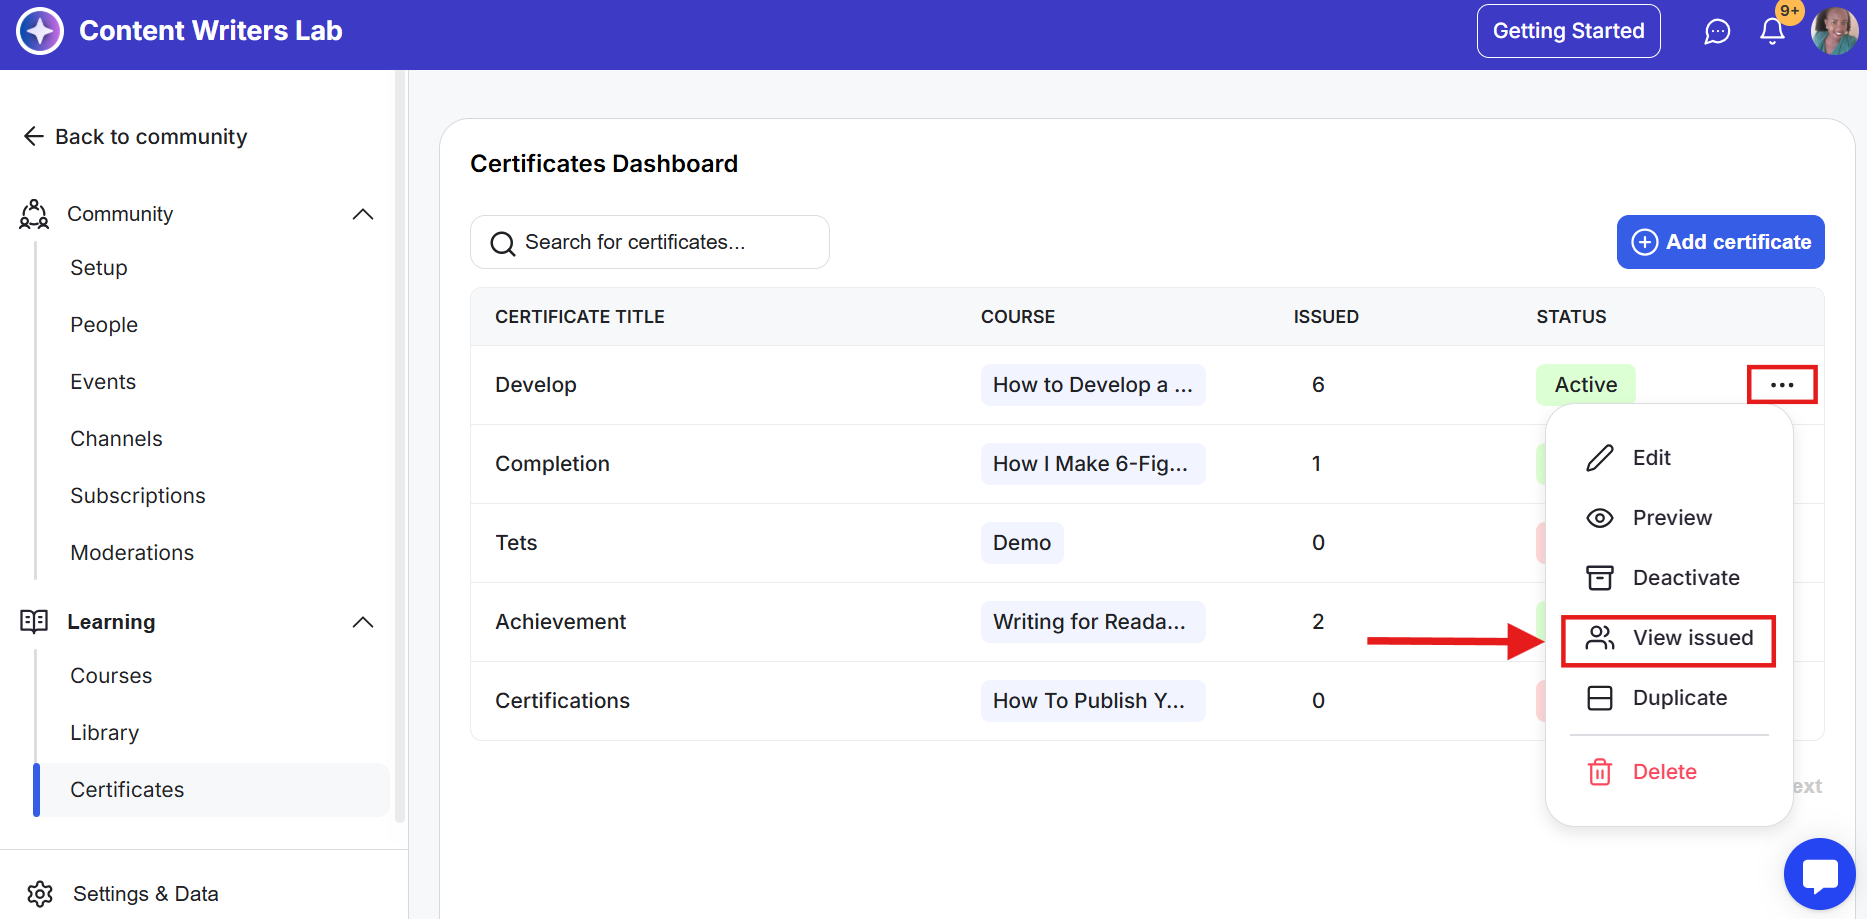
Step 1: Go to Learning, then select Certificates.
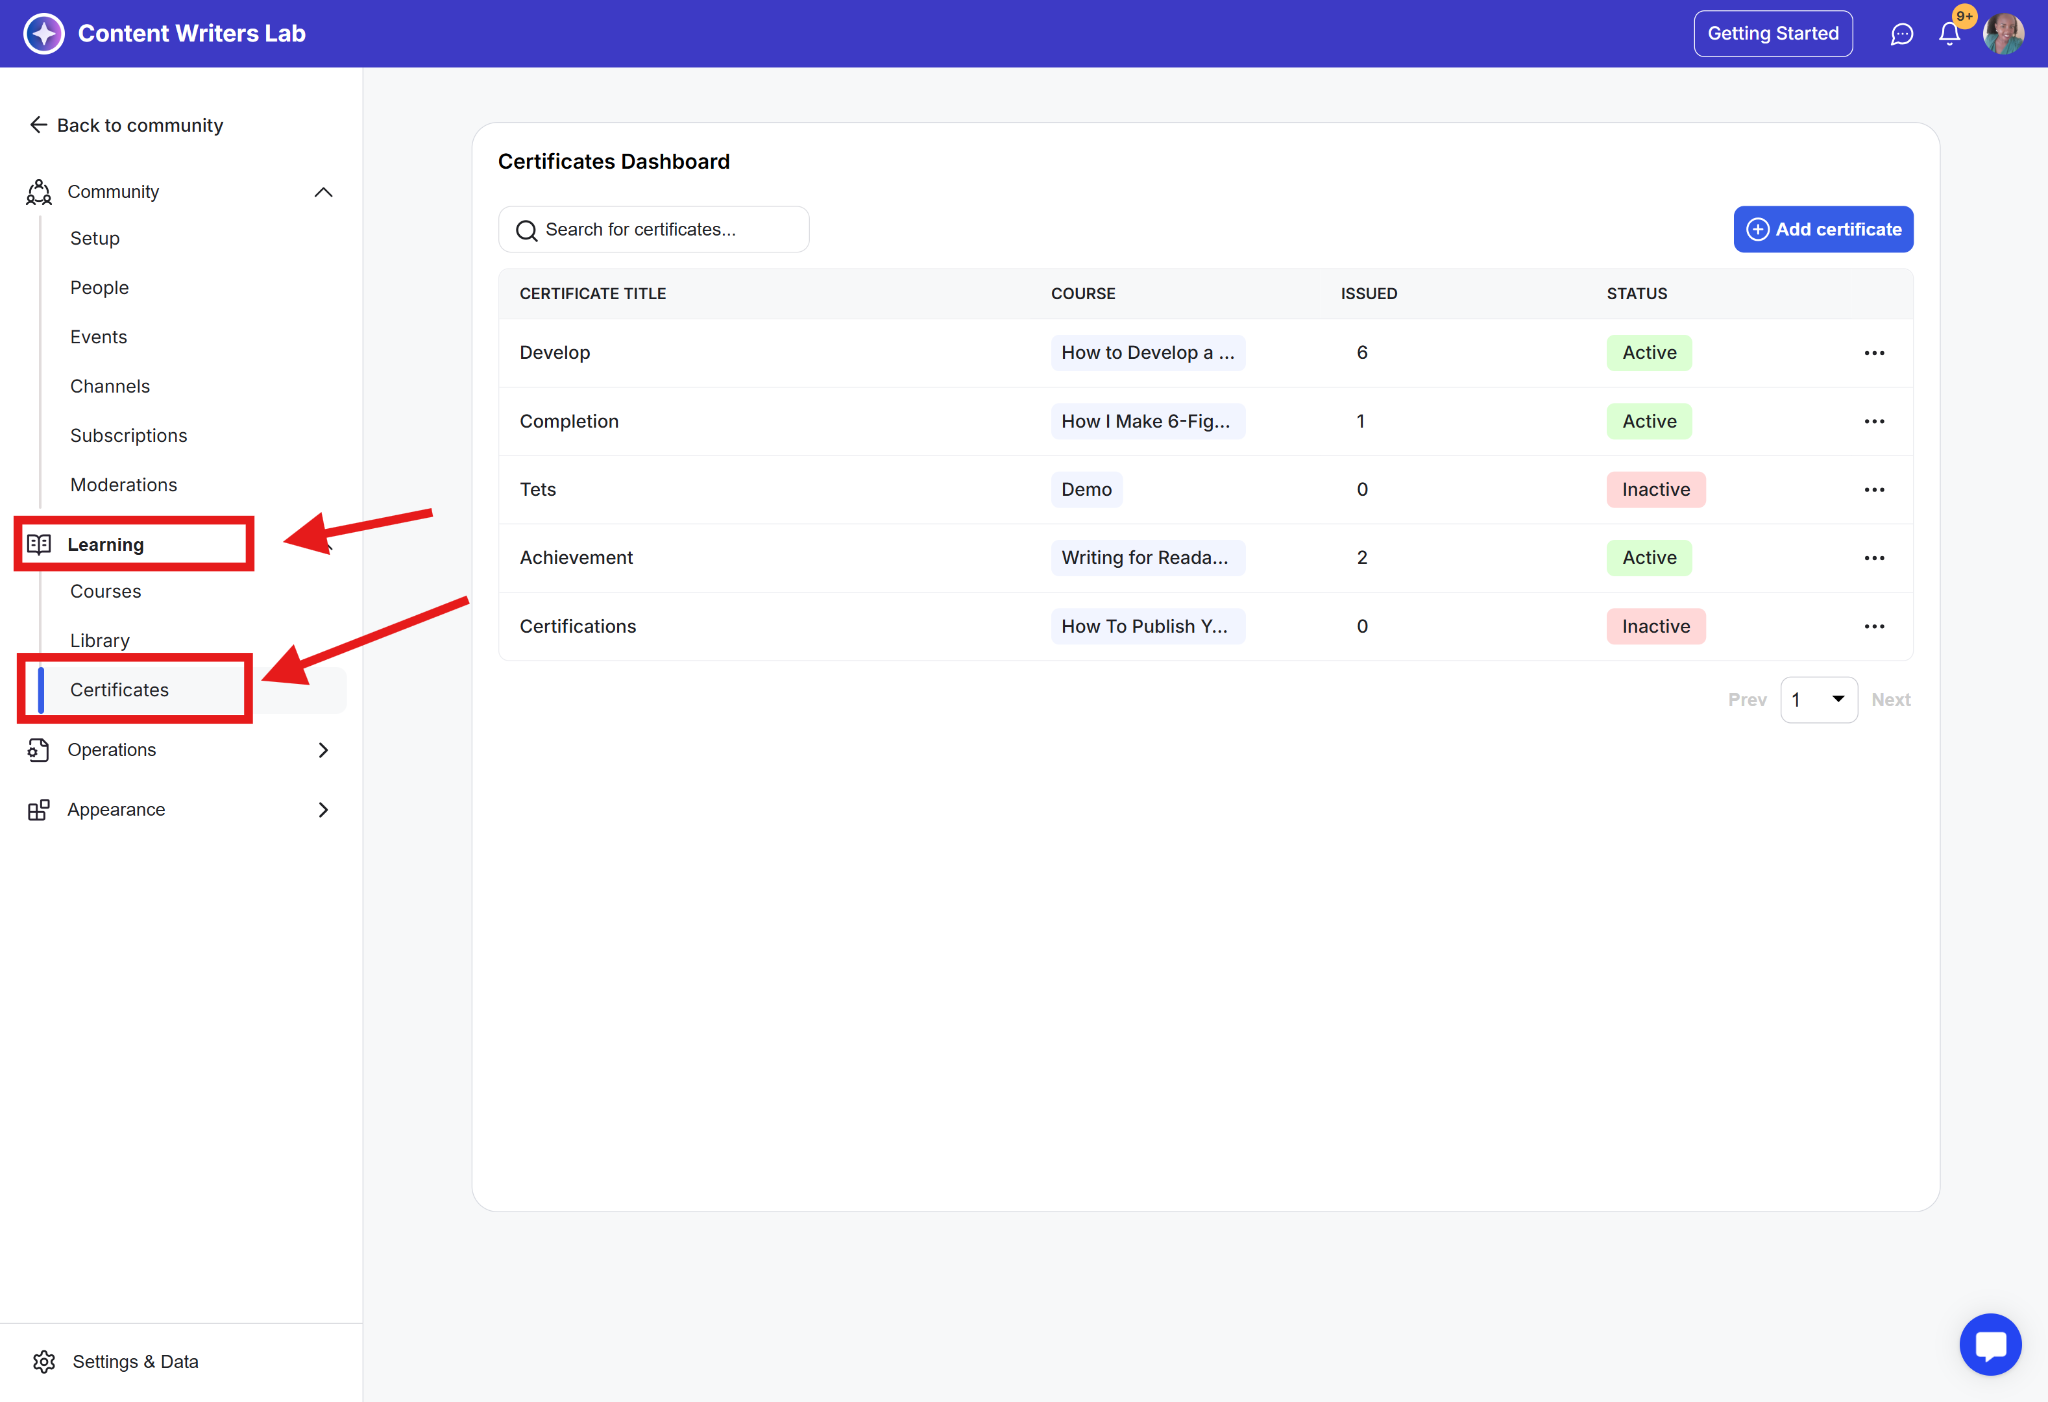
Step 2: Click the three-dot icon next to the certificate name and select View Issued.