On the People page in your dashboard, you can:
Export member information
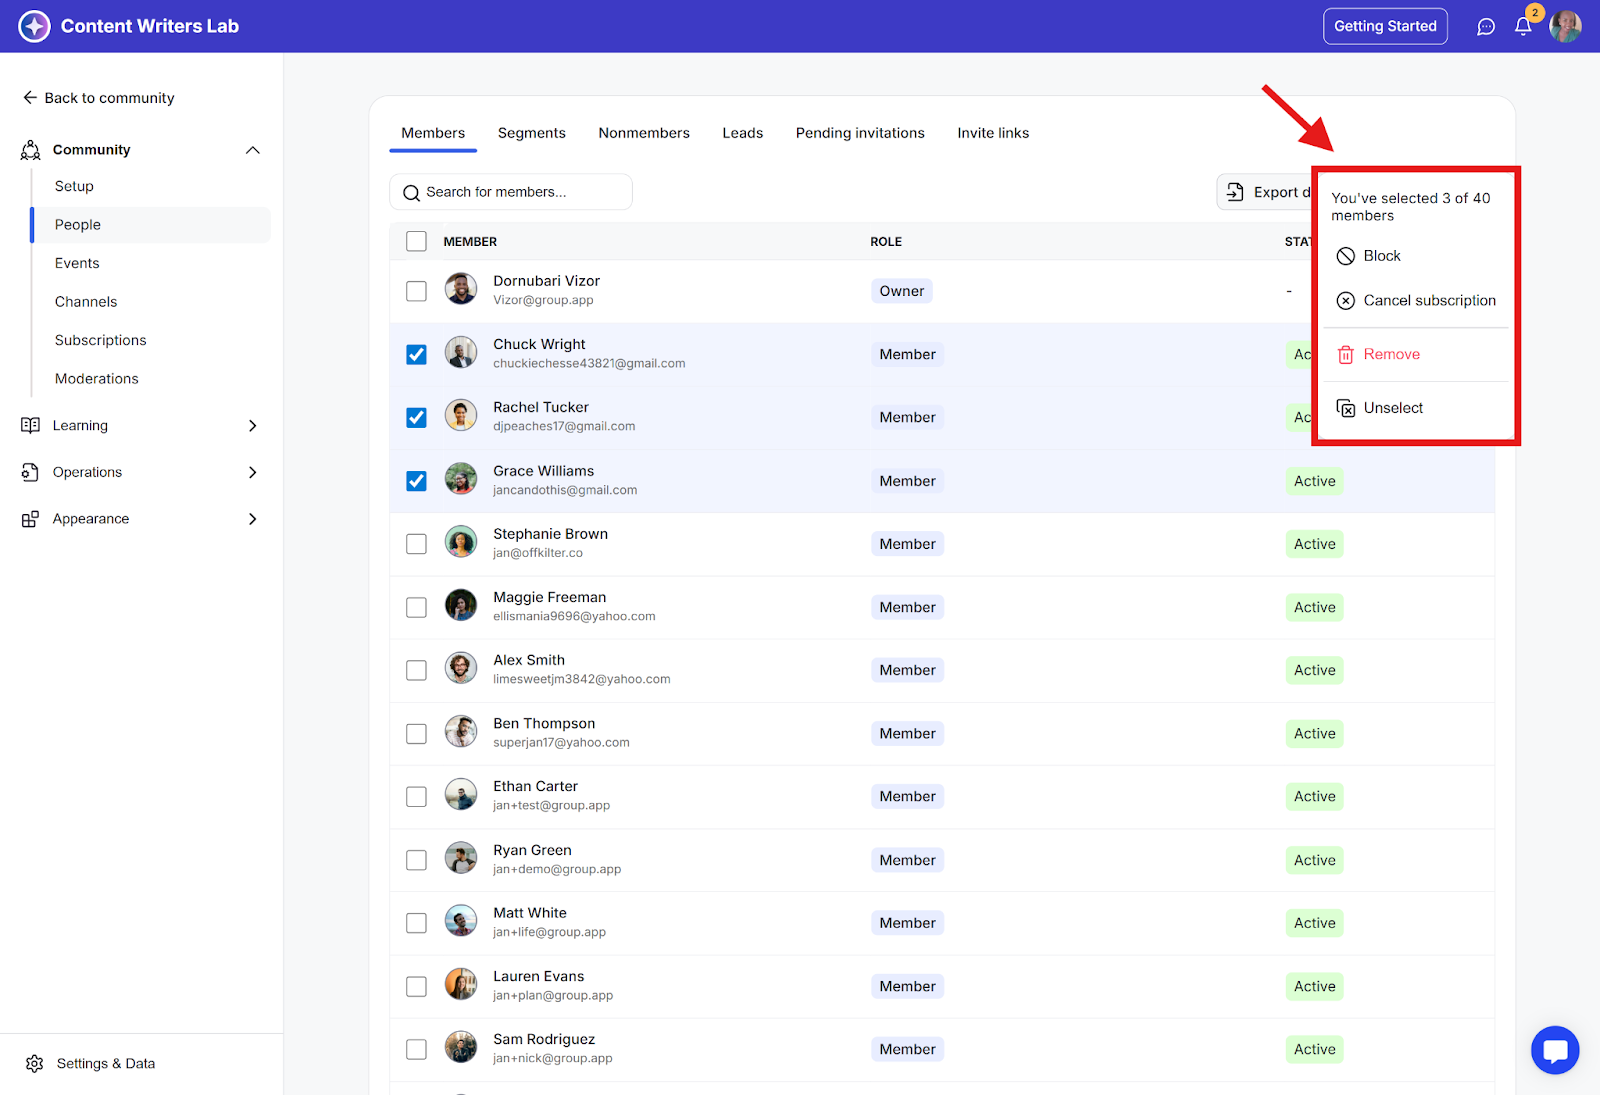
Remove members or cancel their subscriptions
Block members from the community
Create invitations for potential members
View detailed information about each member.
The member details you will see include:
Channels, courses, and workflows the member has access to
Library content available to the member
Additional profile and activity information
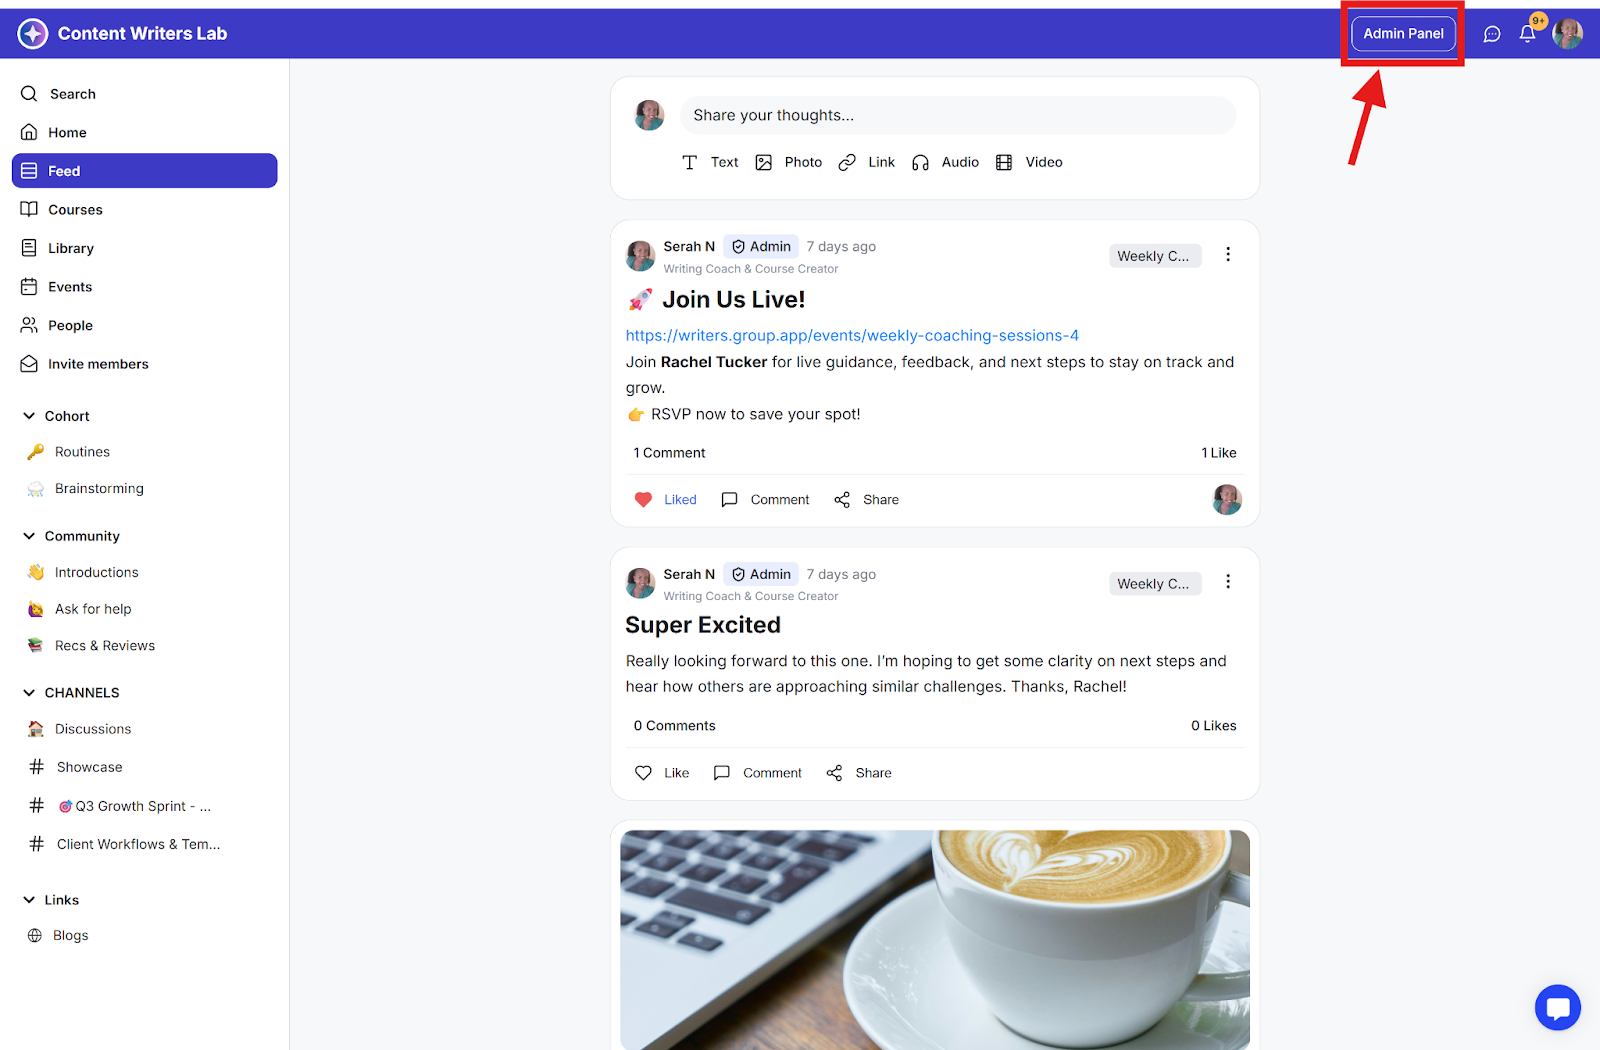
Step 1: Click on the Admin Panel button.
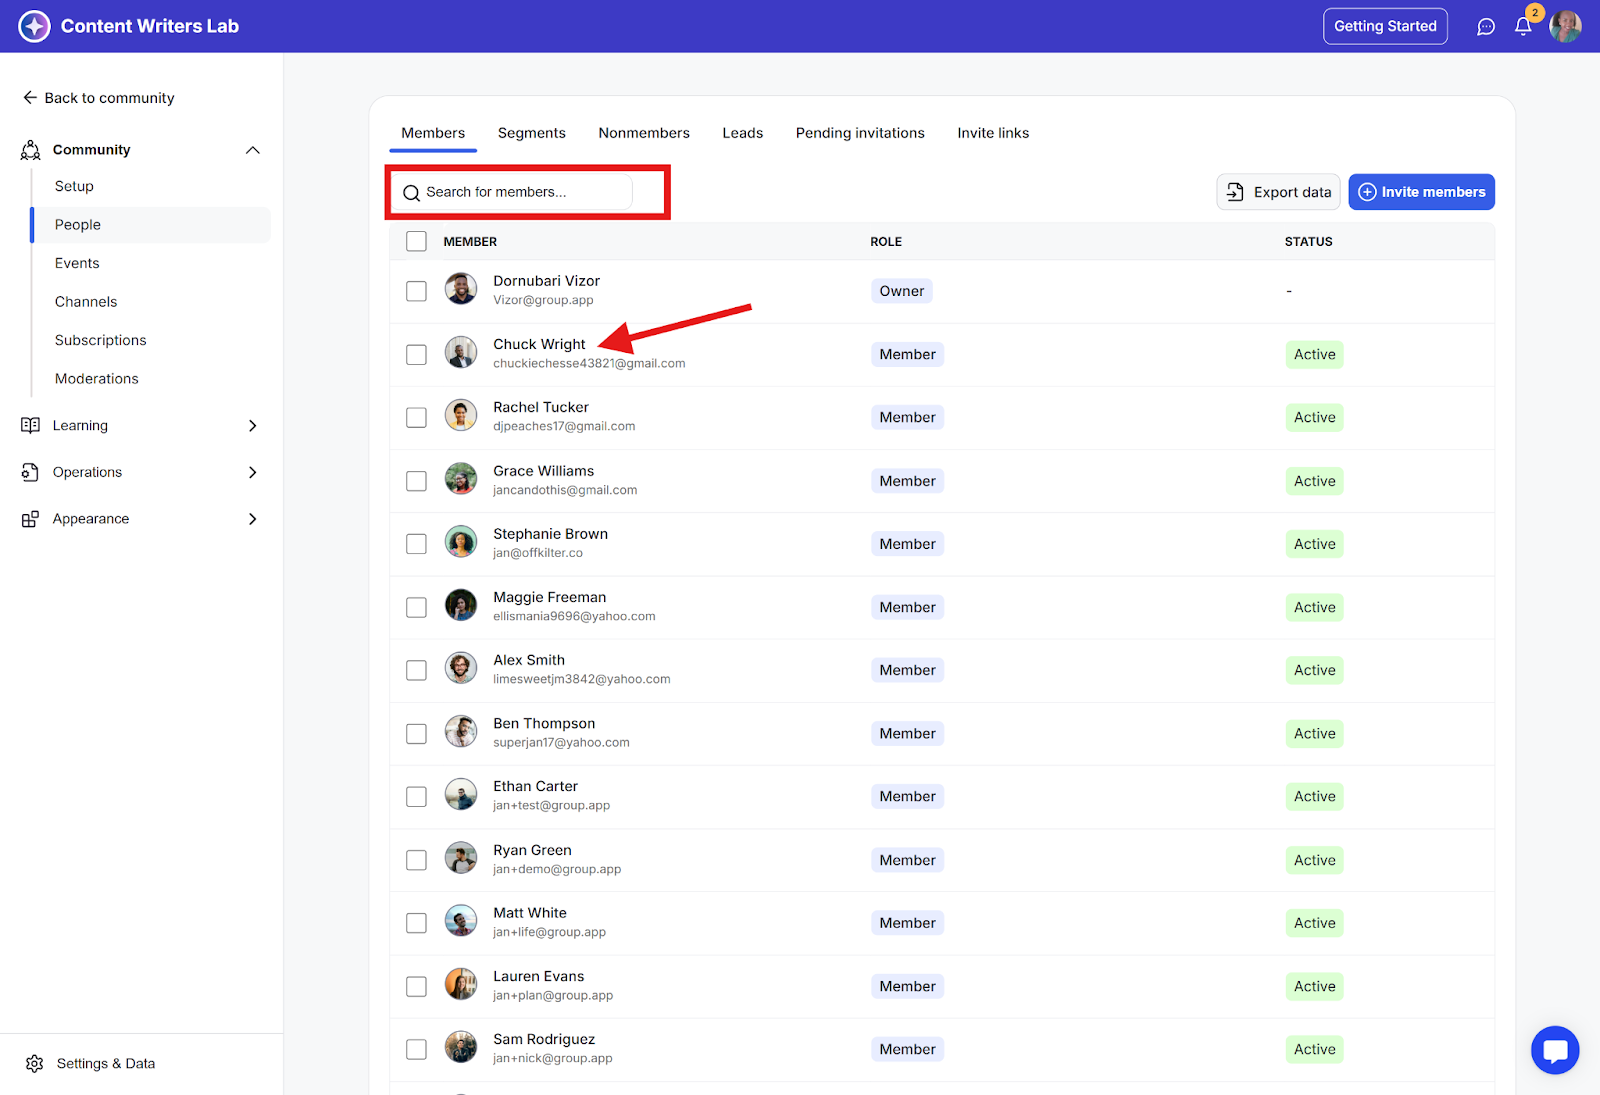
Step 2: By default, you will land on the People page, which shows the member dashboard. This dashboard contains information on:
Profile photo
Name
Member role
Subscription status
You may see the following subscription statuses:
Active: The member has an active subscription and full access.
Cancelled: The subscription has been cancelled and will not renew.
On Grace: The subscription has ended but the member still has temporary access until the grace period expires.
Please Note: Admins, owners, and moderators do not necessarily need a subscription to access the community, so they do not have a subscription status.
Step 1: Select the checkboxes beside the member name.
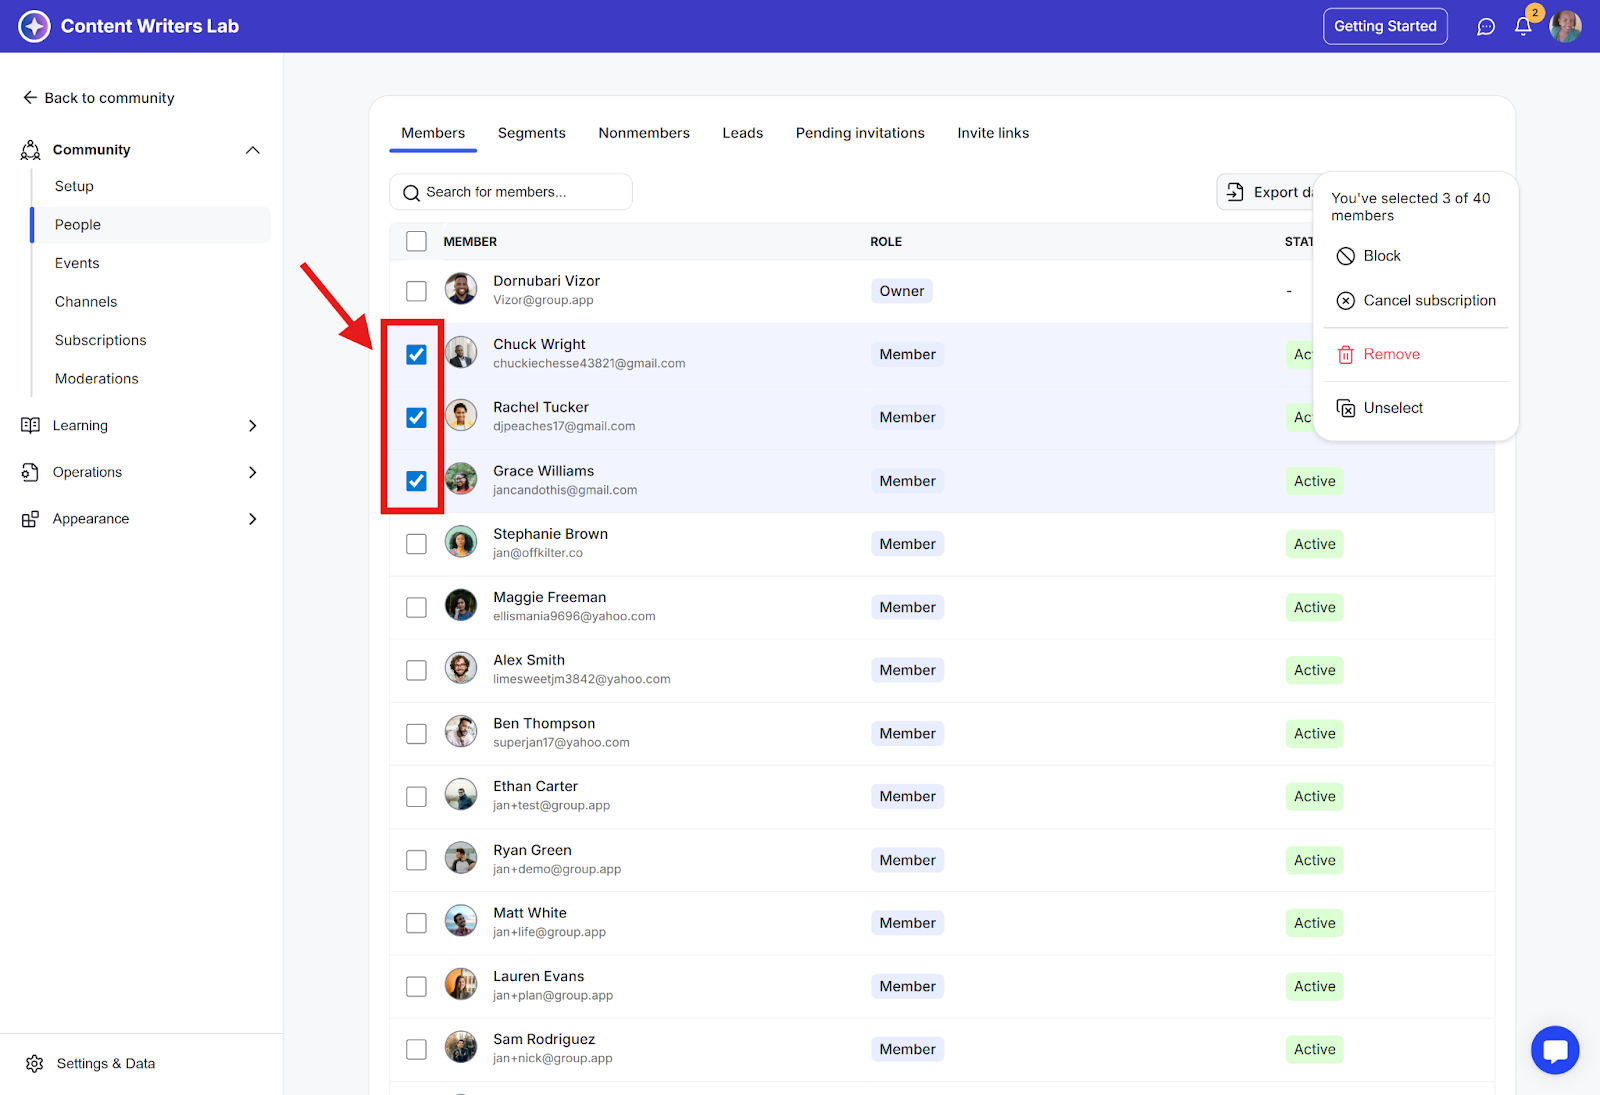
Step 2: Click on the options button to open the action you want to perform.
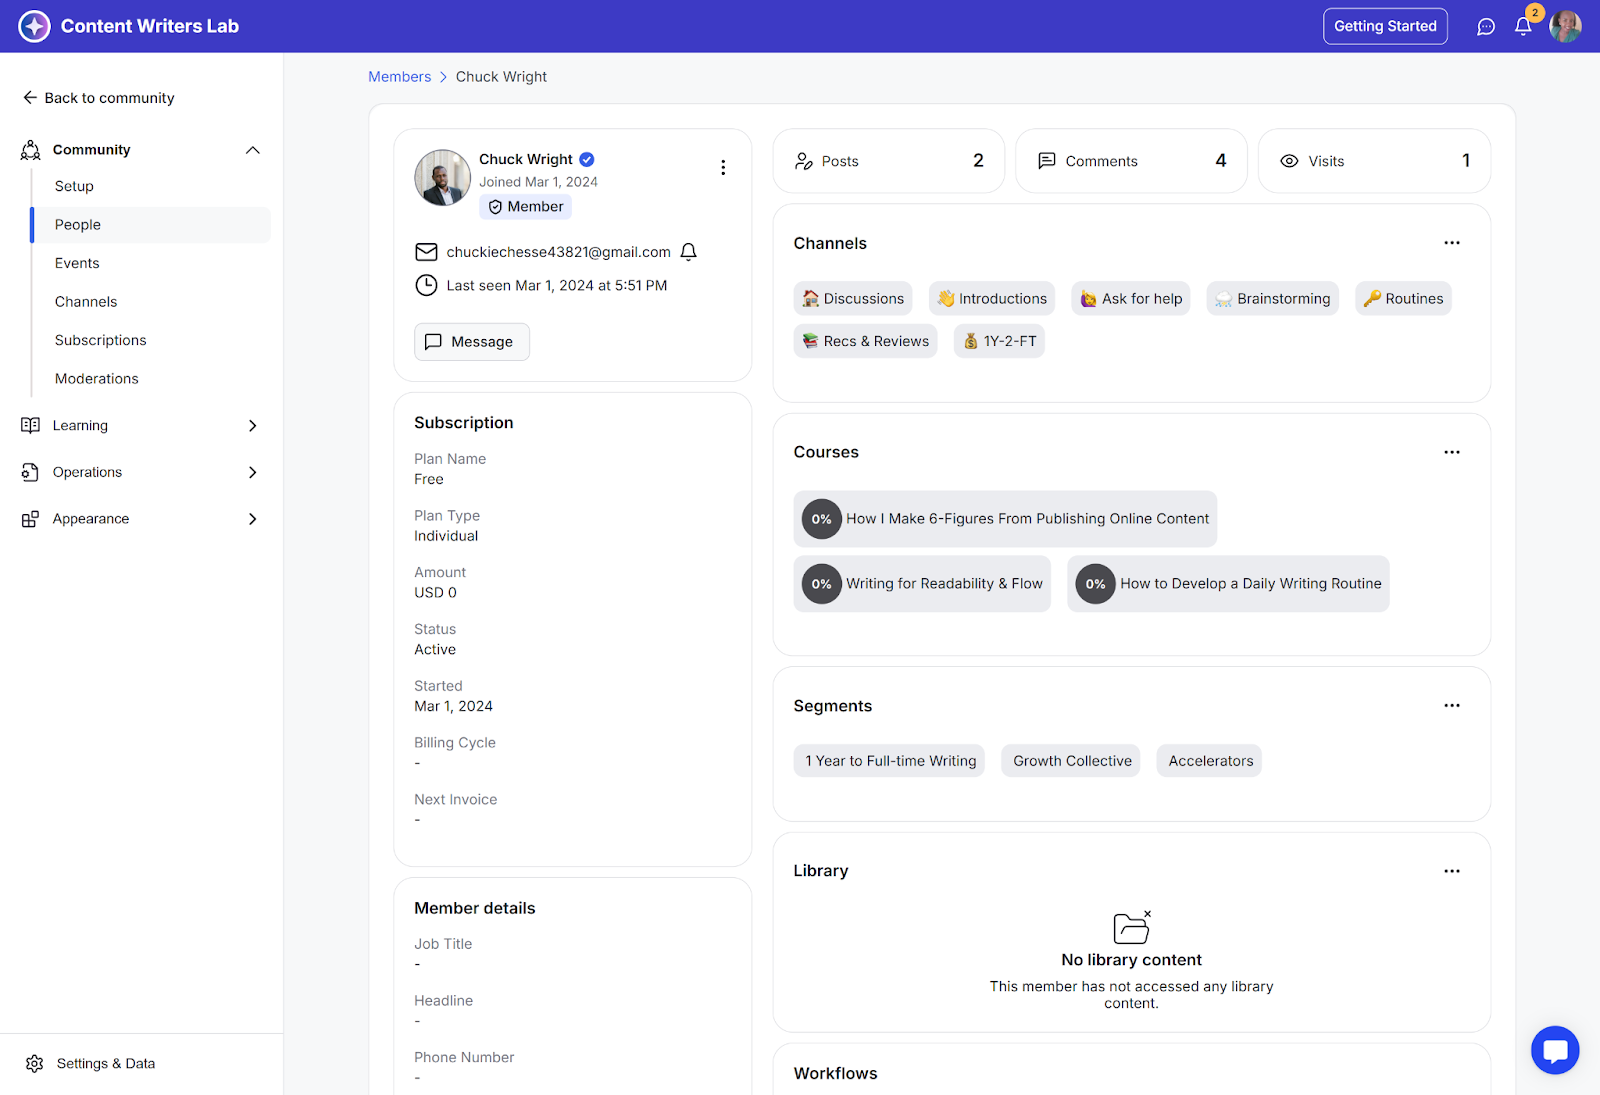
Step 1: Click on the member’s name or search for the member using name or email.
Step 2: This will open the member’s record of:
Bio details
Last seen
Subscription plan details
Custom fields answers
Posted posts count
Posted comments count
Community login visits count
Courses enrolled in
Segments added to
Accessed Library contents
Active workflows
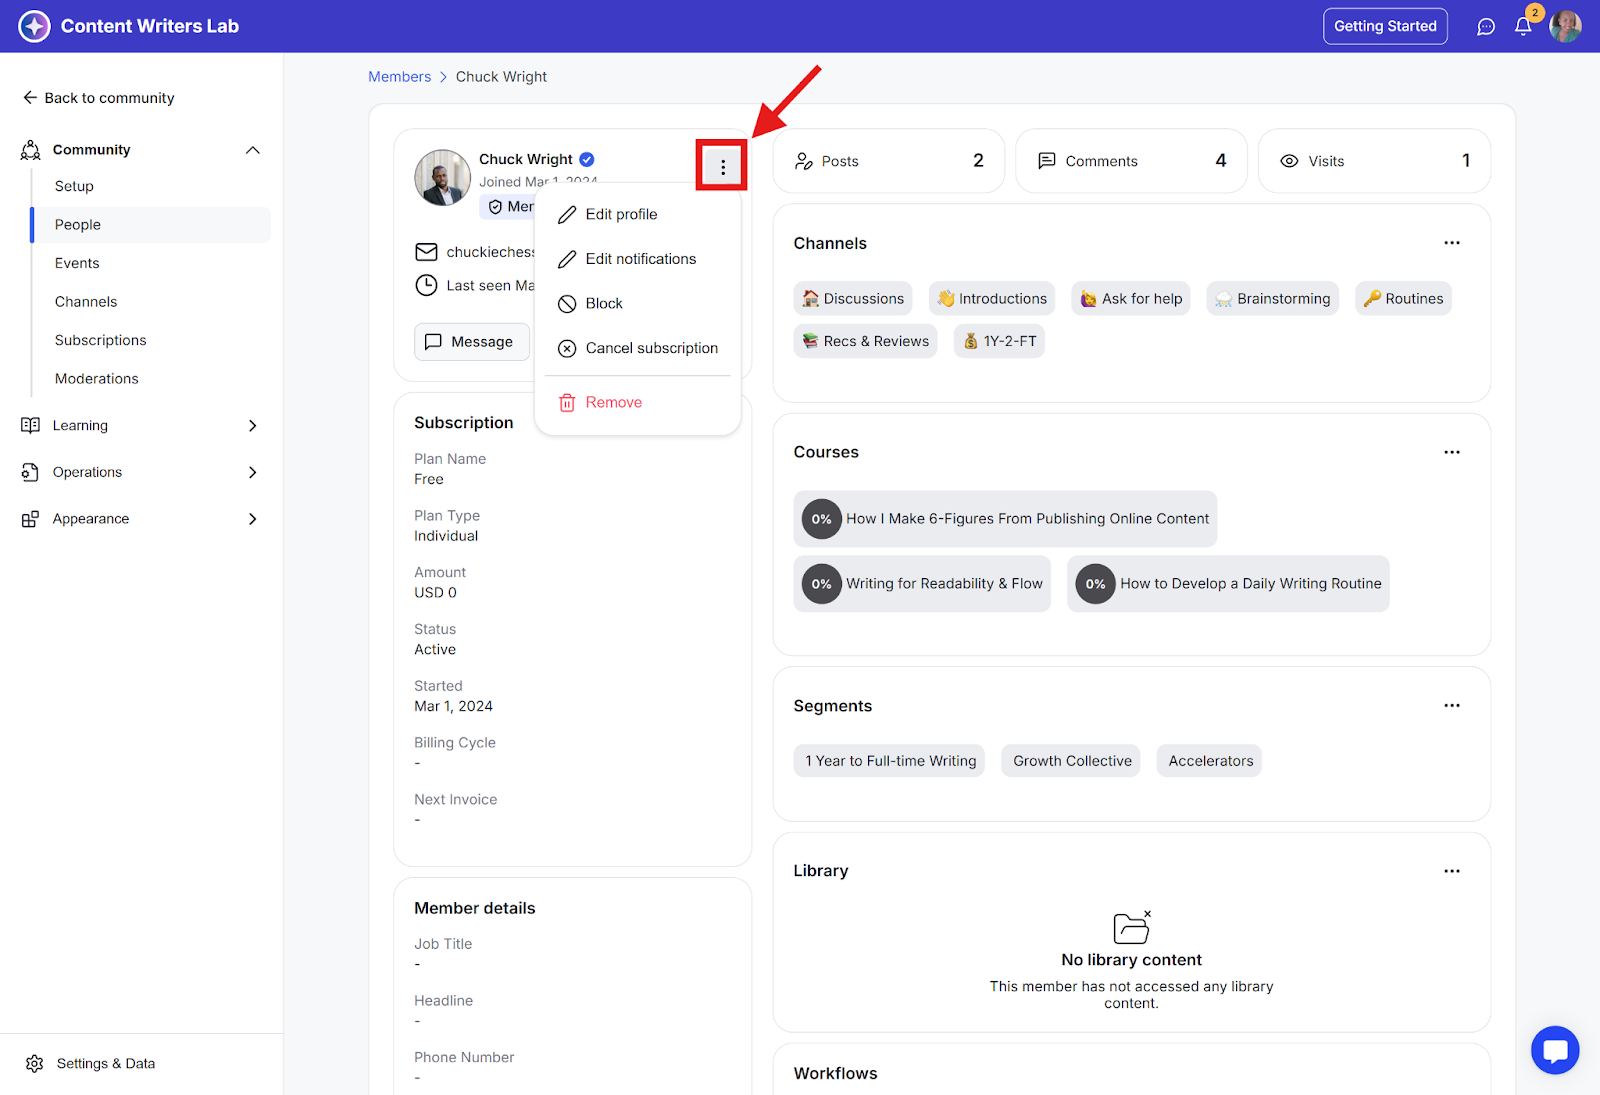
Step 3: Click on the 3-dot menu to open options to remove, block, or cancel a member’s subscription.
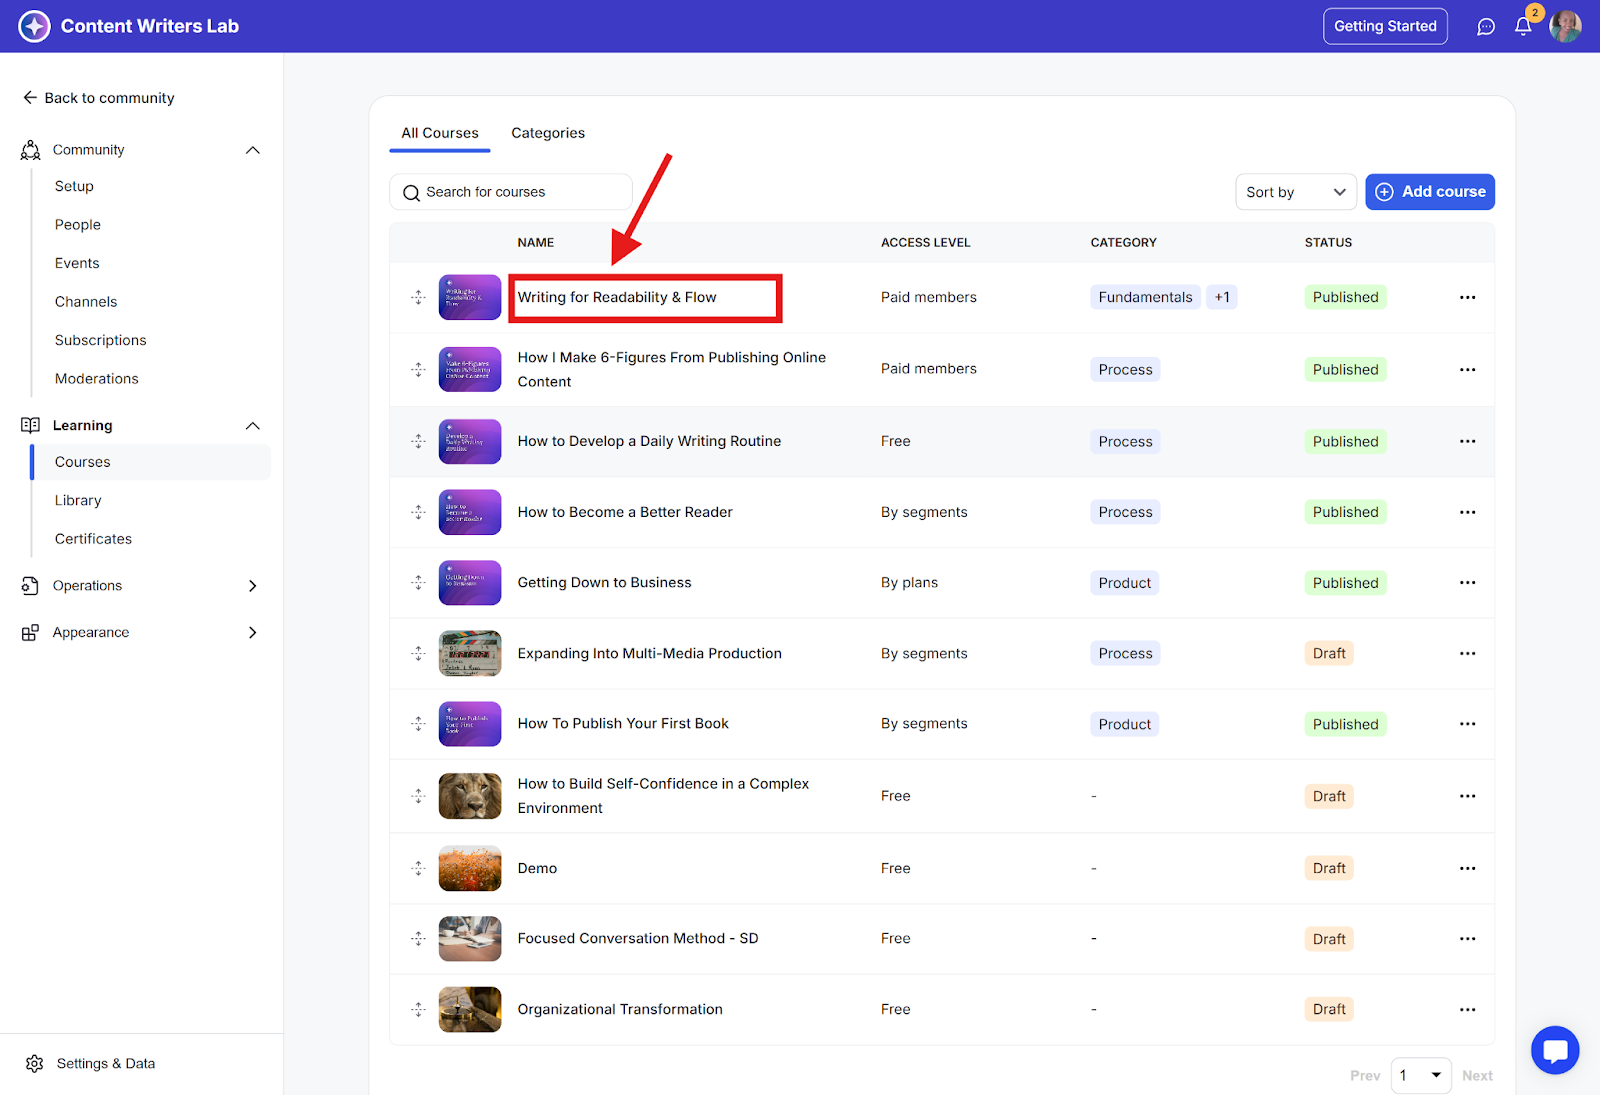
Step 1: Click on the name of any section (Channels, Segments, Courses). In this example, we’ll use courses.
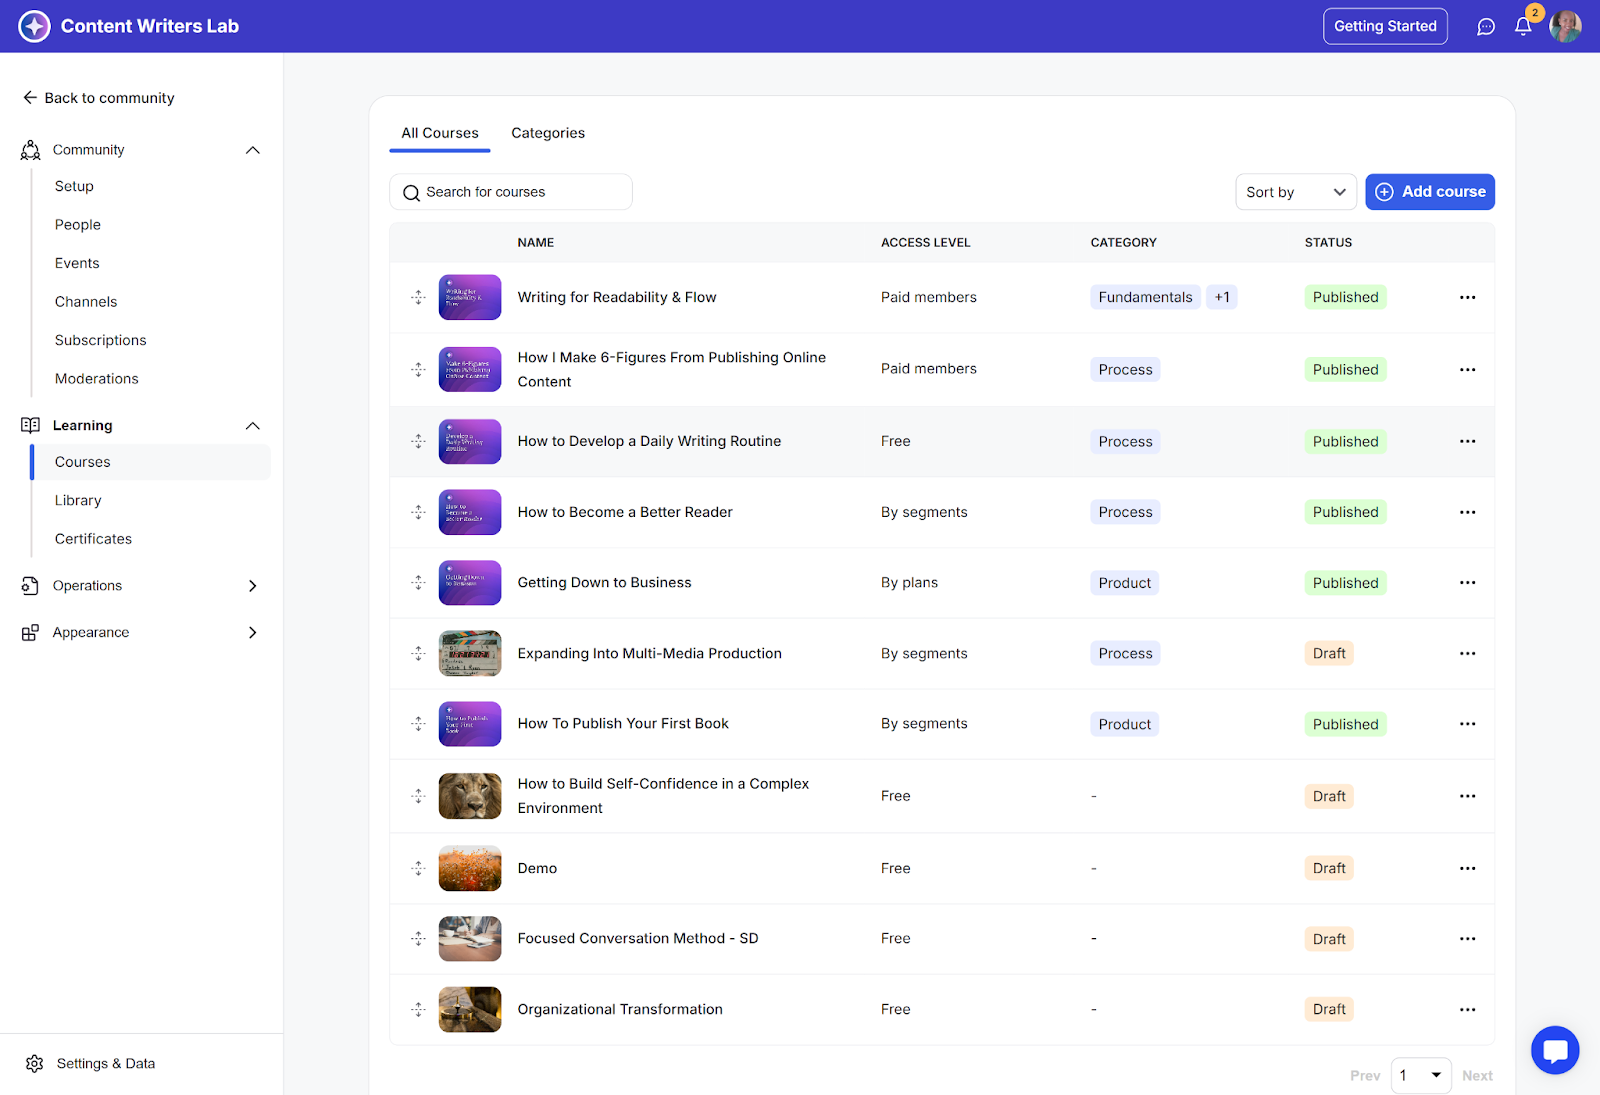
Step 2: Click on the name of the course.
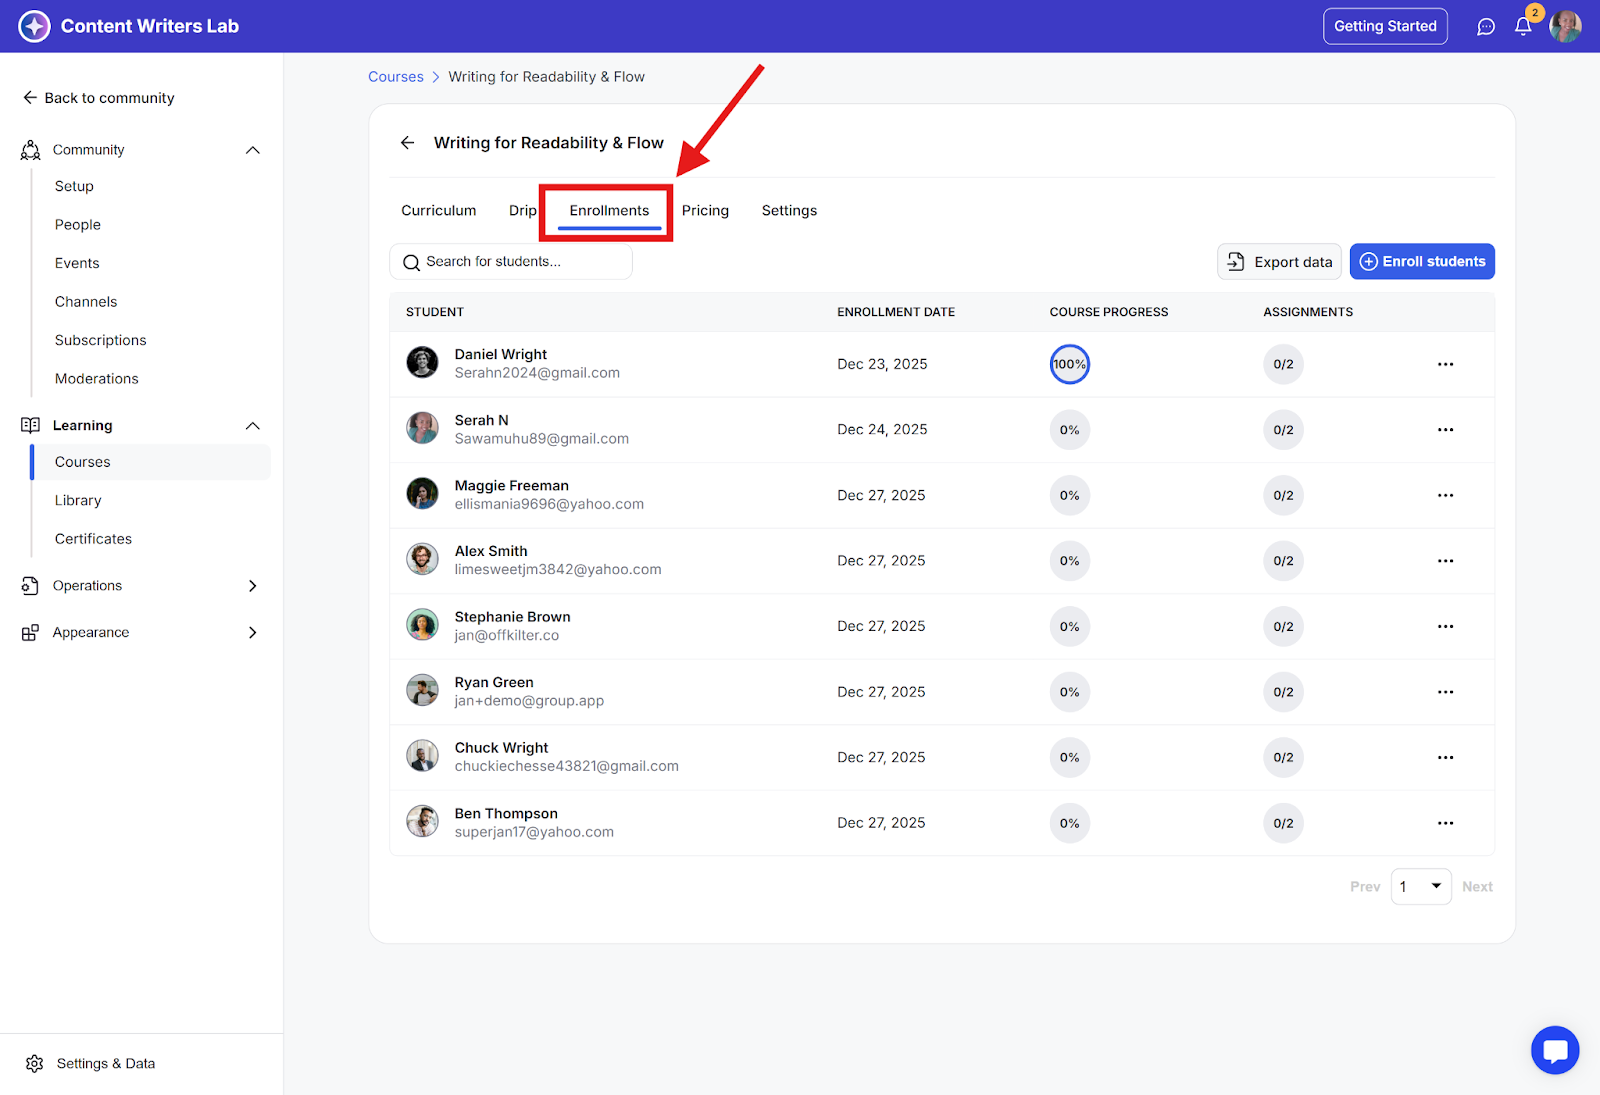
Step 3: Go to the Enrollments tab in the course page. This will open up a list of members enrolled in the course.
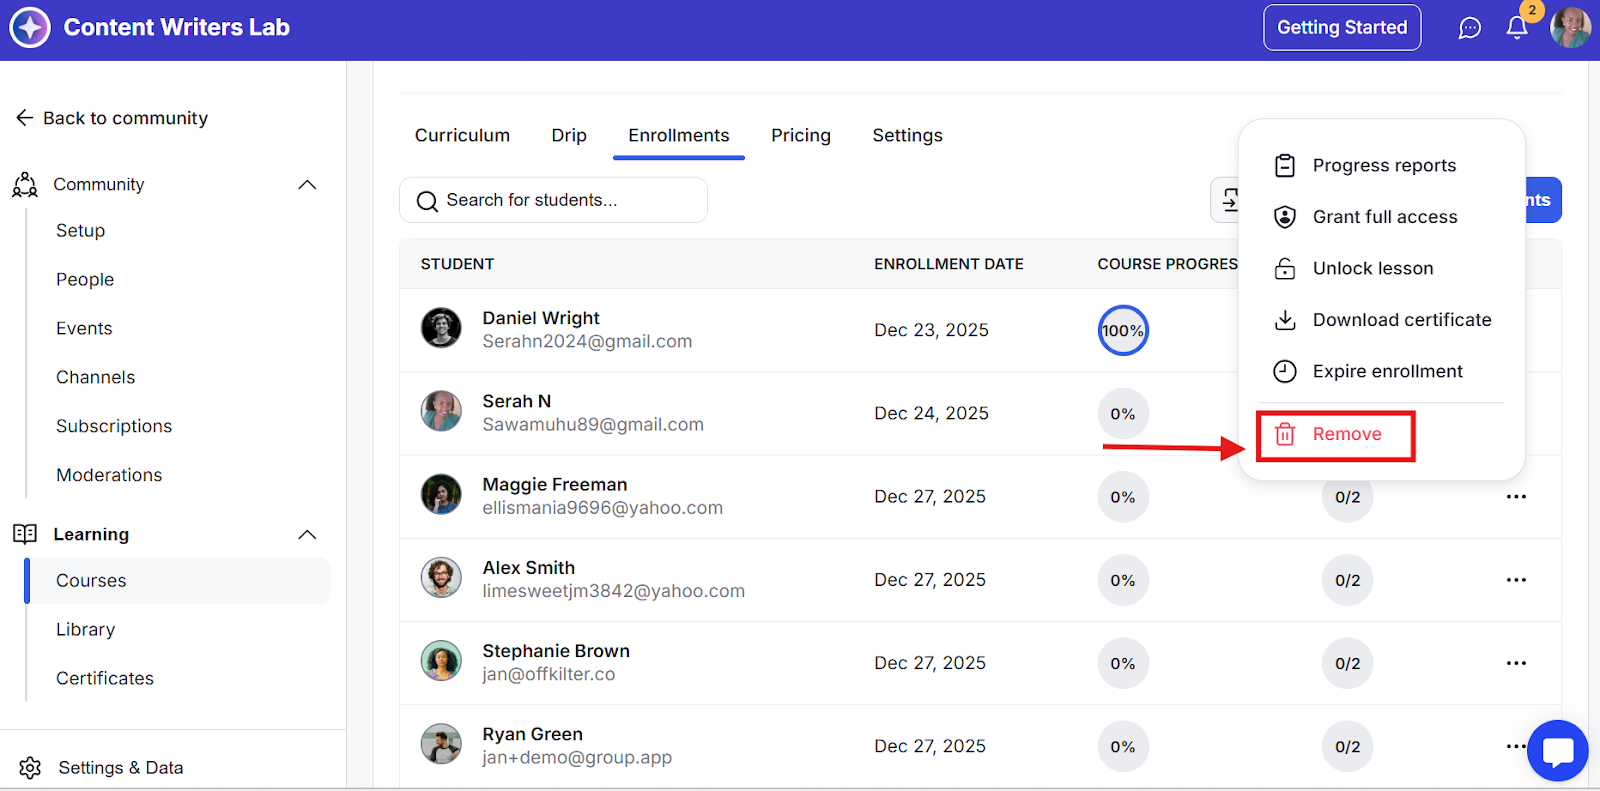
Step 4: To remove a member, click the 3-dot icon on the left side of his/her name and click Remove. You can also search their name in the search bar and do the same.
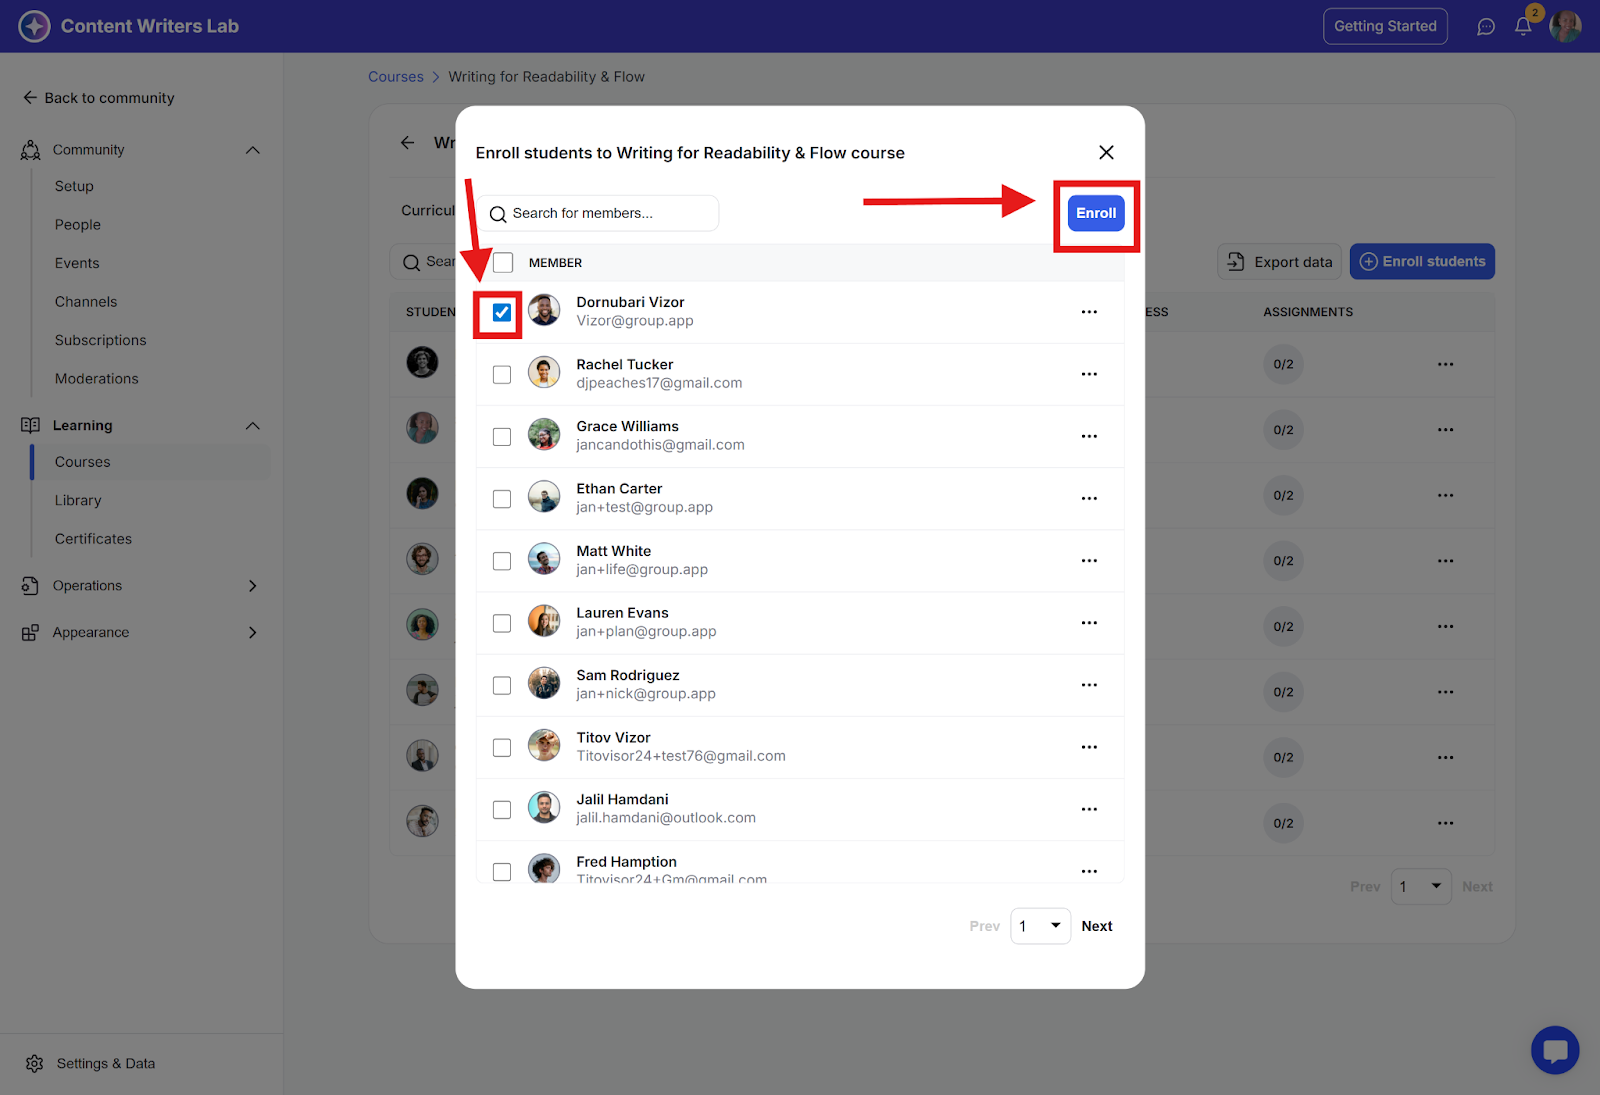
Step 5: To add a member to a course, click the Enroll Students button.
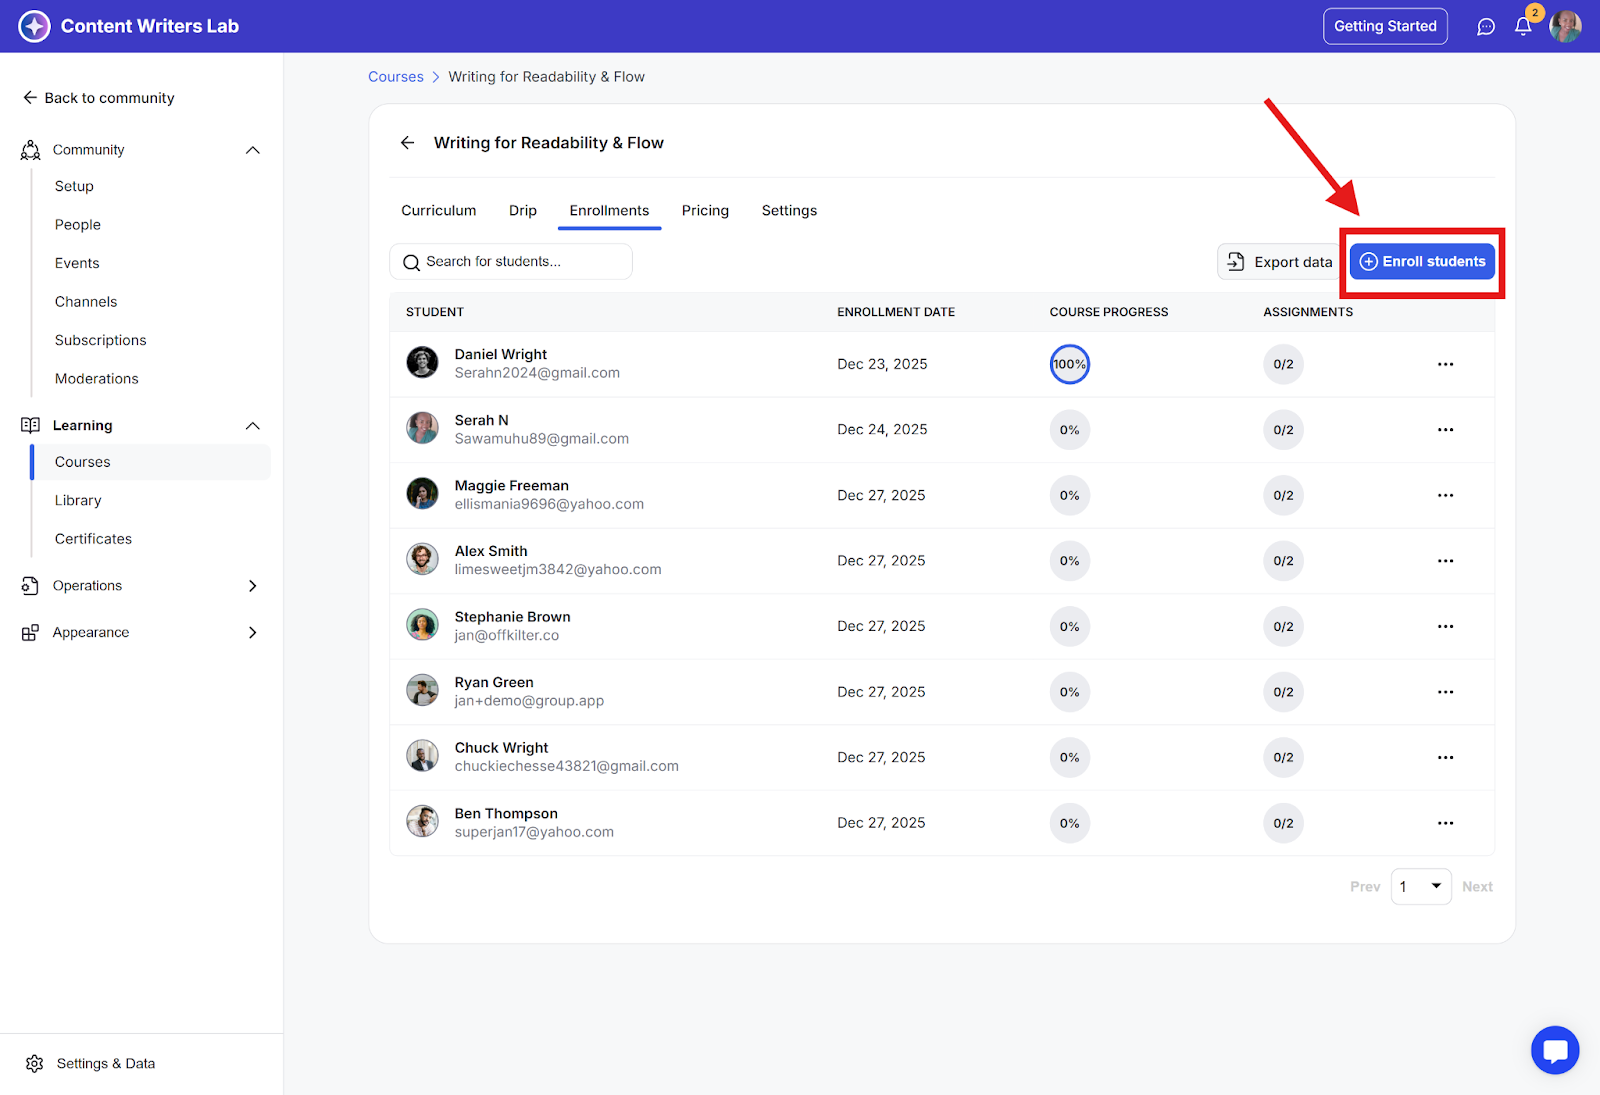
Step 6: Tick the checkbox next to their name and click Enroll.