Landing pages are created using blocks. These are pre-built content sections that help you design your page one section at a time. Blocks make it easy to add content, change styles, and organize your page without starting from scratch. In this guide, you will learn how to add, customize, and manage blocks to create a clear and engaging landing page.
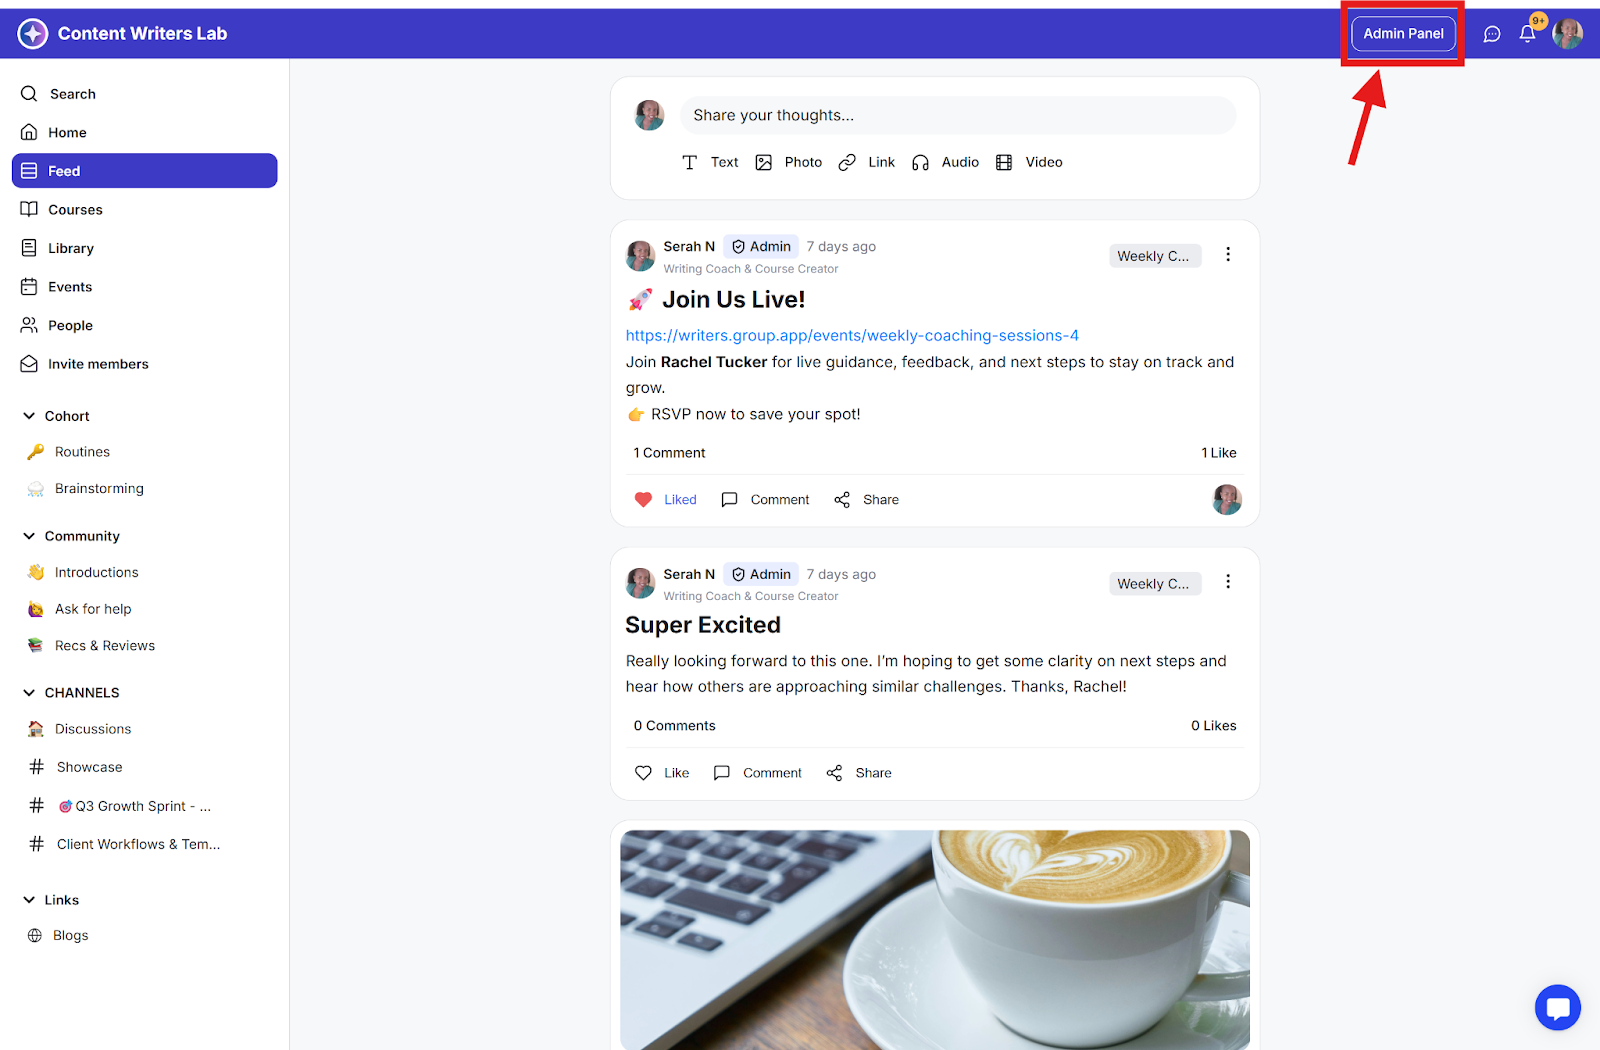
Step 1: Click on the Admin Panel.
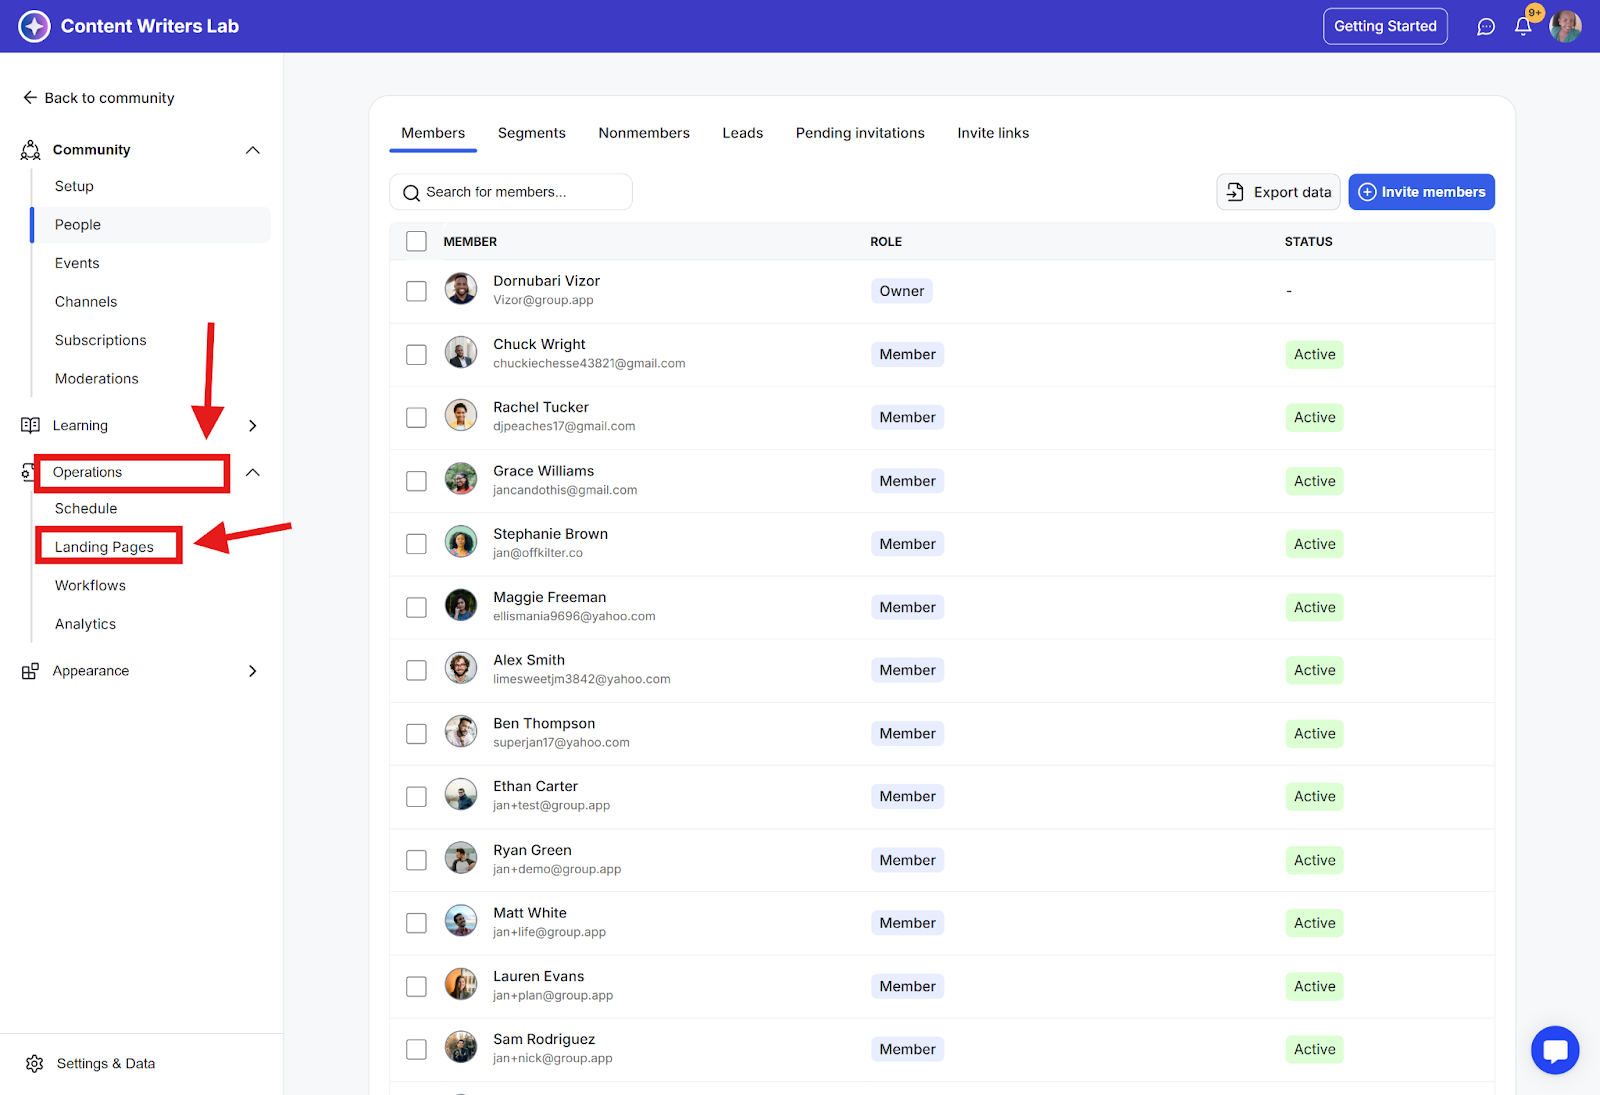
Step 2: Click on Operations in the side menu and select Landing Pages.
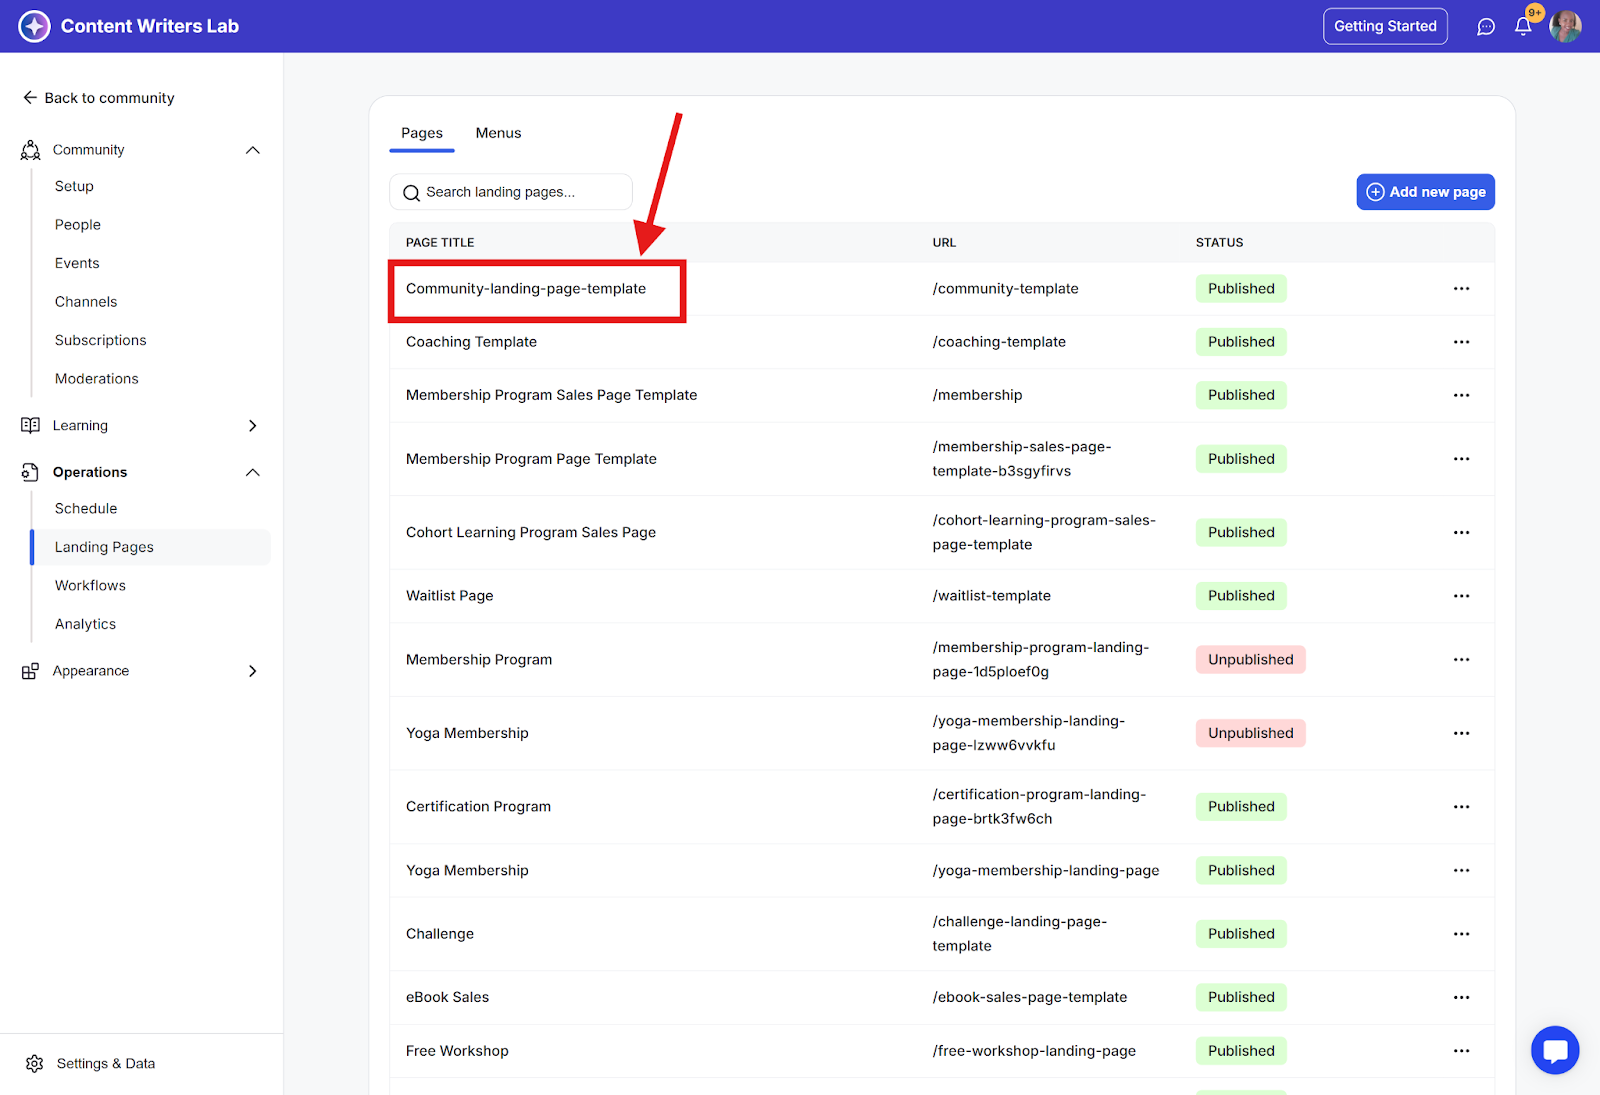
Step 3: On the landing page dashboard, click on the page name to open the page you want to edit.
Step 4: Click on the Layouts tab

Step 5: Select Add New Block.

Banner Block
Banner Plus Curriculum Block
Heading Block
Text Block
Heading Plus Text Block
And several other specialized options

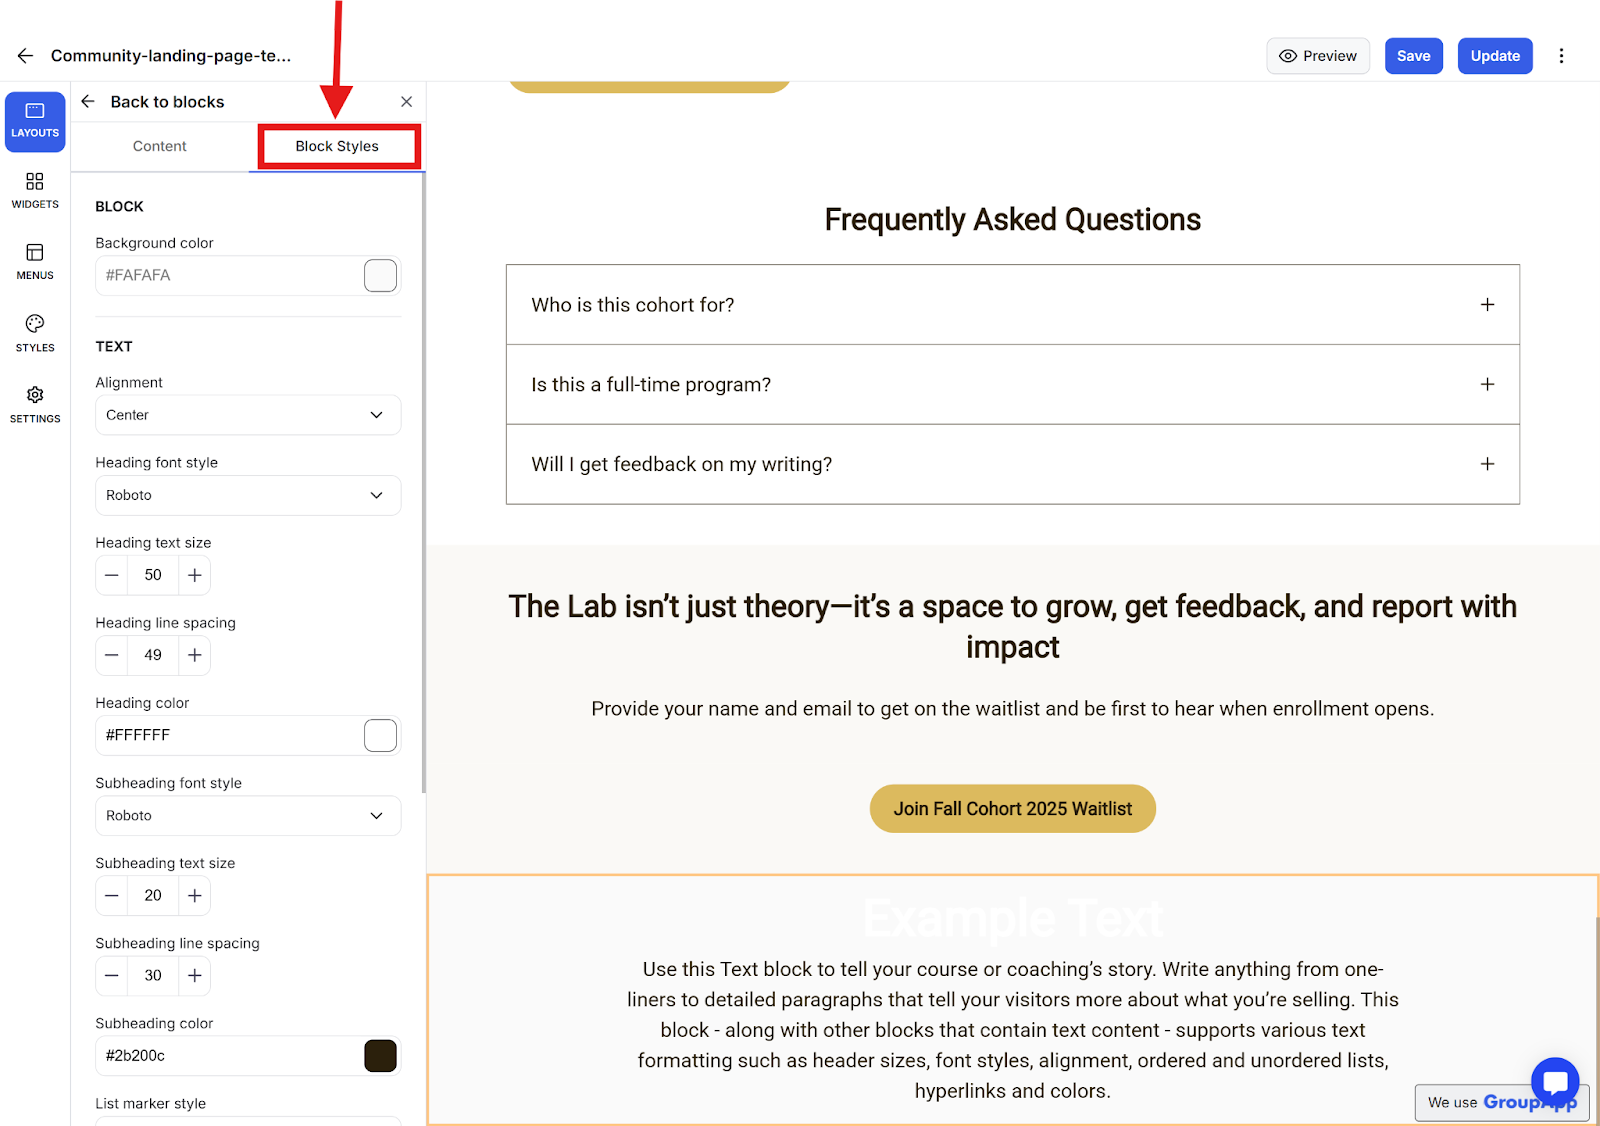
After adding a block (such as a Heading and Text Block), you can:
Customize the content within the block
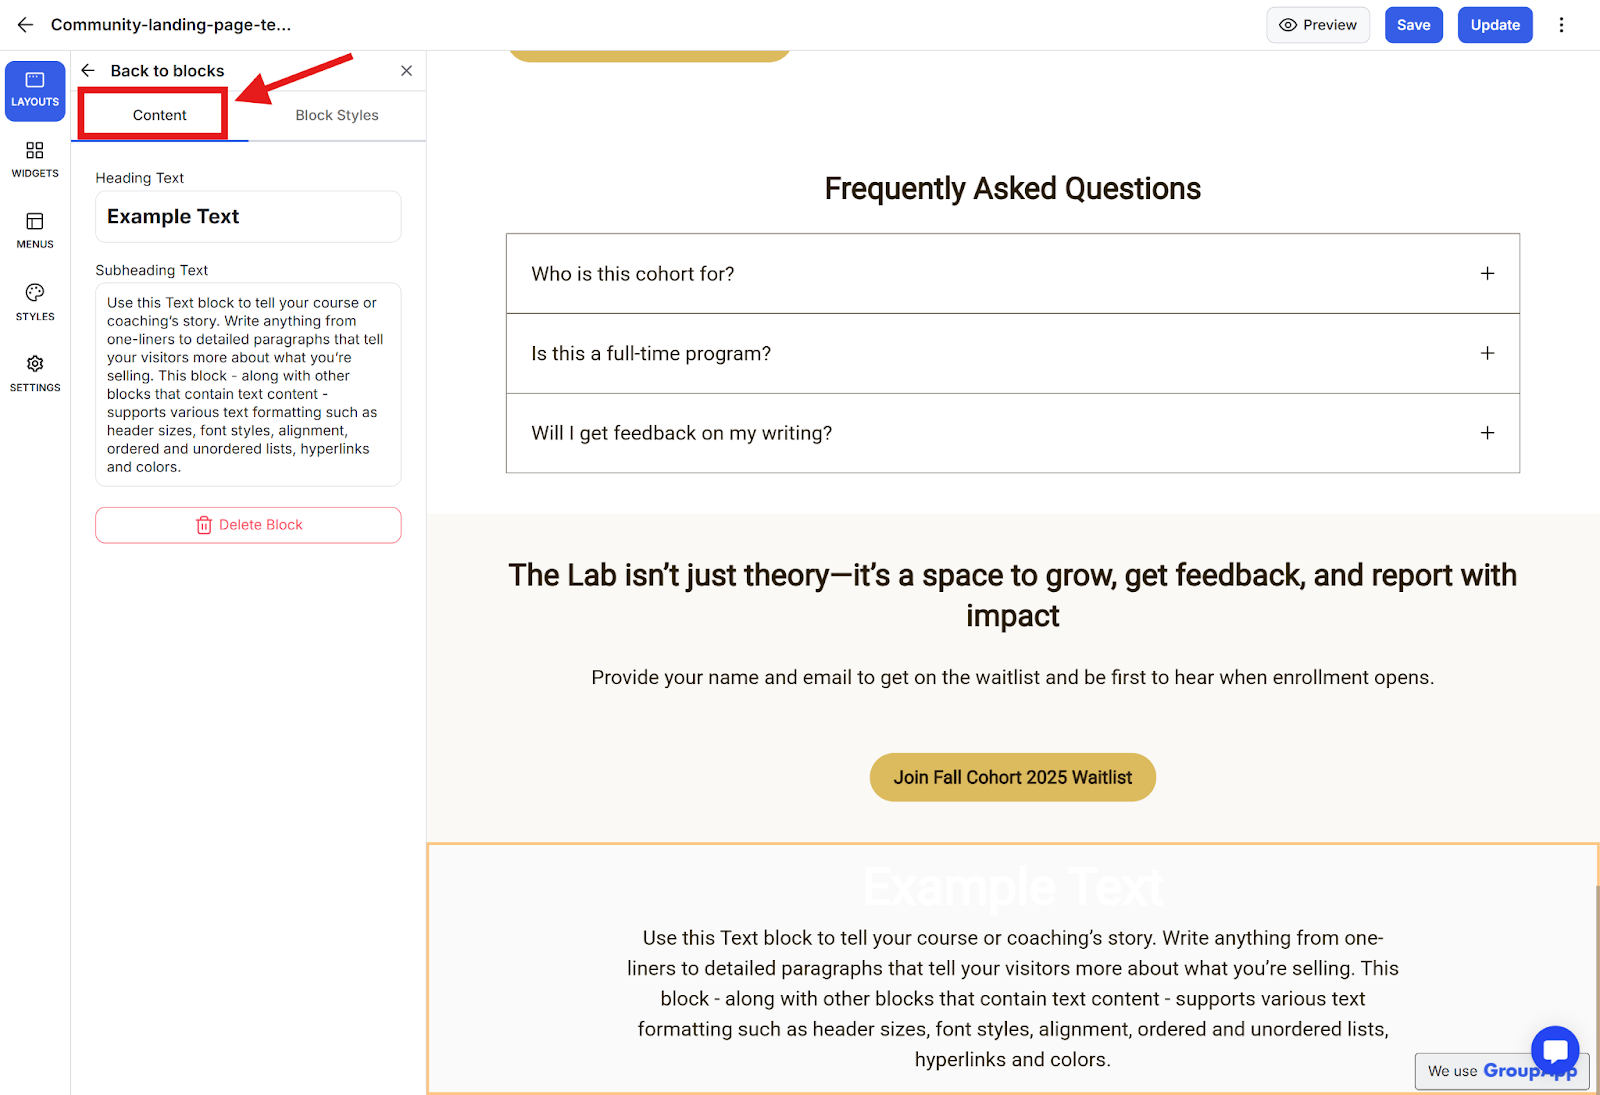
Style the block using the Block Styles tab
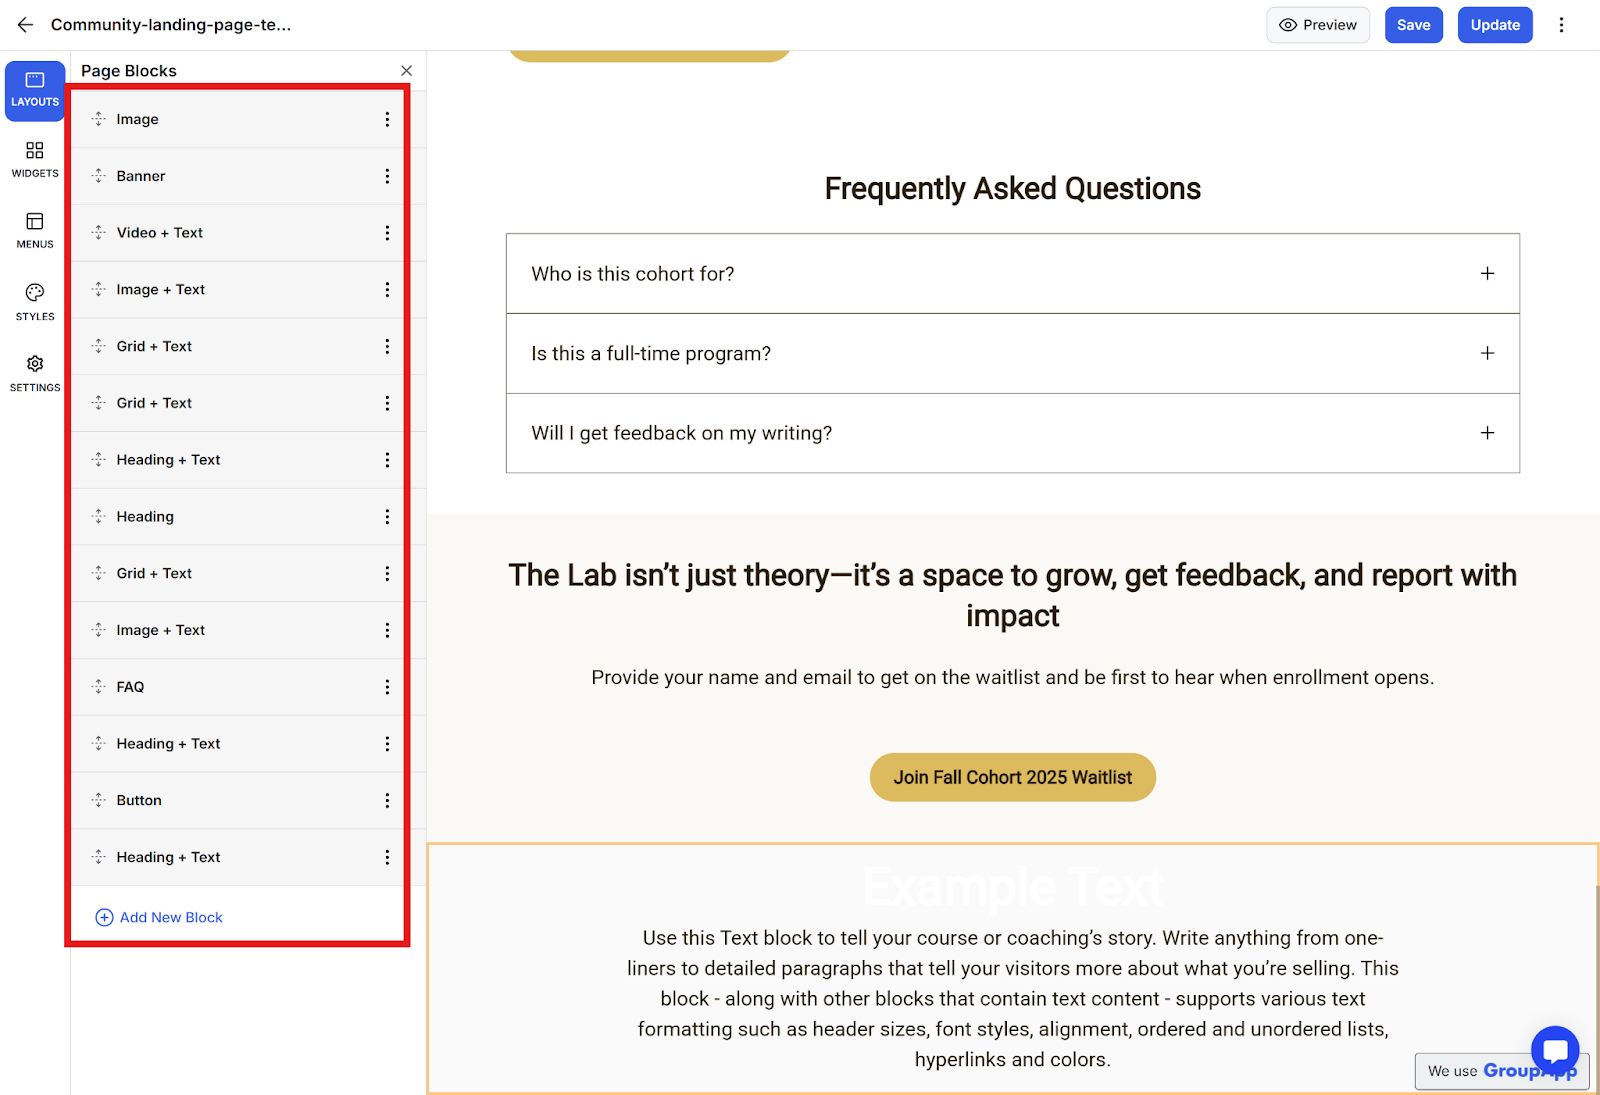
All blocks appear in the Page Blocks section, where you can:
Reorder blocks by dragging and dropping
Rename blocks for easy reference
Edit block content
Duplicate blocks
Delete blocks
Note: Organizing your blocks with clear names helps maintain a well-structured landing page that's easy to update.
