A webhook is an automated way to send data from your community to another application when a specific event happens.
Instead of manually exporting data, webhooks instantly send information, such as new member signups, purchases, course completions, or form submissions, to tools like your CRM, email platform, or automation system. This allows you to connect your community to other systems and automate workflows in real time.
Admin access to your GroupApp community
A webhook URL from the app you want to connect to (like Zapier, HubSpot, or your custom application)
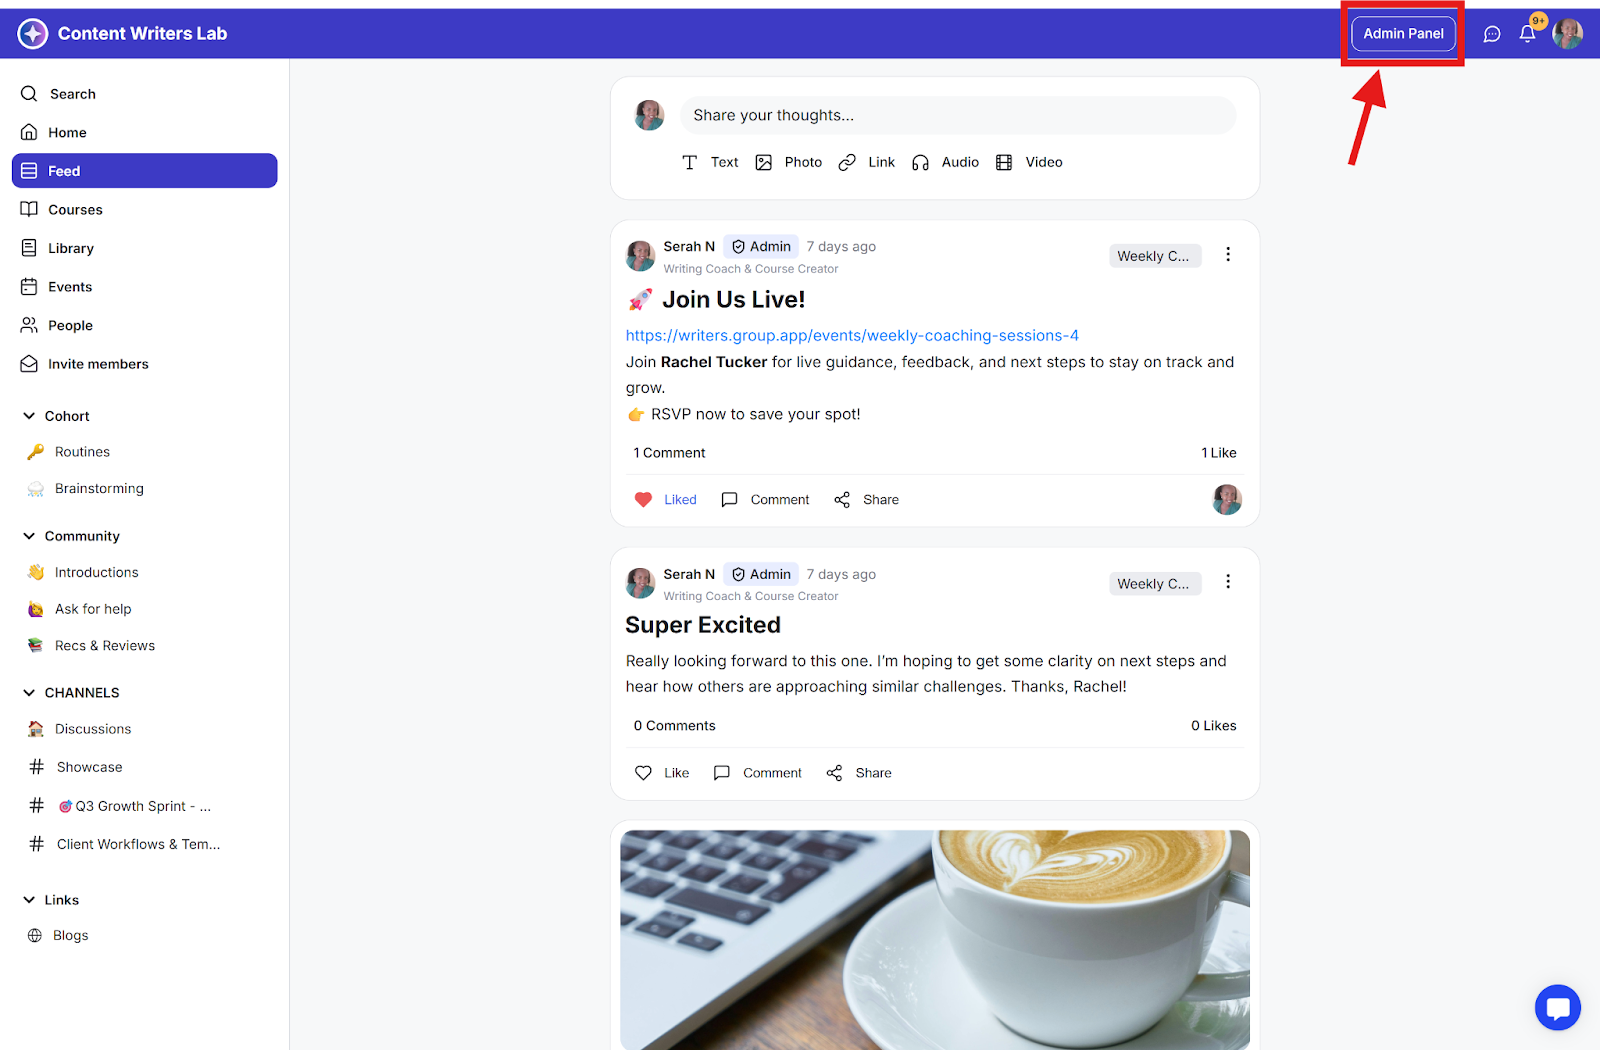
Step 1: Click the Admin Panel in the top right.
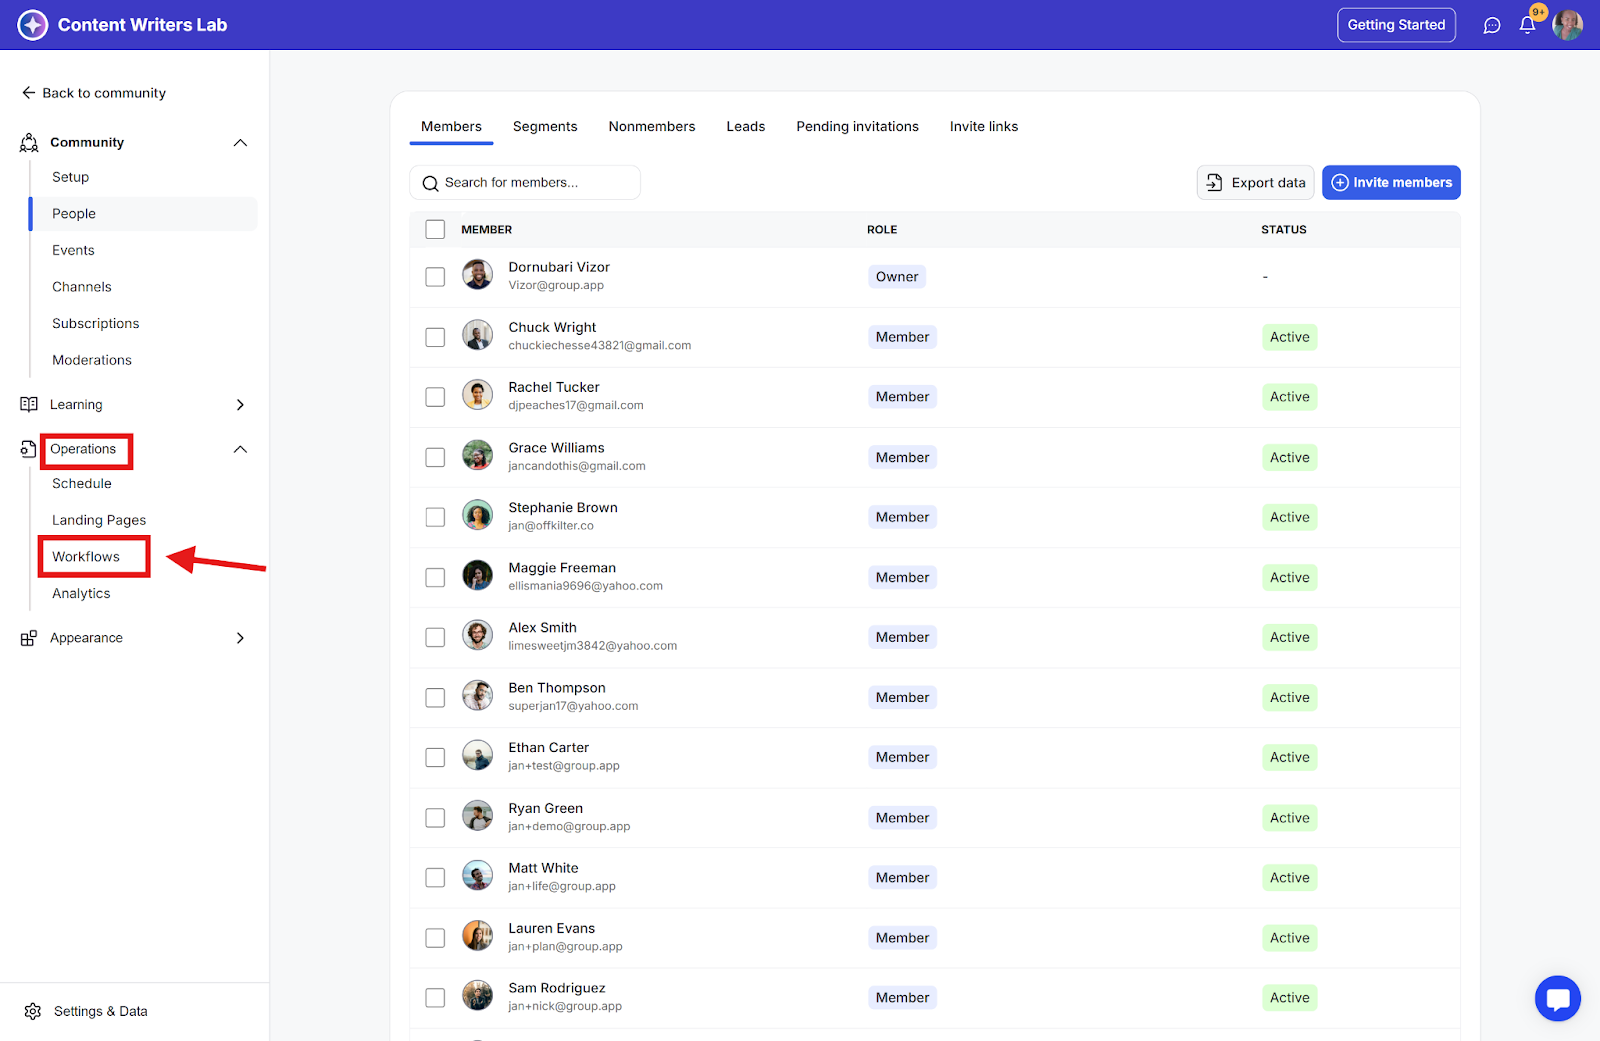
Step 2: In the side menu, click Operations and select Workflows.
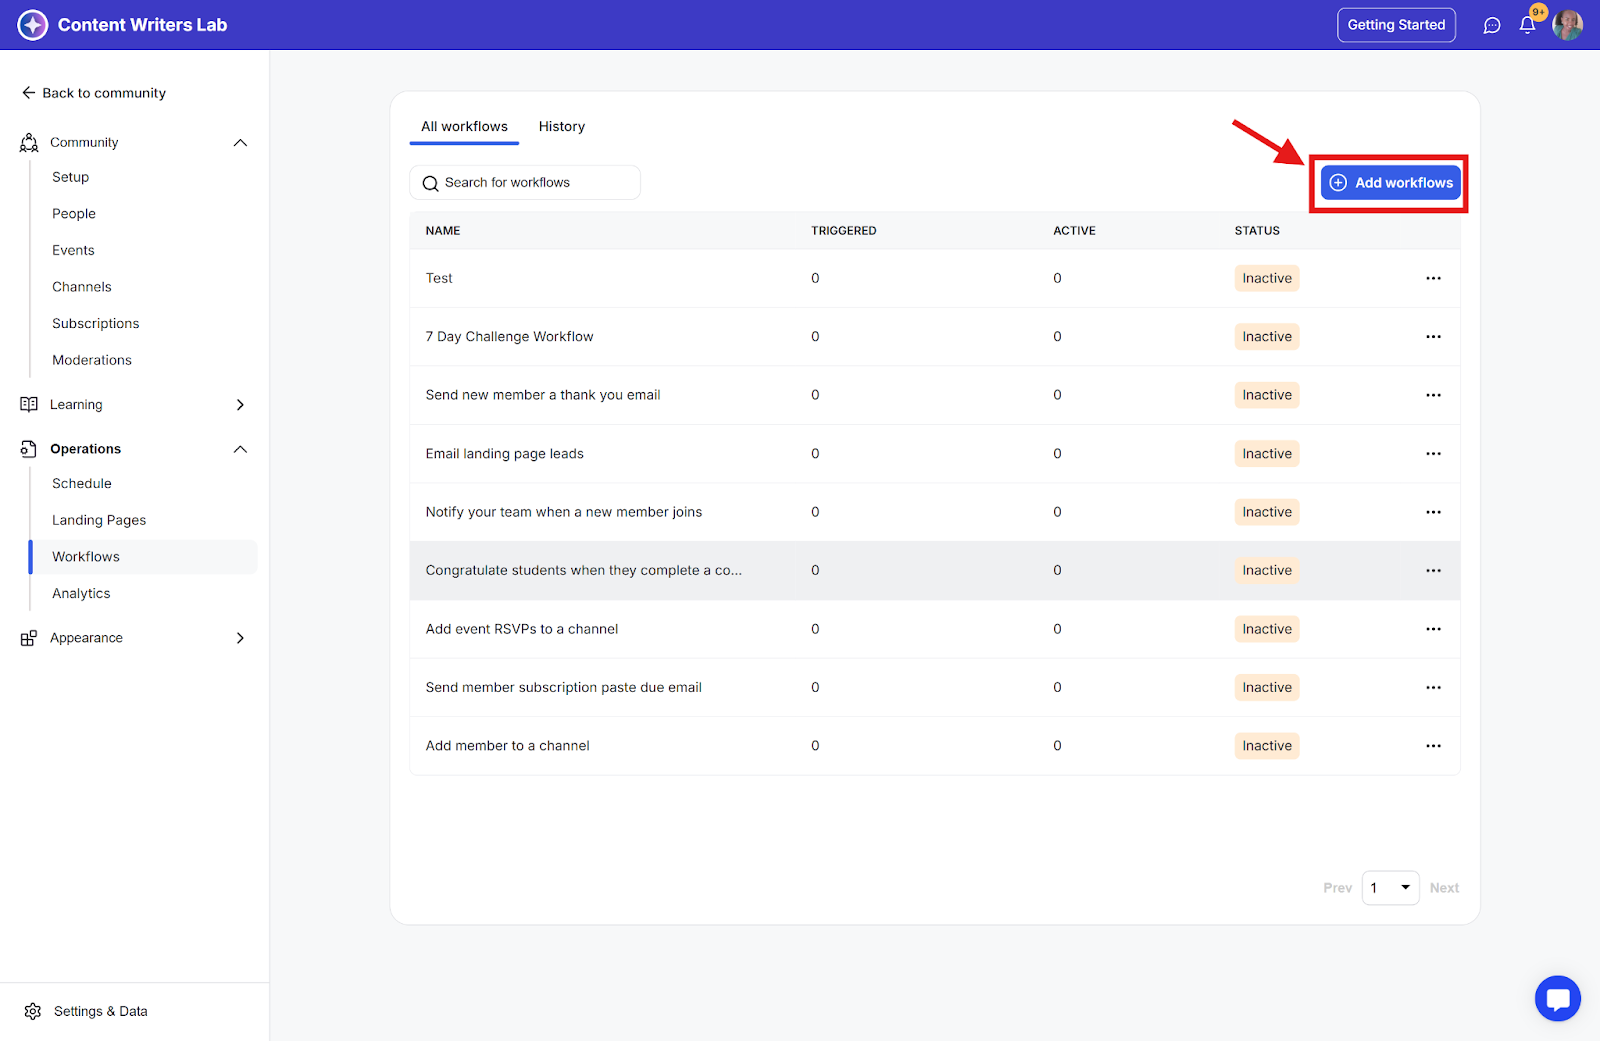
Step 1: Click the Add Workflows button
Step 2: Choose Create a Blank Workflow
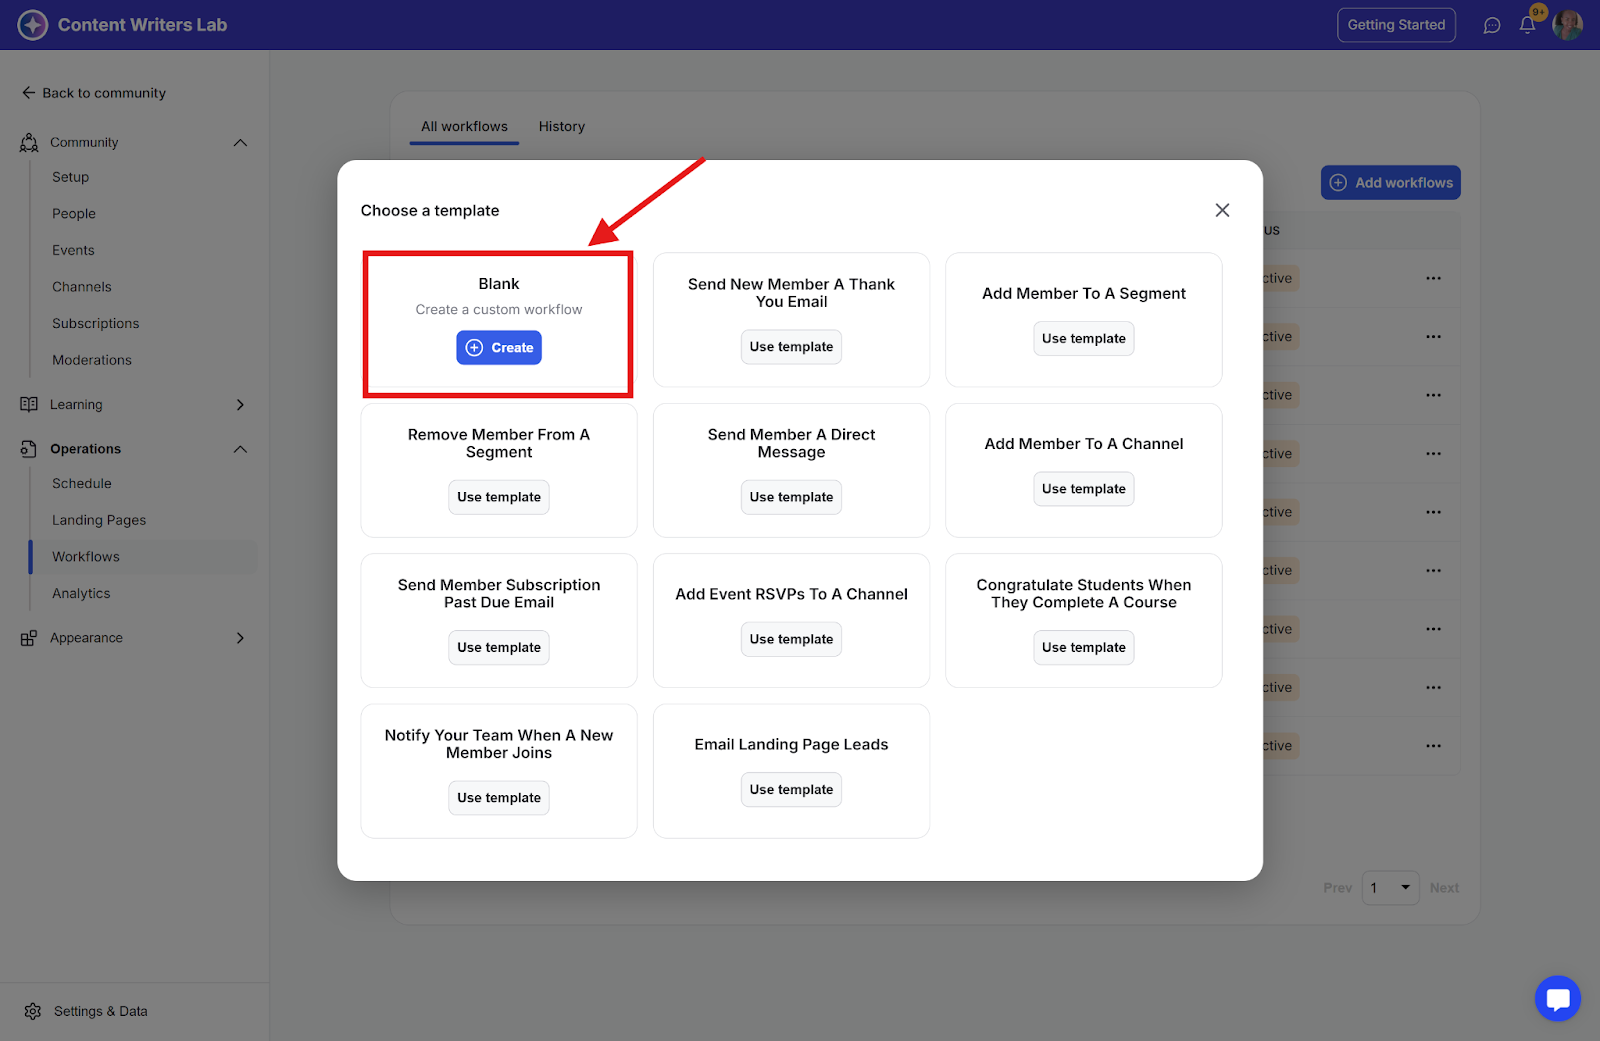
Step 3: Assign a descriptive name to your workflow (e.g., "New Member to CRM") and click Save.

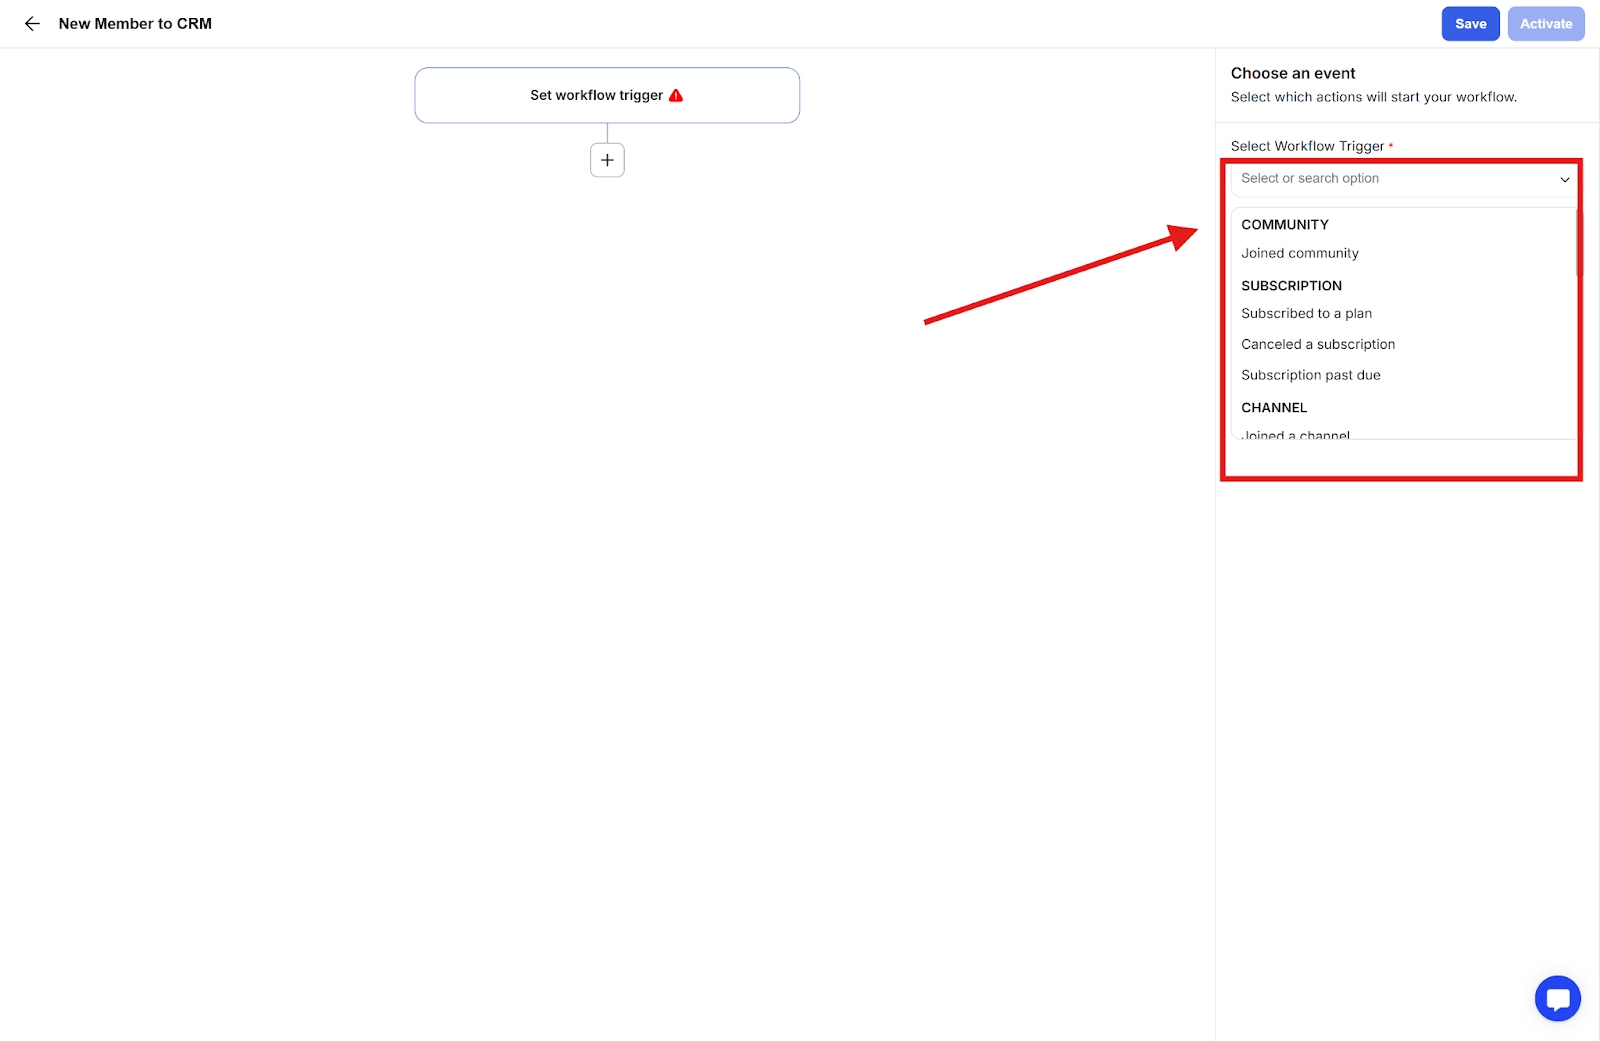
In the trigger section, select when you want your webhook to fire
Popular triggers include:
When a new member joins
When someone purchases a subscription
When a member completes a course
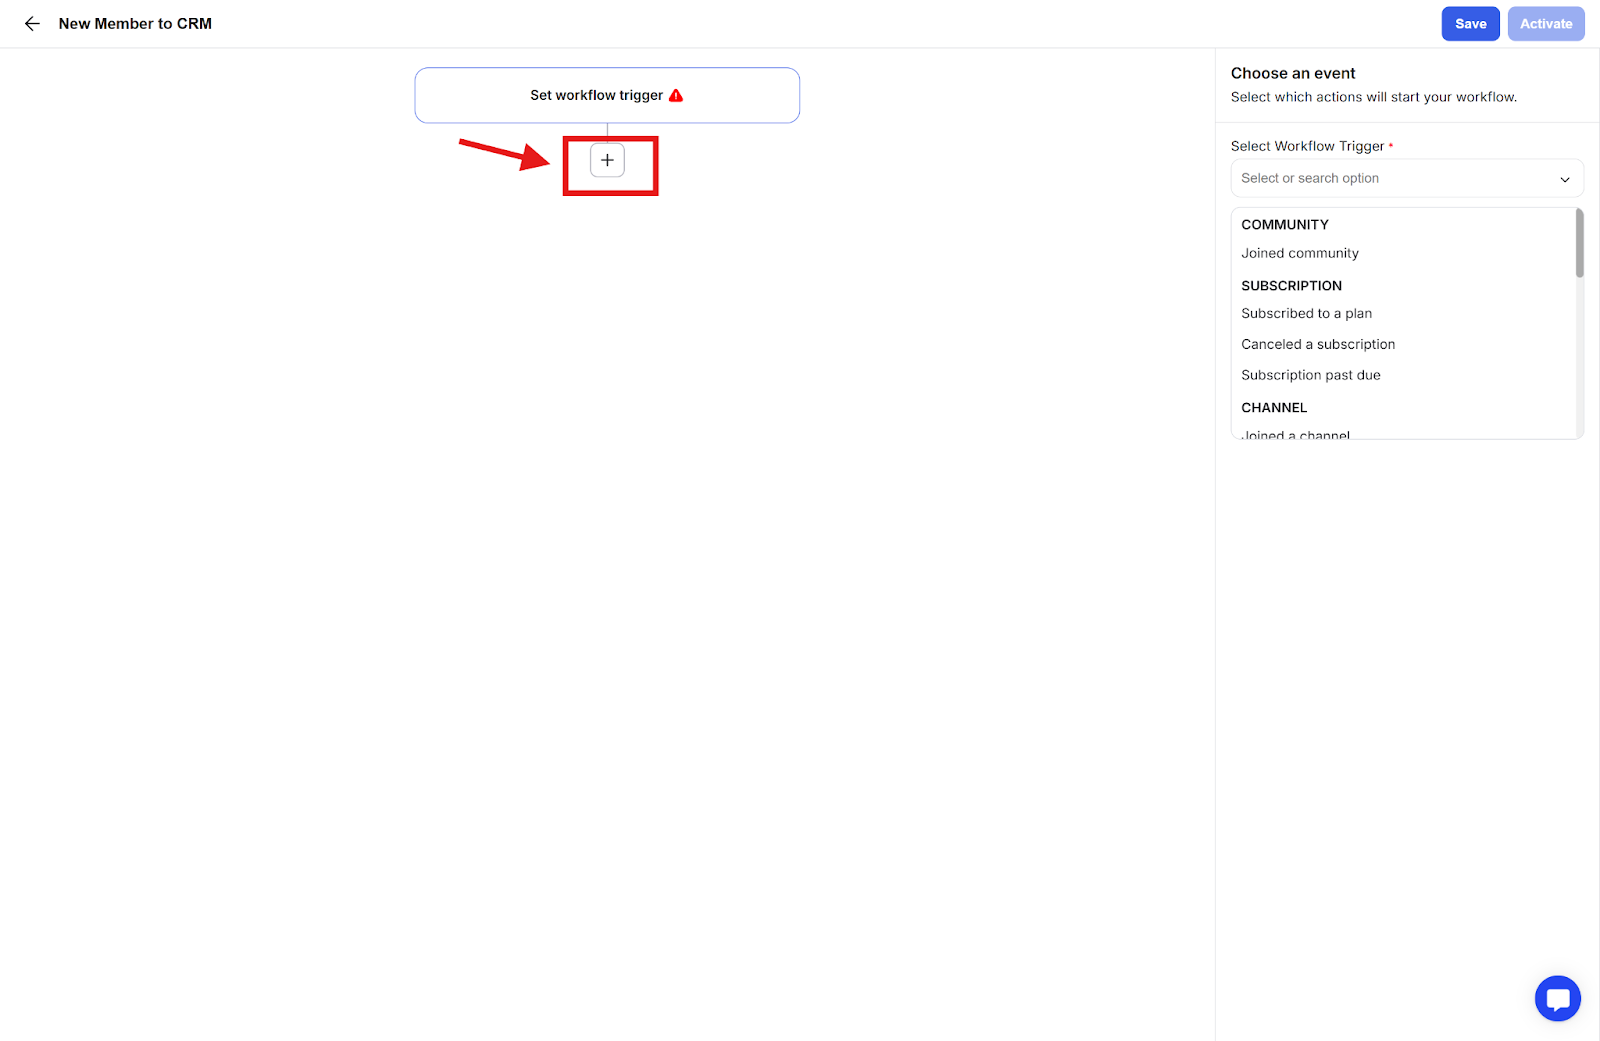
Step 1: Click the (+) button to add an action
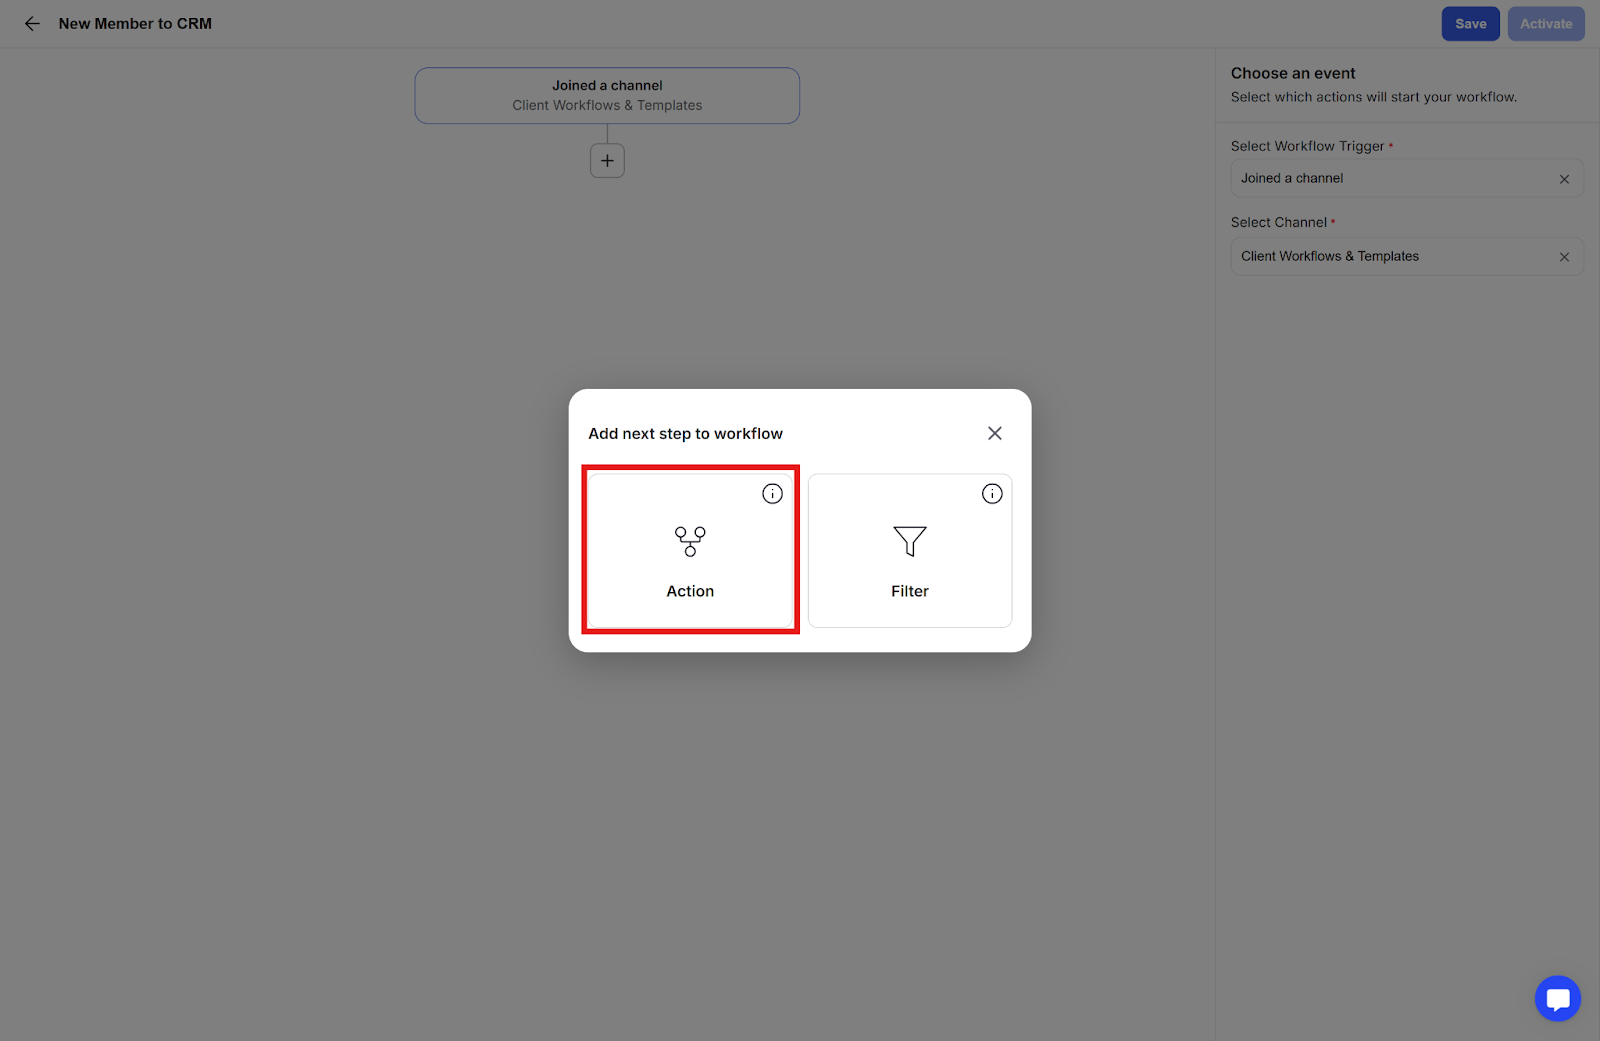
Step 2: Select Action.
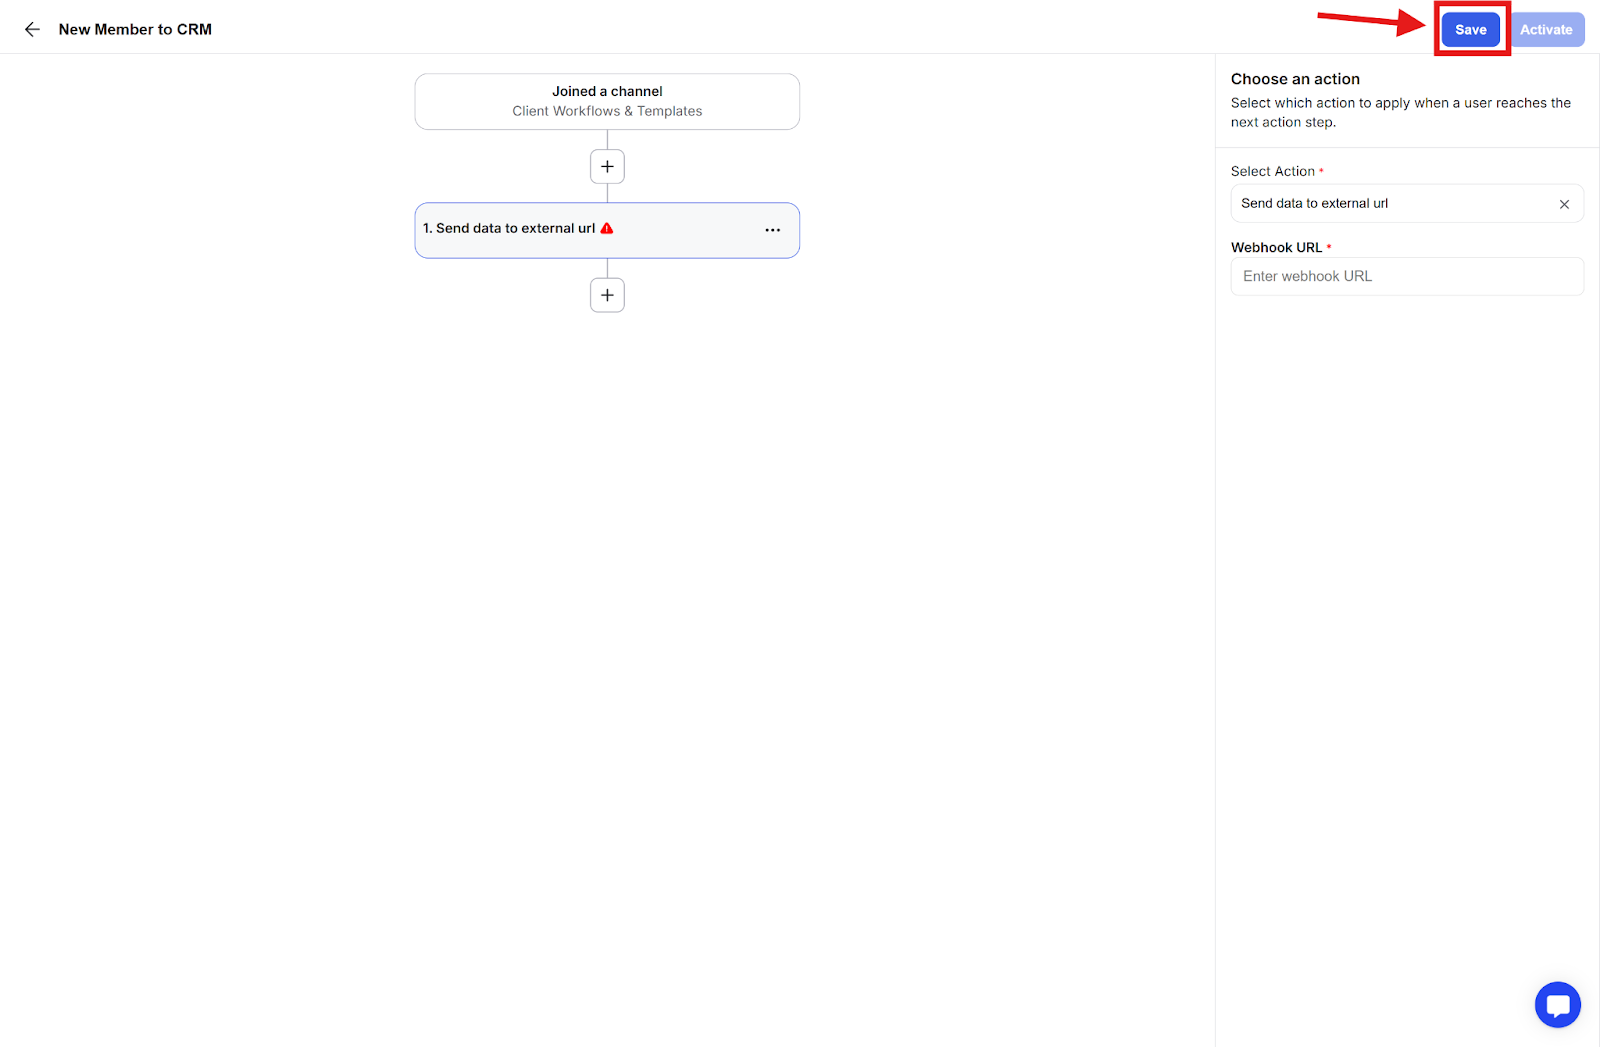
Step 3: Go to the Actions list and select Send Data to External URL.
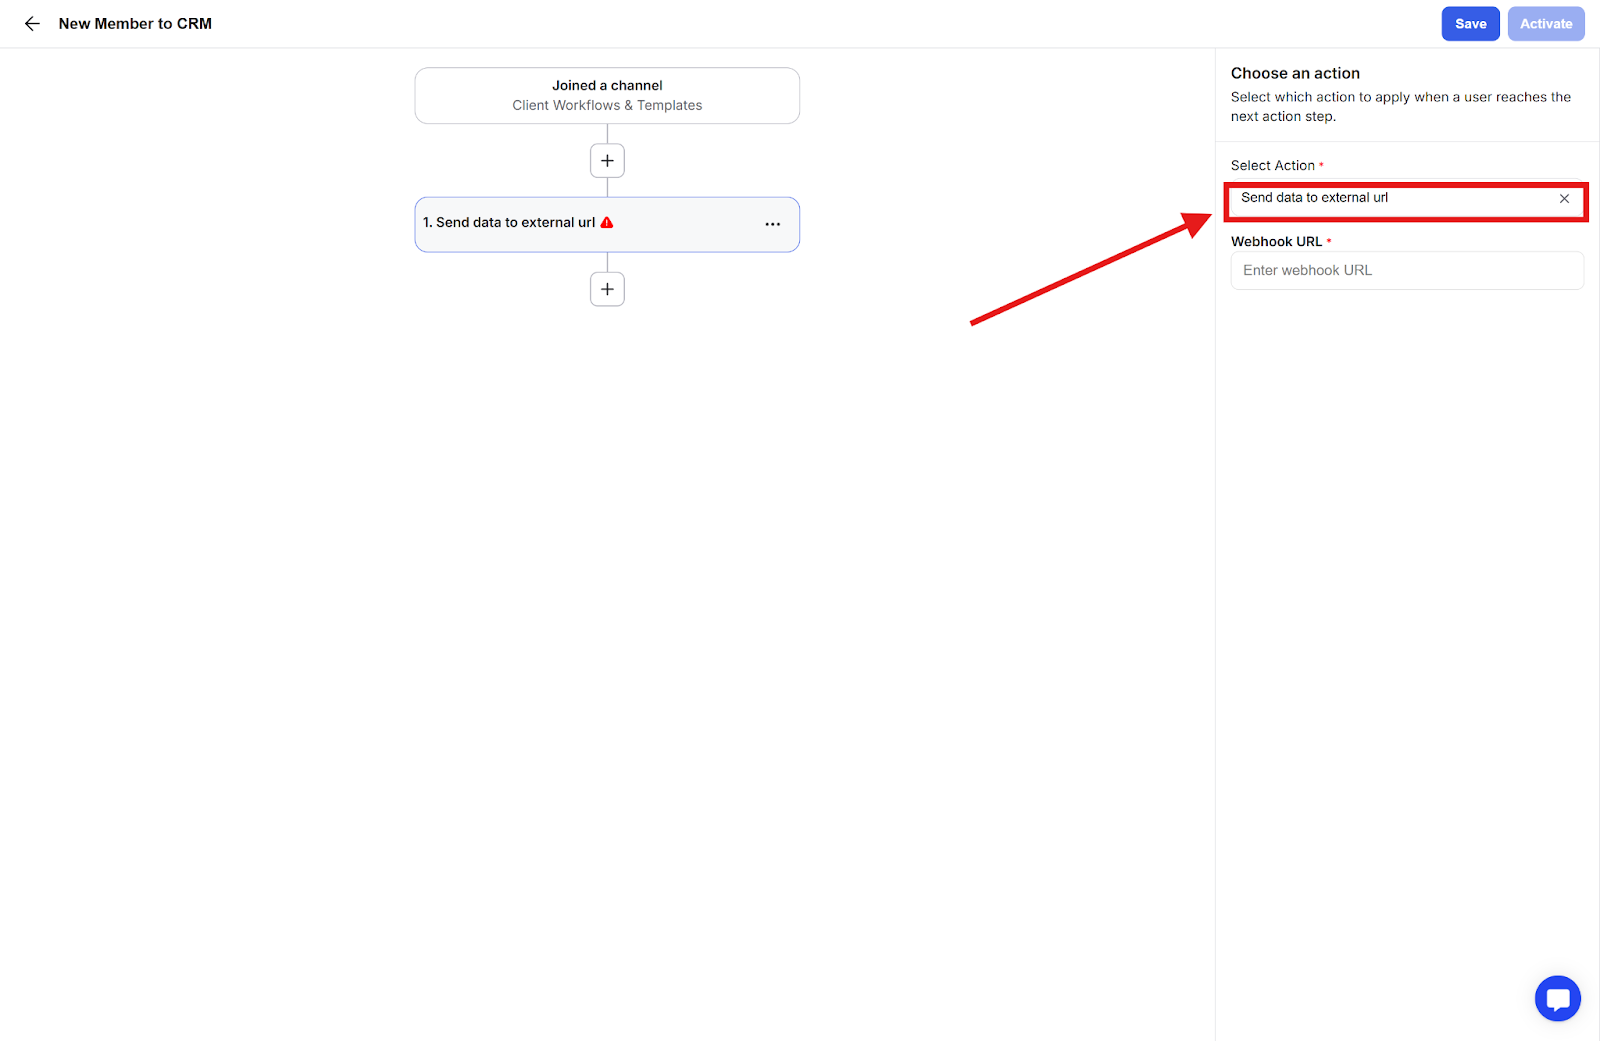
Step 4: Paste your Webhook (destination) URL.

Step 5: Click Save
Step 1: Use the Test Webhook button to send sample data.
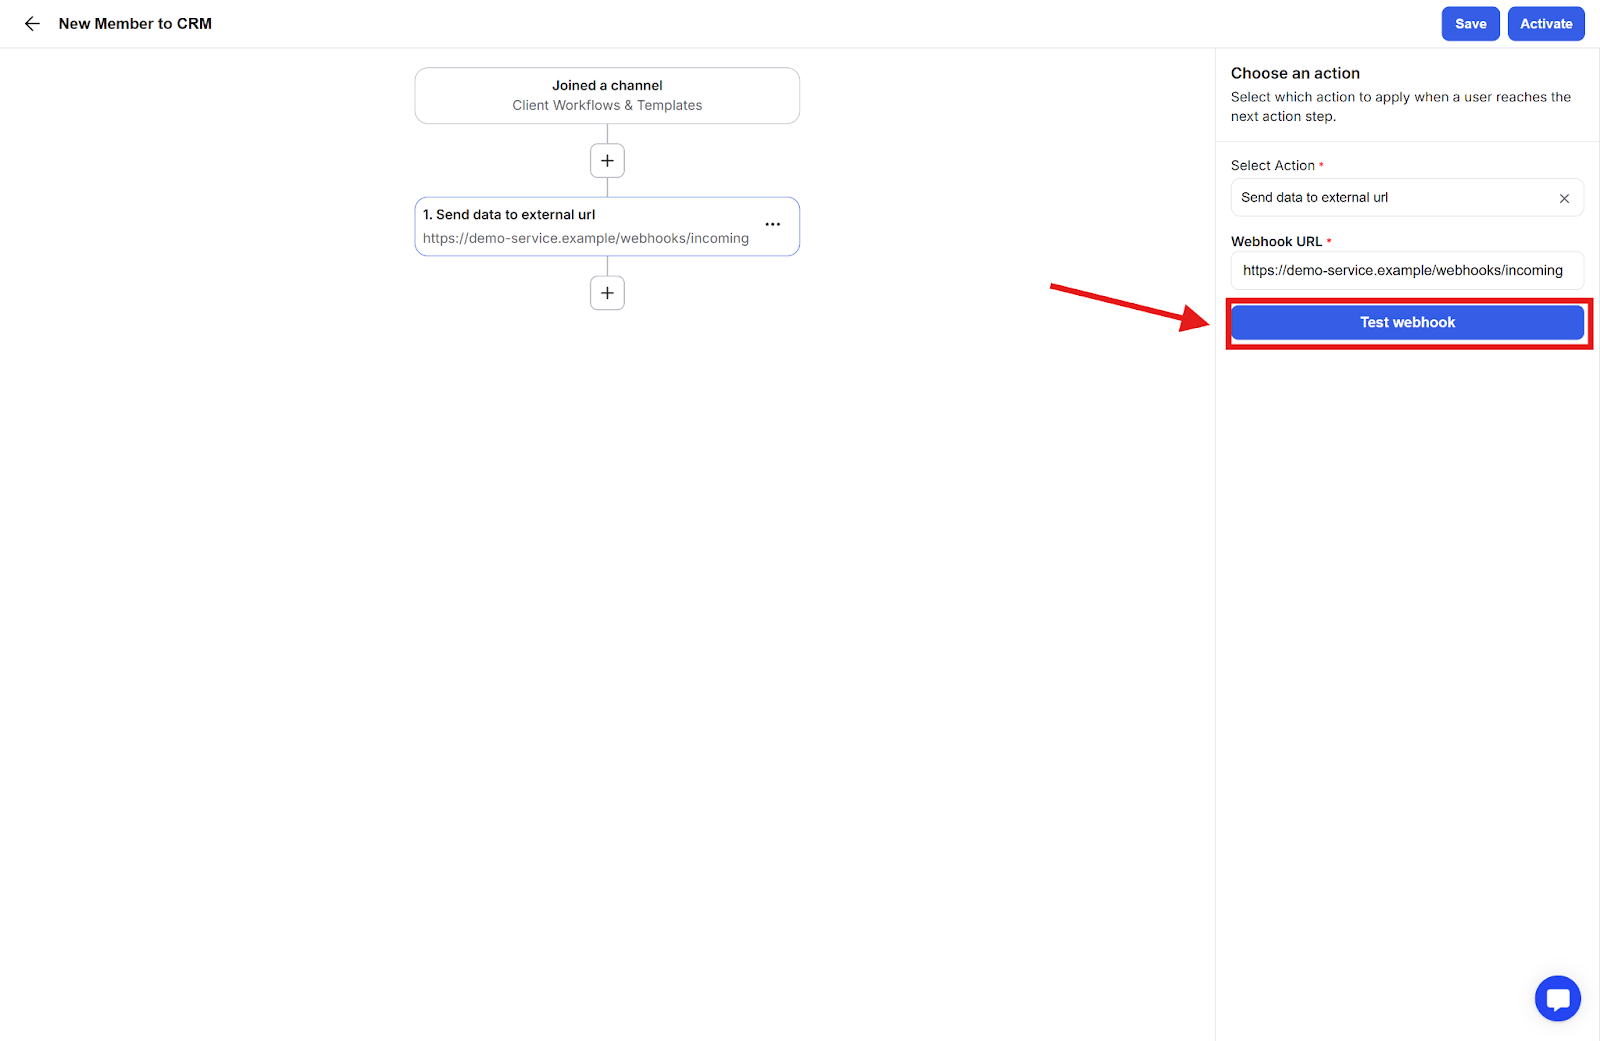
Step 2: Check your destination app to confirm it received the test.
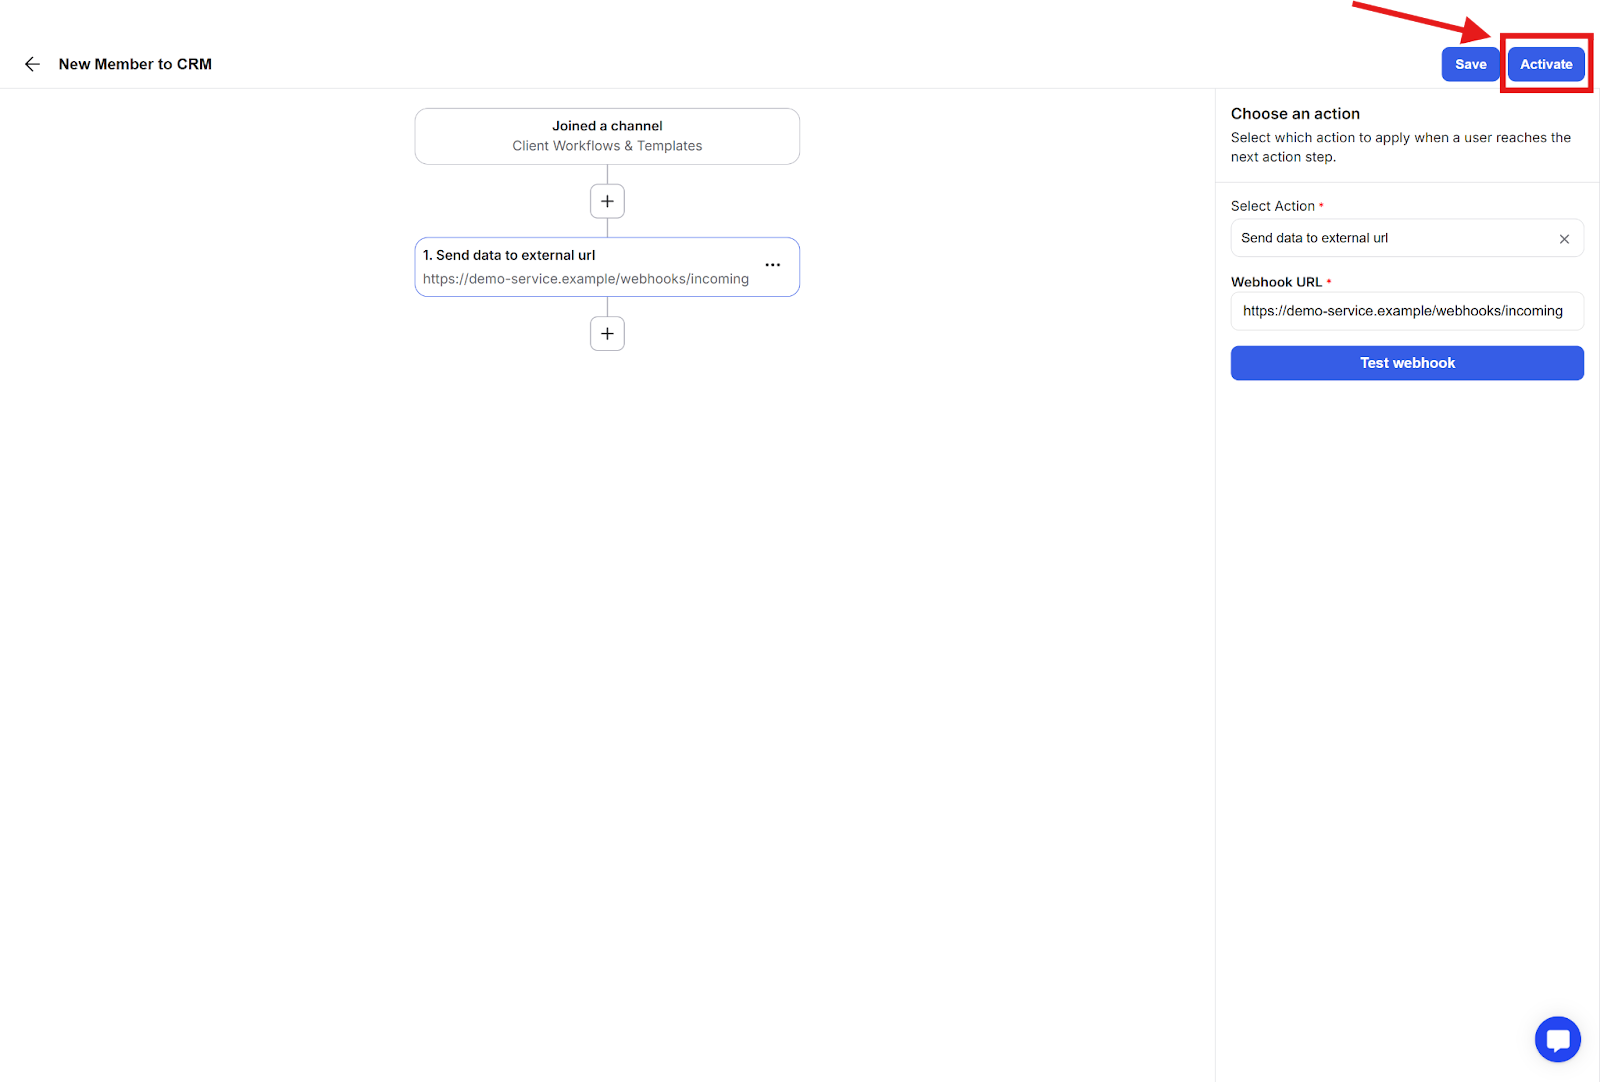
Step 3: Click Activate to make your webhook live.
Member joins or leaves
Subscription changes
Course enrollment and completion
Segment updates
Event RSVPs
Form submissions
If your webhook isn't working:
Double-check your URL
Verify the workflow is activated
Look for error messages in your destination app
Contact support if you're stuck
Pro tip: Test your webhook thoroughly with the Test Webhook button before activating it. This helps ensure everything is set up correctly without affecting your live data.
