Channels let you organize your community into focused spaces for specific topics, discussions, courses, or content.
Create Channels for Topic-based Discussions and Learning
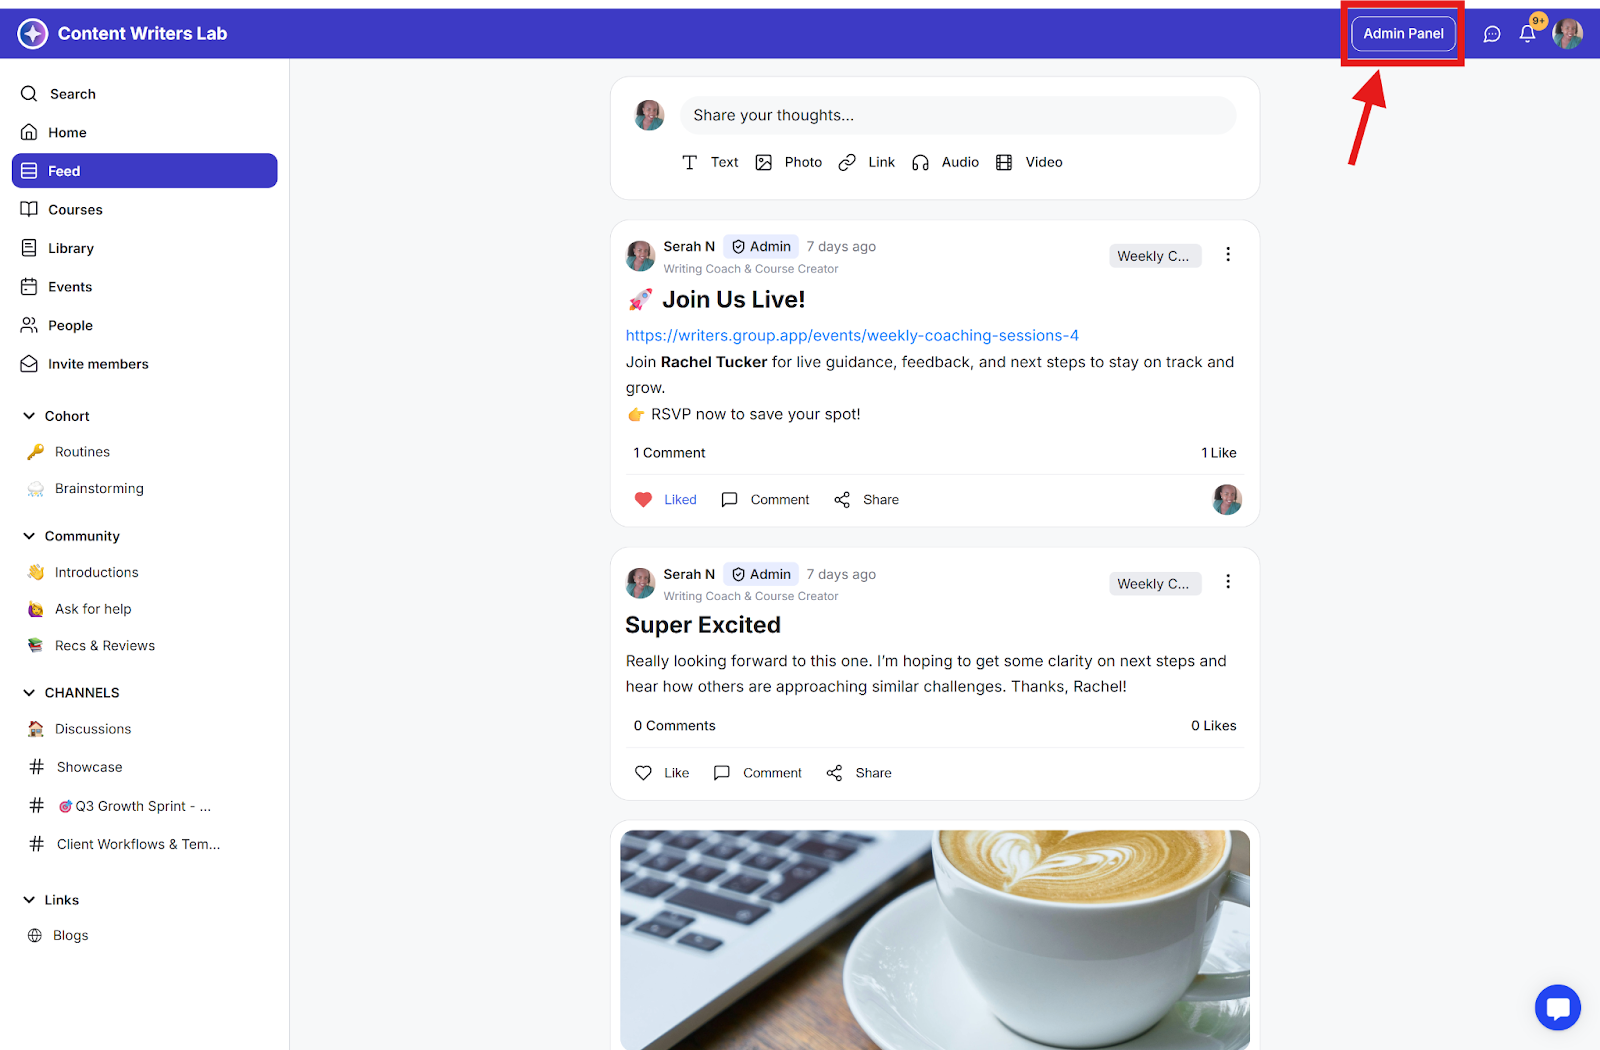
Step 1: Go to the top-right corner of the dashboard and click the Admin Panel.
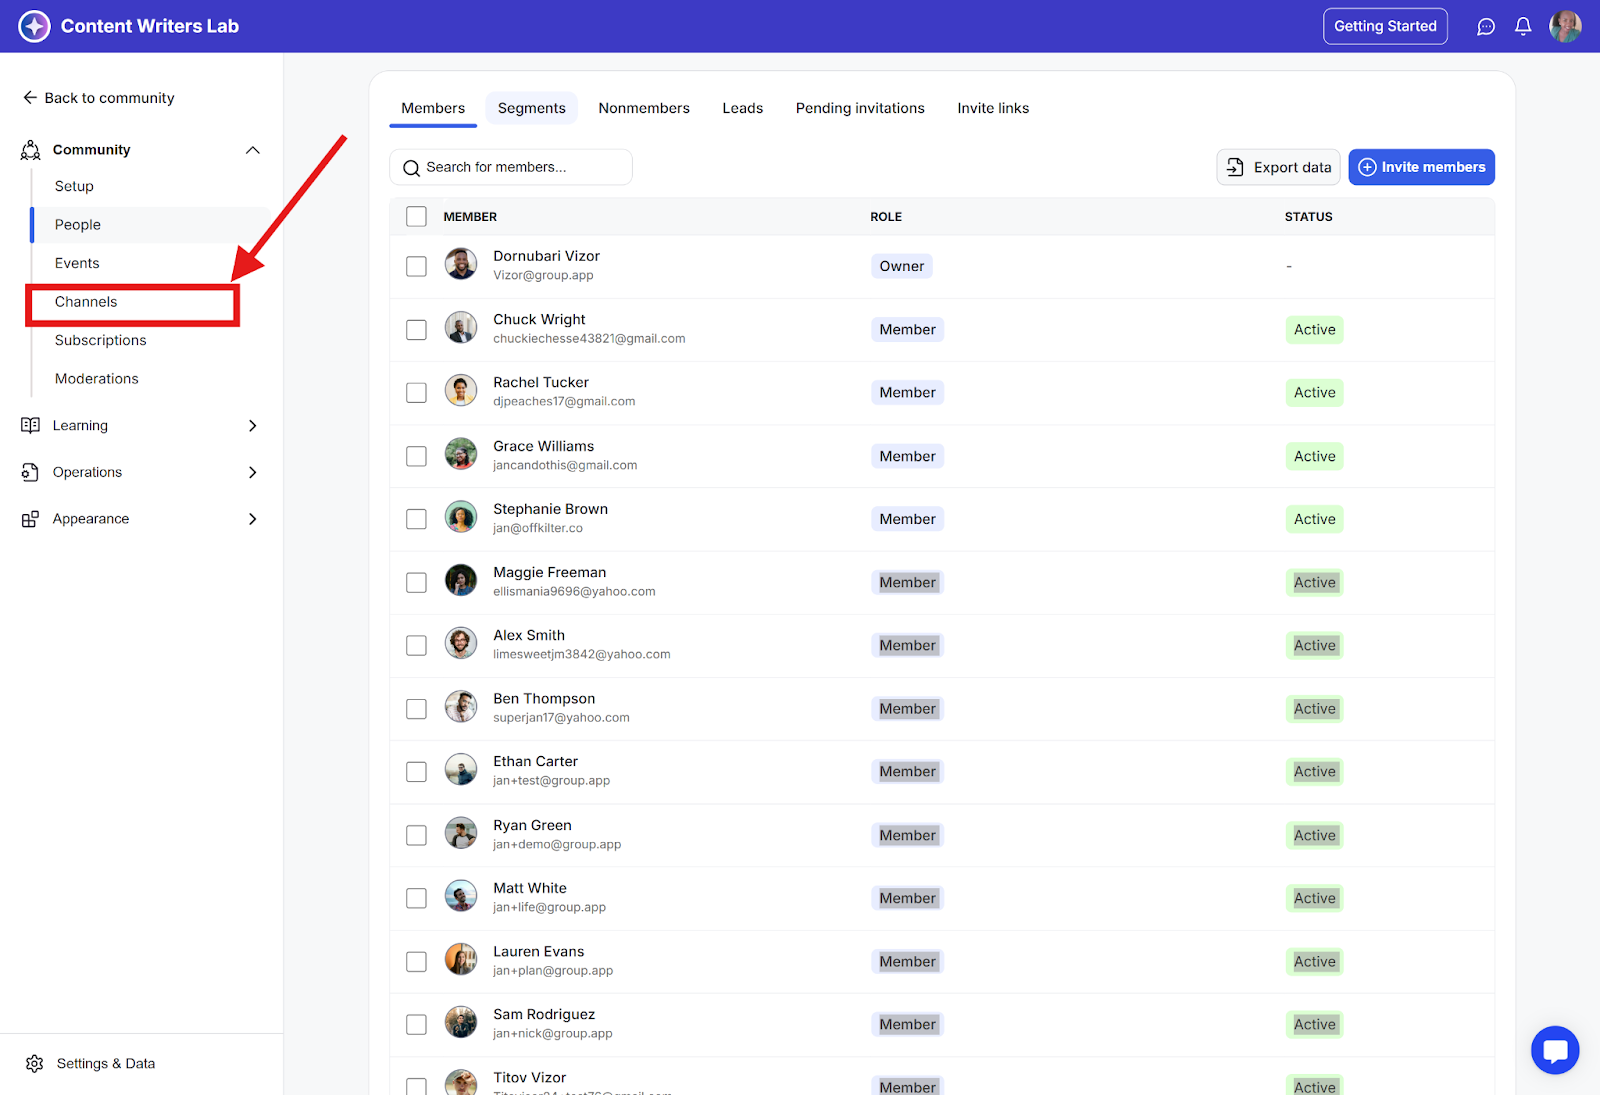
Step 2: In the Admin Panel menu, click Channels to access the channels dashboard.
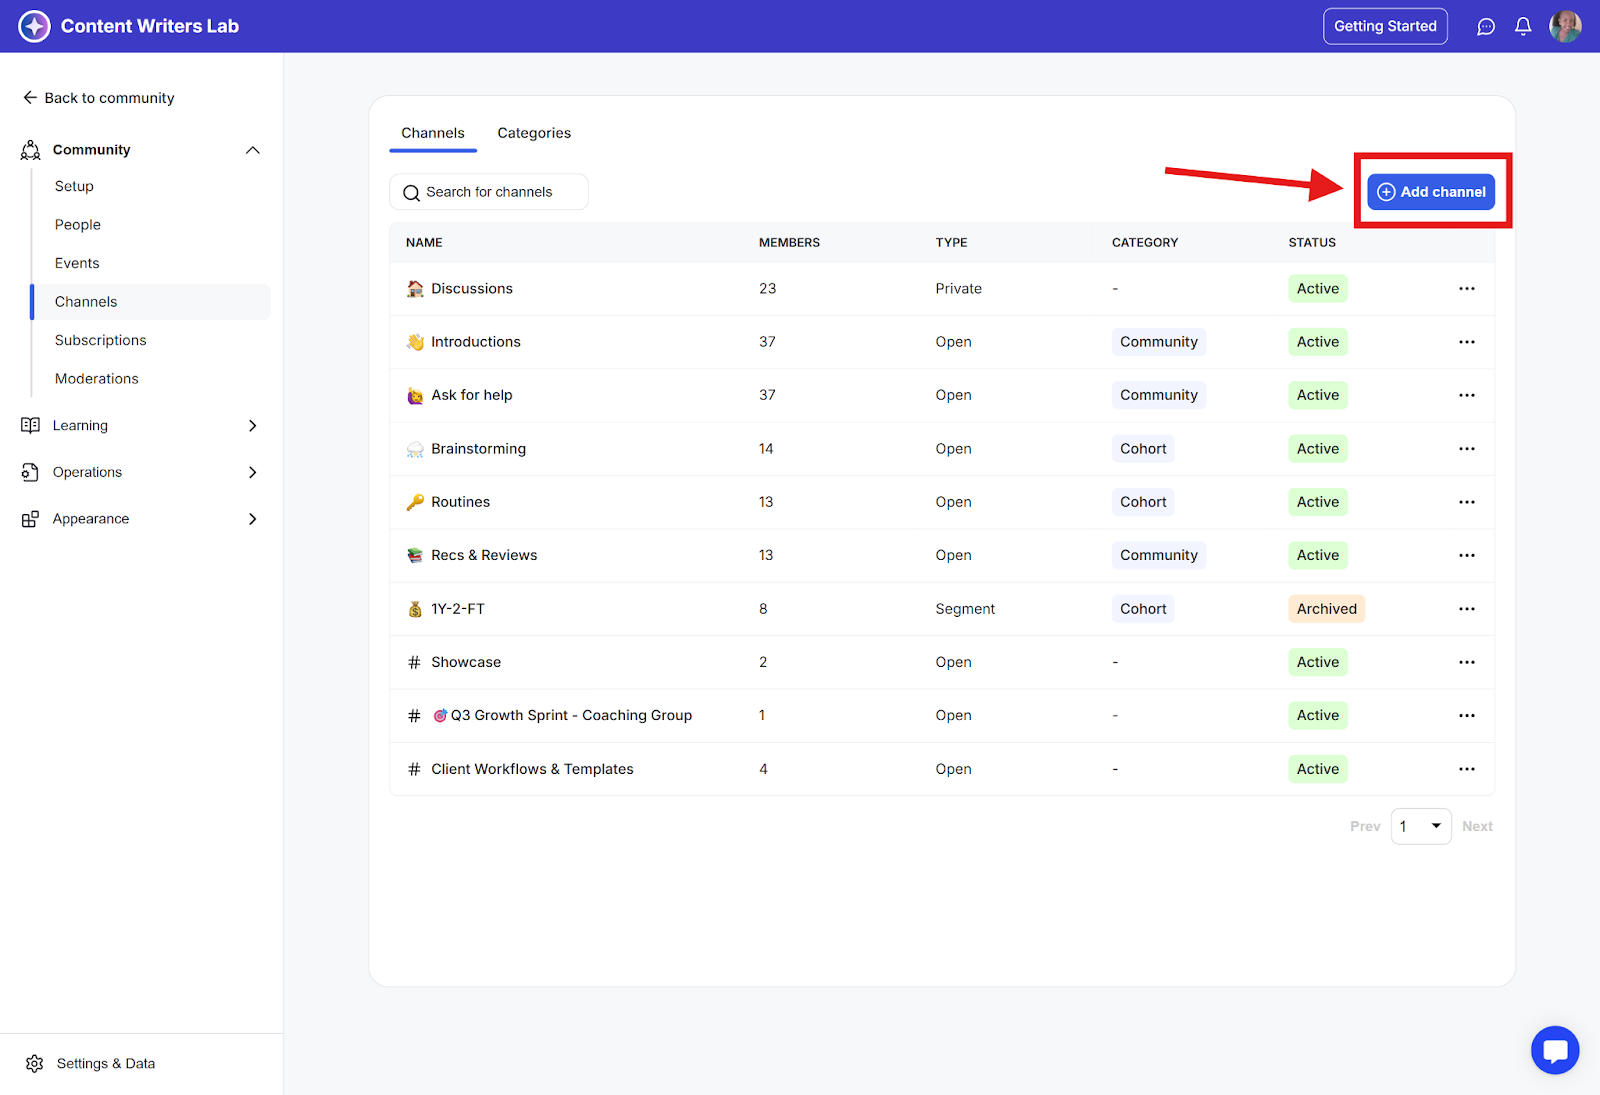
Step 3:The channels dashboard displays a list of all your community's channels. For each channel, you can see its Name, Member Count, Type, Category, and Status. To create a new channel, click the Add Channel button in the top-right corner.
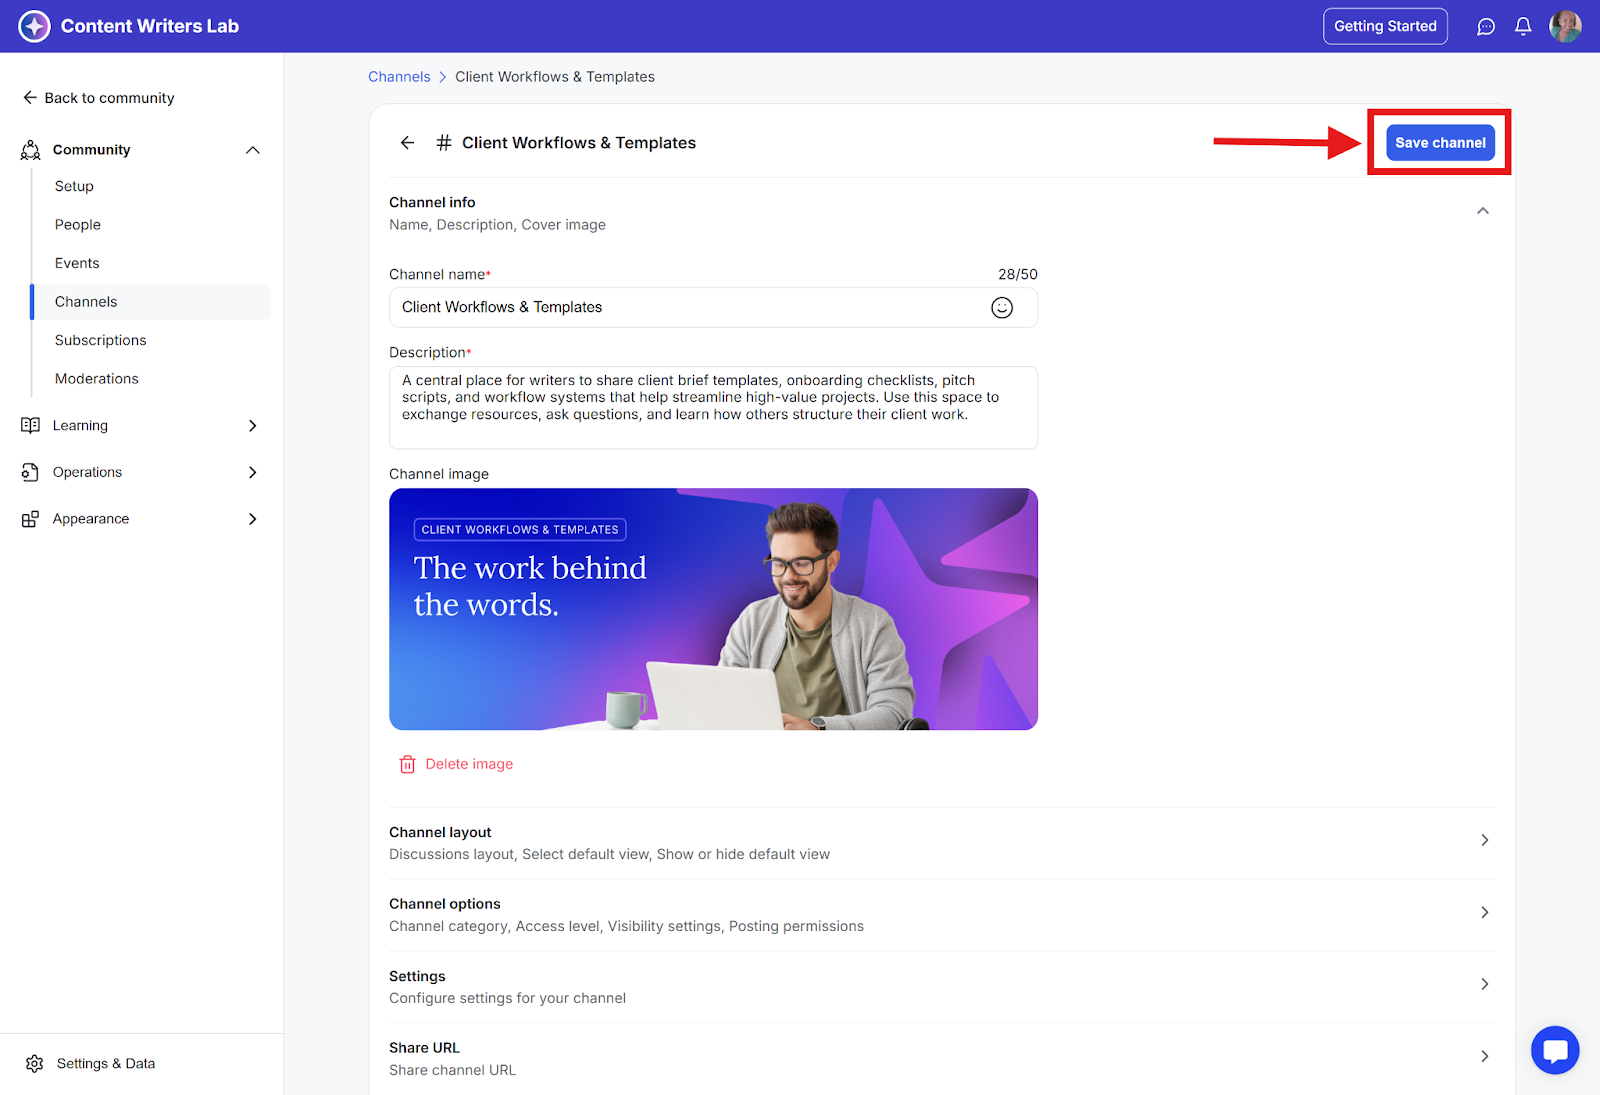
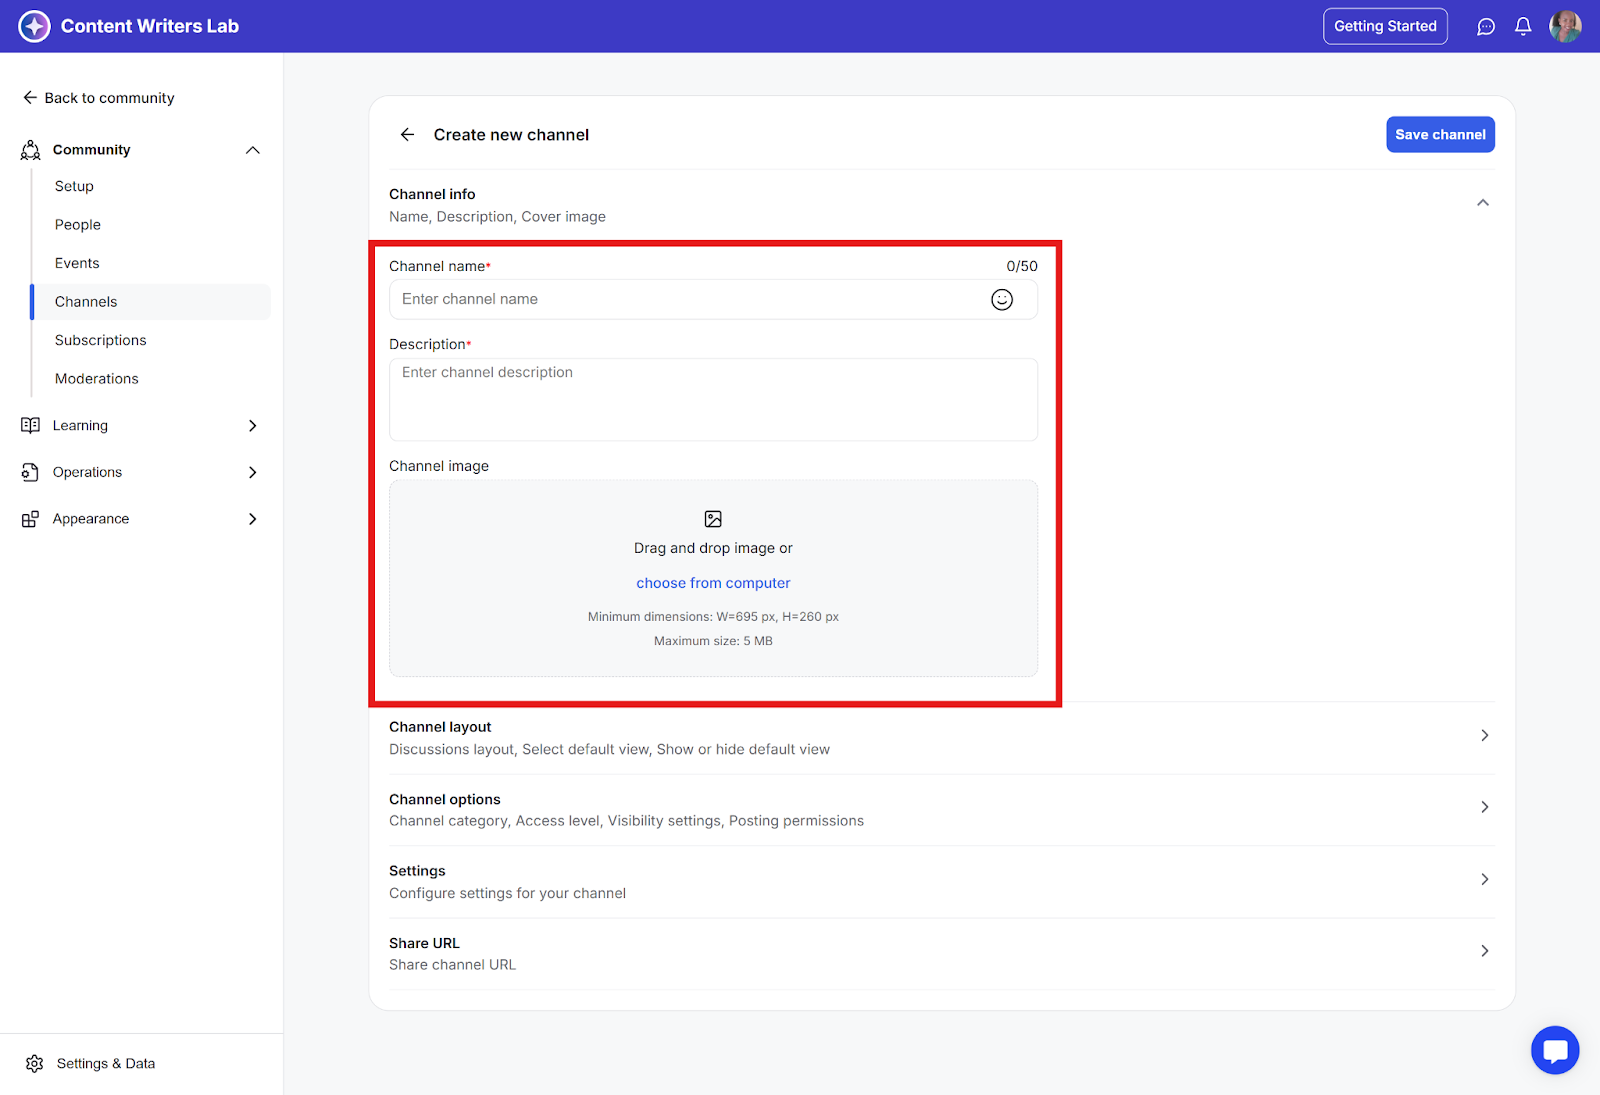
Step 4: On the Create New Channel page, complete the following fields to set up your channel:
Name: Enter the channel name.
Description: Provide a short description of the channel.
Cover Image: Upload an image to represent the channel.
Step 5: Once you’ve entered the Name, Description, and uploaded a cover image, click Save Channel at the top-right corner to create the channel.