Channels help organize discussions in your community. You can control who can see and participate in each channel by setting its access level. There are five access levels available:
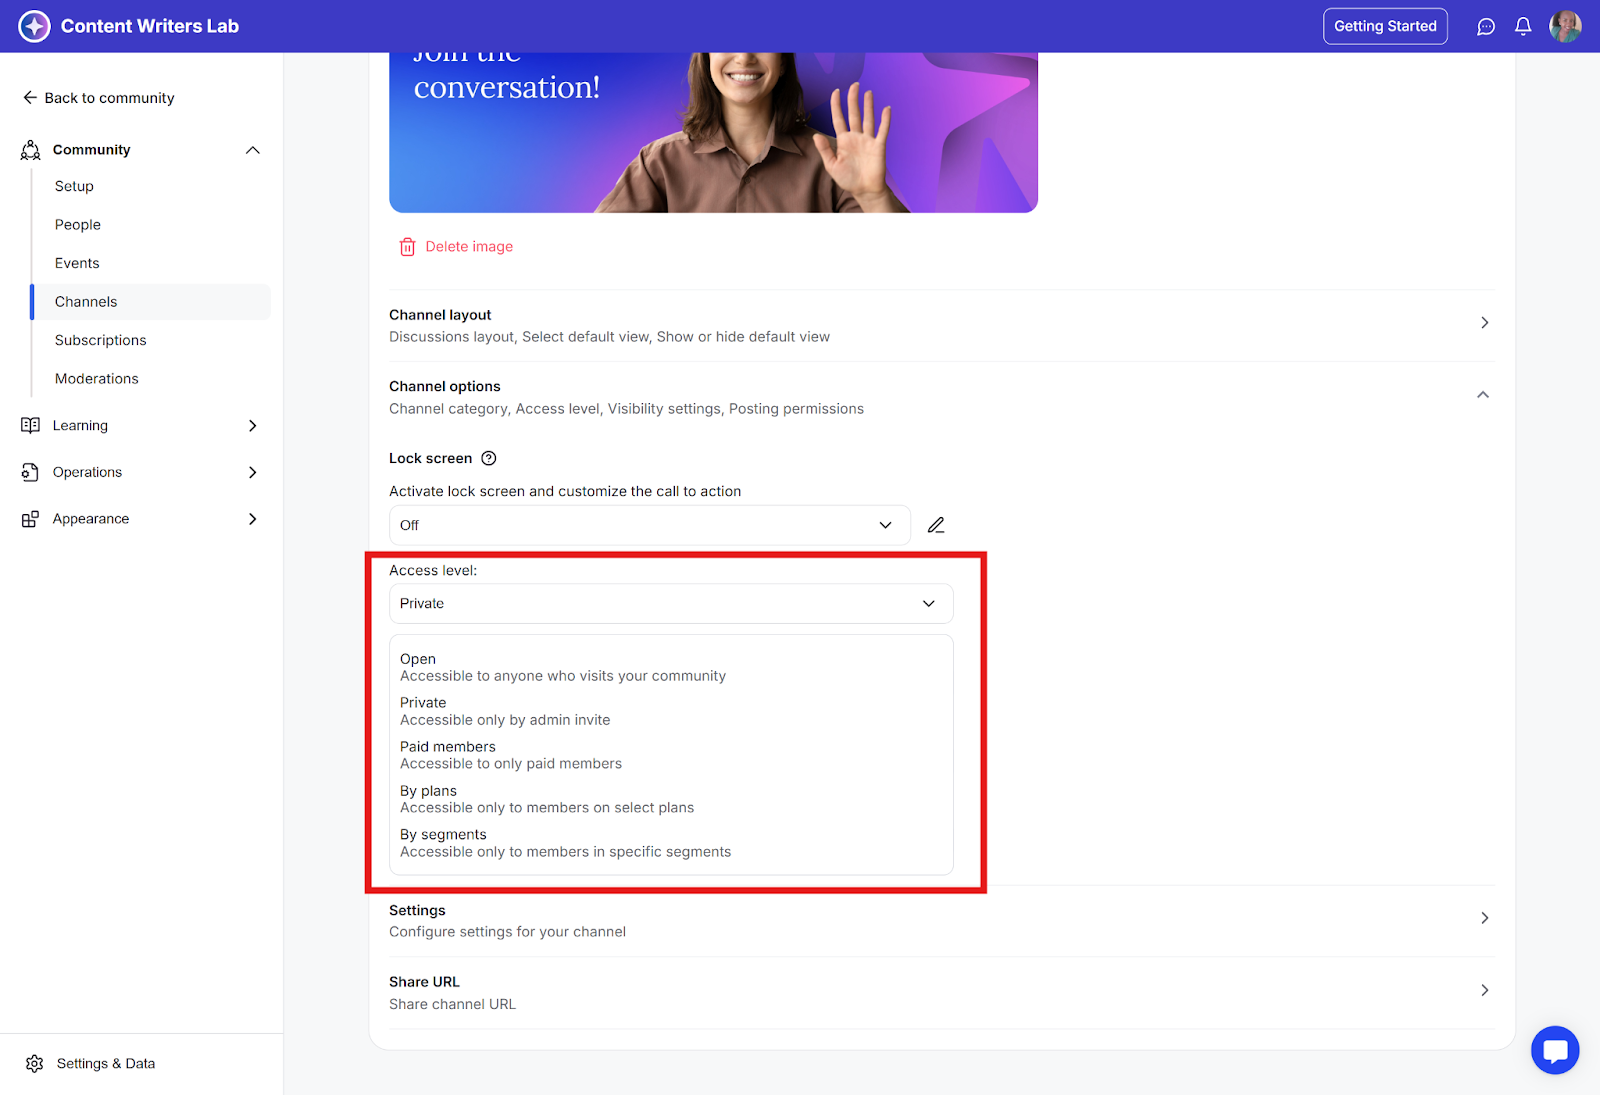
Open: Any community member can view, join, and participate in this channel without restrictions. It’s fully visible in the channel list to all users.
Private: This channel is hidden from other members of the community. Users must be invited or added by an admin to see the channel, its content, and participate in discussions.
Paid Members: Access is granted to any member on a paid subscription plan. Members on a free plan cannot access the channel.
By Plans: Admins can restrict a channel to one or more specific membership plans. Only members subscribed to any of those plans can access the channel.
By Segment: Access is granted only to members who belong to a specific segment (such as “Beta Testers” or “Enterprise Users”). Only members assigned to that segment can access the channel.
Choosing the right access level helps keep conversations relevant, secure, and valuable for the right audience.
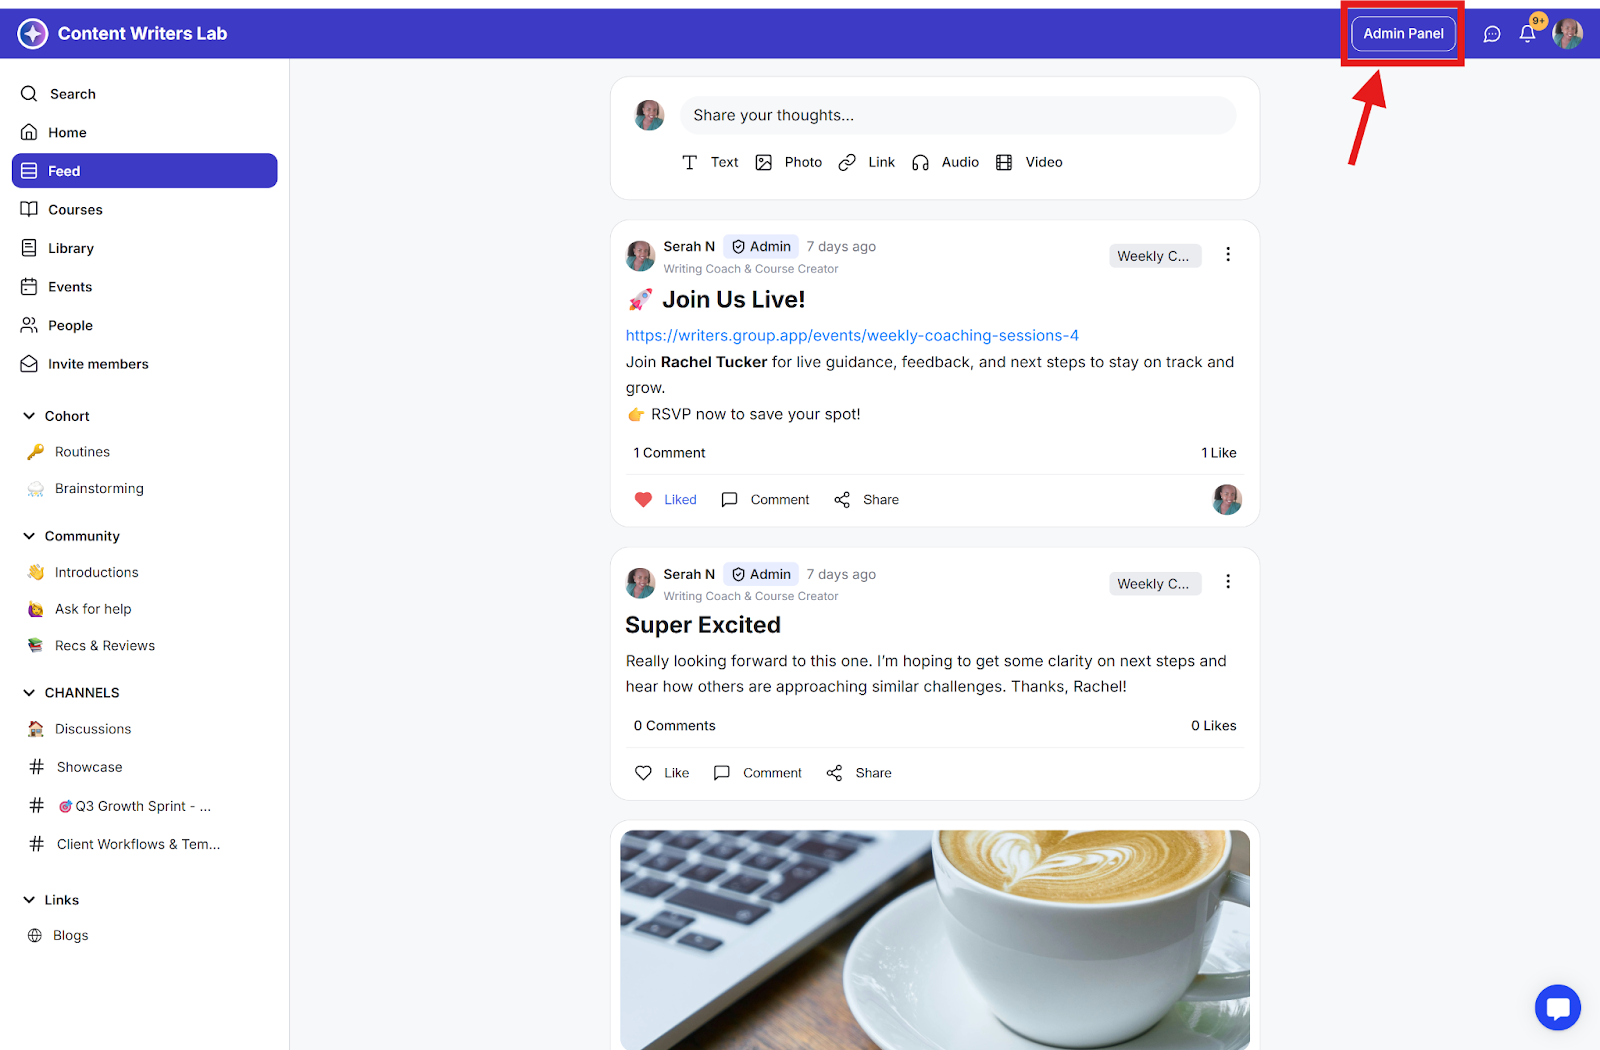
Step 1: Open the Admin Panel at the top right corner of your dashboard.
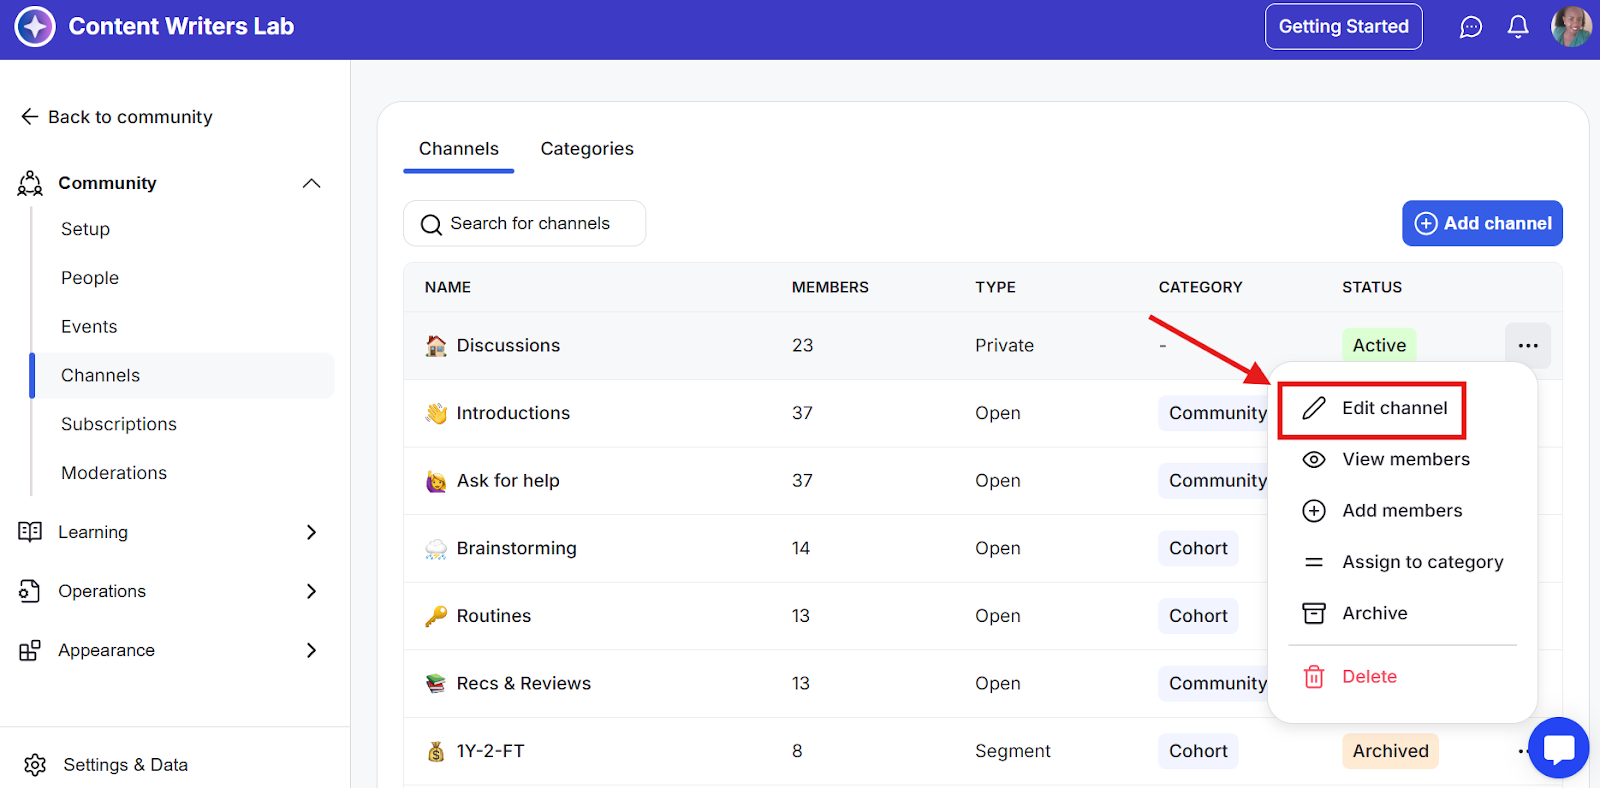
Step 2: Navigate to Channels.

Step 3: Find the channel you want to modify and click the three-dot menu to the right of its name. From the menu that appears, select Edit Channel.
Step 4: In the Edit Channel page, scroll down to the Channel Options section.
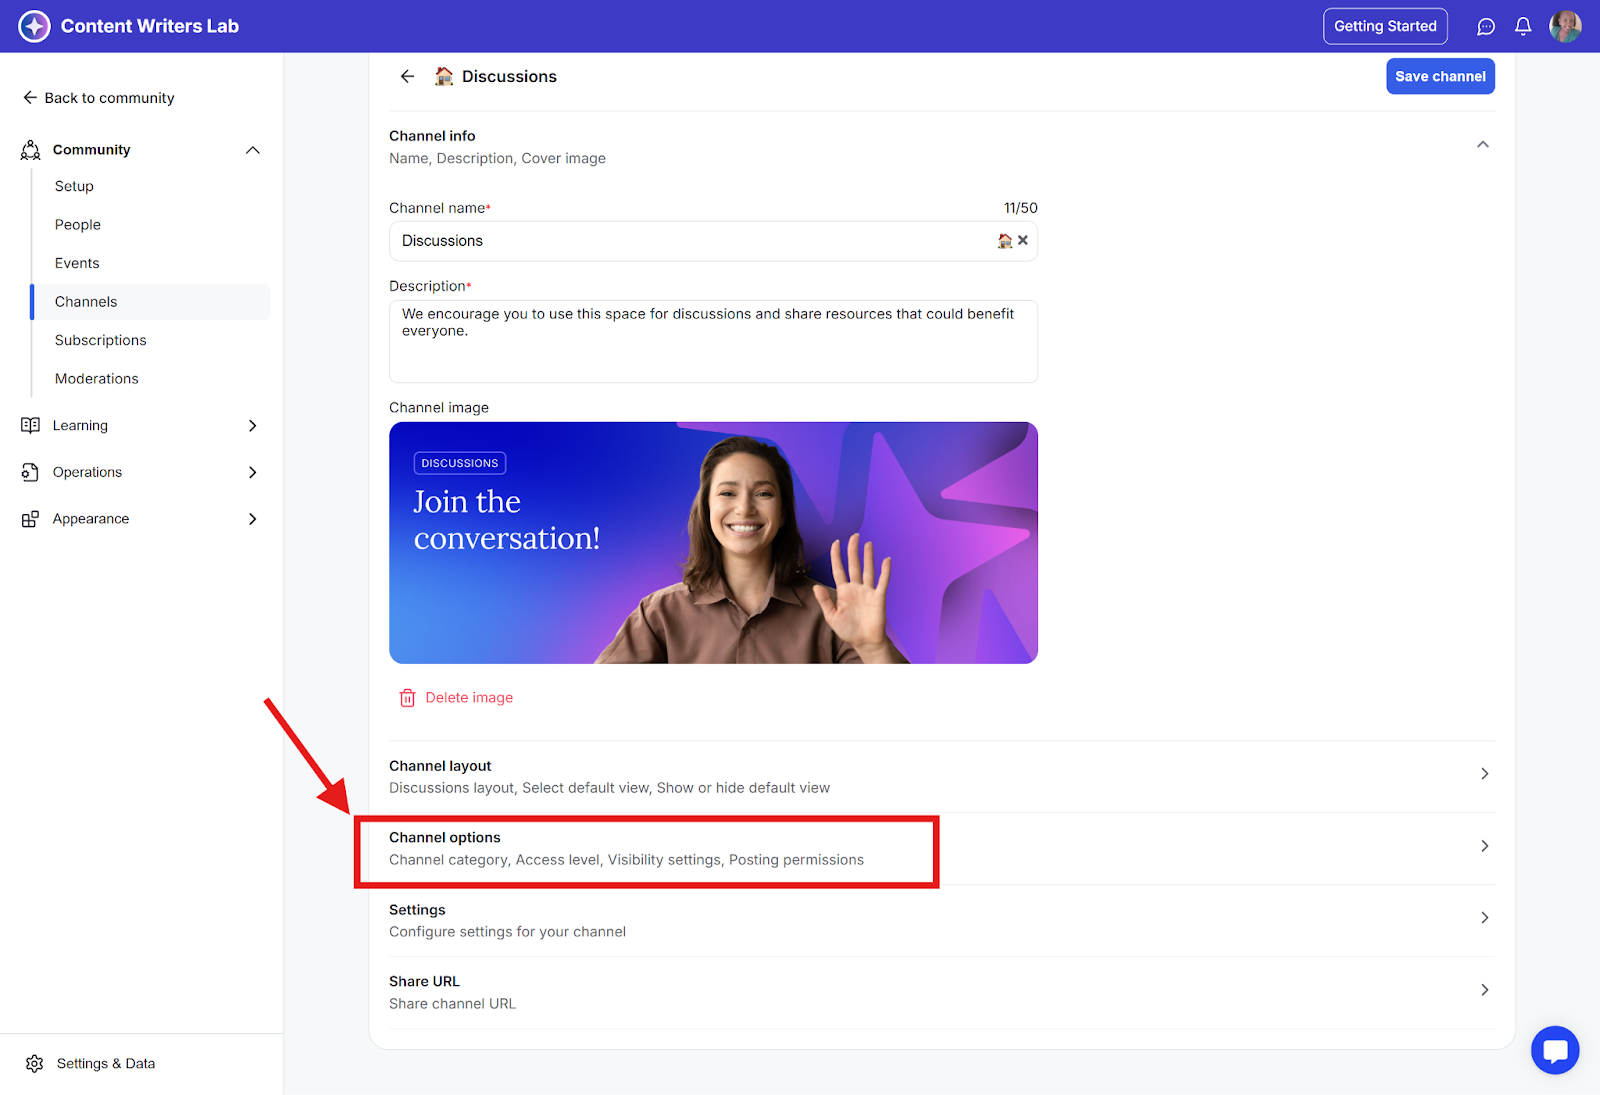
Step 5: Find and click on the Access Level dropdown menu and select an access level from the five options.
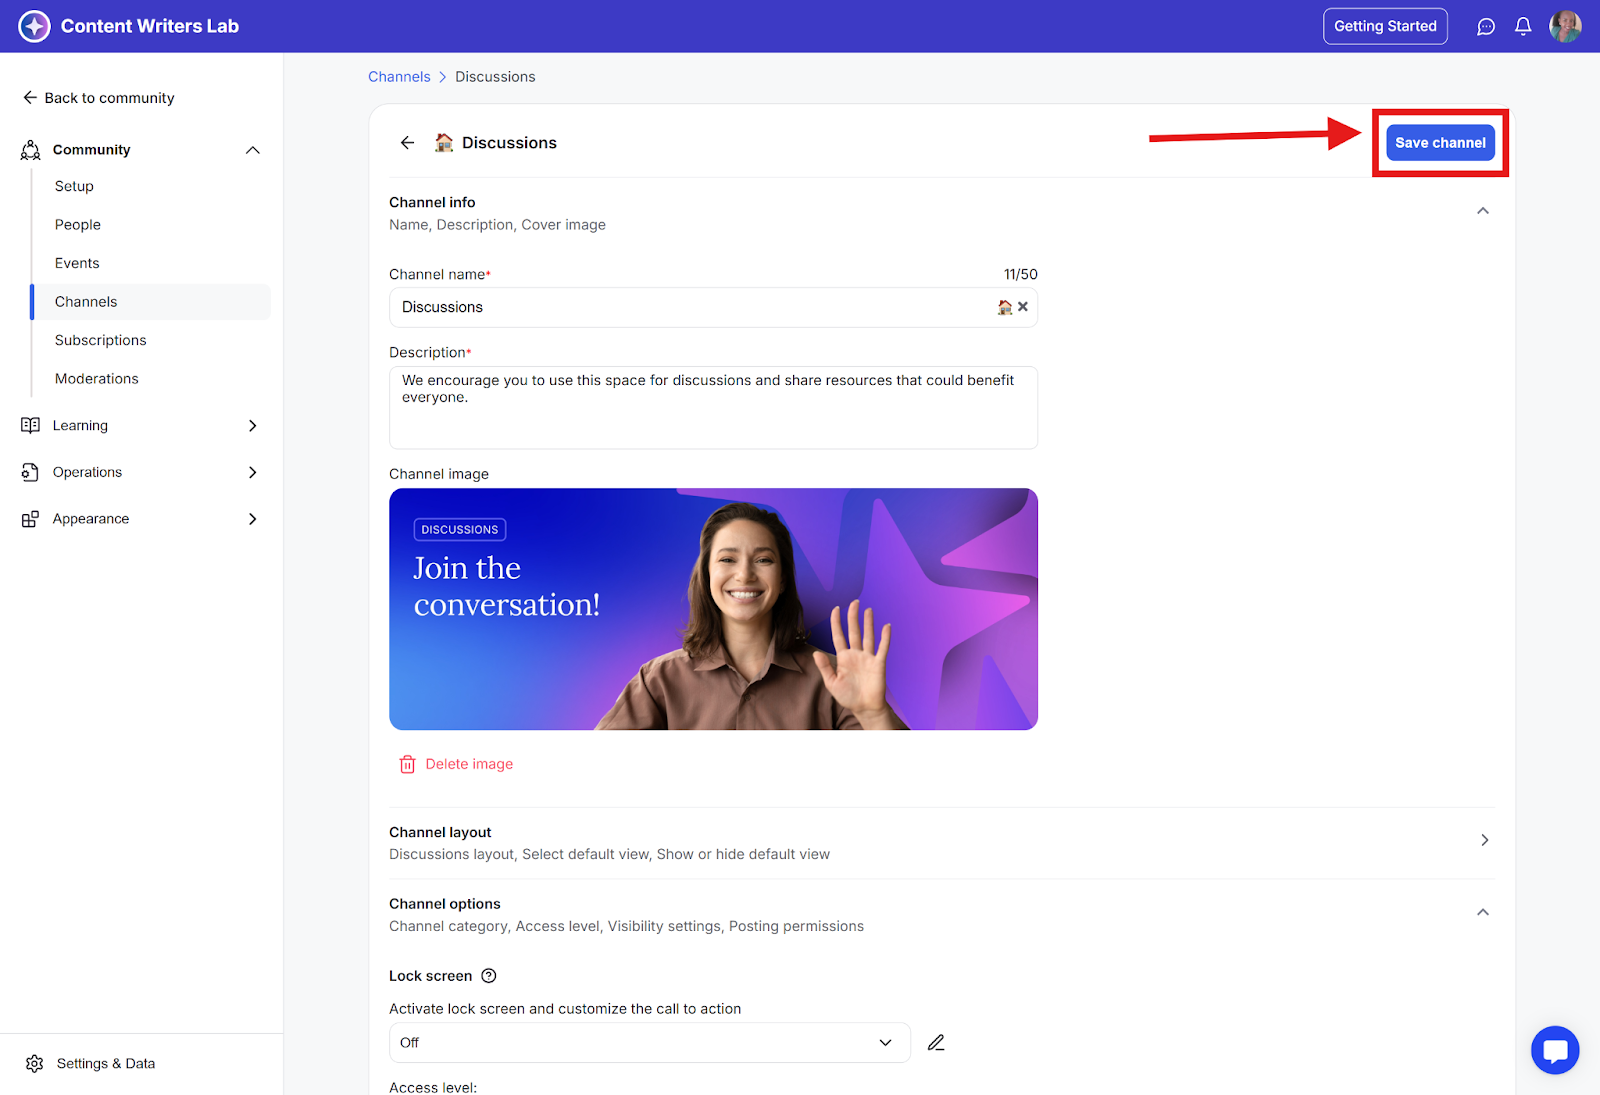
Step 6: Scroll back to the top of the page and click the Save Channel button to apply the new access level.